date pecan pinwheel cookies

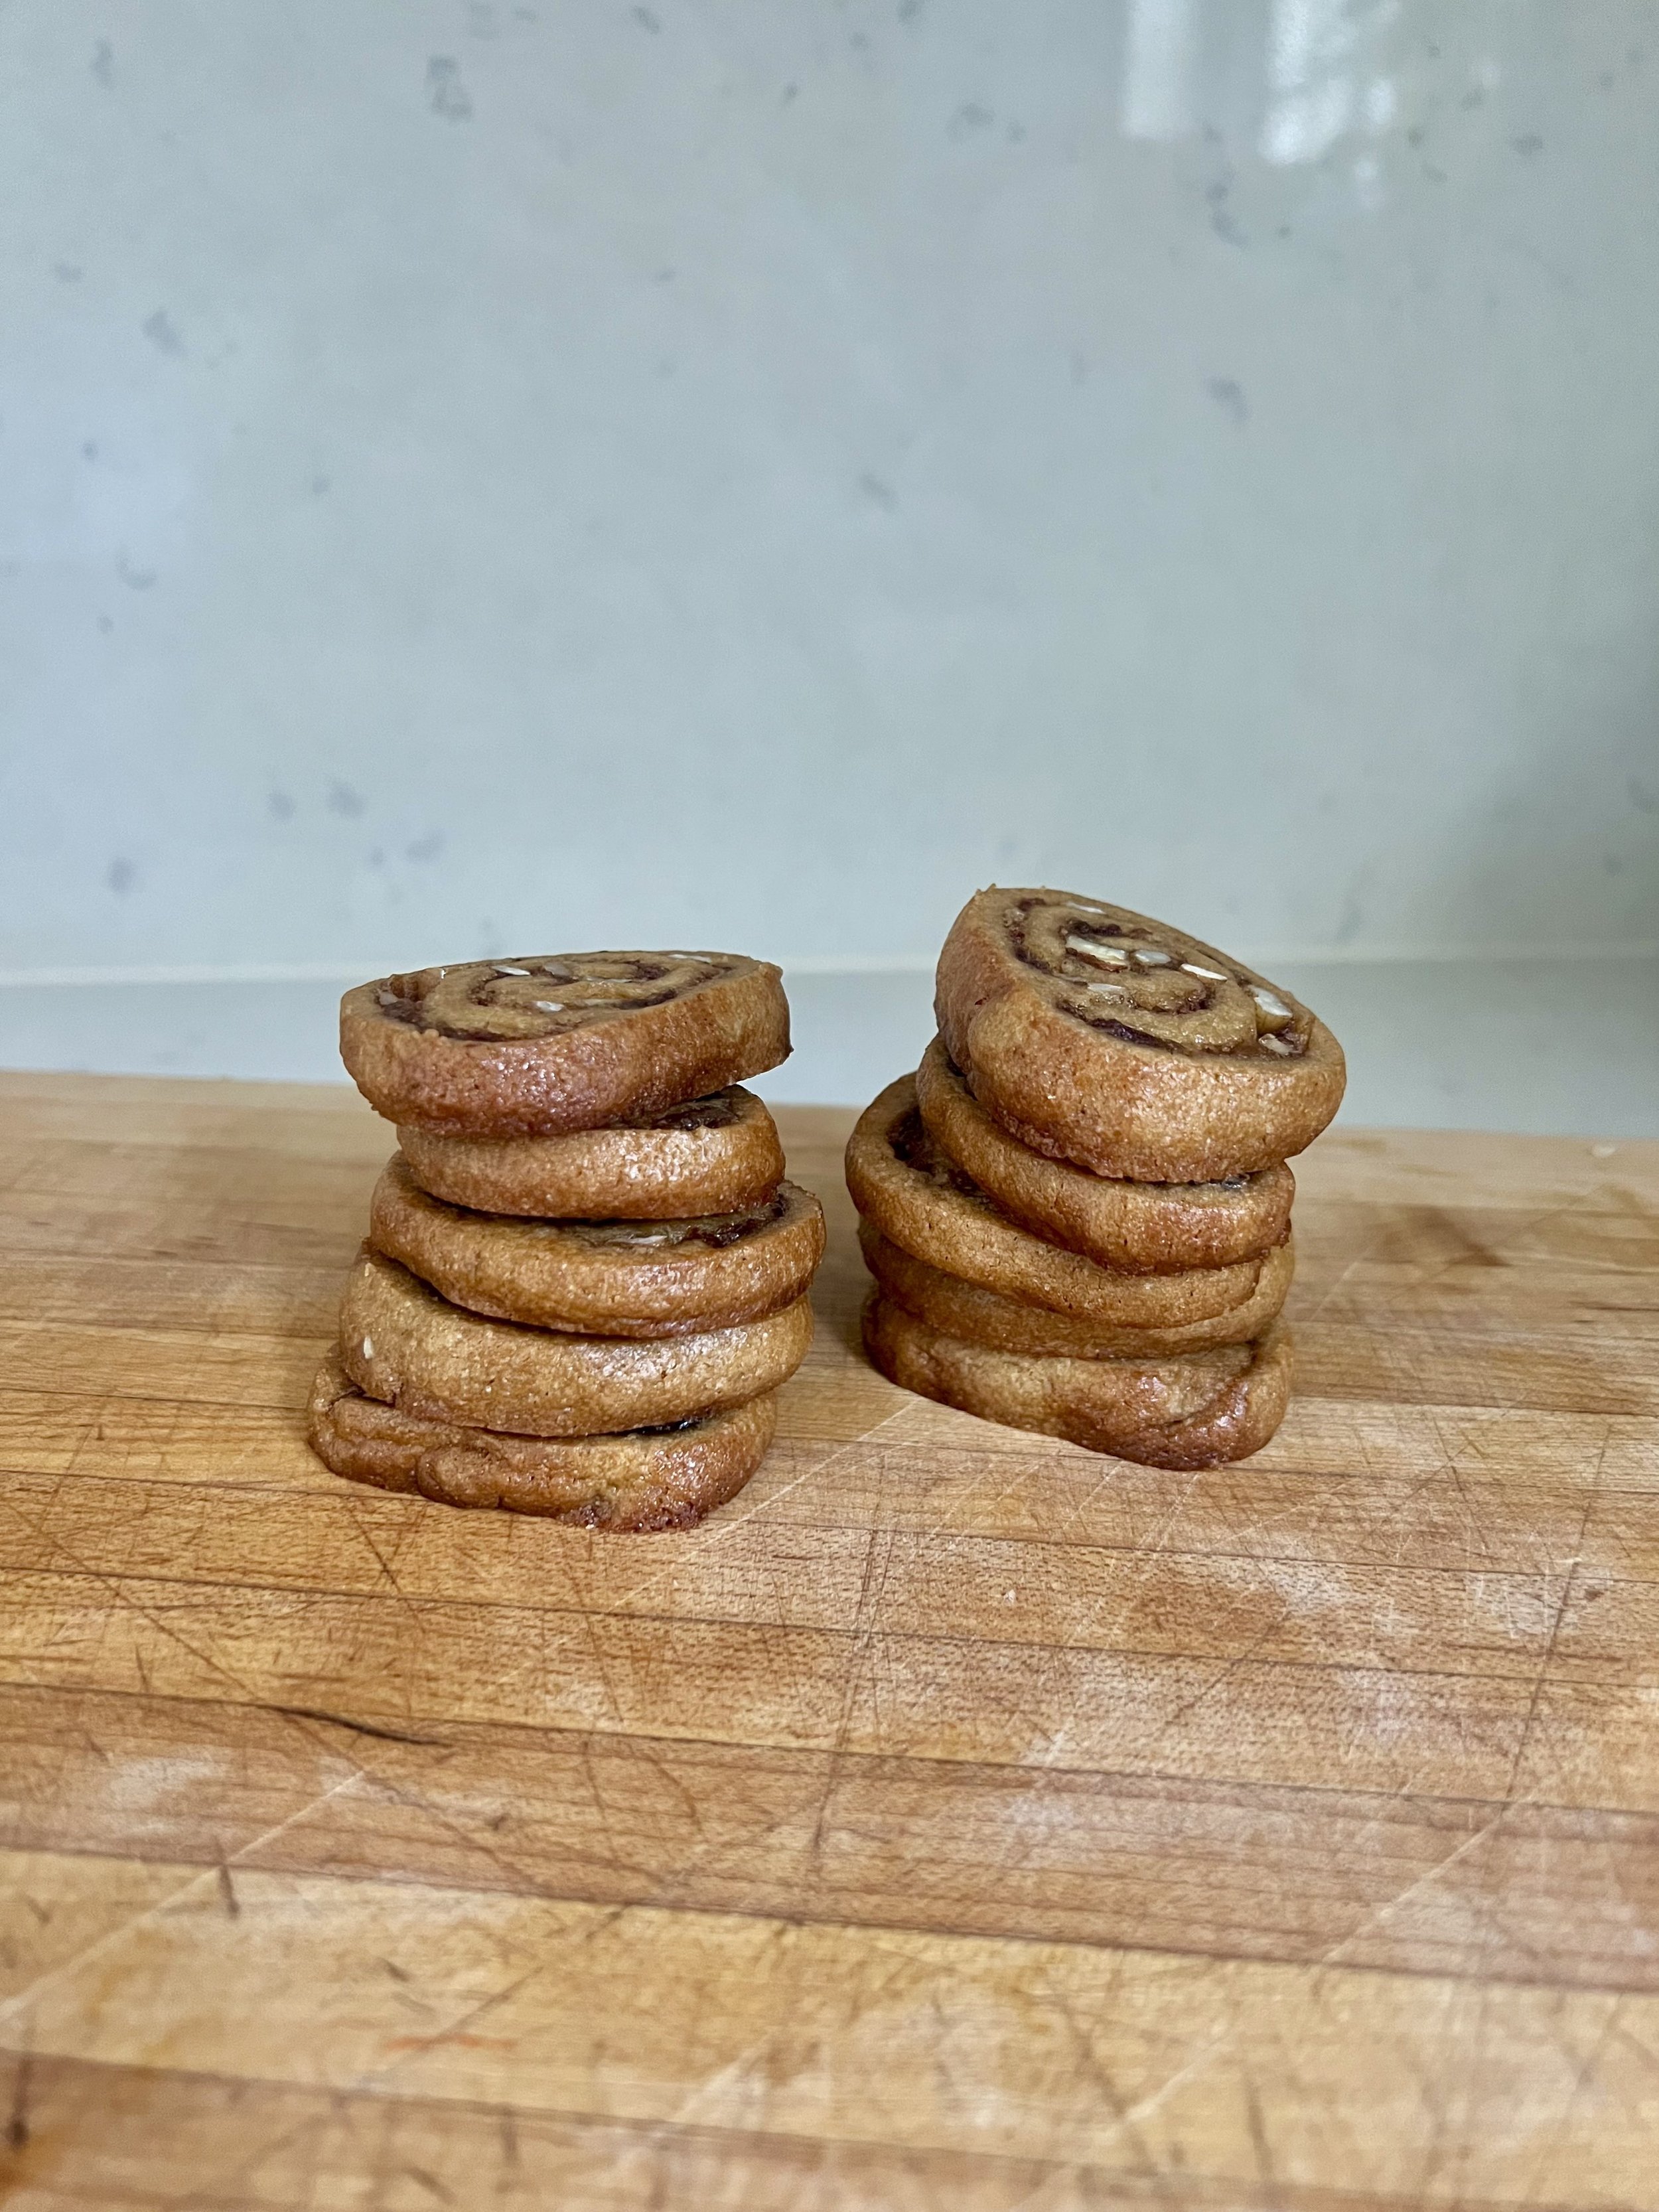
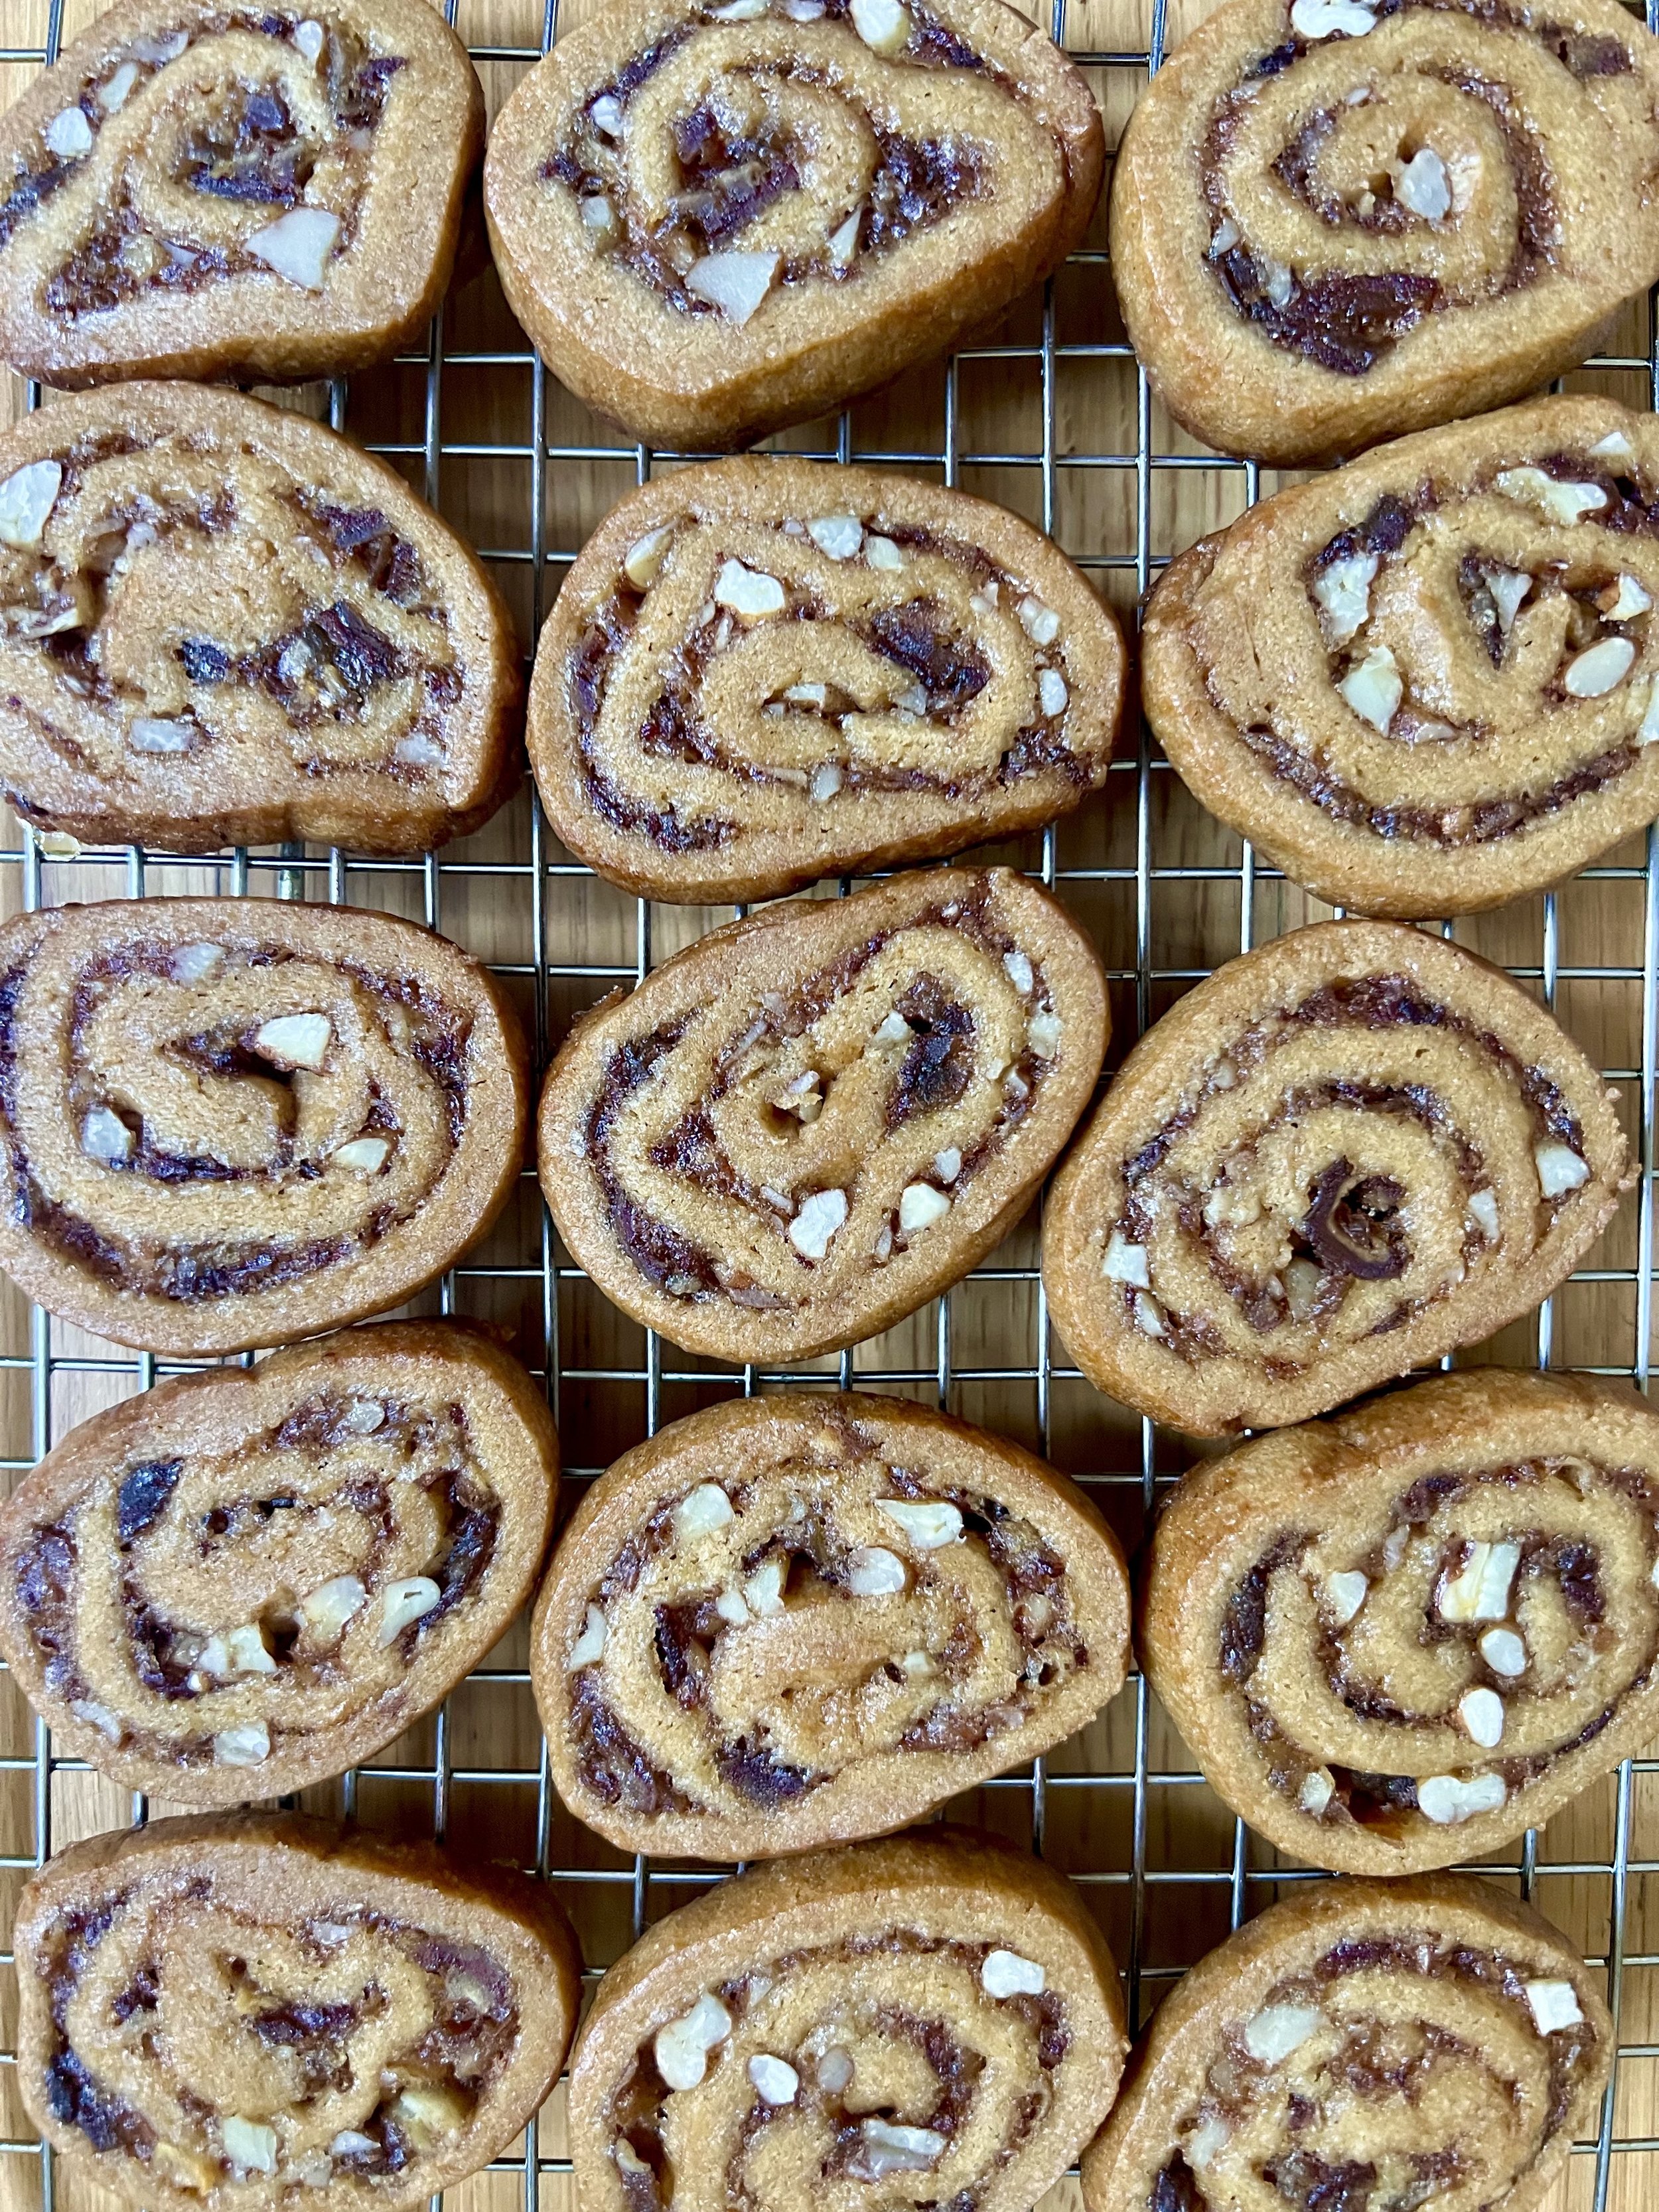
I love holiday baking. The family traditions, the comforting aromas, the delicious flavors. It gives me all the festive feels. These date pecan pinwheel cookies are the epitome of all of that for me. They remind me of my mom, who bakes them for us every holiday season, and they are a hit with the whole family. I love how unique they are- not your average holiday sugar cookie for sure. But they also come together easily, and look pretty fancy as well! My mom was kind enough to leave me a batch of this cookie dough in the freezer, so I could bake them up myself when the craving hits, which is what I’ve just done now. I love how they get nicely golden brown with a crisp edge, yet maintain a soft and gooey interior that is almost reminiscent of caramel! So heavenly. I highly recommend you add these to your holiday cookie rotation. They would make an excellent addition to a festive cookie swap as well. Happy Holidays, y’all!

Date Pecan Pinwheels:

  • Filling:

    • 8 oz medjool dates, chopped

    • ½ cup granulated sugar

    • ½ cup water

    • ½ cup pecans, chopped

  • Dough:

    • ½ cup unsalted butter, room temperature 

    • ½ cup brown sugar

    • ½ cup granulated sugar

    • 1 large egg

    • ½ tsp pure vanilla extract

    • 2 cups all purpose flour

    • ½ tsp baking soda

    • ½ tsp salt 

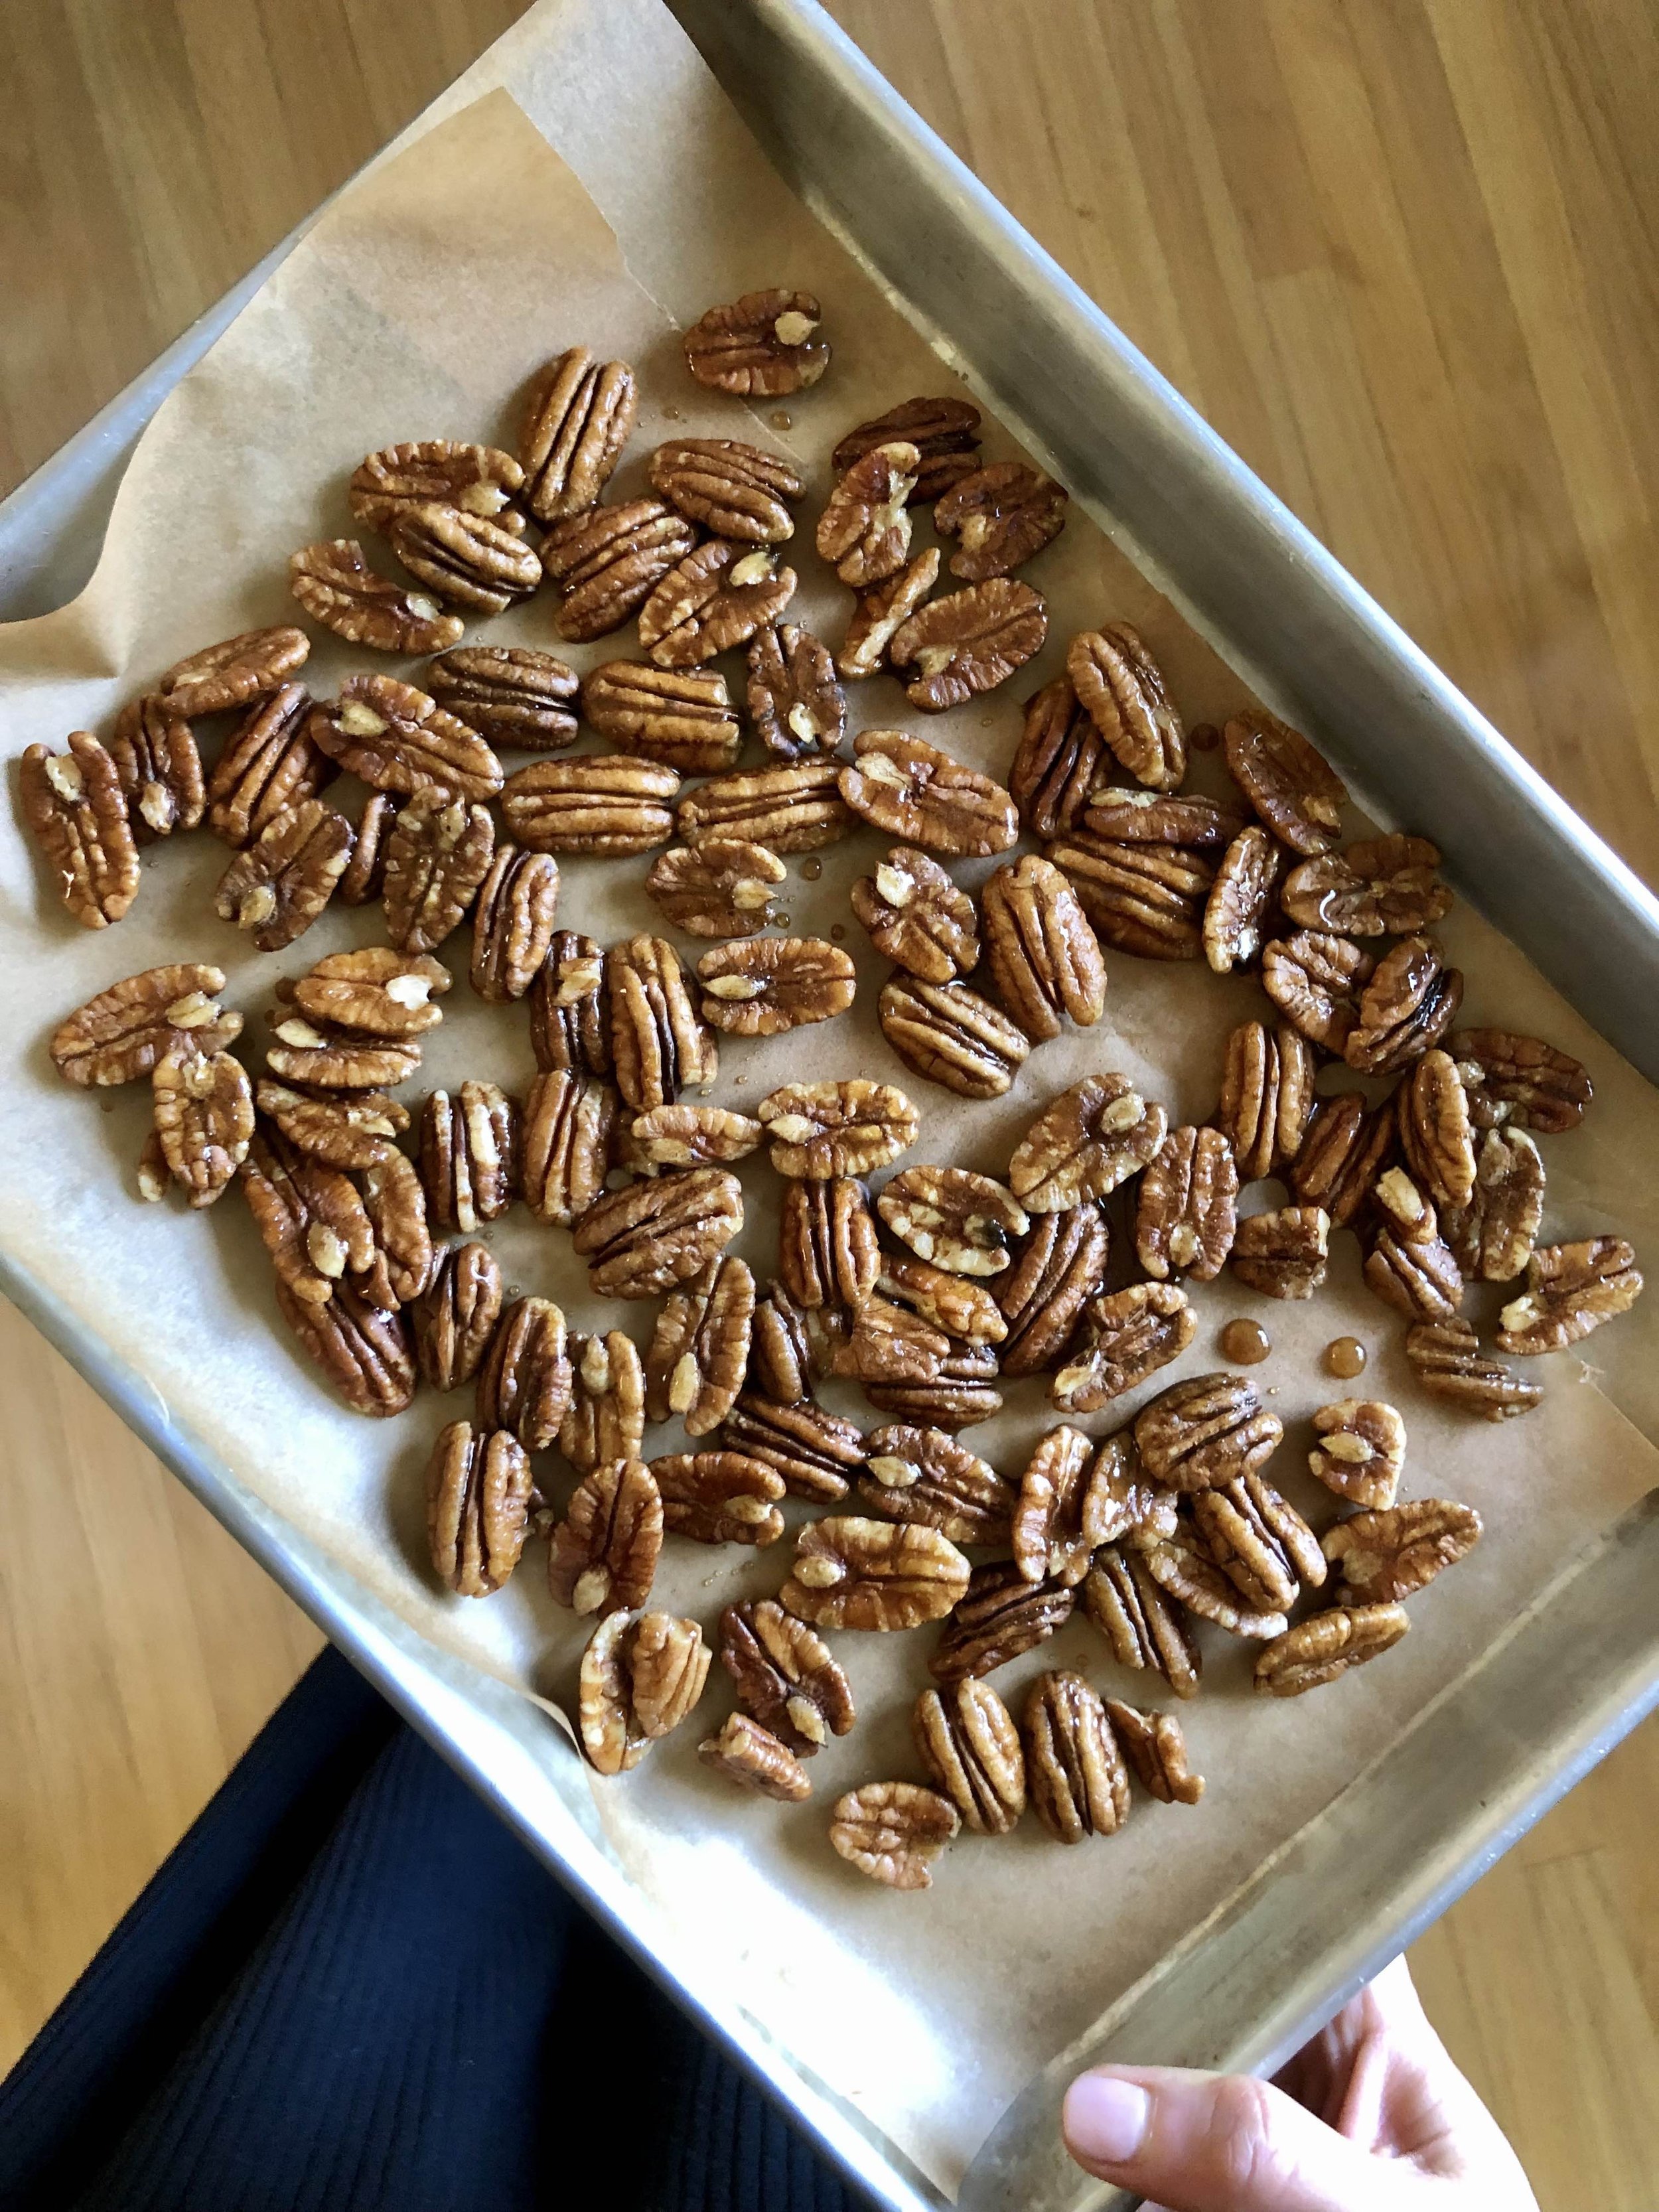
For the filling, add the chopped dates to a saucepan with sugar and water. Bring to a low boil, reduce heat and simmer, stirring and smushing frequently until the mixture is soft and creamy. It’s okay if it’s a bit lumpy. Set aside to cool. Finely chop pecans and reserve for later.

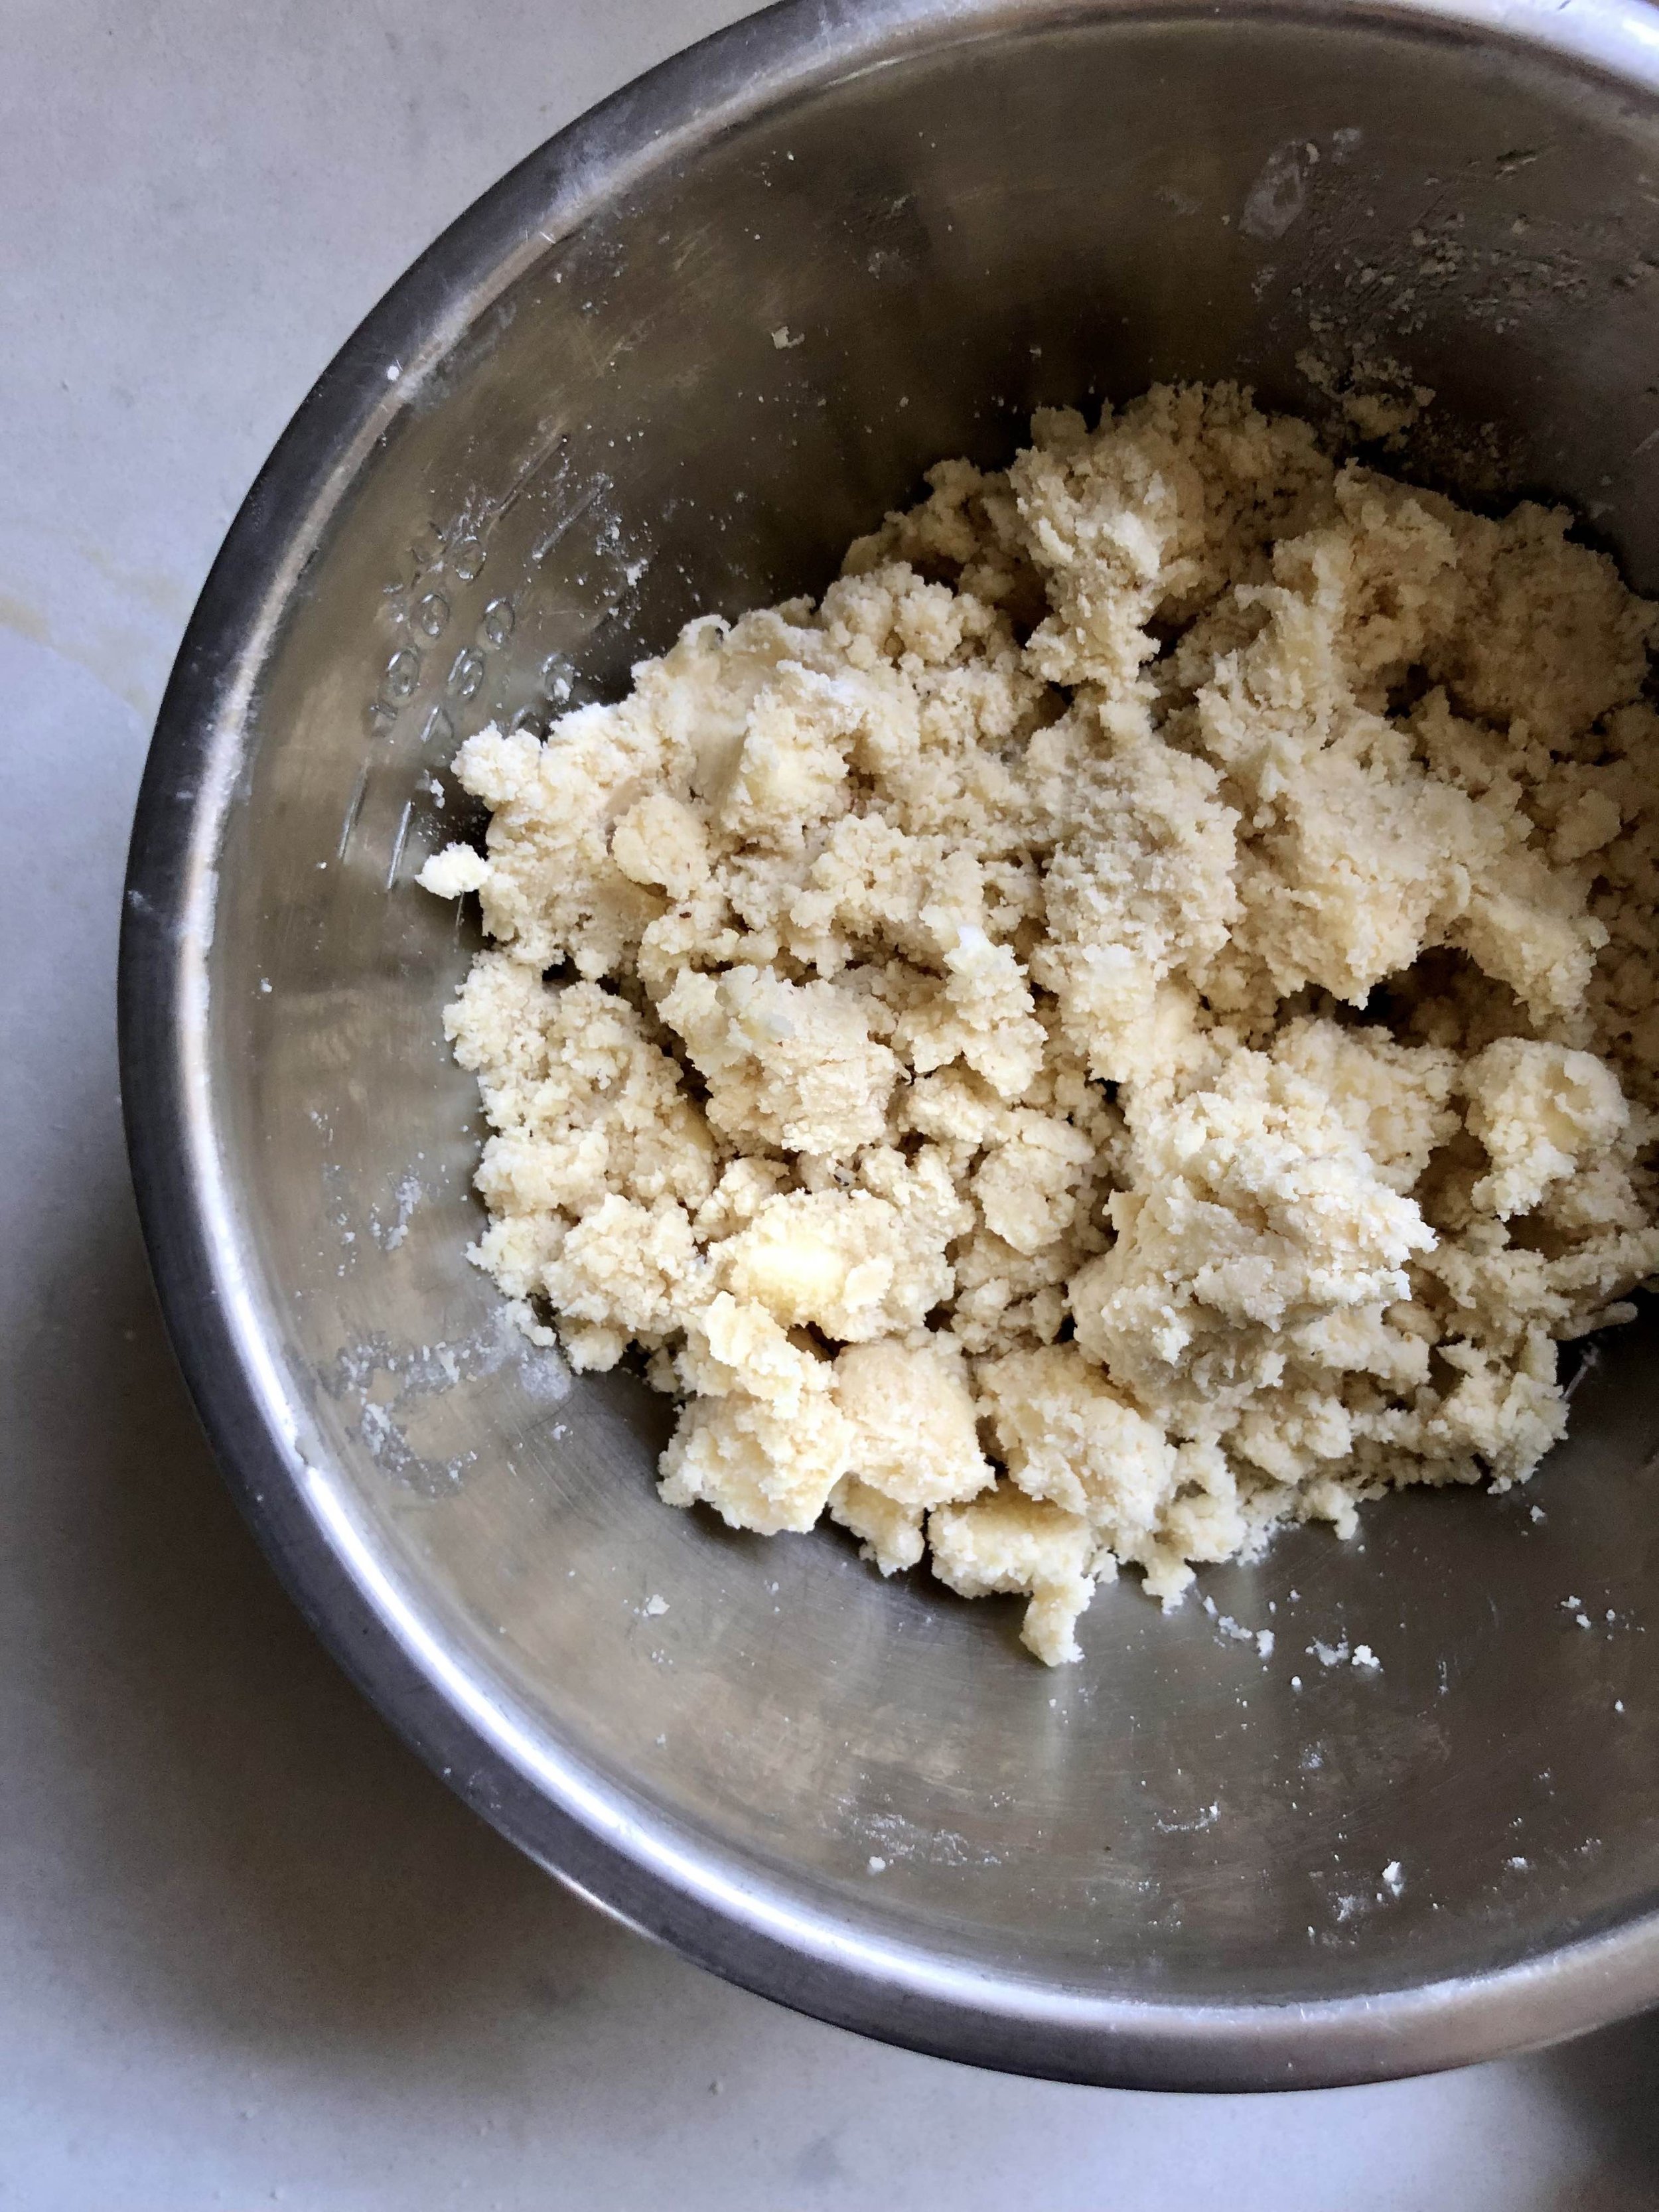
For the dough, cream together butter and sugars in a stand mixer or hand mixer until smooth, then add egg and vanilla until well combined. Sift together the flour, baking soda & salt, and then slowly incorporate the dry ingredients into the wet, careful not to over mix. The dough will be quite thick. Divide it into two rounds, and chill for a couple hours in the fridge. You can also refrigerate the dough overnight at this point, but just let it come to room temp a bit when you’re ready to assemble so that it’s easier to roll out.

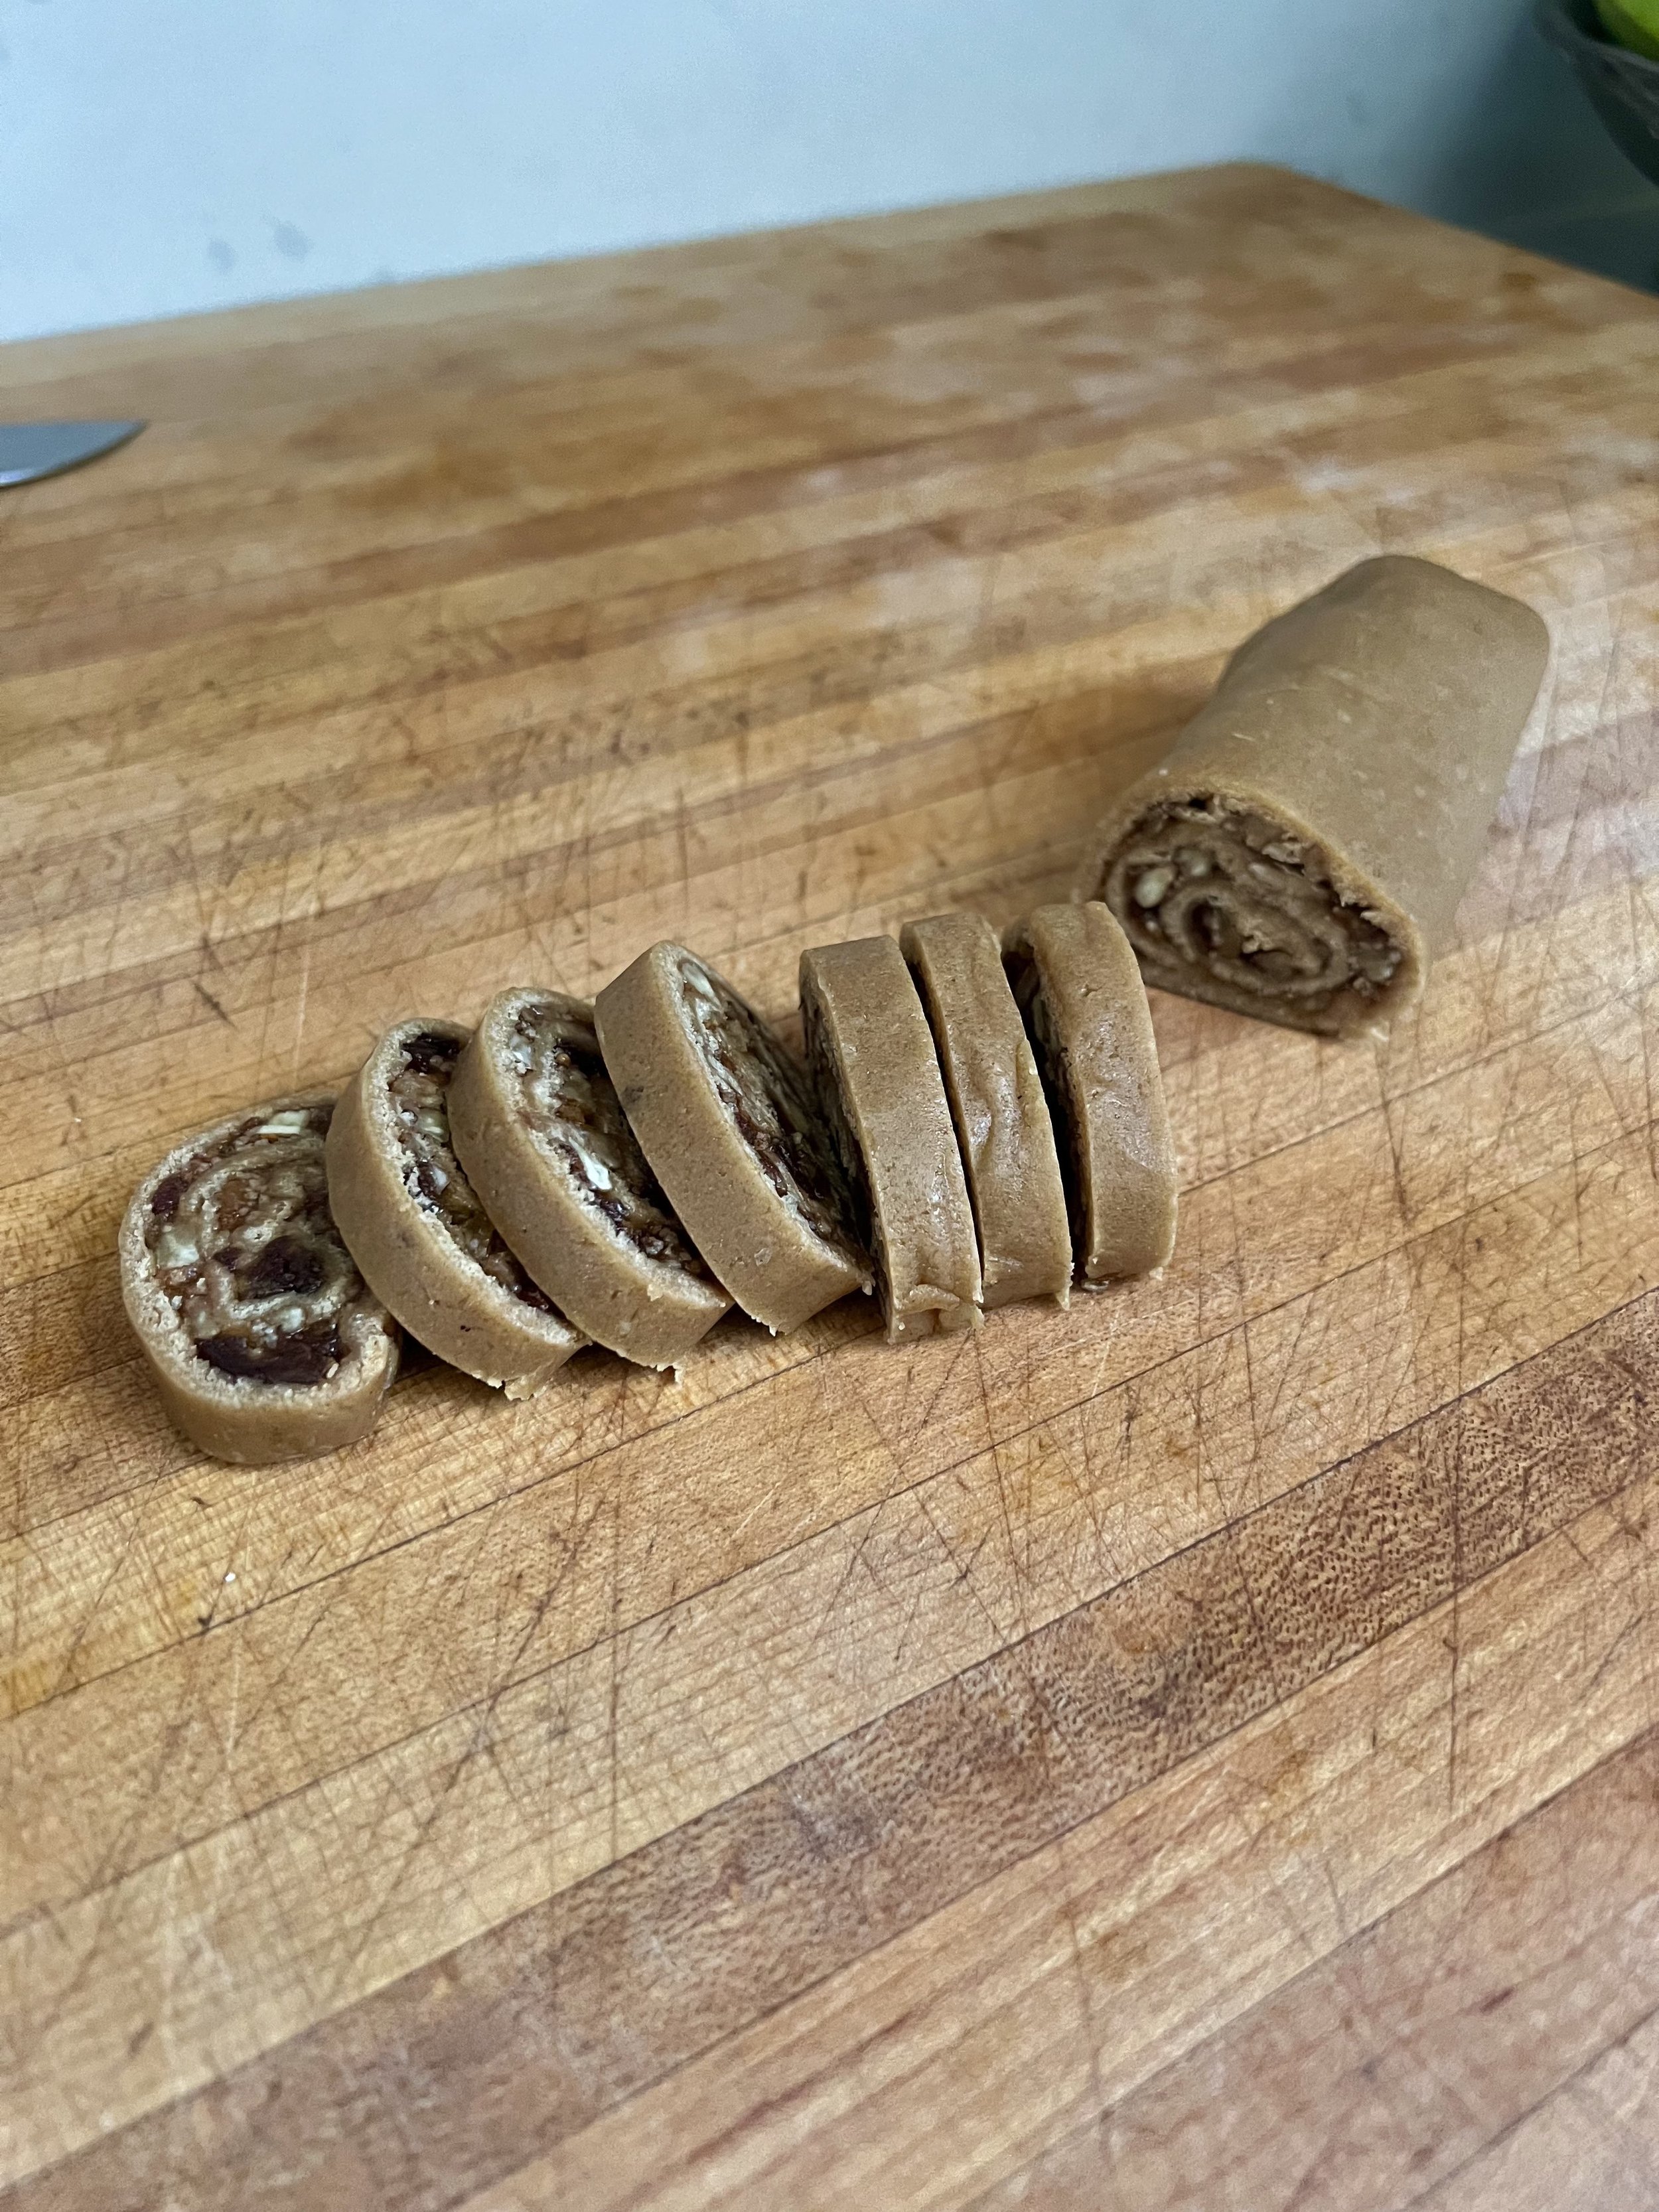
To assemble and prepare for baking, remove the dough from the fridge. Roll one part out on floured surface into a rectangle (about 5-6” x 11-12”), then spread half of the cooled date filling evenly on the dough. If filling seems too thick, add a little water to thin it out to get a more spreadable consistency. Sprinkle on ¼ cup chopped pecans. Carefully roll up into a log shape with wax paper or plastic wrap. Repeat process for second round of dough, then refrigerate both until they are well chilled through. You may also freeze them at this point until you are ready to bake.

Preheat oven to 350 F. Remove dough logs from fridge or freezer, and cut approximately 1/4-1/2" thick cookie slices. Lay on parchment-lined baking sheet, and bake for about 10-12 minutes, until they’re starting to get golden, which will yield a crispy edge and gooey interior. Cool cookies on baking sheet for a few minutes before moving them to a cooling rack to cool completely. Enjoy! These are best on the day they are made, as they maintain their crisp edges and gooey interior, but will remain deliciously soft & chewy for the next several days stored in an airtight container.
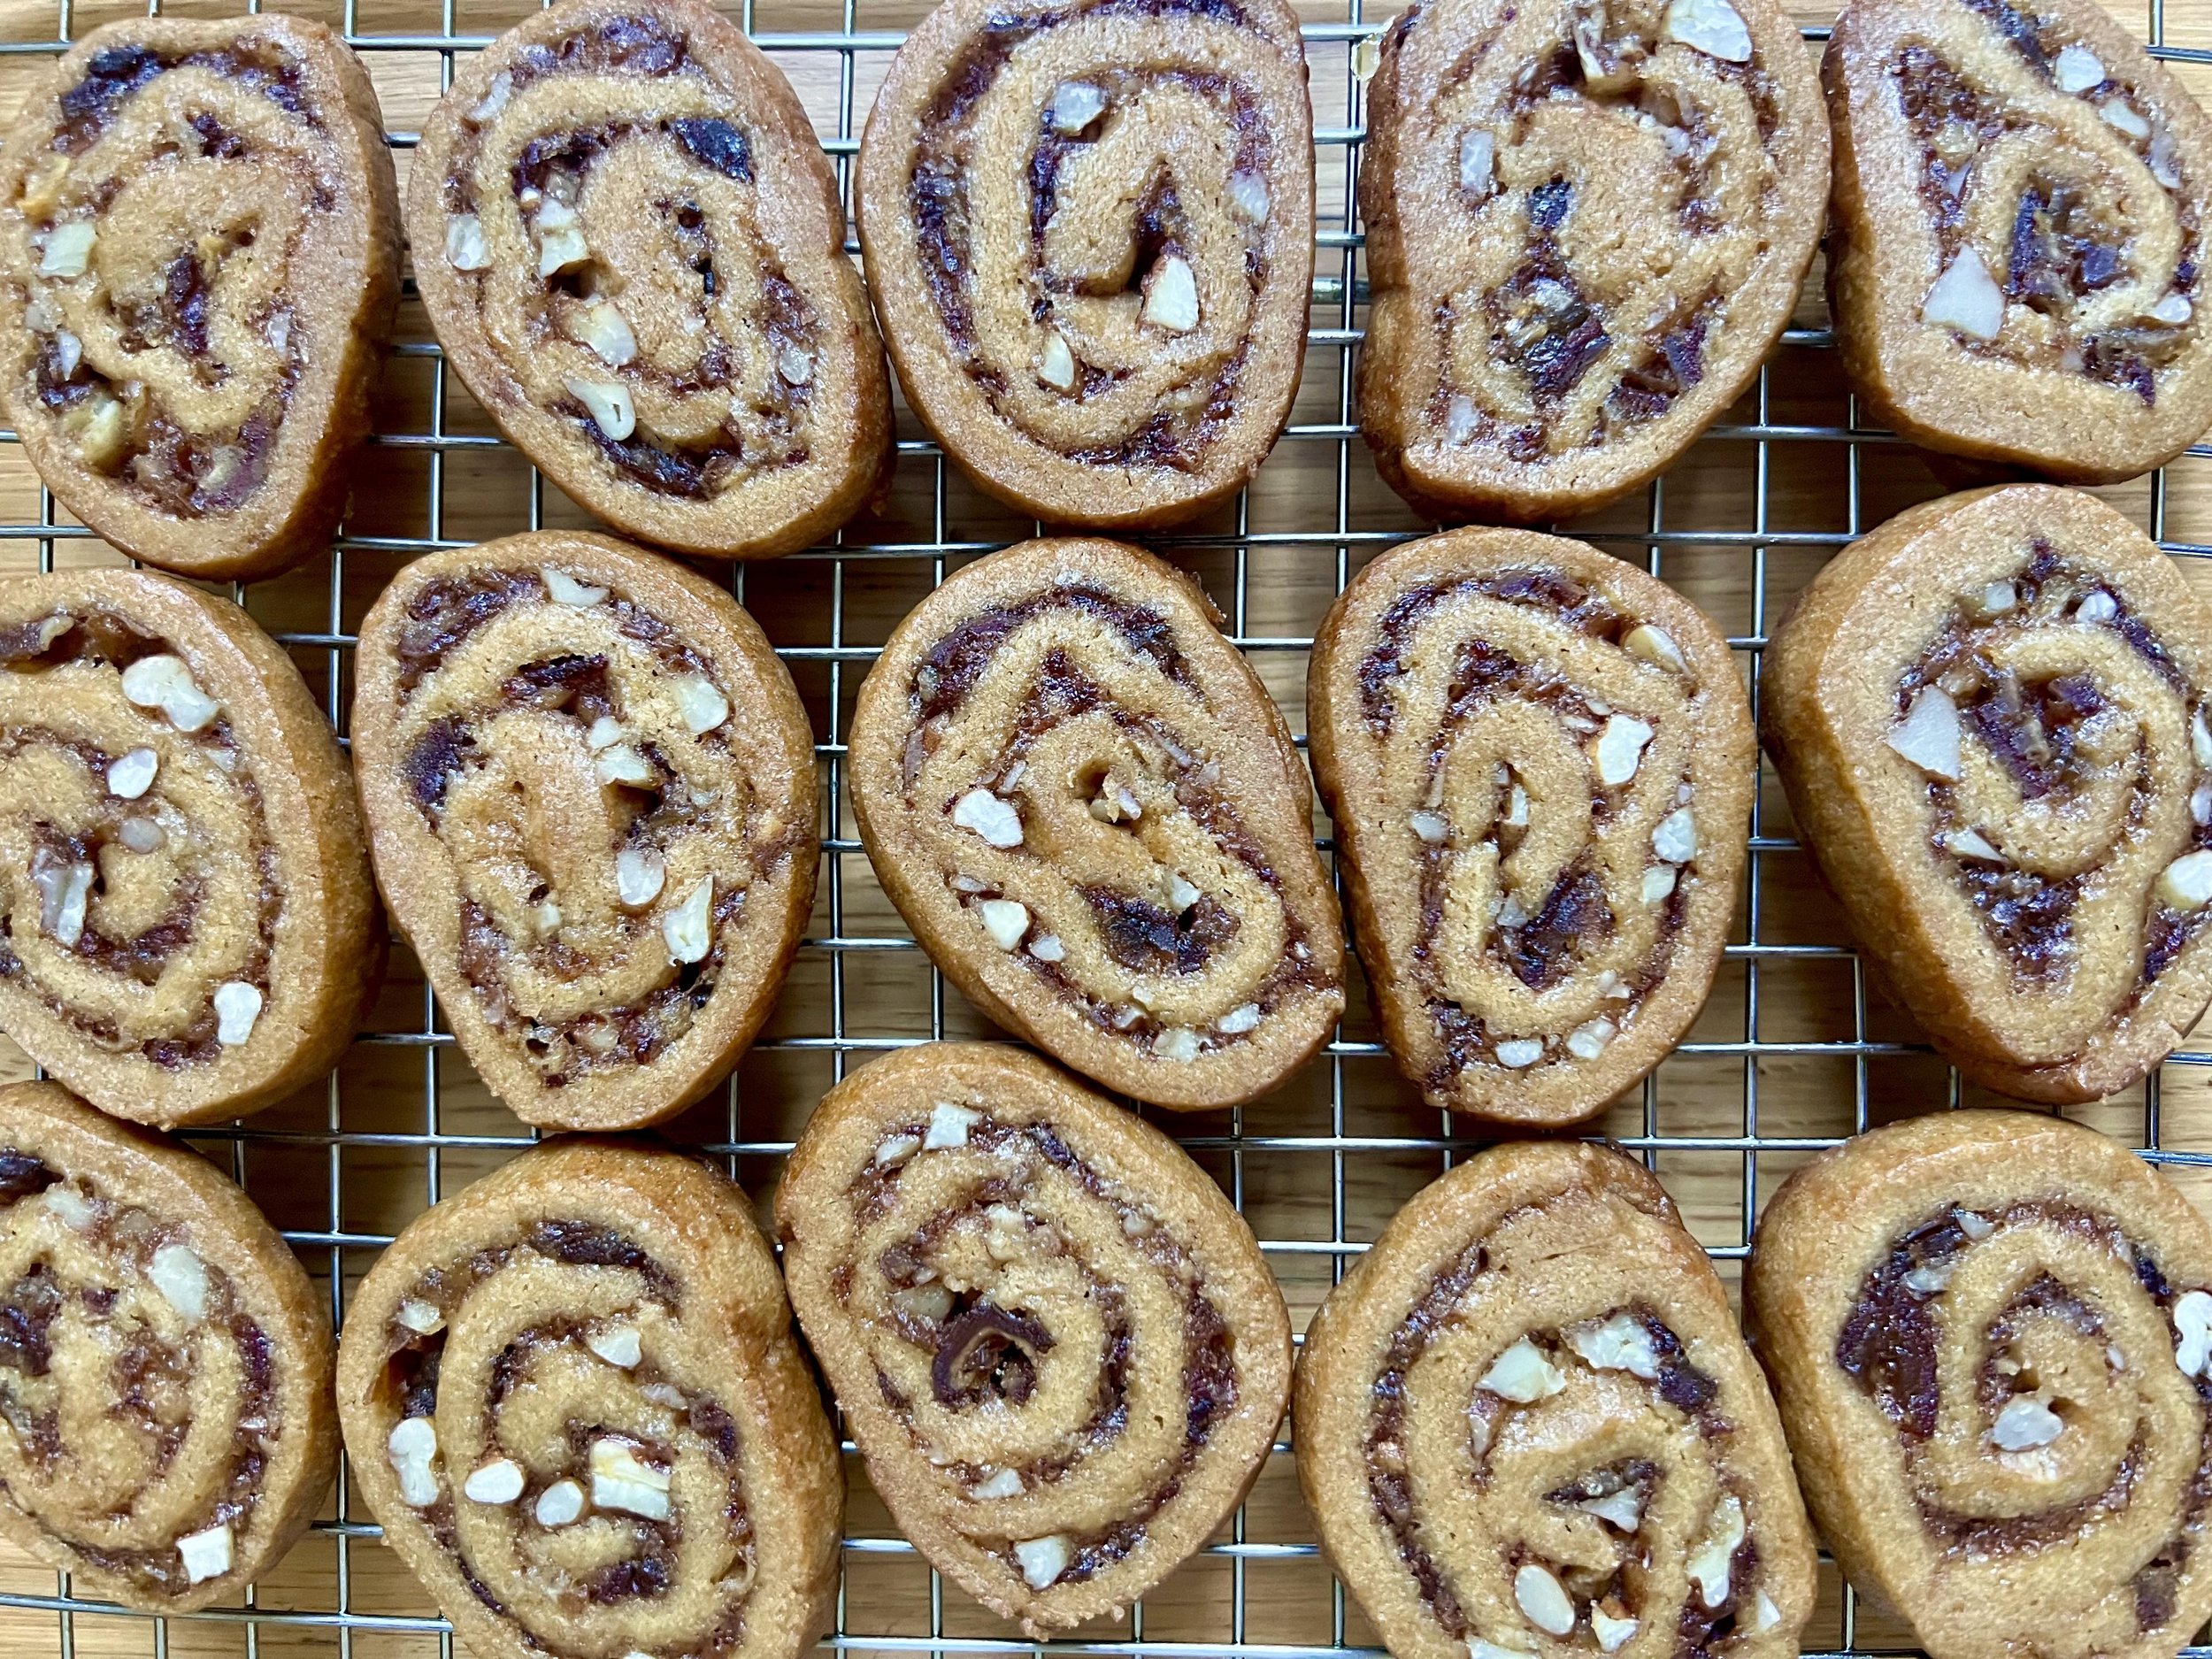
grain-free pecan pie bars

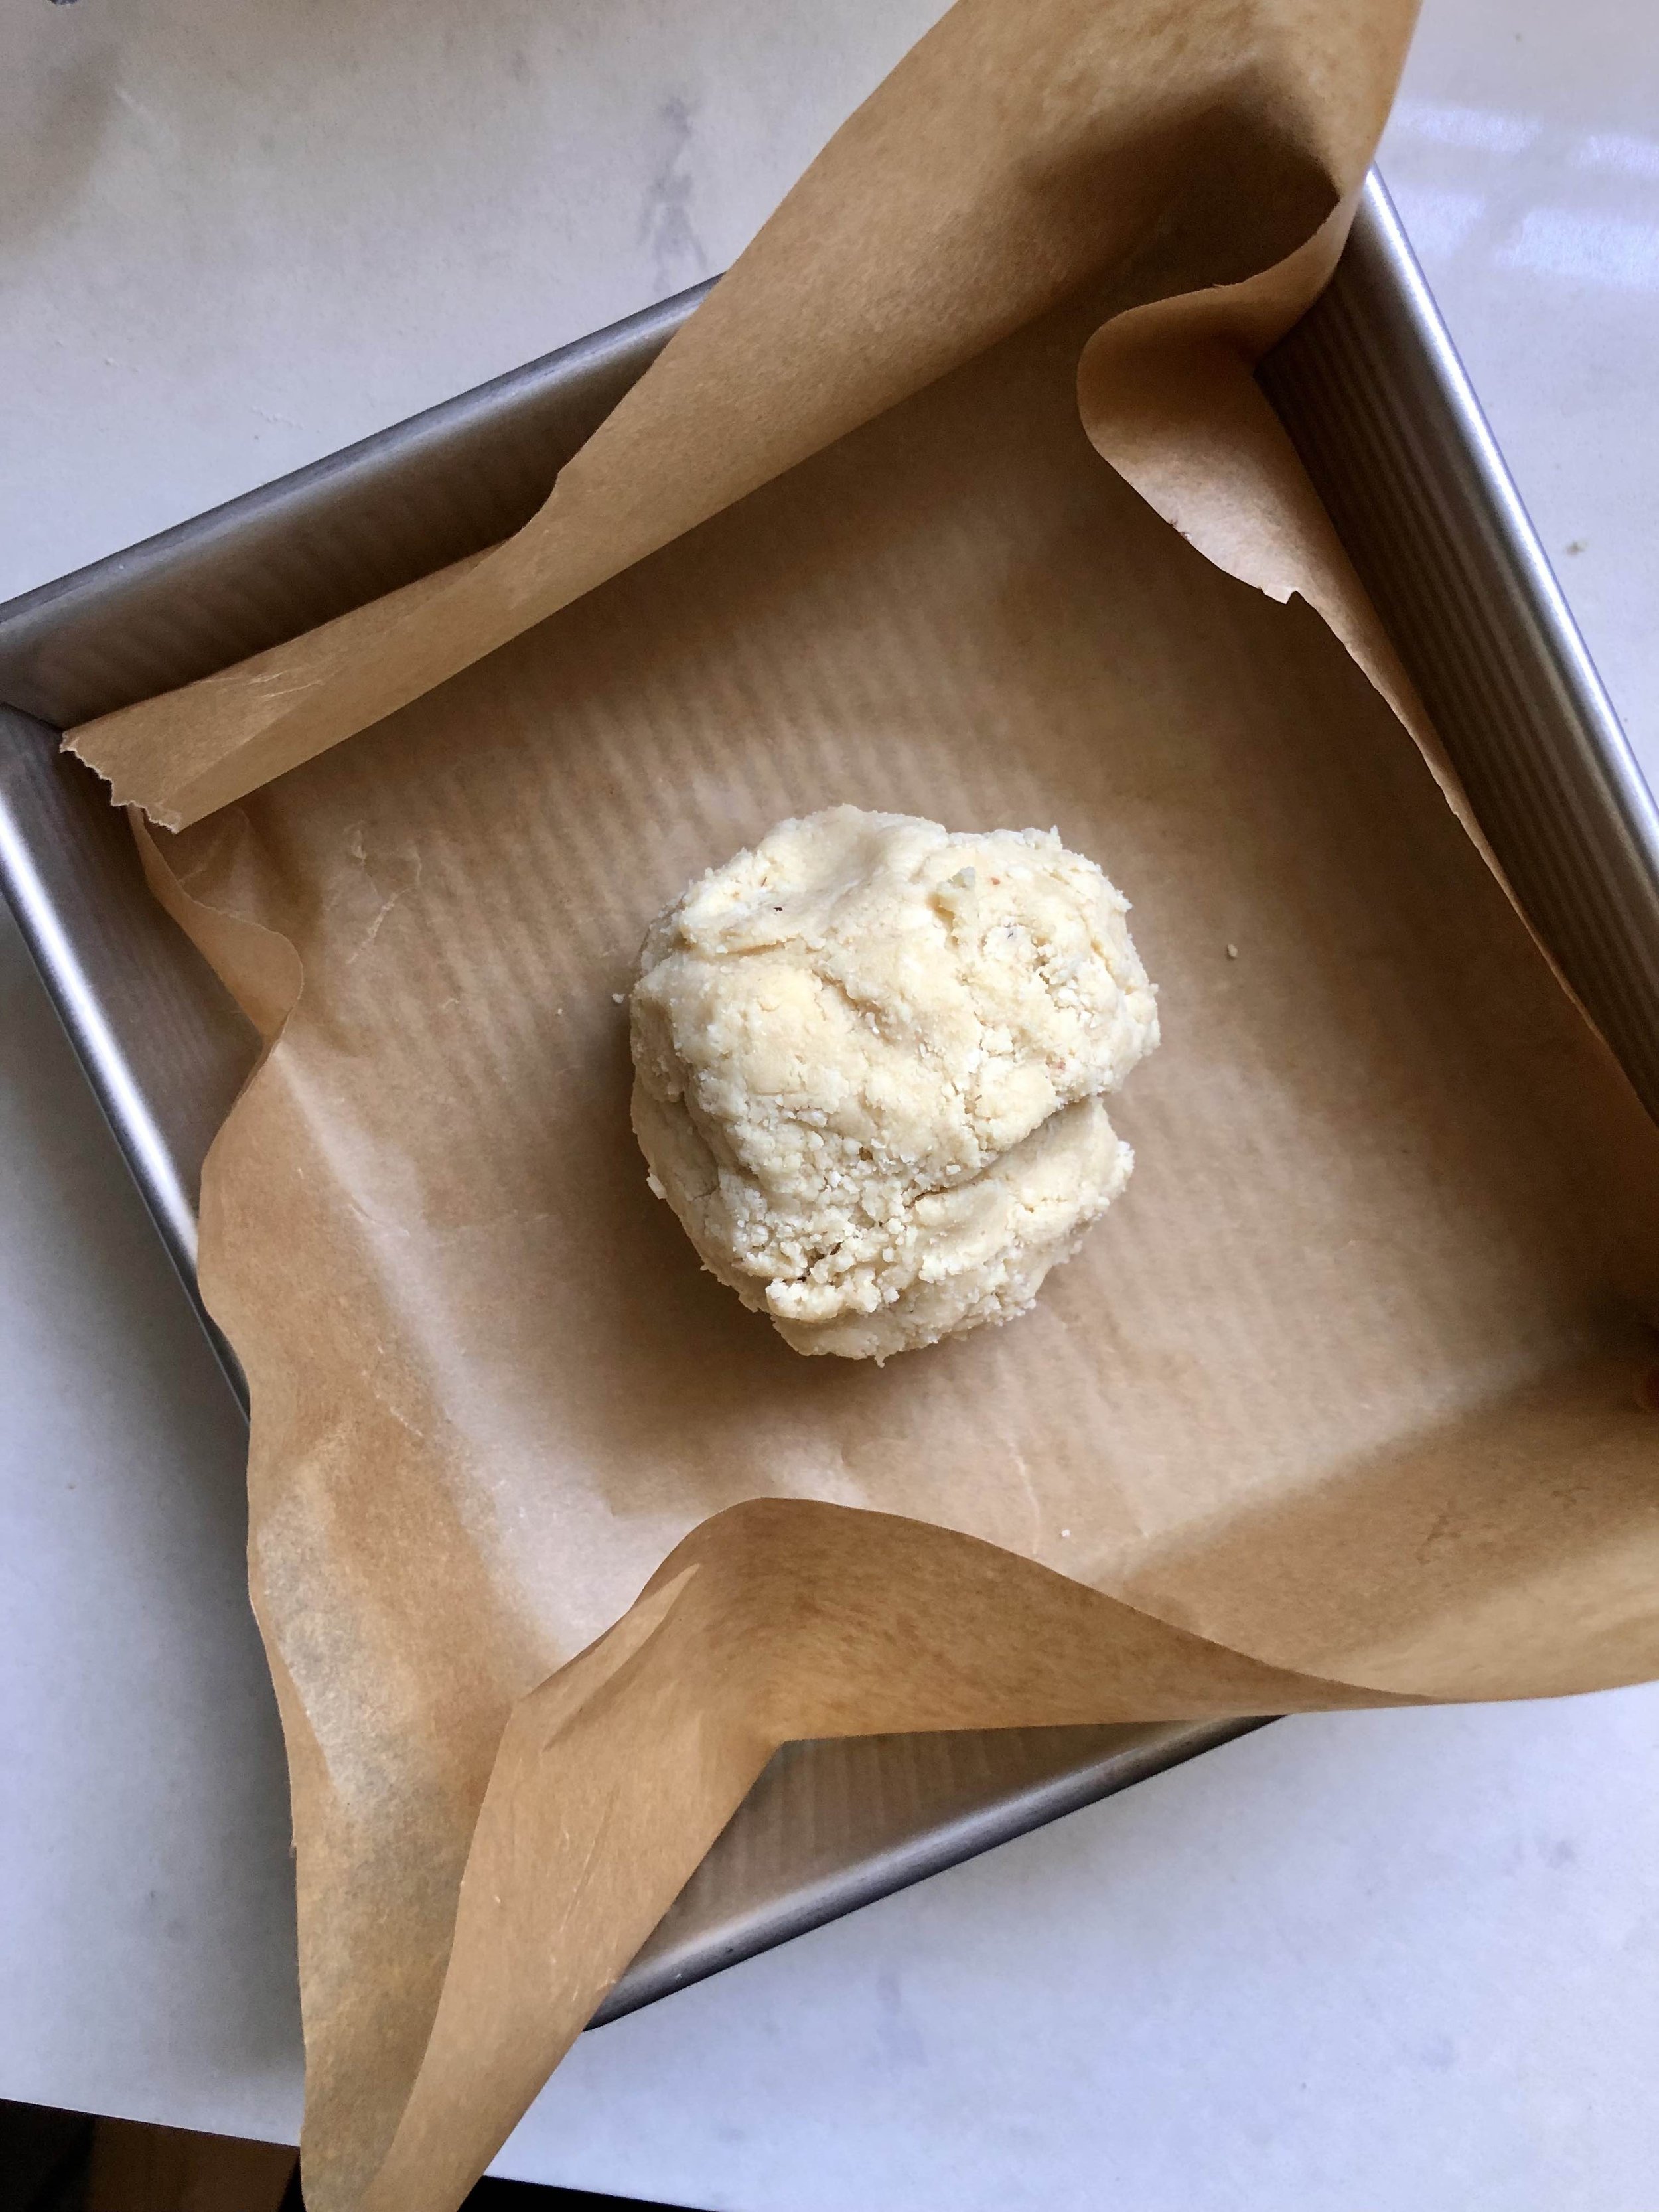
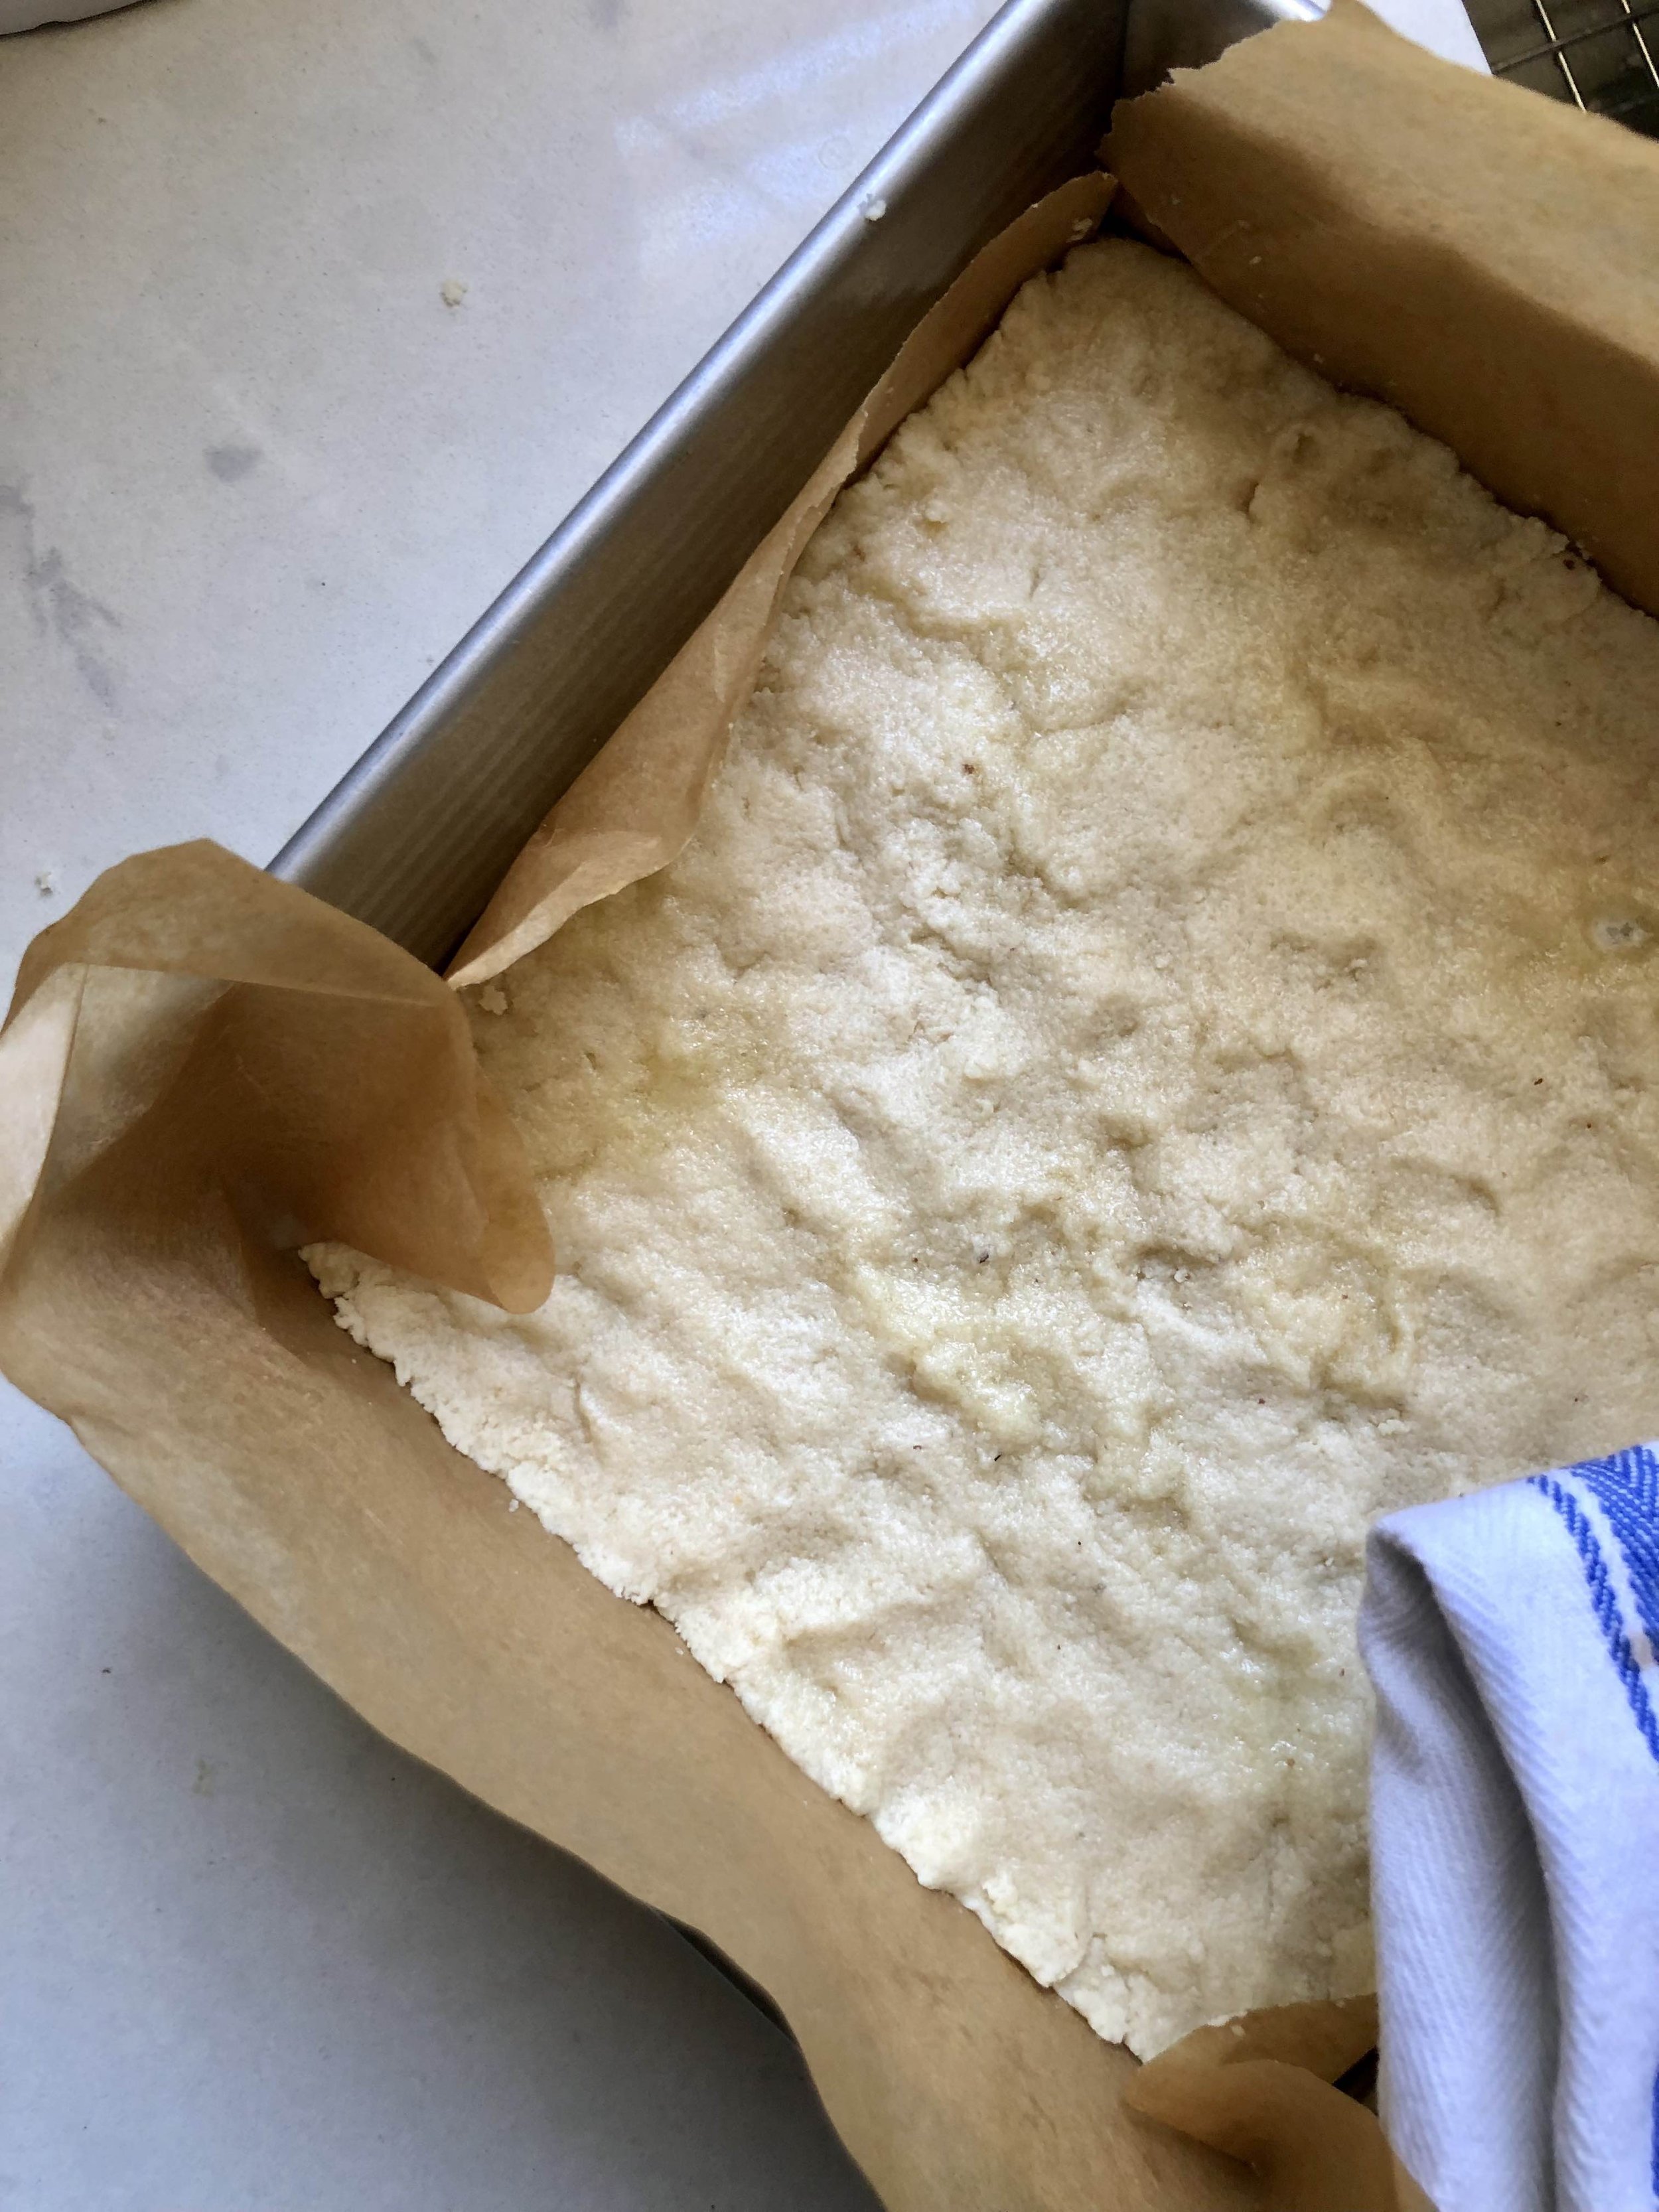
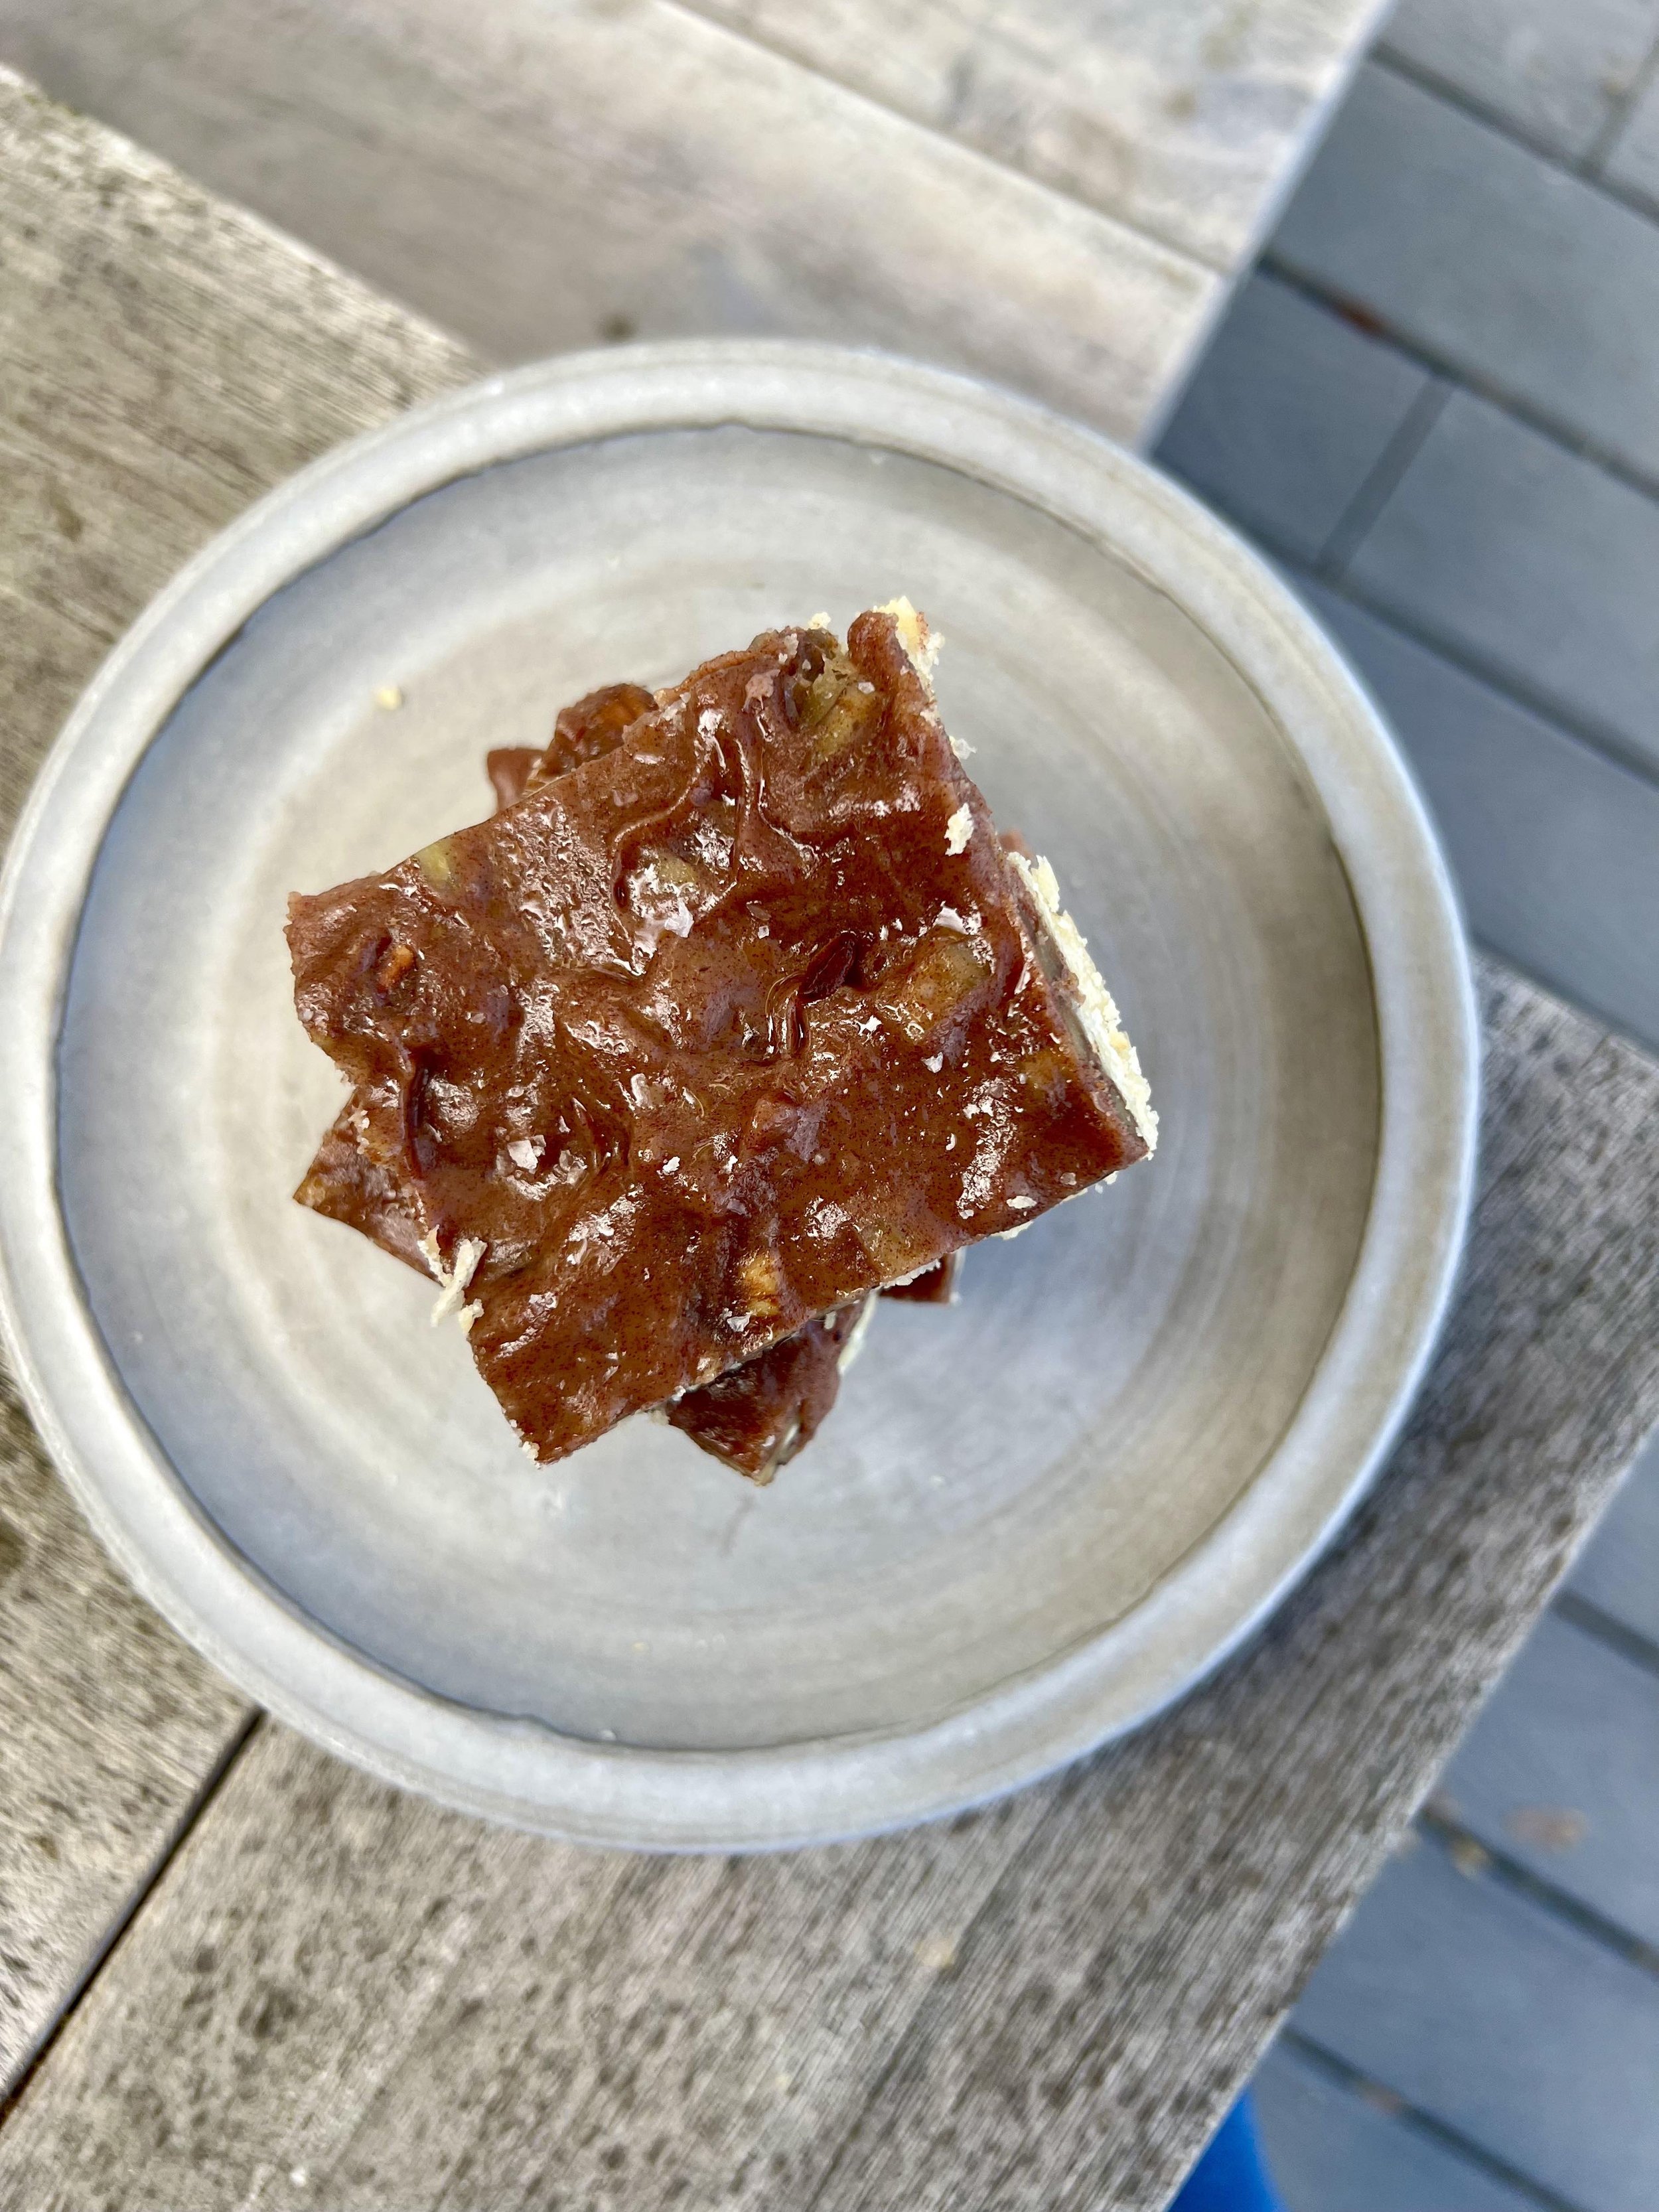
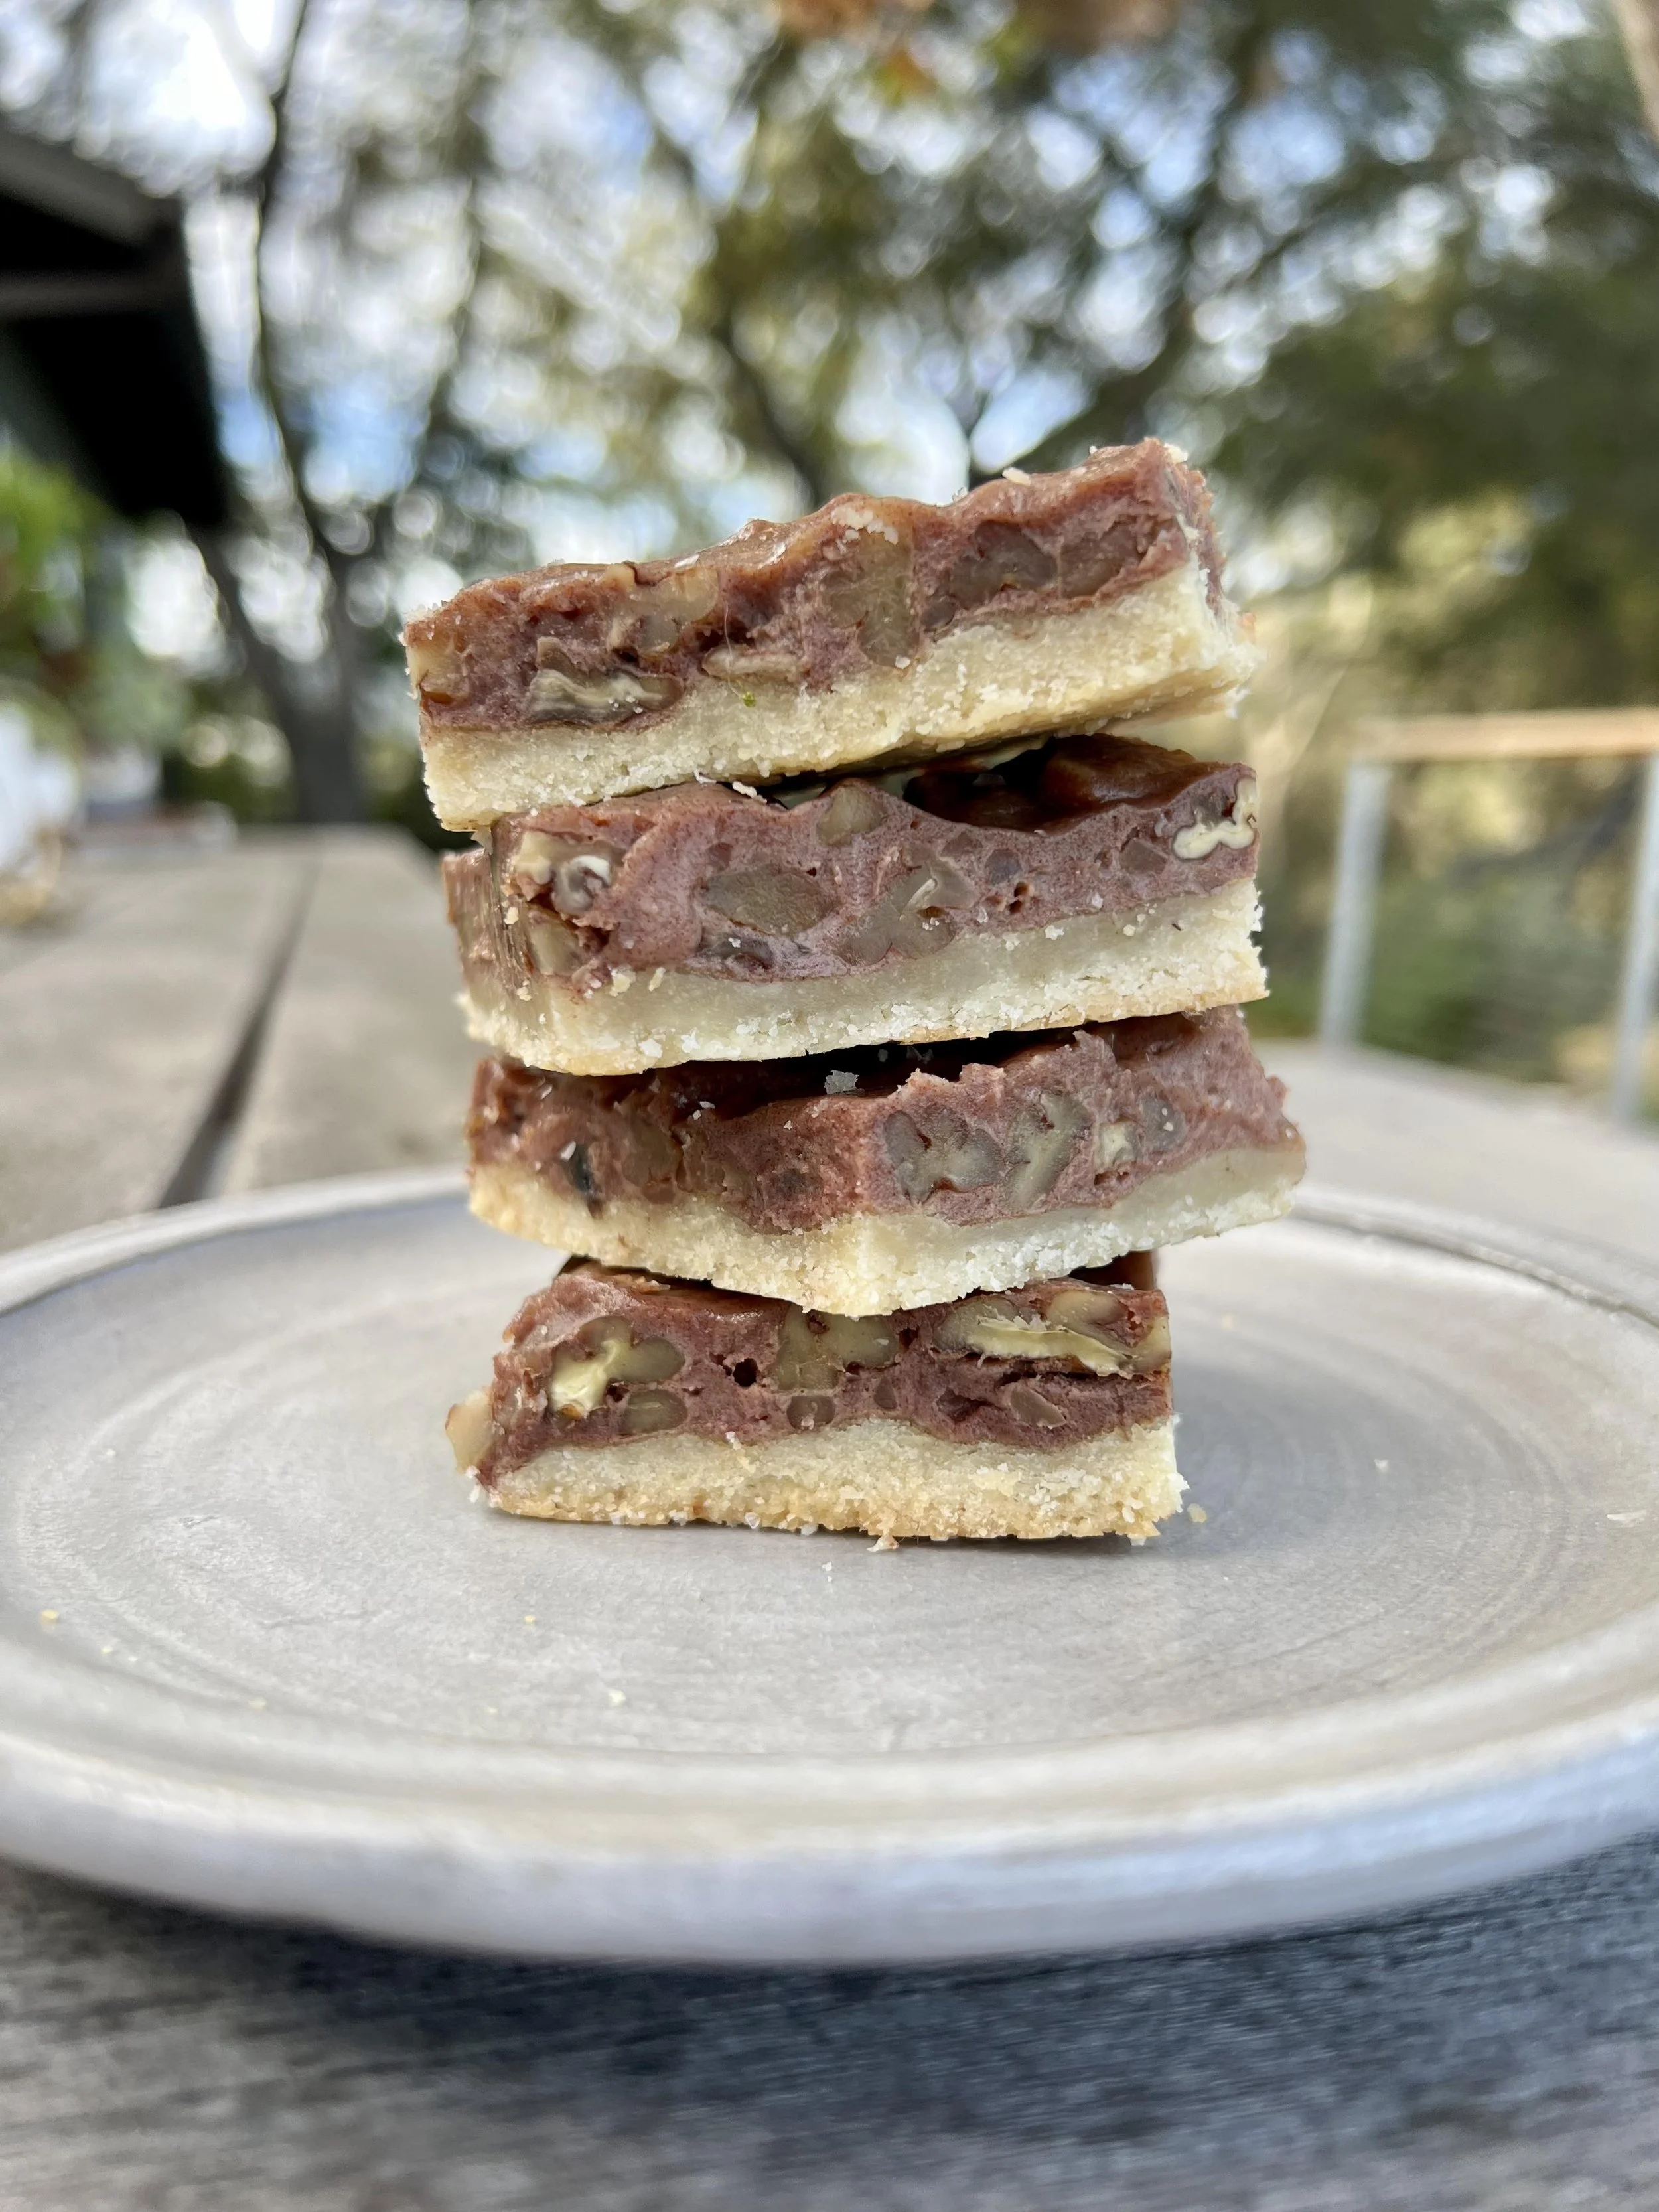
I can’t believe the holiday season is soon upon us. This year has really flown by! One of the first things that comes to mind when I think holidays is holiday baking! From festive pies at Thanksgiving to cookie exchanges at Christmas, I’m truly here for it all! Pecan pie is a southern fave for good reason- that gooey caramelized filling, with candied pecans, and a buttery shortbread crust is hard to beat. But to be honest, many pecan pies can be sickeningly sweet, and I’m not a huge fan of the corn syrup filling that is traditionally used. I also understand pies can be a bit of an overwhelming undertaking, and so I love the approach of somewhat more casual pecan pie bars! These in particular are made with a coconut milk and date filling, along with a butter and almond flour based crust. Plus lots of gooey pecans!

These are equally as delicious as their pie-counterpart, but can be eaten with your hands! Served in a bowl topped with a big scoop of ice cream ain’t bad either, just sayin’. My bestie Rachel Mcconn at Rachel Mcconn Wellness (who I’ve baked with before & also loves a good sweet treat) developed this grain, gluten, and refined sugar- free pecan pie bar recipe, and asked me to test out the recipe for her. Okay, fine, twist my arm ;) These turned out super tasty- not to mention made the house smell absolutely fantastic- and I think they’d make a perfect addition to any holiday table. She has offered to share the recipe with my readers- so head on over to her site for the recipe! As always with RMW recipes, these are free of all gluten, grains, and refined sugars, so those with any allergies or restrictions can still indulge freely as well. Hope you enjoy, and happy holidays!


superfood green smoothie

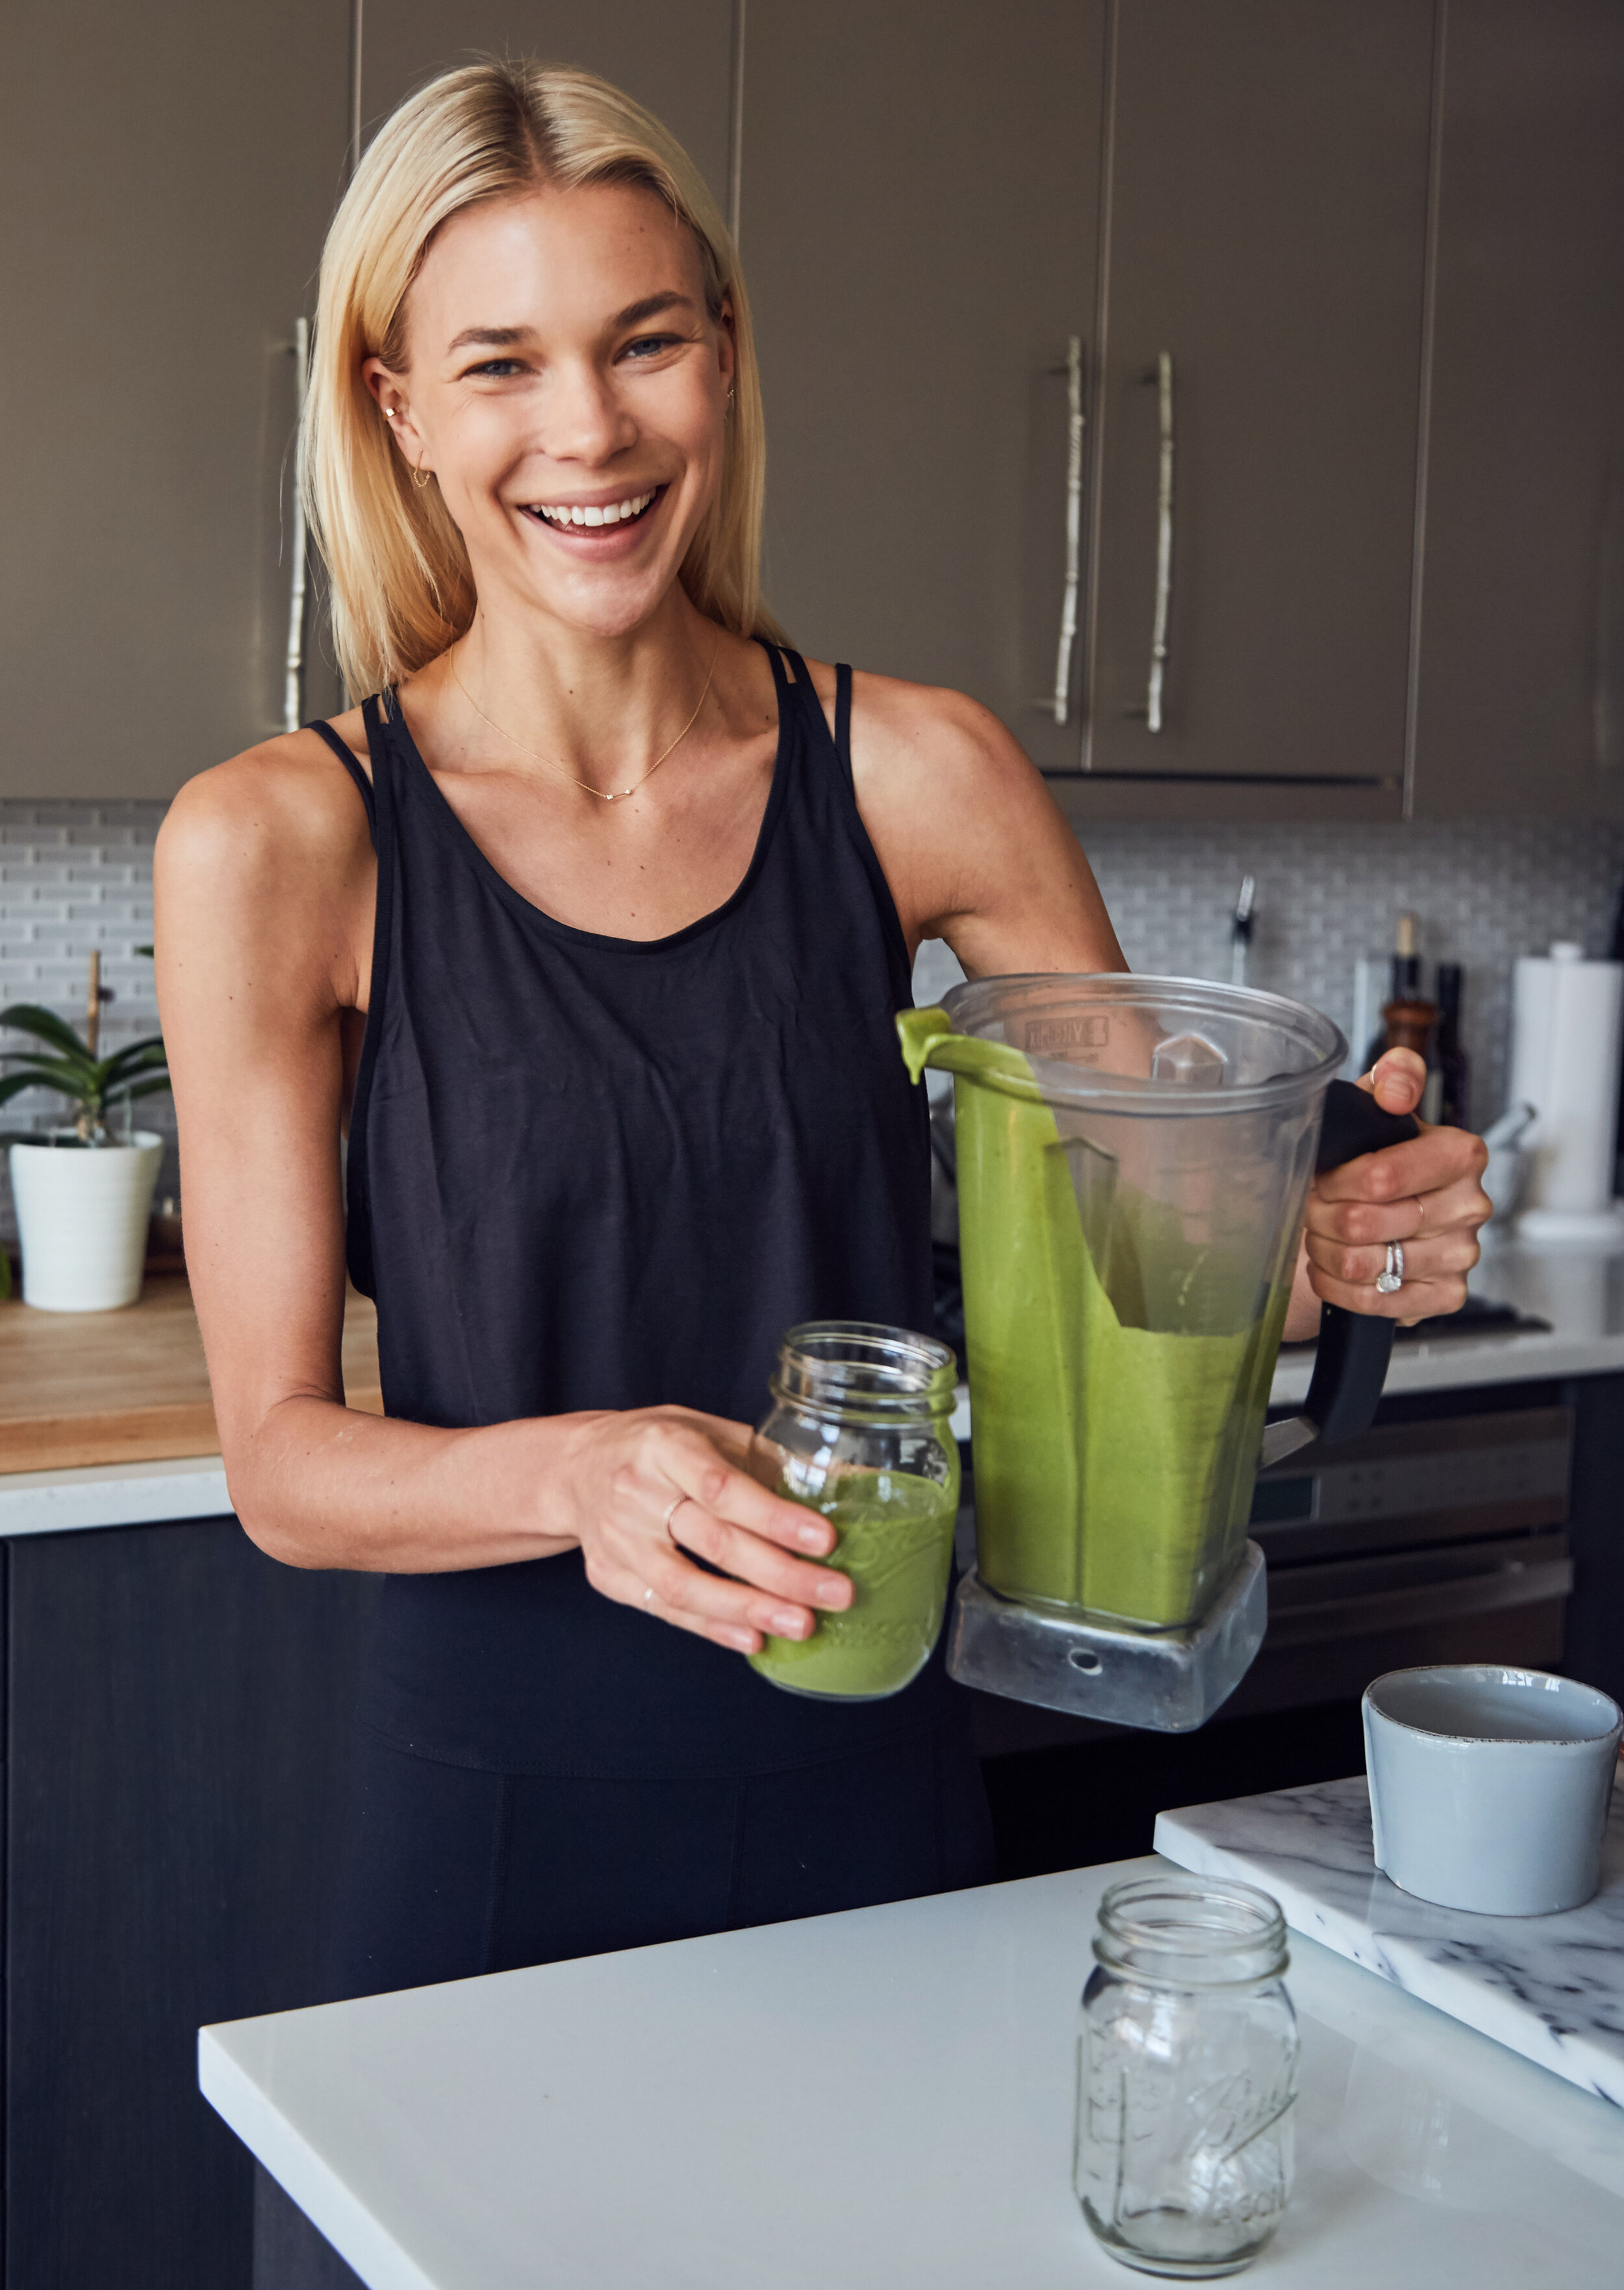
I love smoothies- for one, they’re delicious, but they’re also a great way to pack a bunch of nutritional ingredients into your diet in a jiffy! Plus they’re oh so refreshing any time of year. My superfood green smoothie boasts an exceptionally healthy profile thanks to fresh greens & spirulina, chia & flax seeds, plus fresh ginger & medjool dates, among other things. It not only tastes delicious, but is uber nourishing for your body as well. It’s perfect for those days when you feel you need some extra “health” in your life- maybe you’ve been noshing on a bit too much sourdough bread or pasta, and need to up your greens game, stat! Not to mention, it’s a great way to sneak veggies into your toddler’s diet if they’ve started to become a bit, ahem, particular…. Superfood smoothie to the rescue! I find smoothie recipes to be pretty forgiving, so feel free to make swaps and use what you have on hand. This one gets the majority of its sweetness from fresh fruit, but feel free to add a couple medjool dates or a spoonful of honey if you prefer things a bit sweeter. If I want to up my protein game, adding a serving of Sakara Organic Protein & Greens Super Powder to my smoothie to really kick things up a notch. I like my smoothies on the thicker side, where you could eat it out of a bowl with a spoon if you feel so inclined. But my husband, on the other hand, prefers a much thinner, easy-drinking smoothie, so feel free to add as much liquid as you prefer to get to your desired consistency. I’m happy to say that this smoothie satisfies not only myself, but also my husband AND baby! Winning! If you’re jonesing for more smoothies, definitely try my matcha coconut smoothie and turmeric sunrise smoothie as well! Enjoy :)

Superfood Green Smoothie:

  • 1.5 cups frozen banana slices

  • 1.5 cups frozen pineapple chunks

  • 2 cups almond milk (add more as needed)

  • 1 cup coconut water (or water)

  • 1/2 cup greek yogurt (or coconut yogurt)

  • 2 cup fresh or frozen greens (spinach or kale)

  • 1/2 cup fresh or frozen veggies (cucumber, cauliflower, carrot)

  • 1-2 tbsp nut butter (I like Nuttzo!)

  • 2 tbsp chia, flax, and/or hemp seeds (mix it up!)

  • 1 small nub fresh ginger, peeled

  • 1 tsp spirulina, optional

  • 1 serving protein powder (I like Sakara!), optional

  • 2 medjool dates (pitted) or 1 tbsp raw honey

  • ice, optional

To make your smoothies, add all ingredients to your blender (a high-powered Vitamix works best!) and blend away! Add protein powder for an extra protein boost, and extra dates/honey if you prefer a sweeter smoothie. More milk or water can be added to thin the smoothie to your desired consistency. Makes 2-3 smoothies. Enjoy!

Useful Tools:


tartine bianco

I was so excited when I heard that the Tartine Bakery group was opening here in Los Angeles. I have a huge soft spot for this San Francisco-based restaurant and bakery, so to have one open so close to me was wonderful news. The Manufactory, as its known, is also conveniently located at The Row DTLA, which is a cute open-air facility with plenty of fun shops and restaurants to pop into. Whether you’re in the mood for a more formal sit-down meal, or looking to grab a quick coffee or soft serve to-go, The Manufactory’s got you covered. There’s The Market for tasty flatbreads and specialty food items, The Ice Cream & Coffee Window for drinks, baked goods and ice cream, Tartine Bianco serving seasonal Cali-Italian cuisine, and finally Alameda Supper Club for a more elevated private dining experience. All of that housed under one roof! The space itself is beautiful too- huge windows that allow light to flood in at all hours of the day- with a super modern, industrial feel, and a large, shared open kitchen.

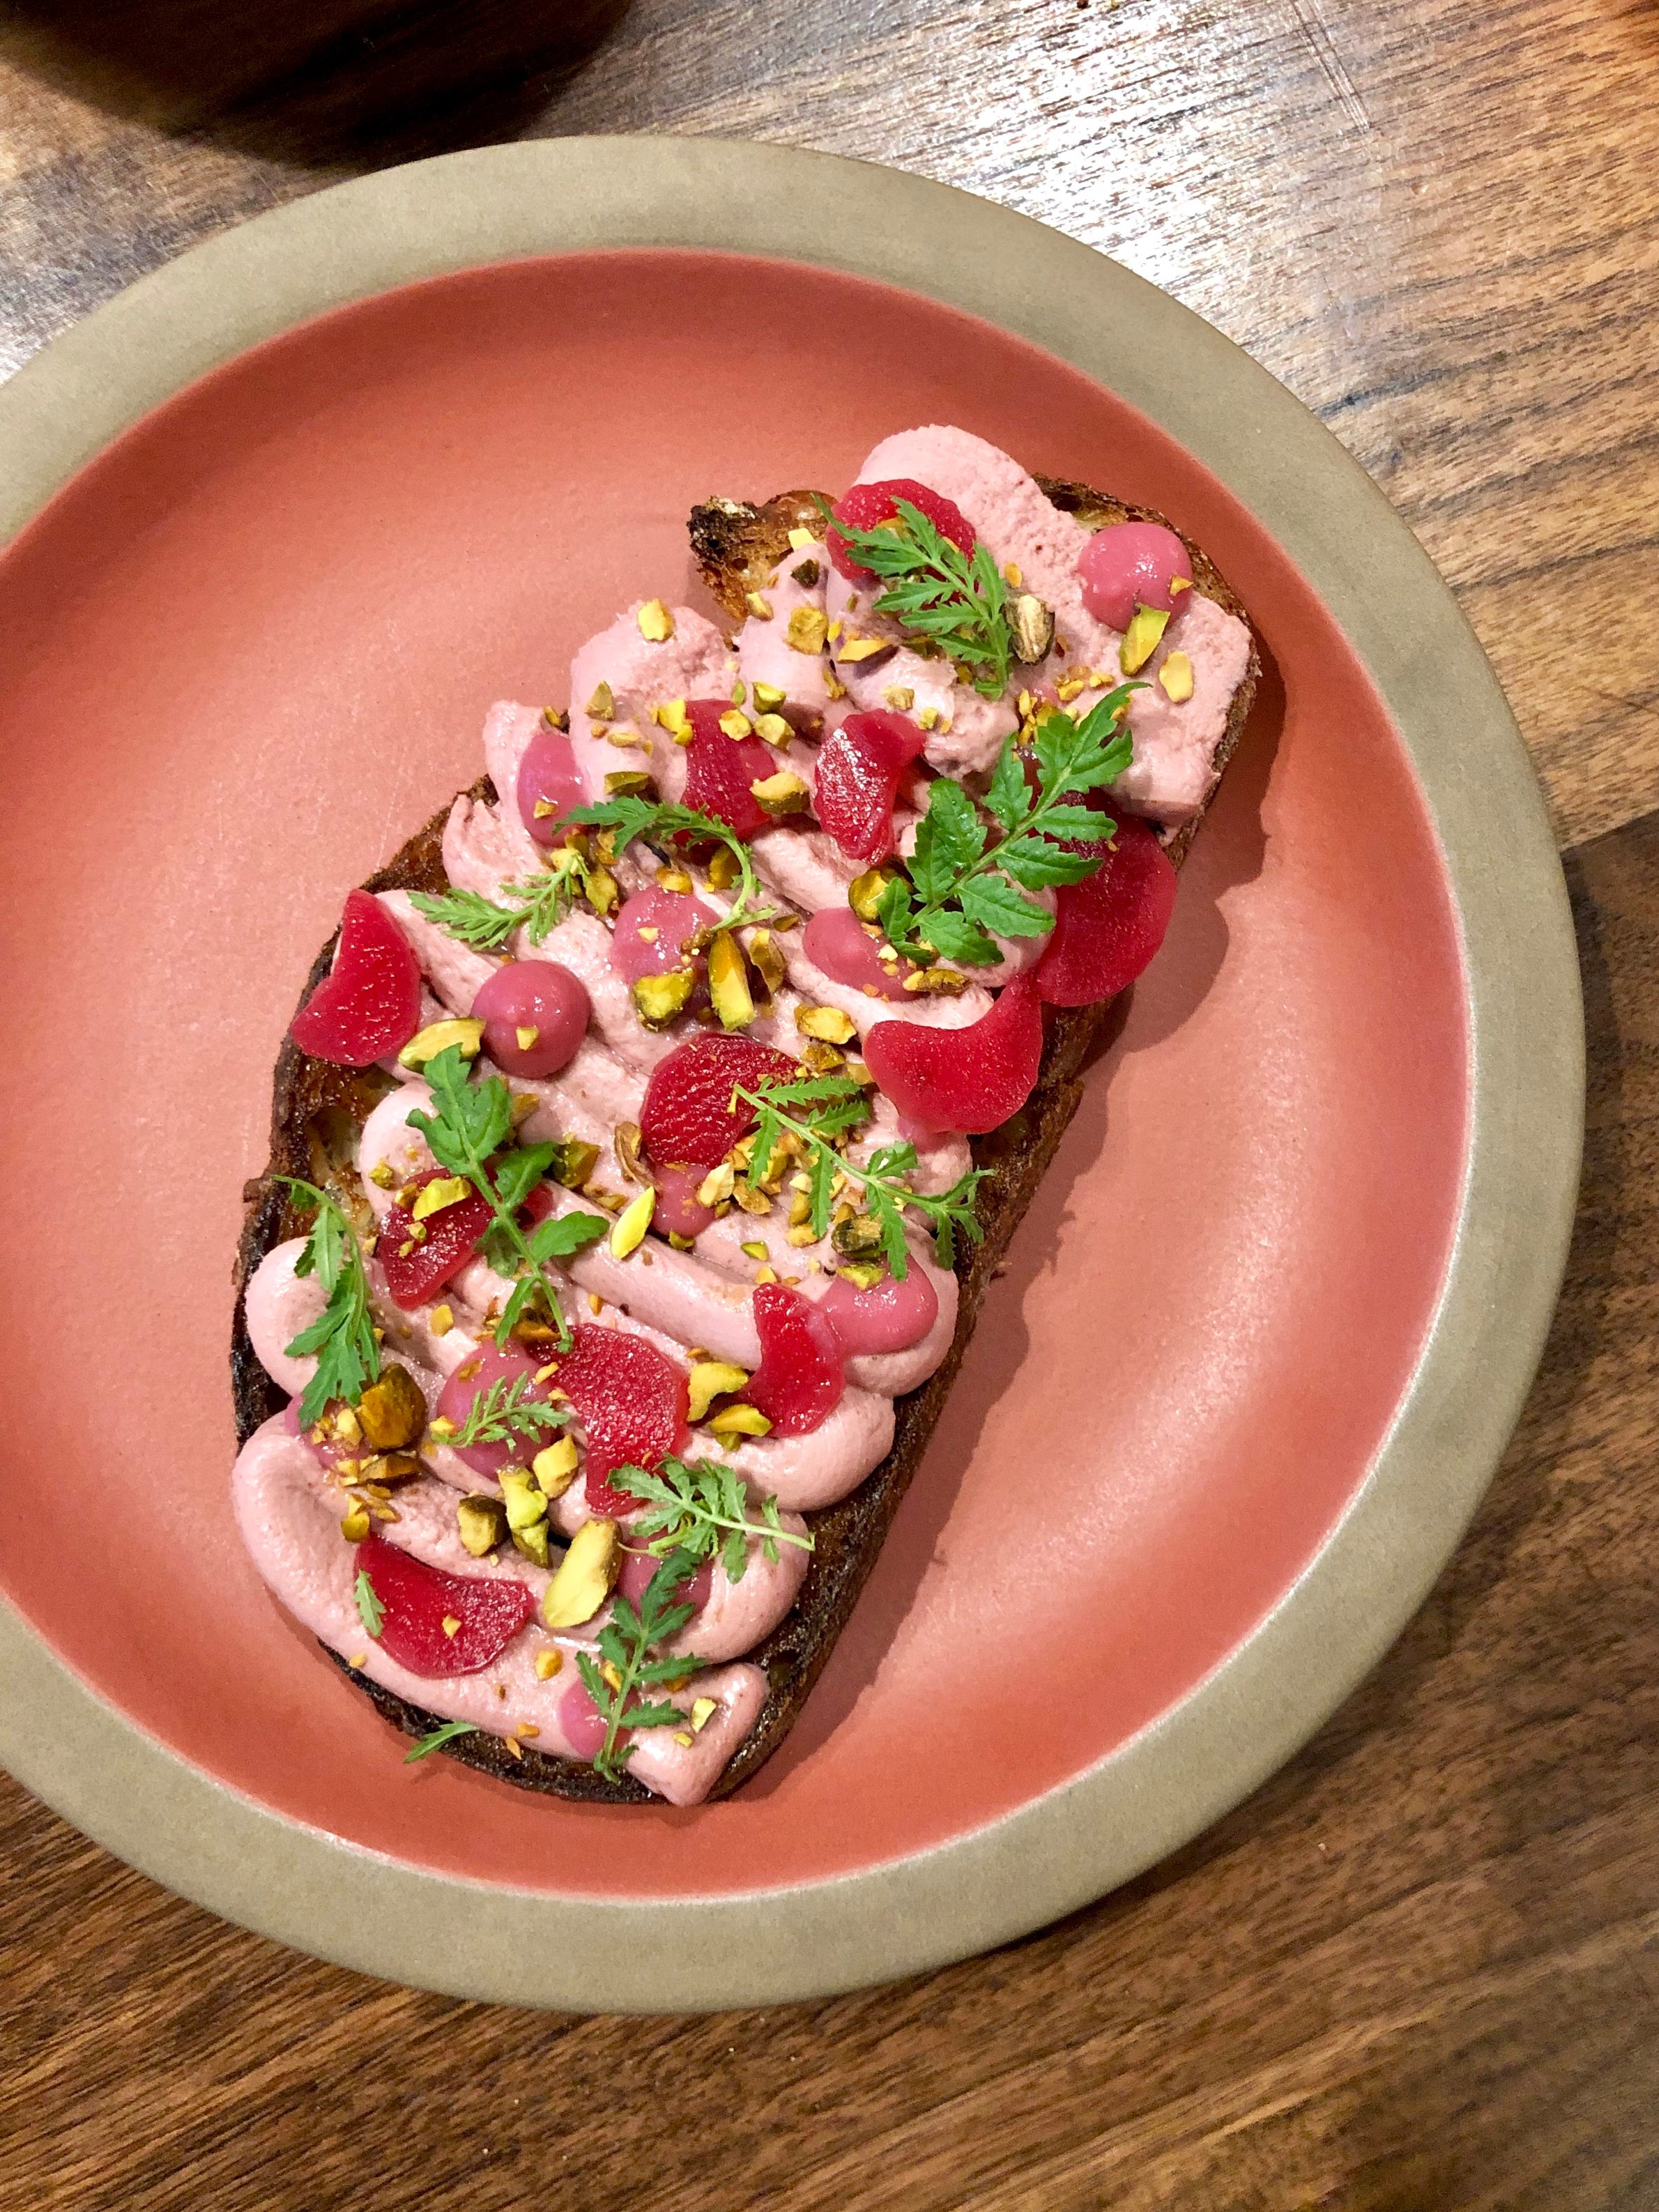
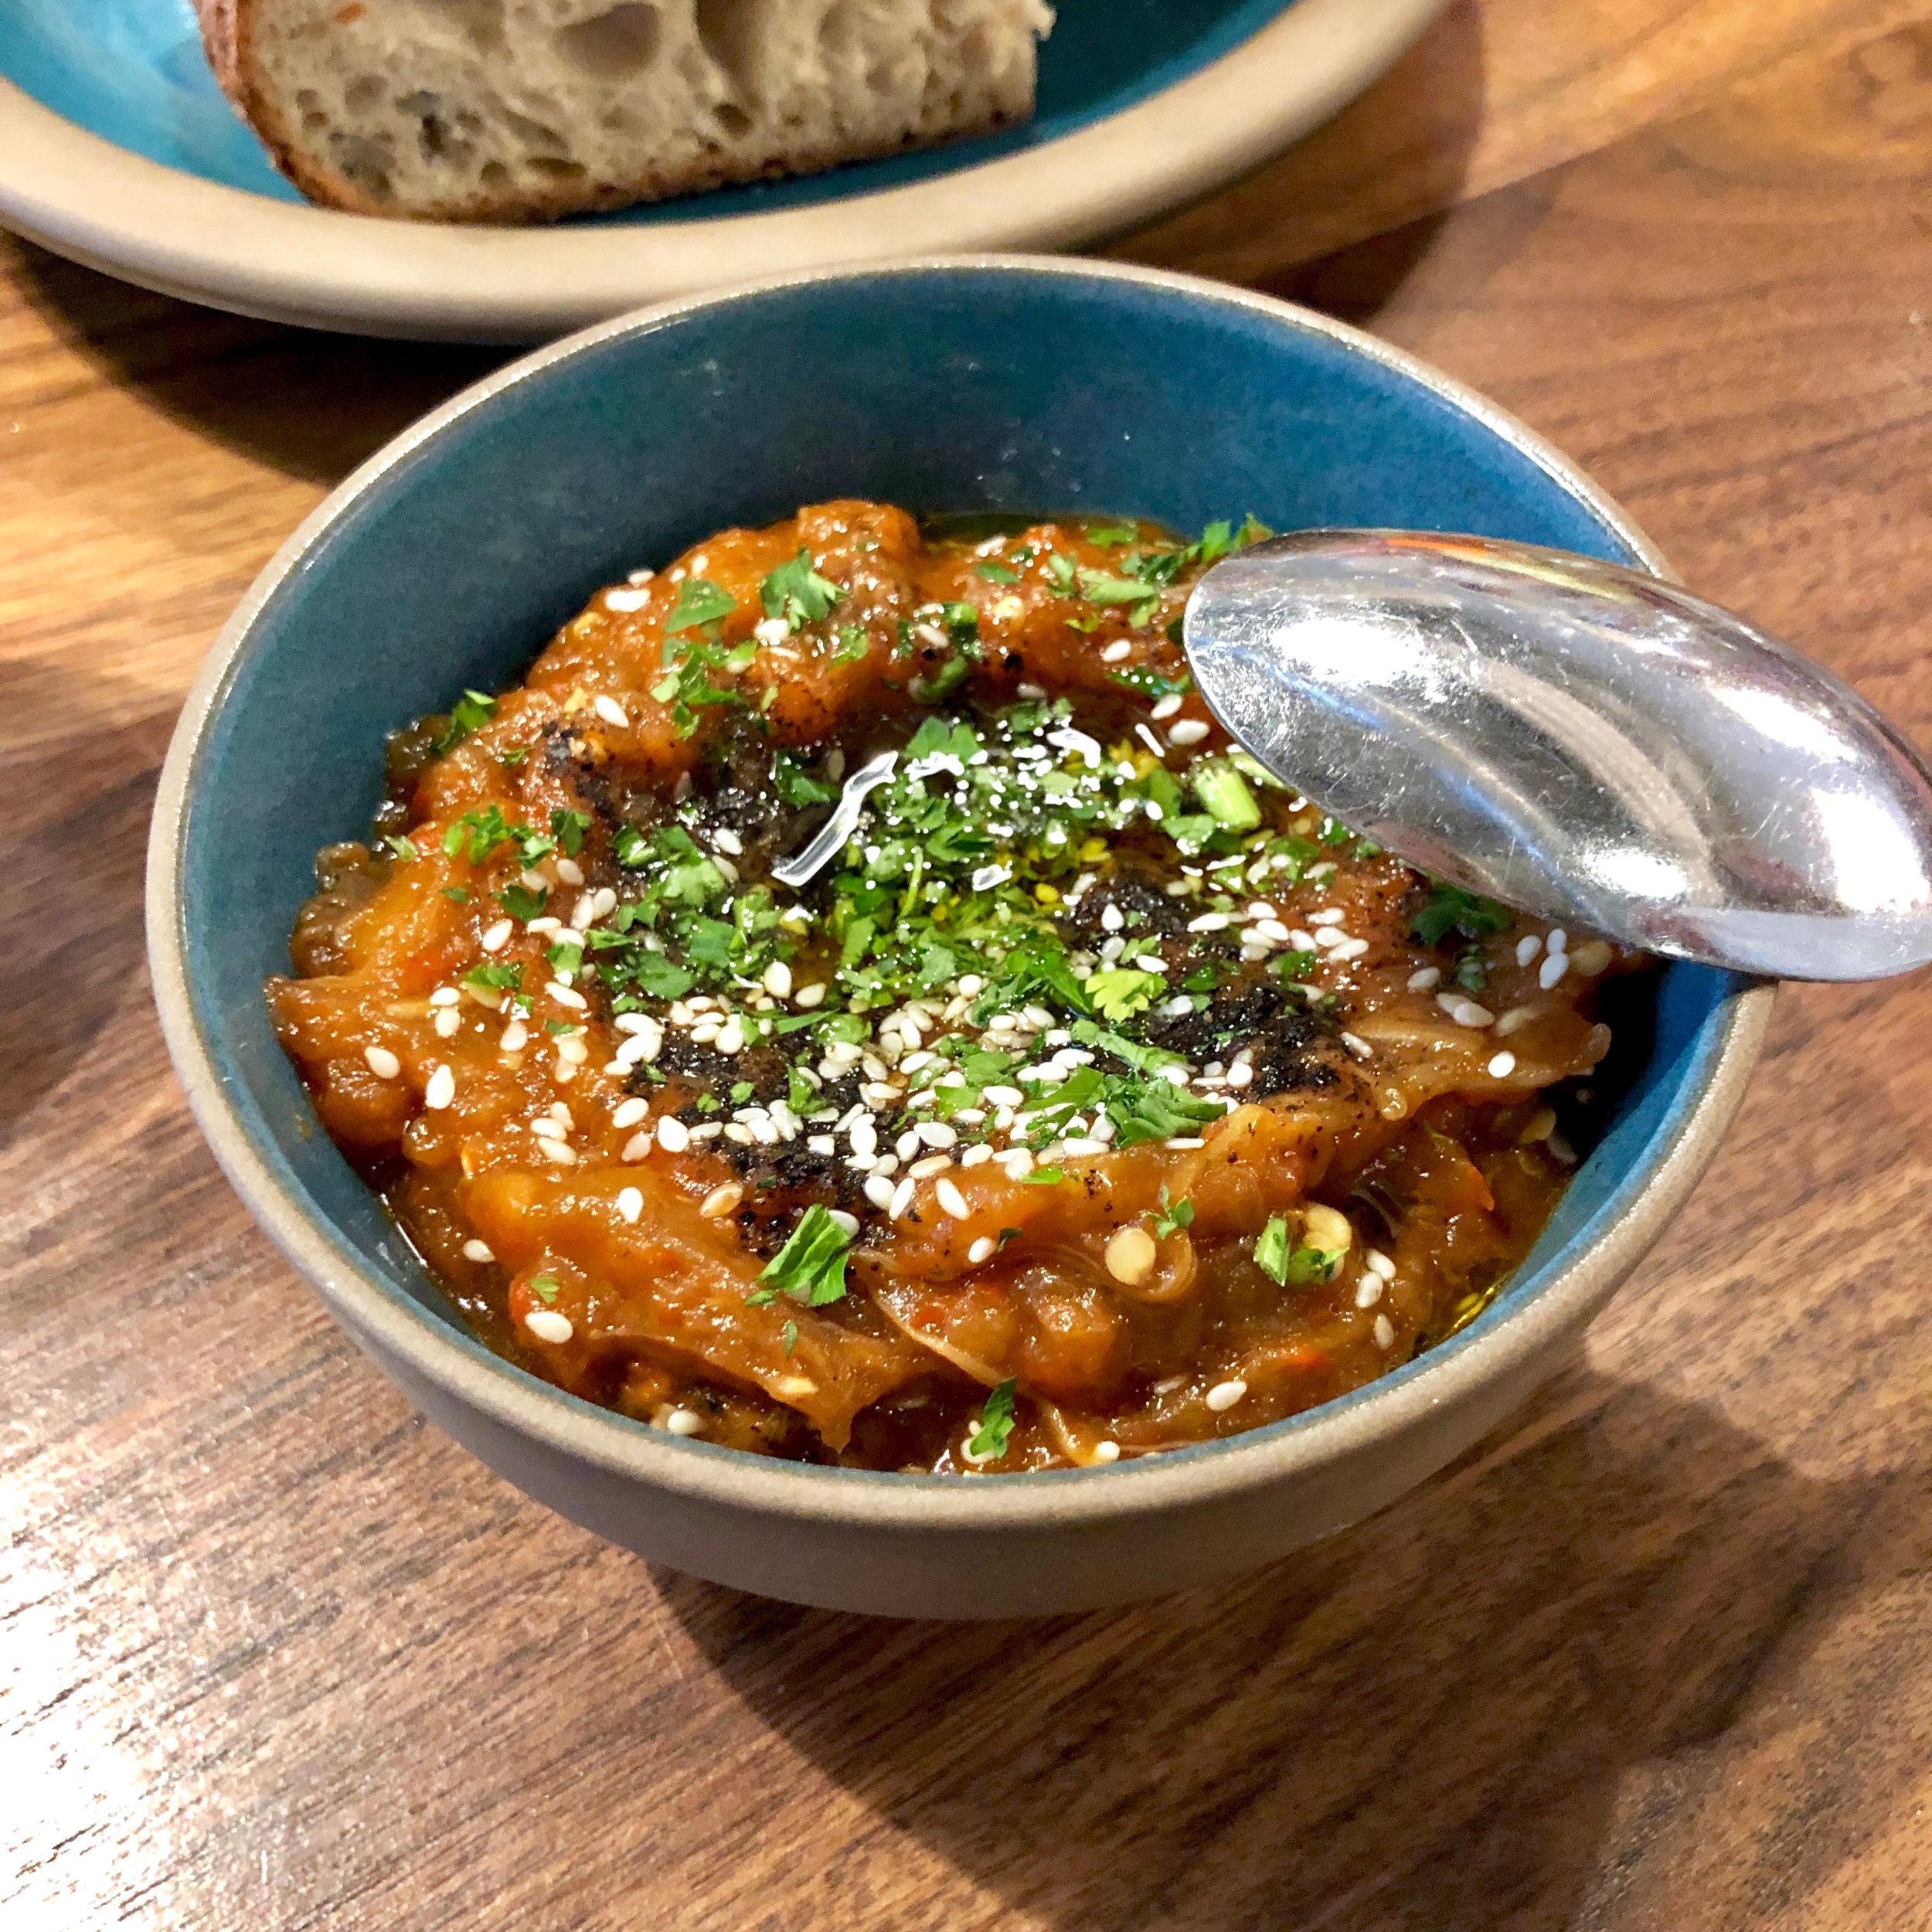
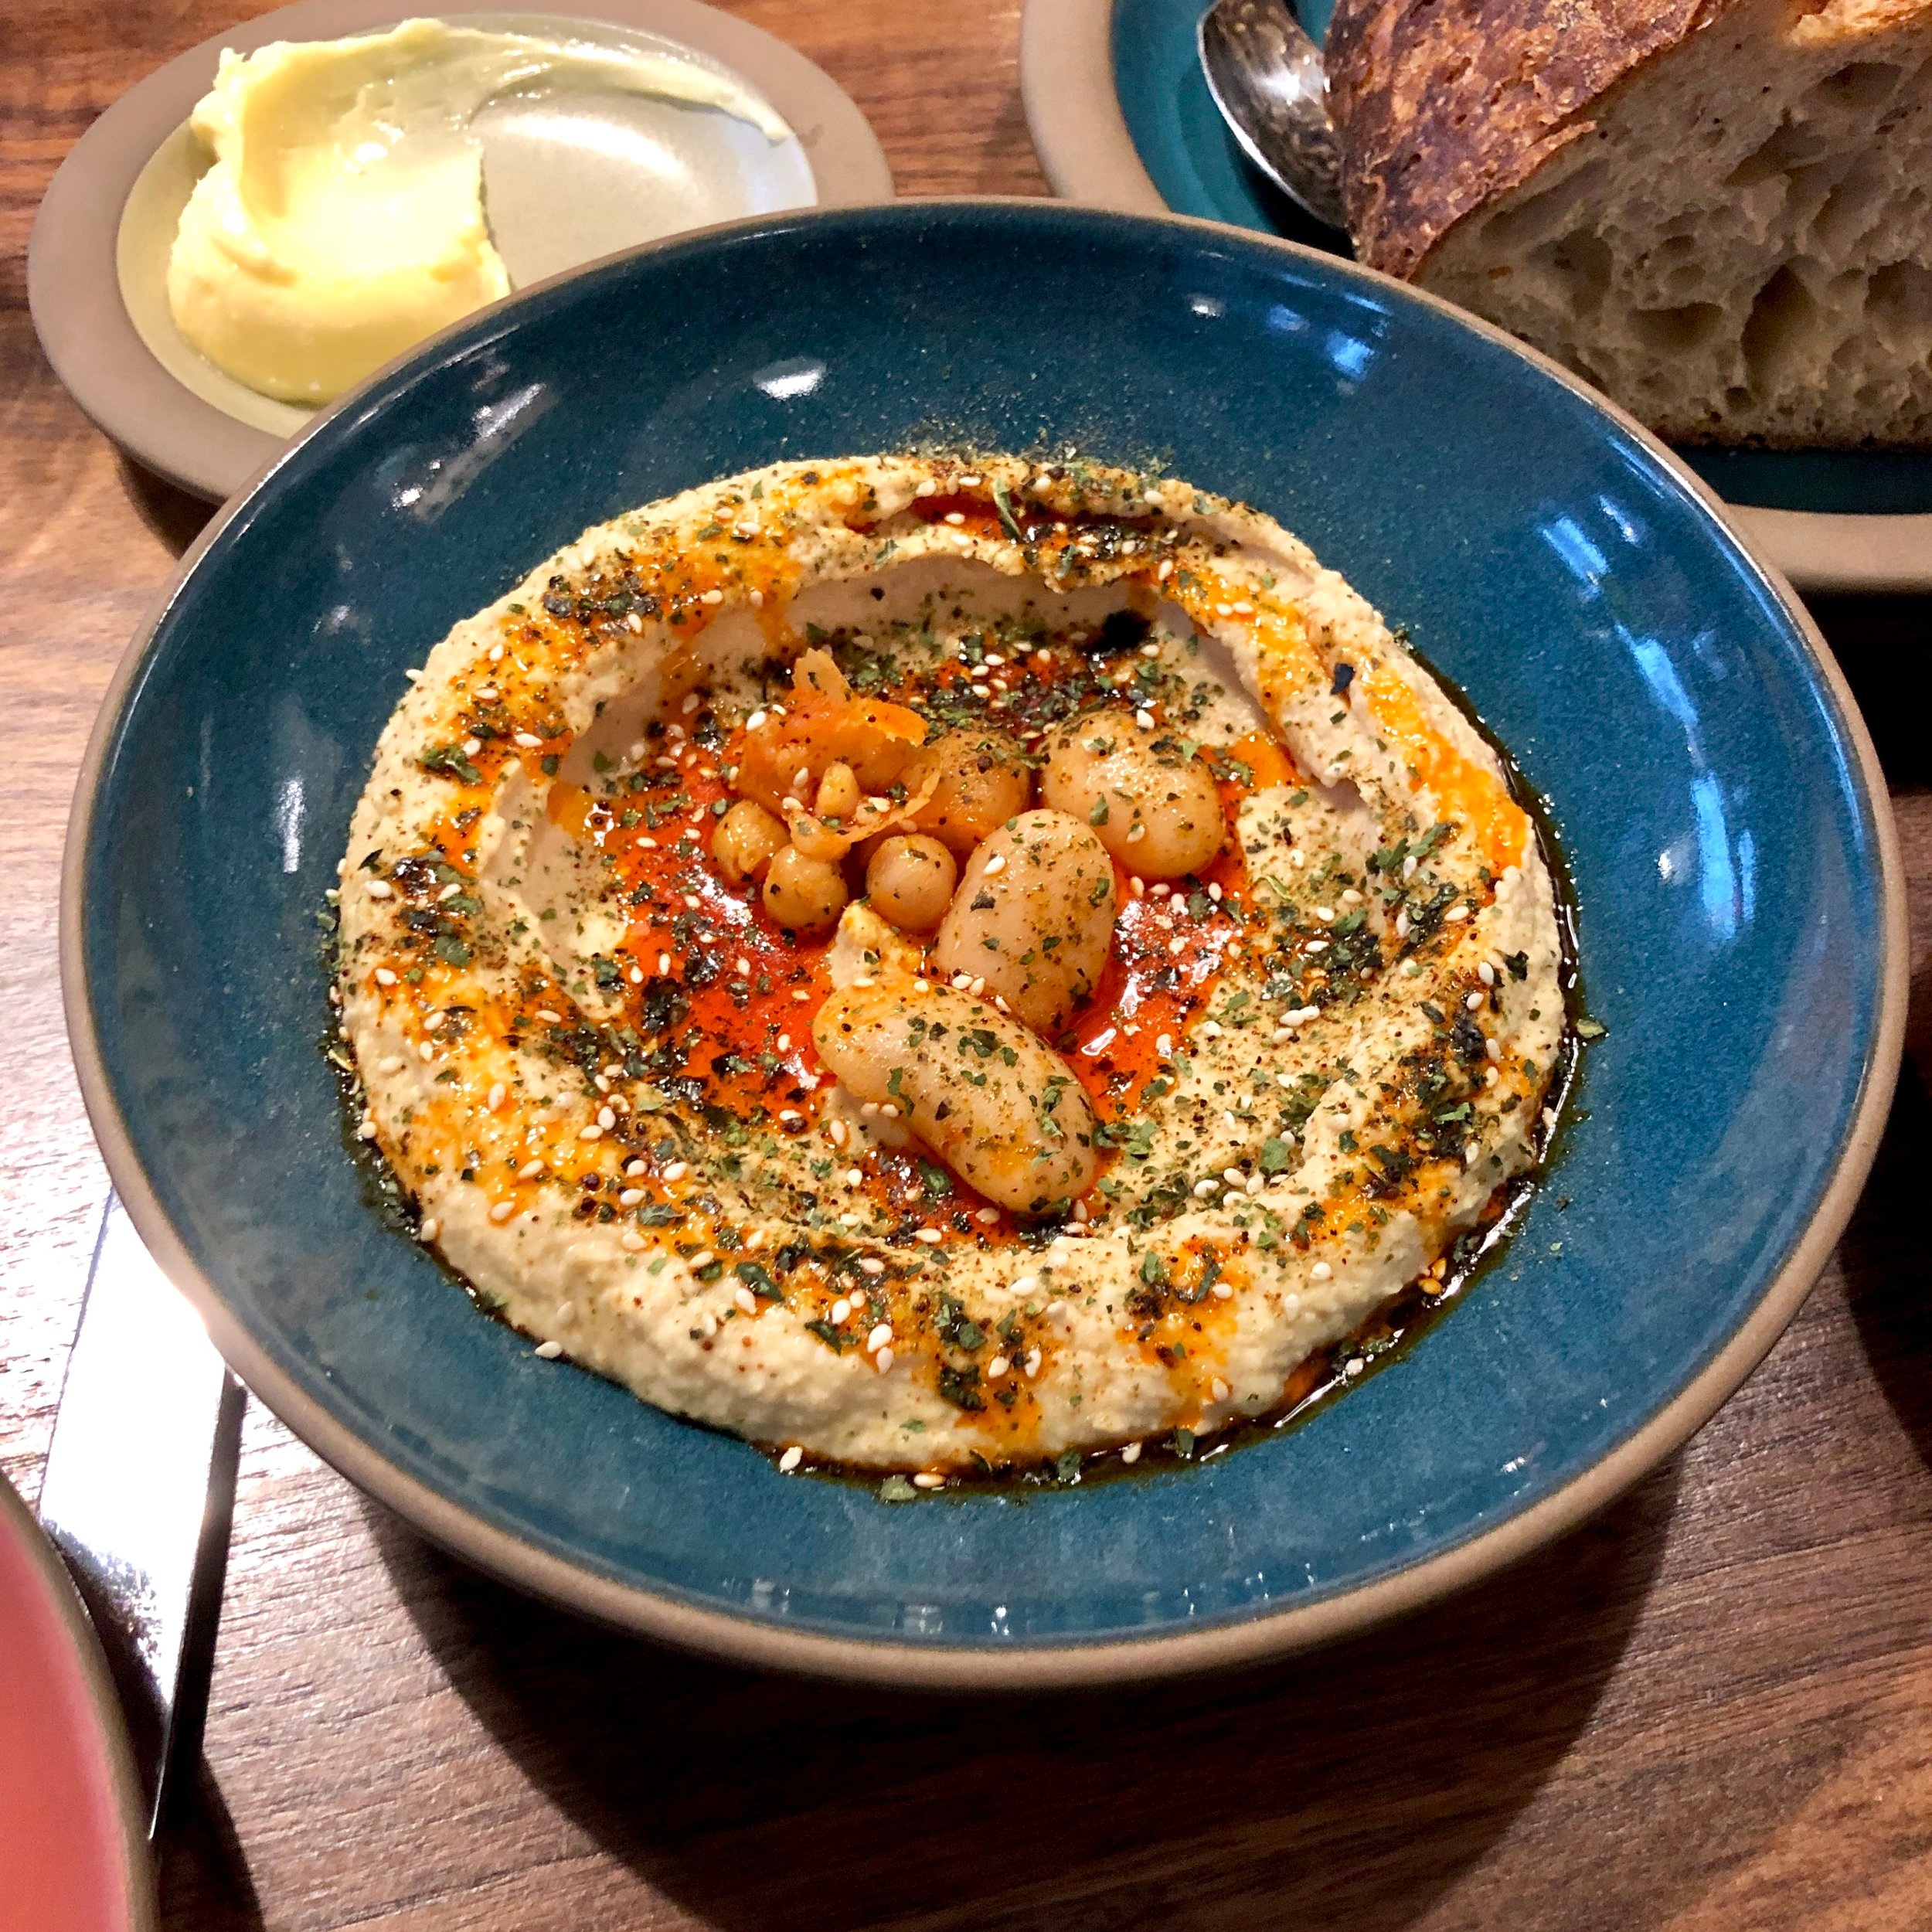
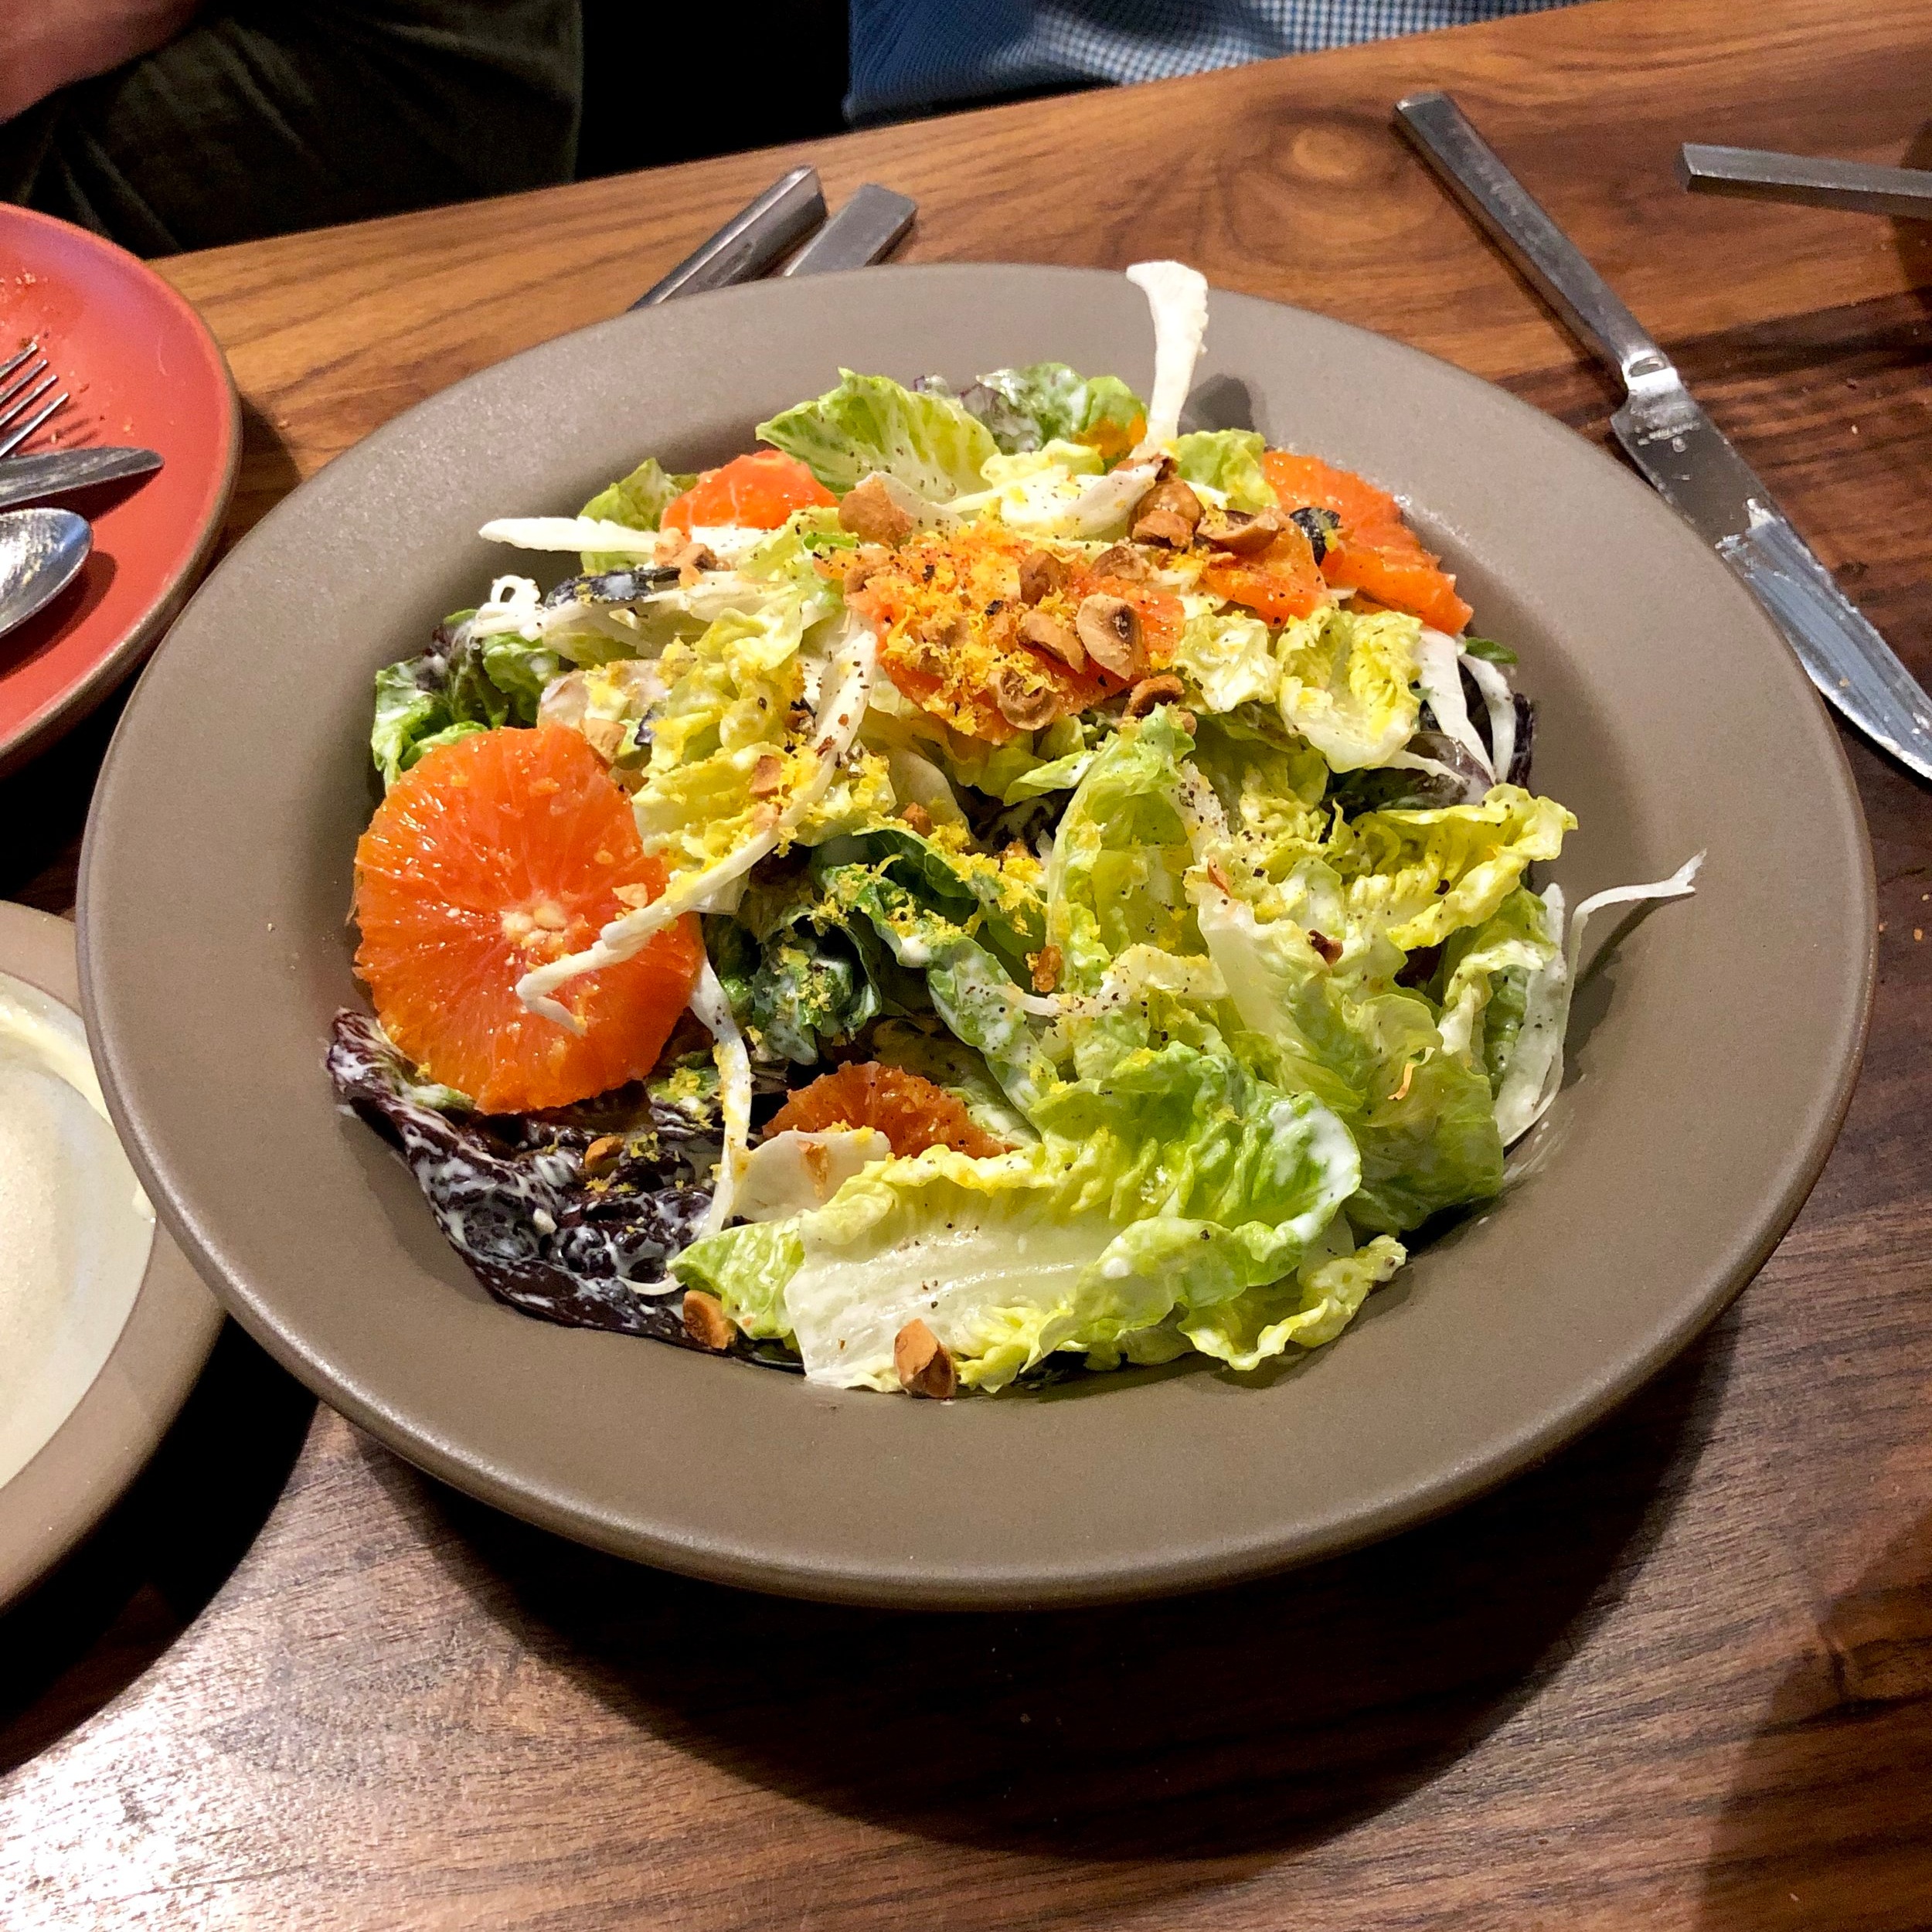
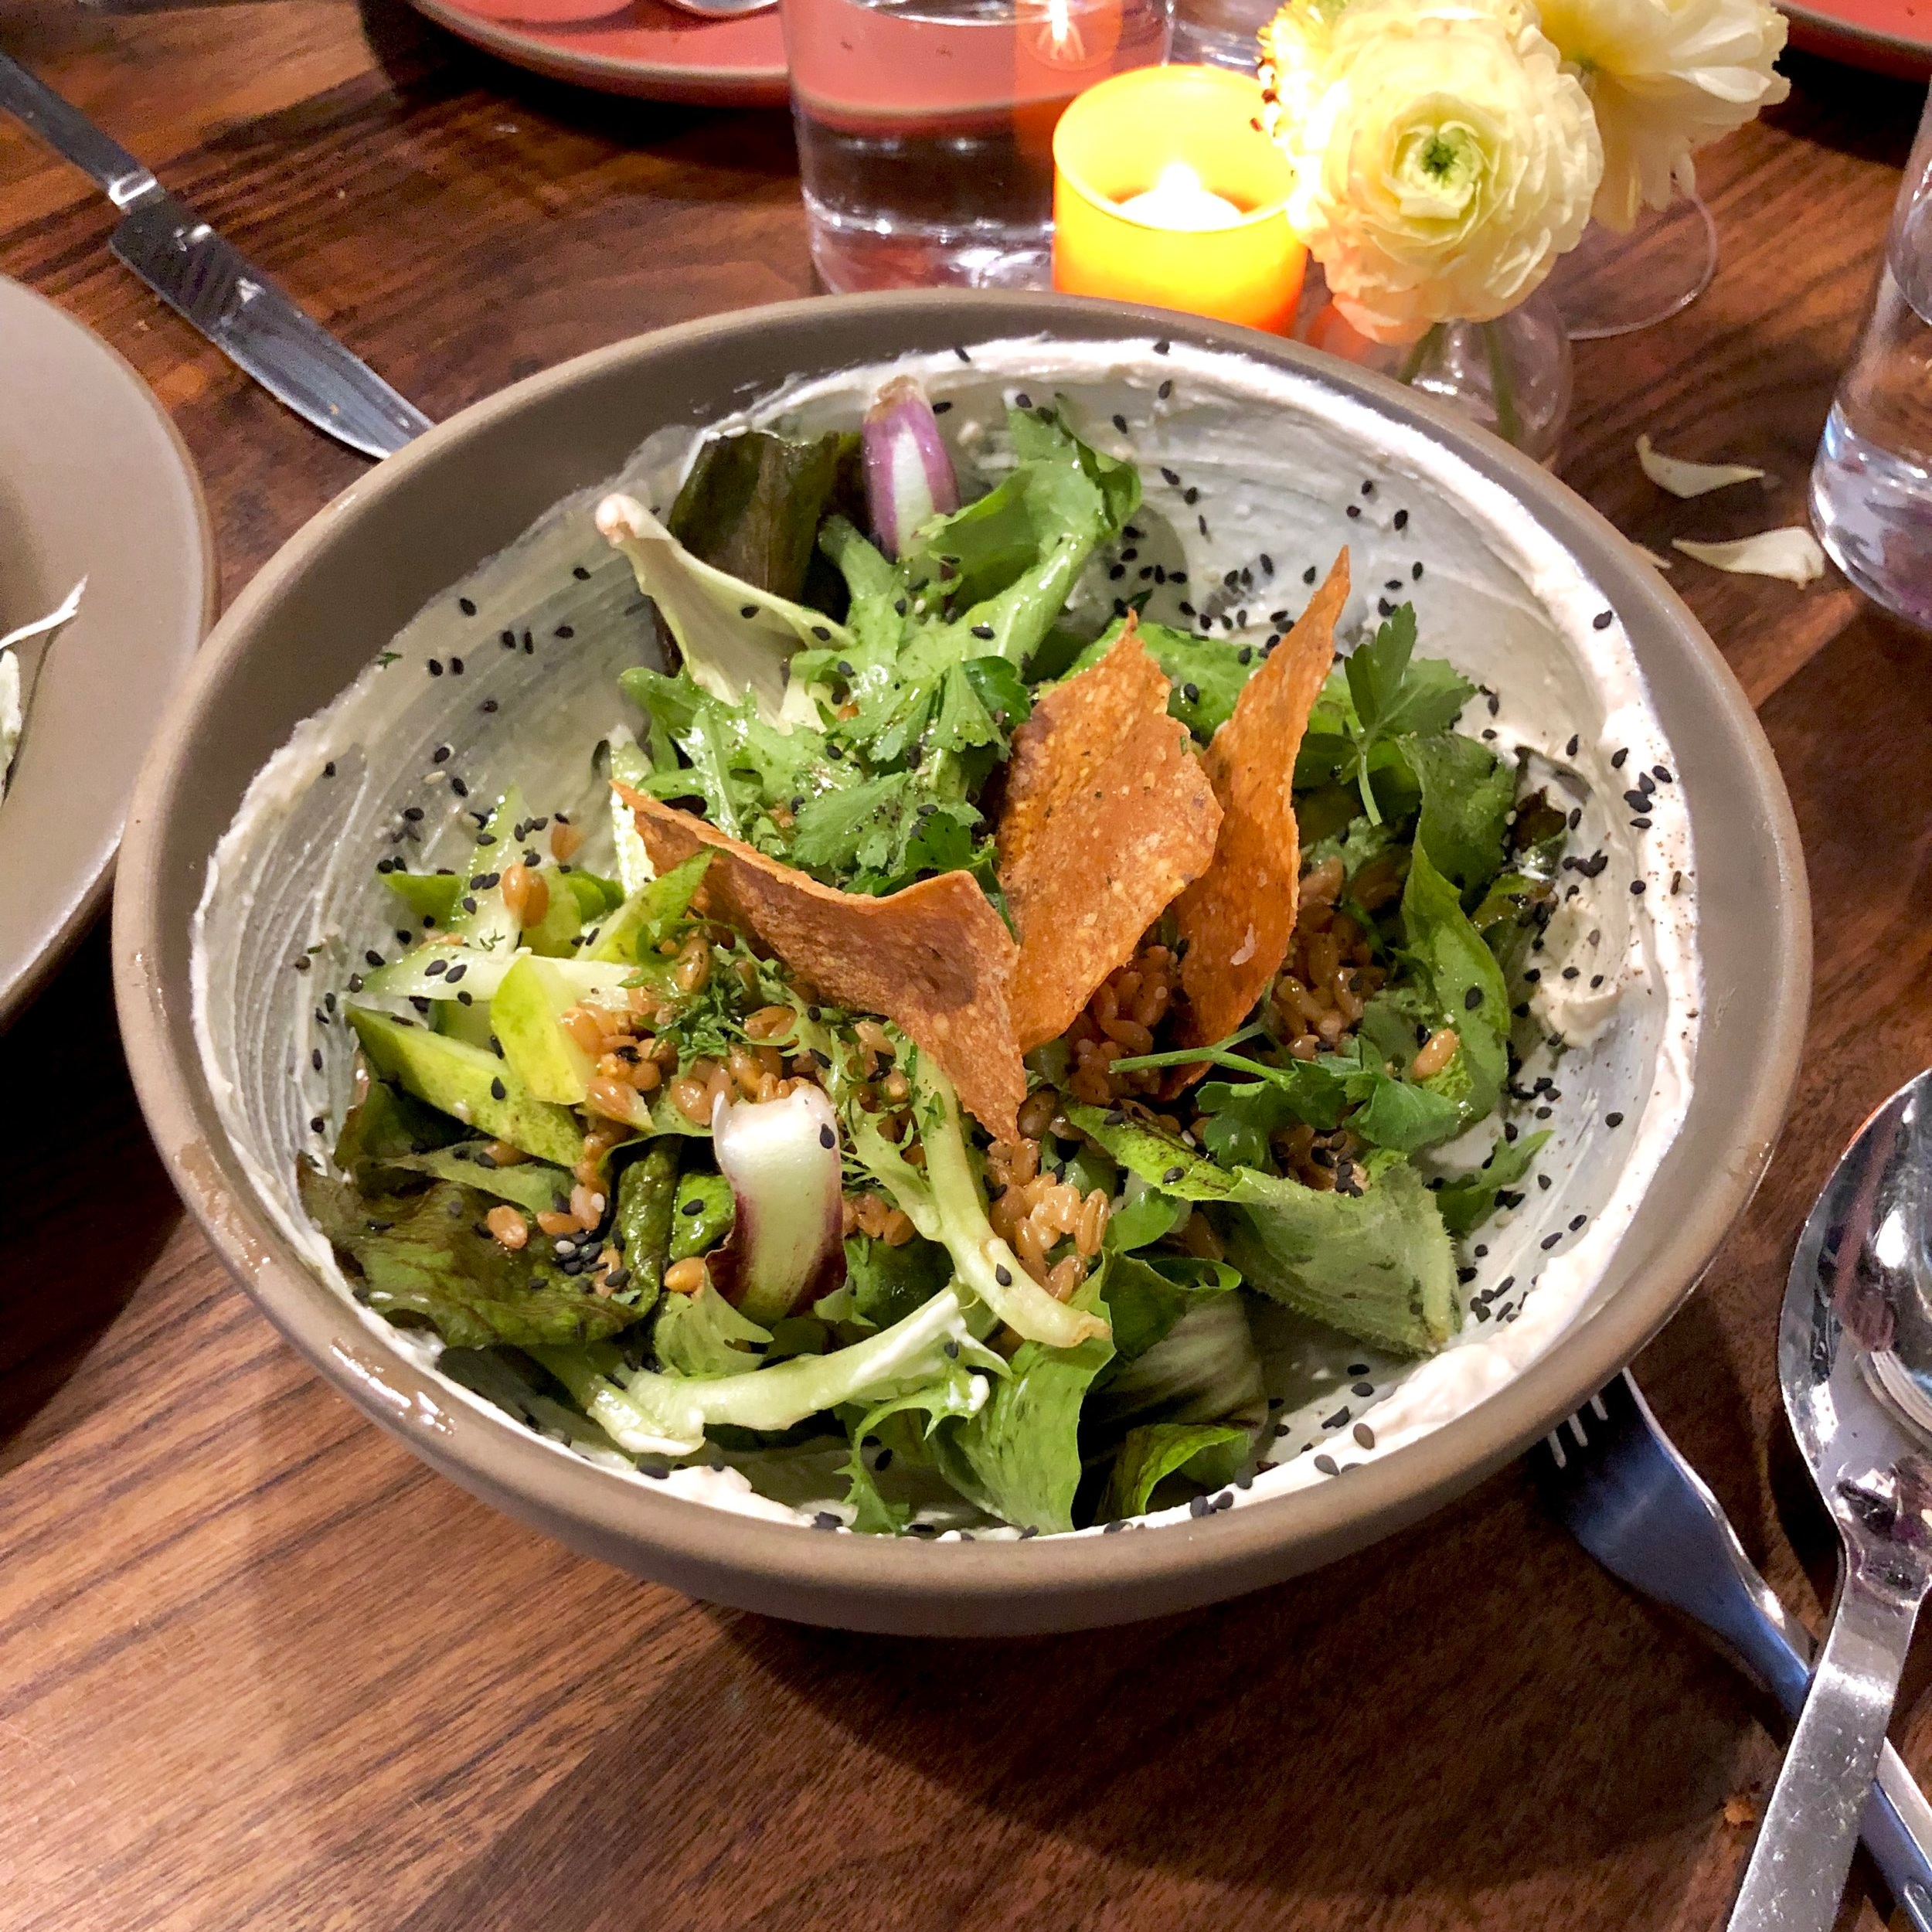
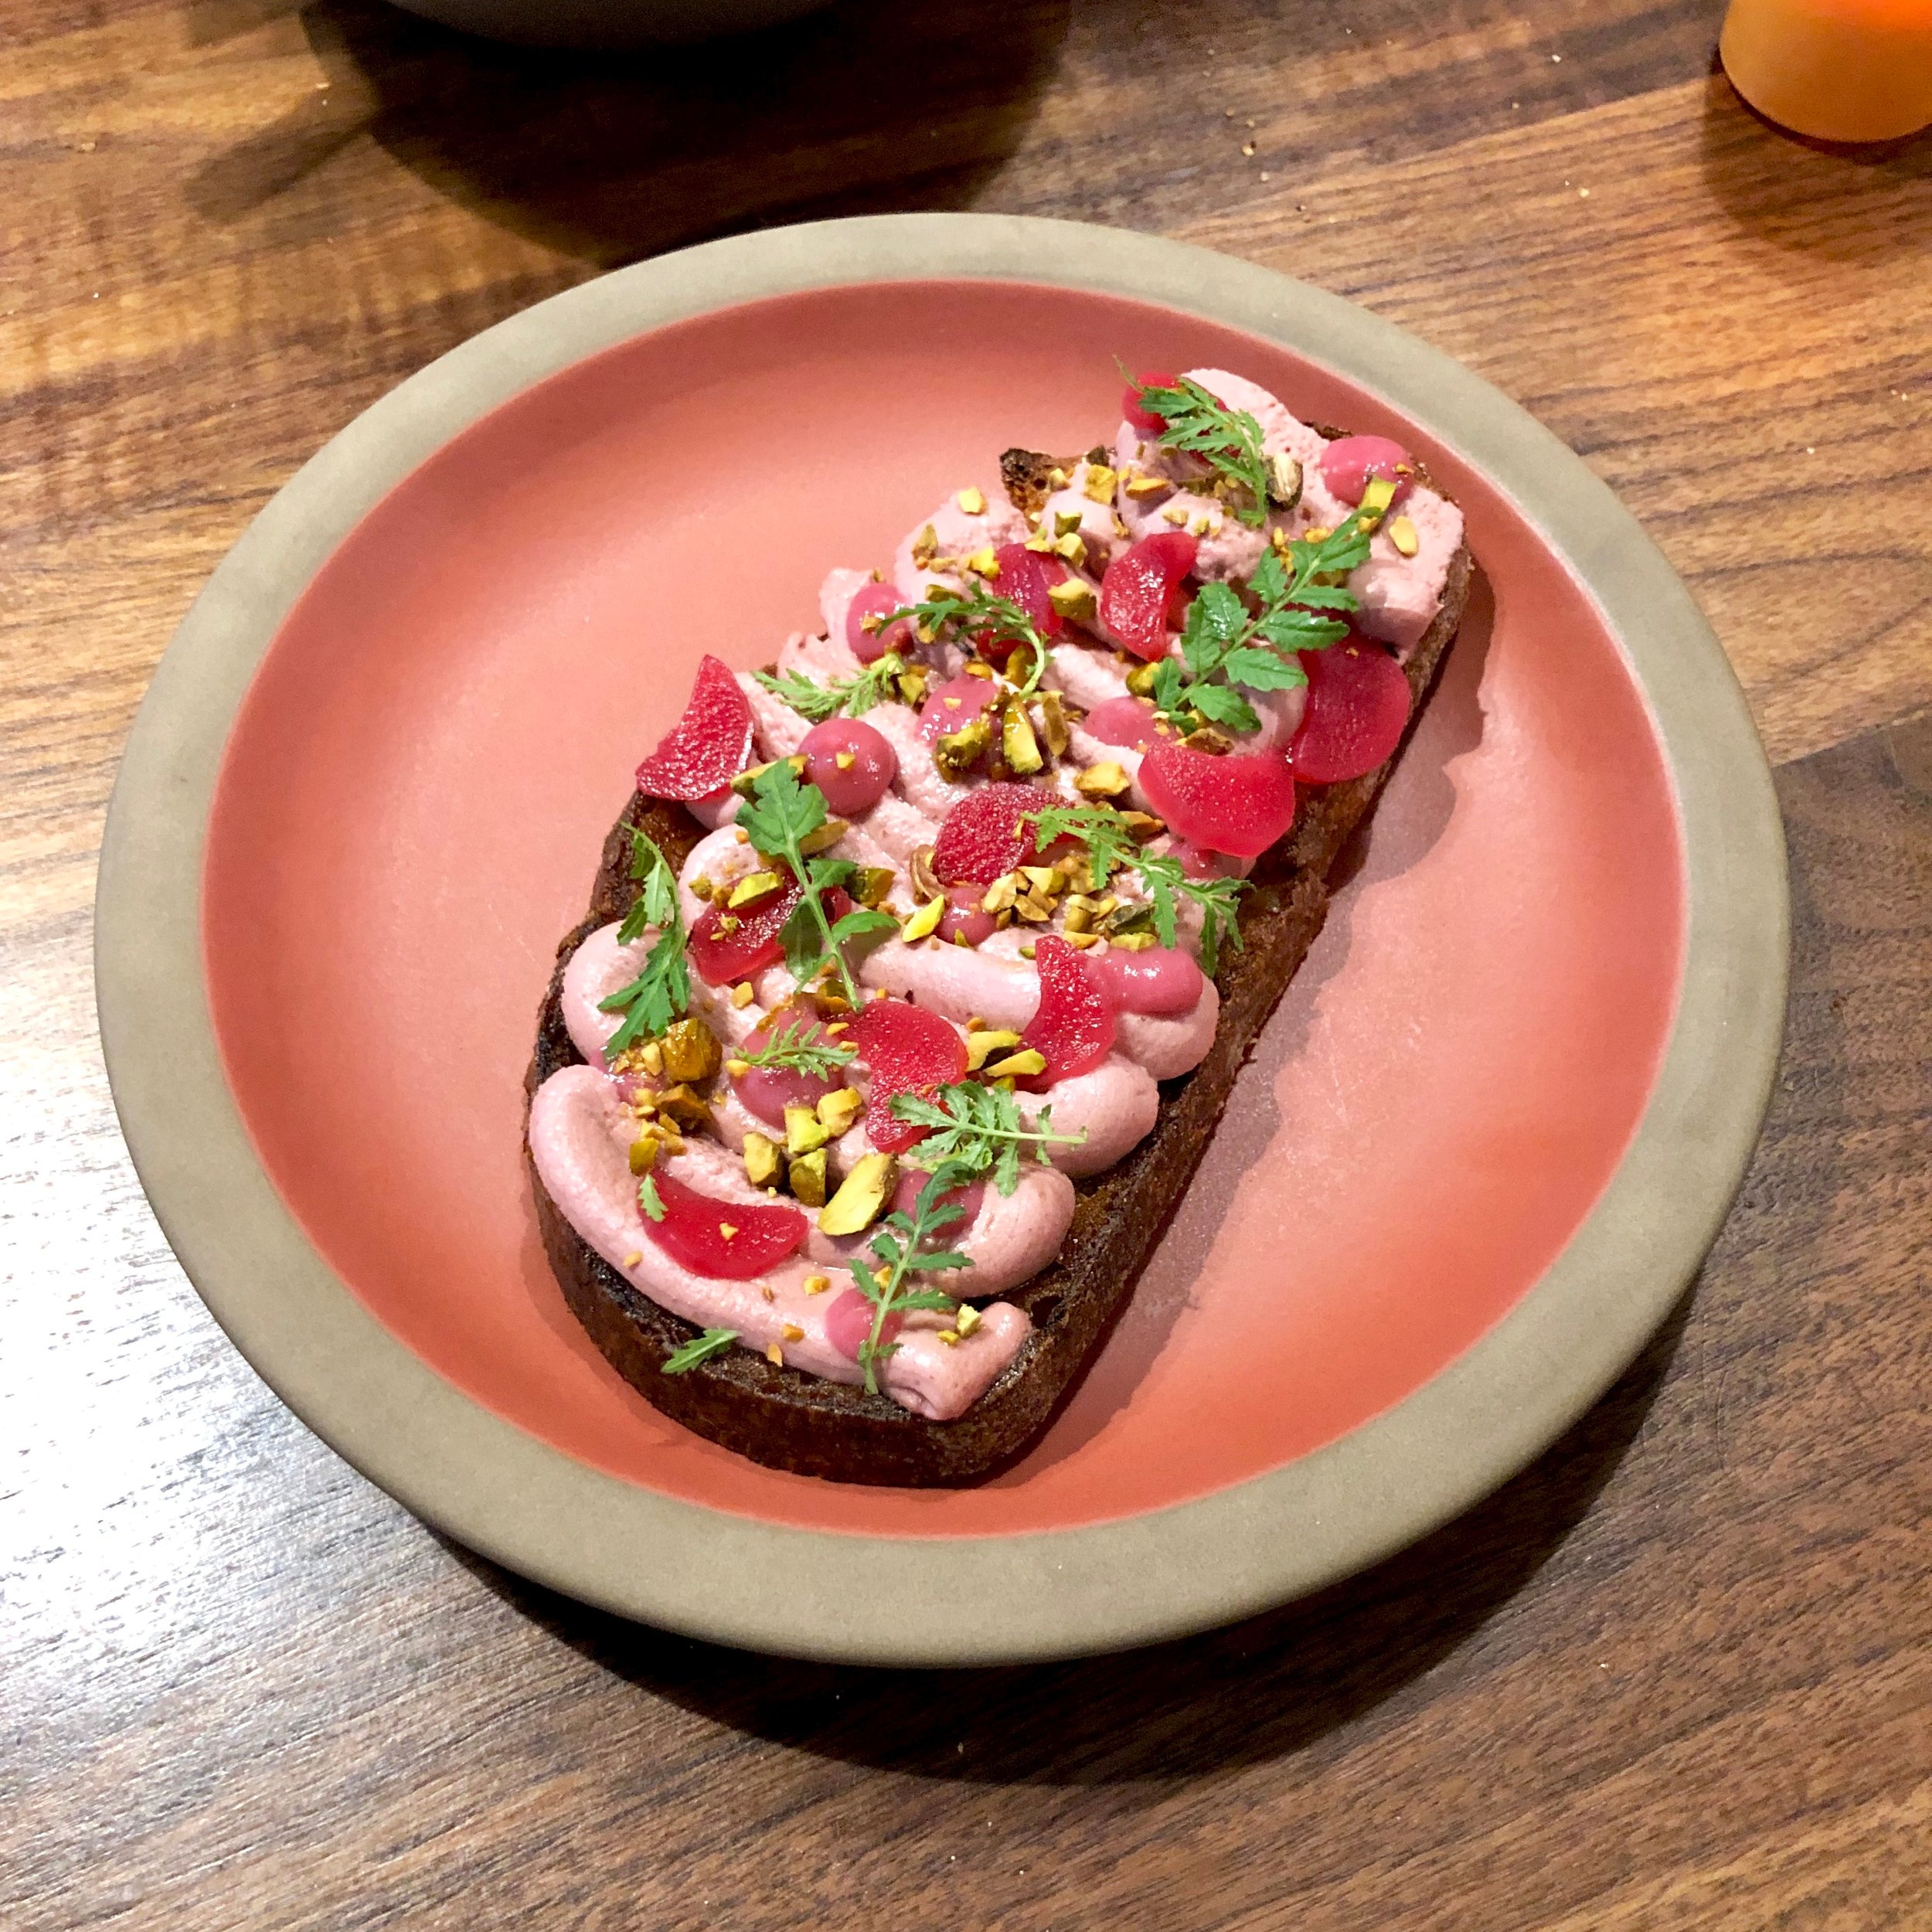
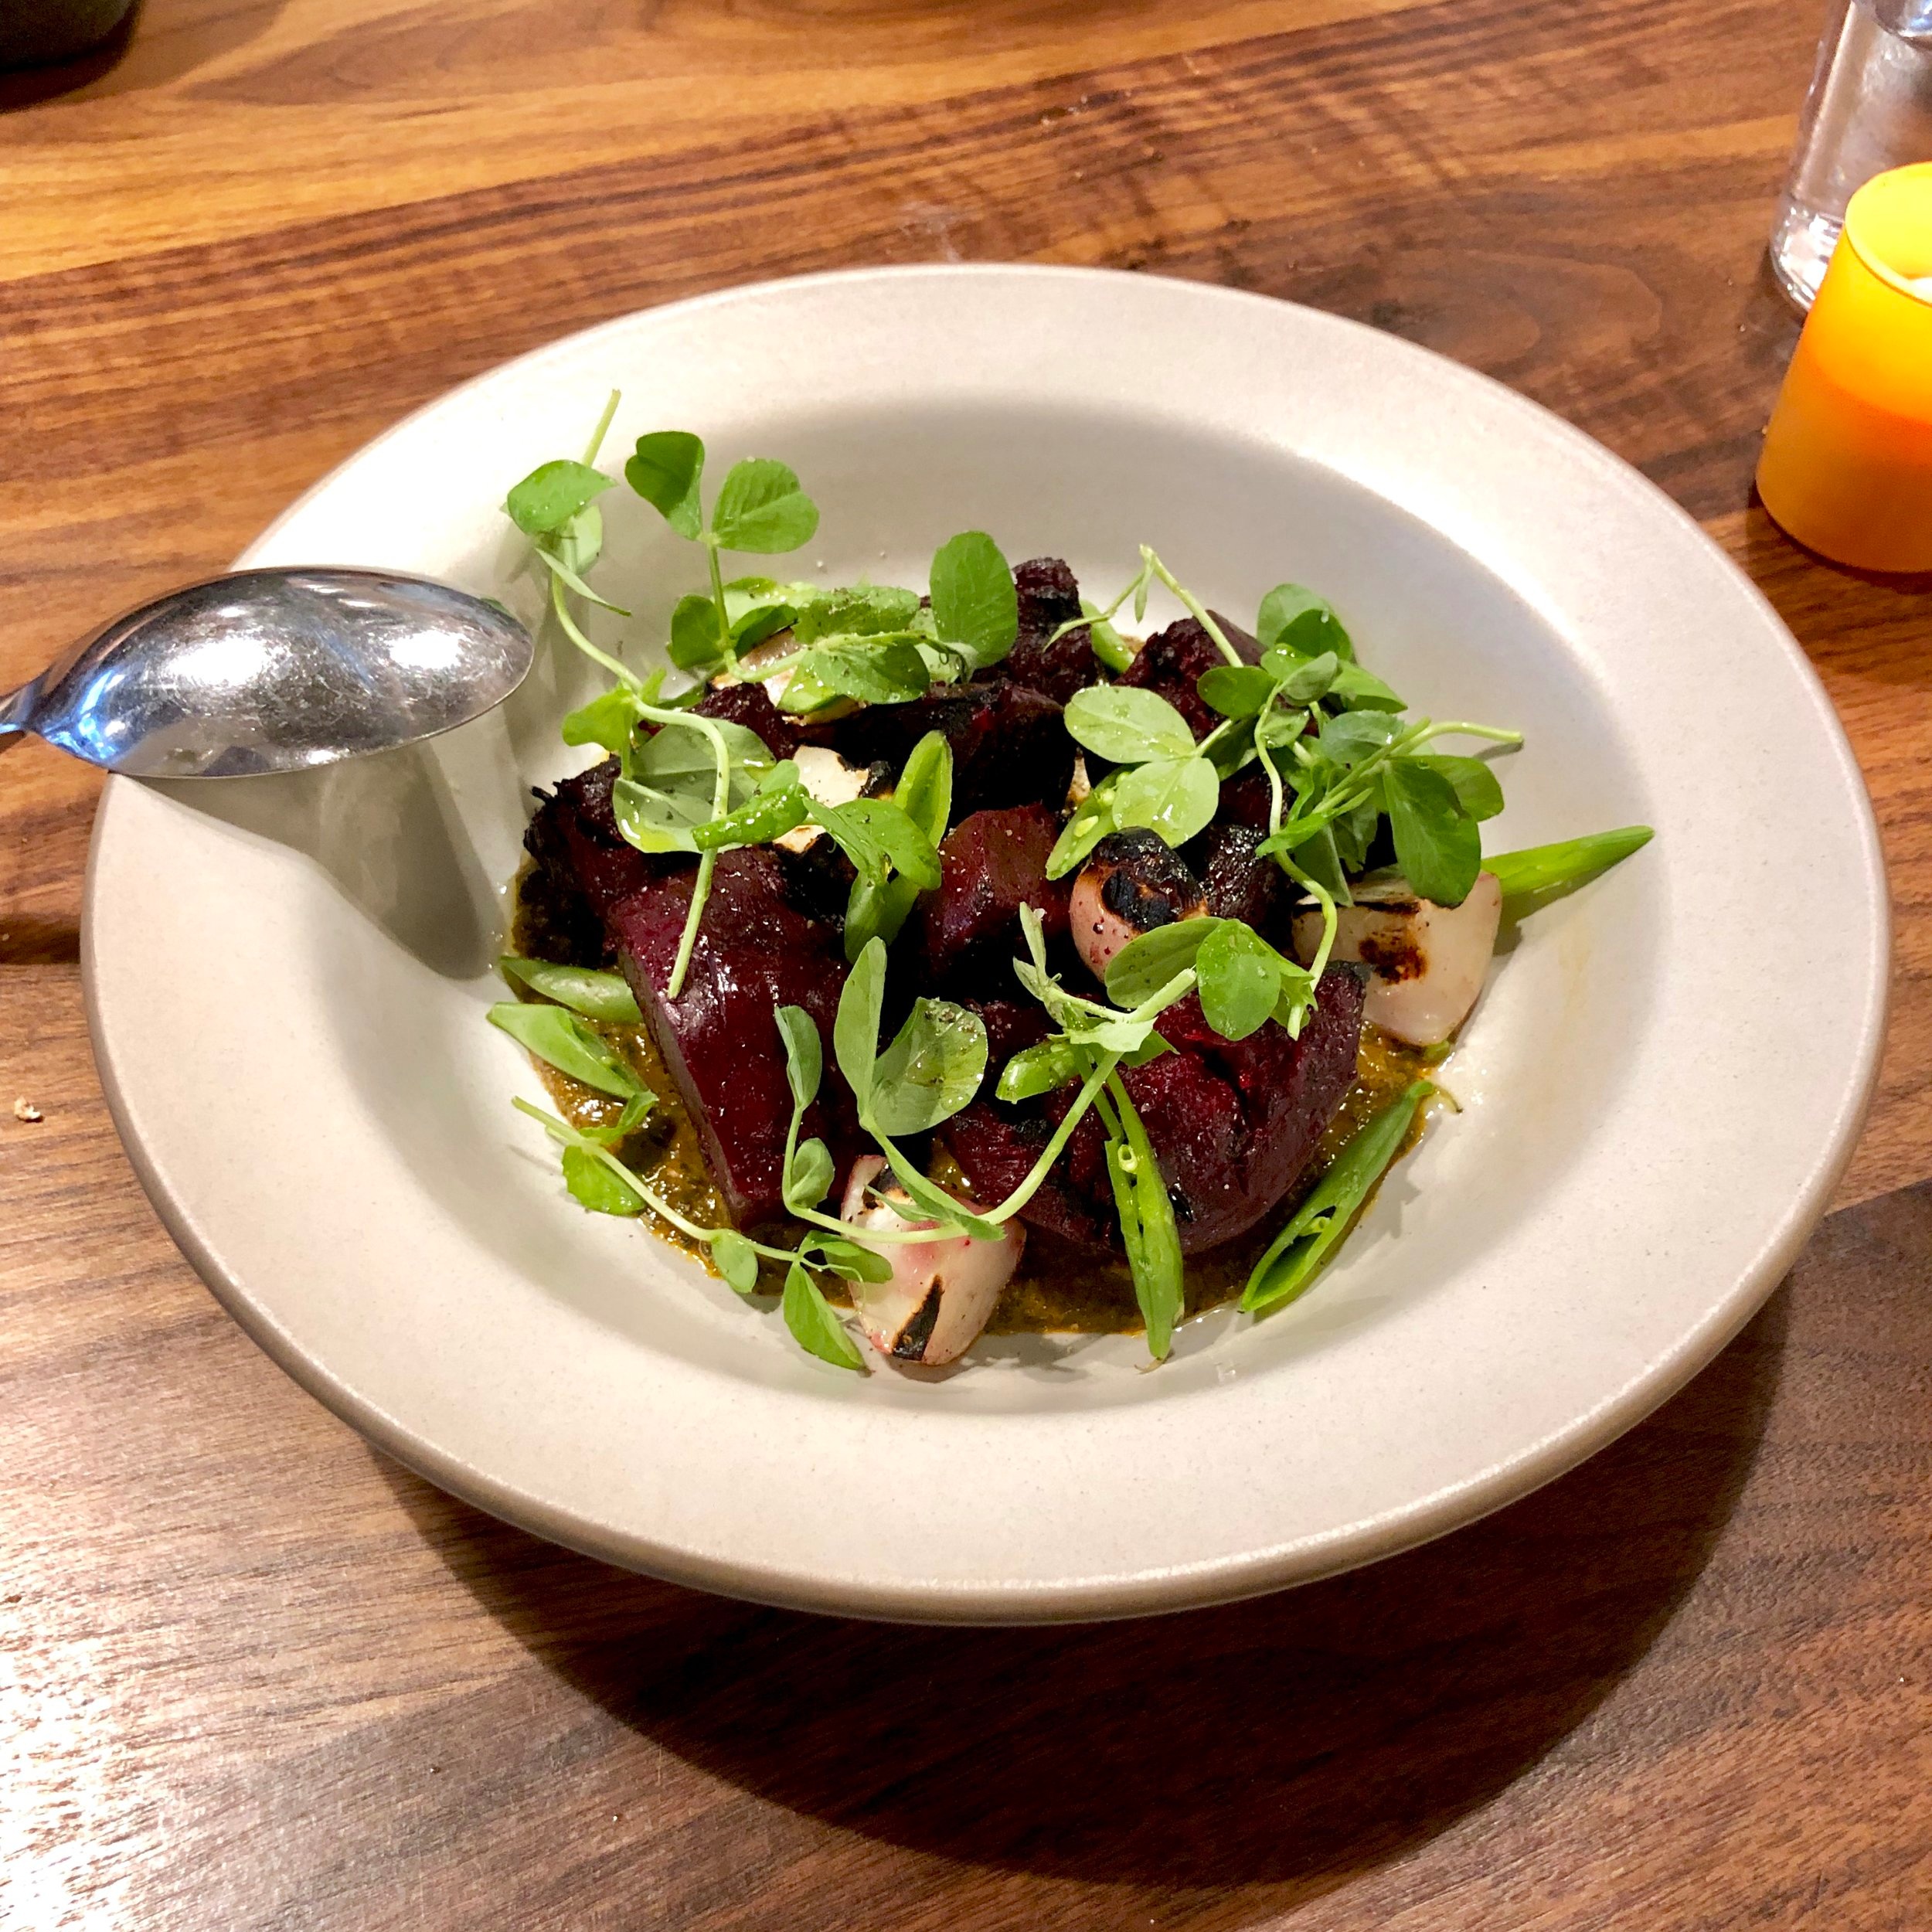
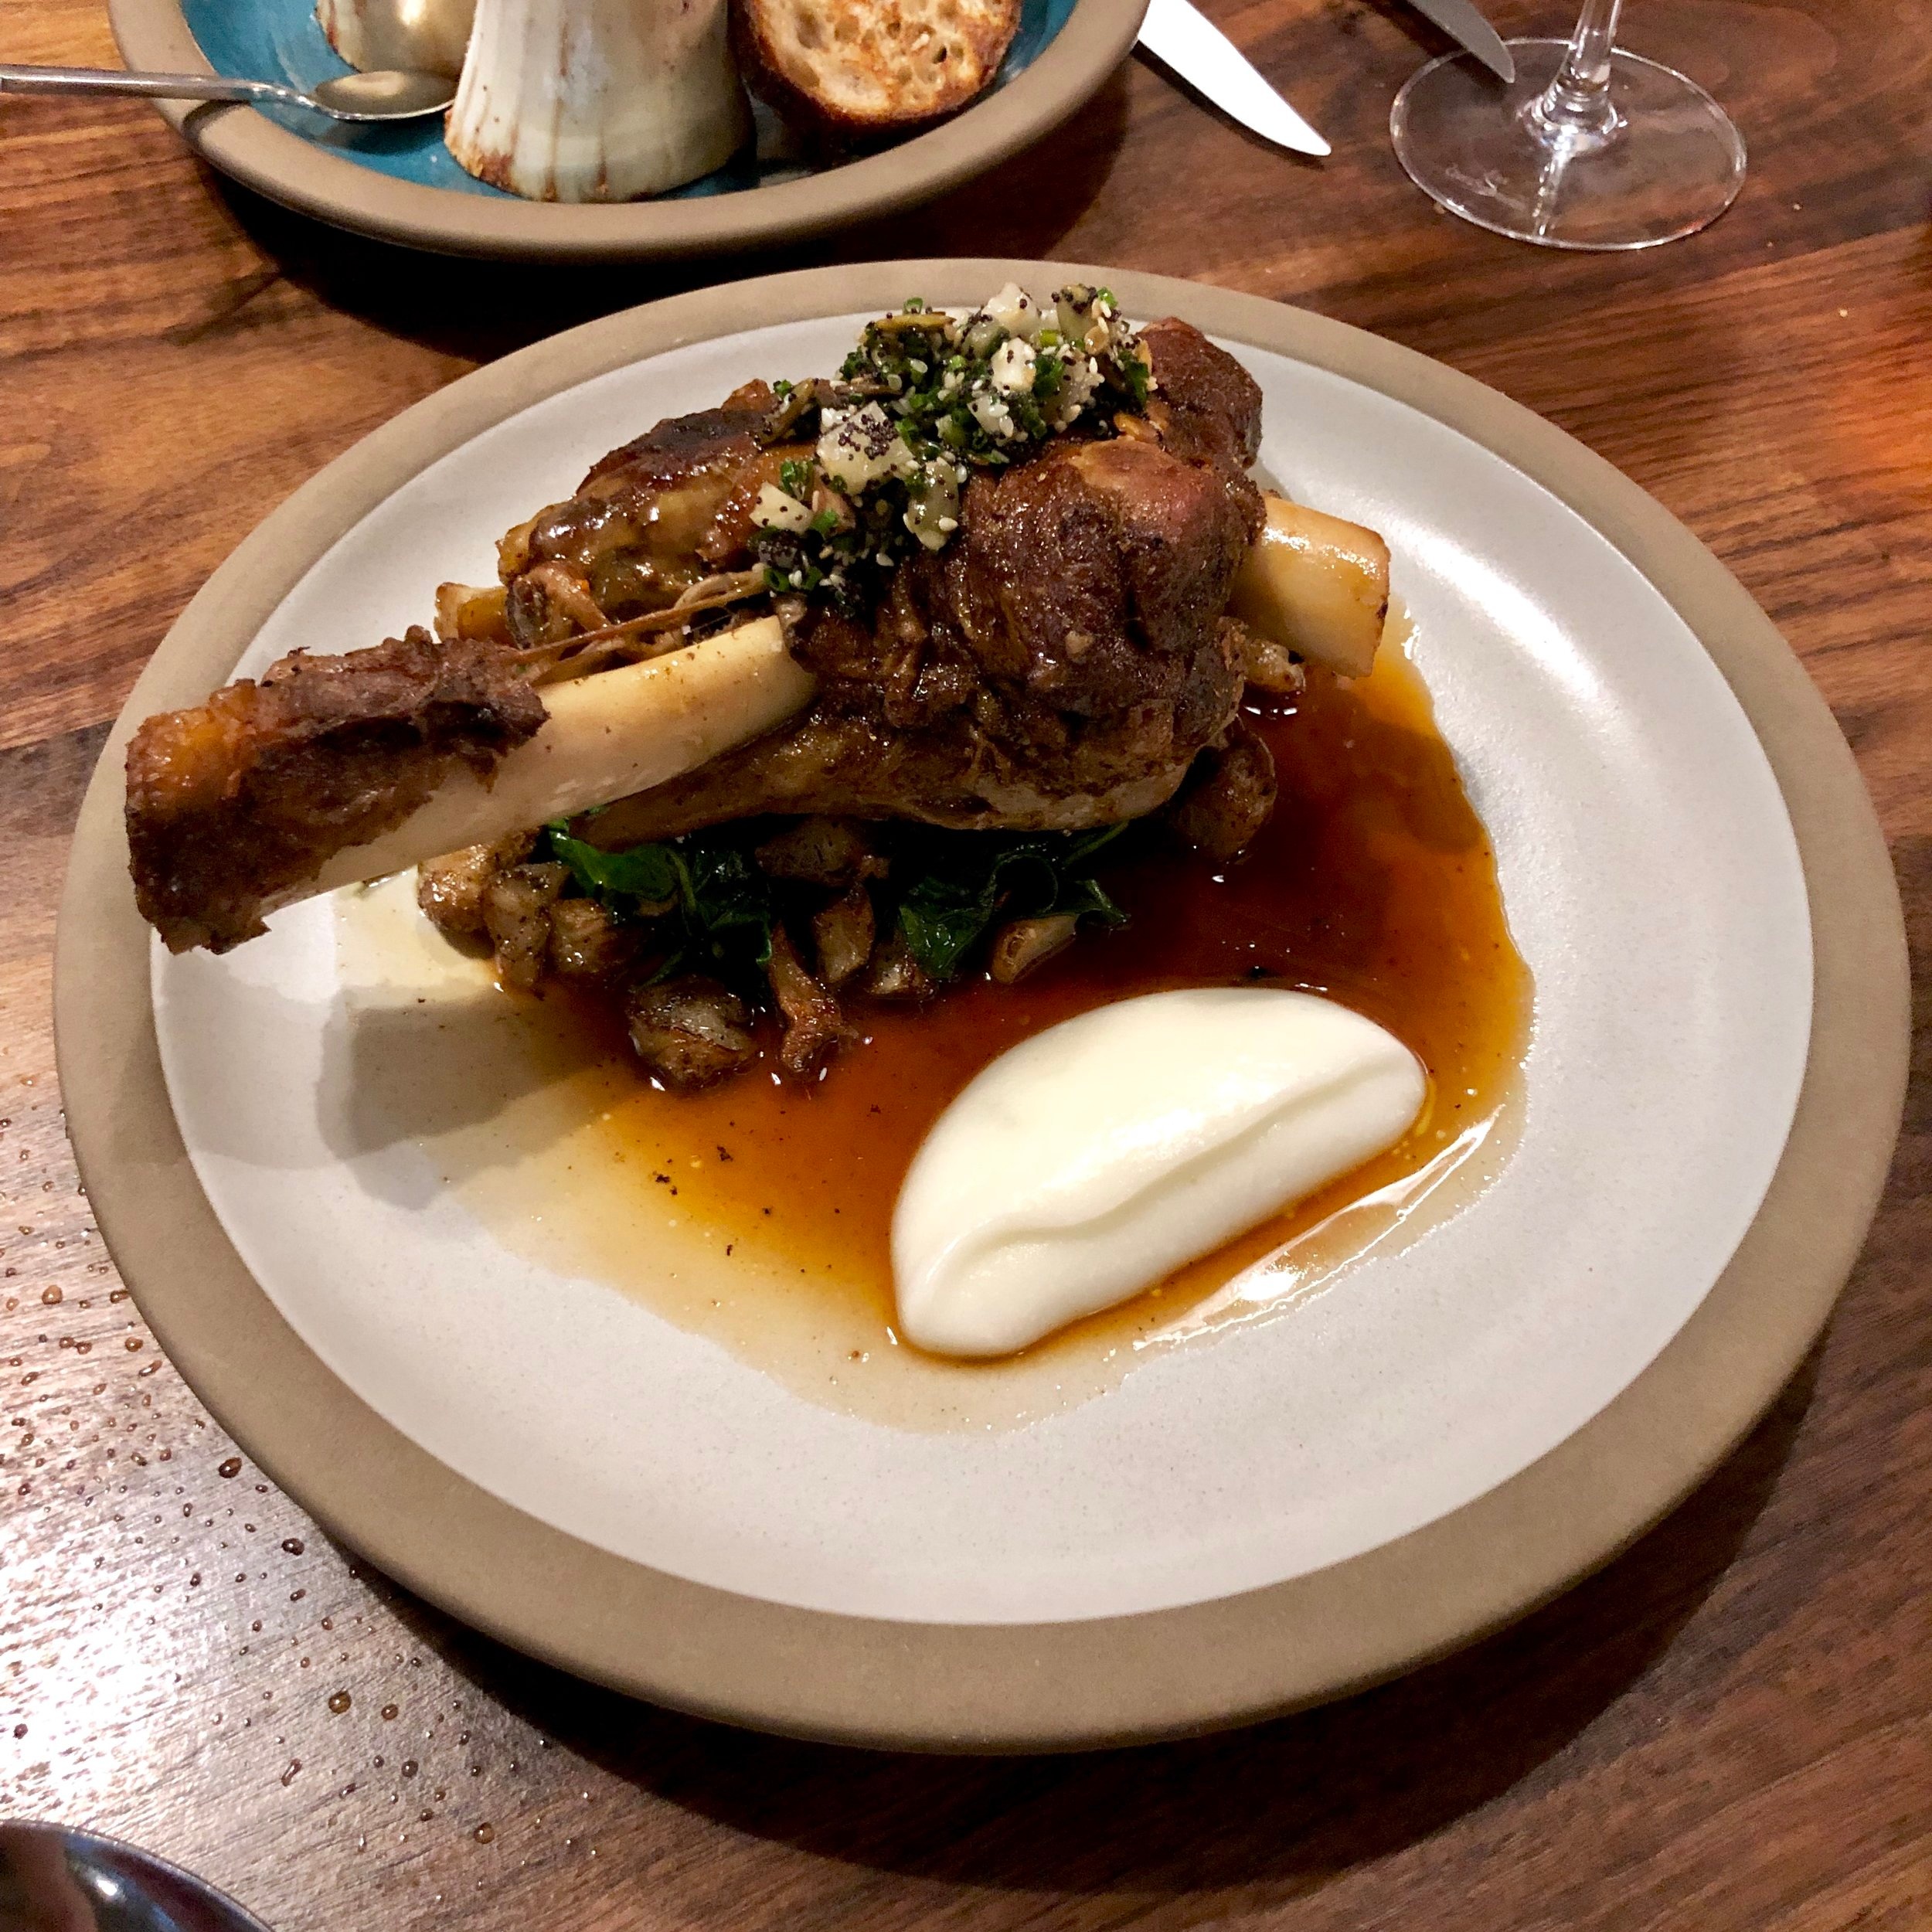
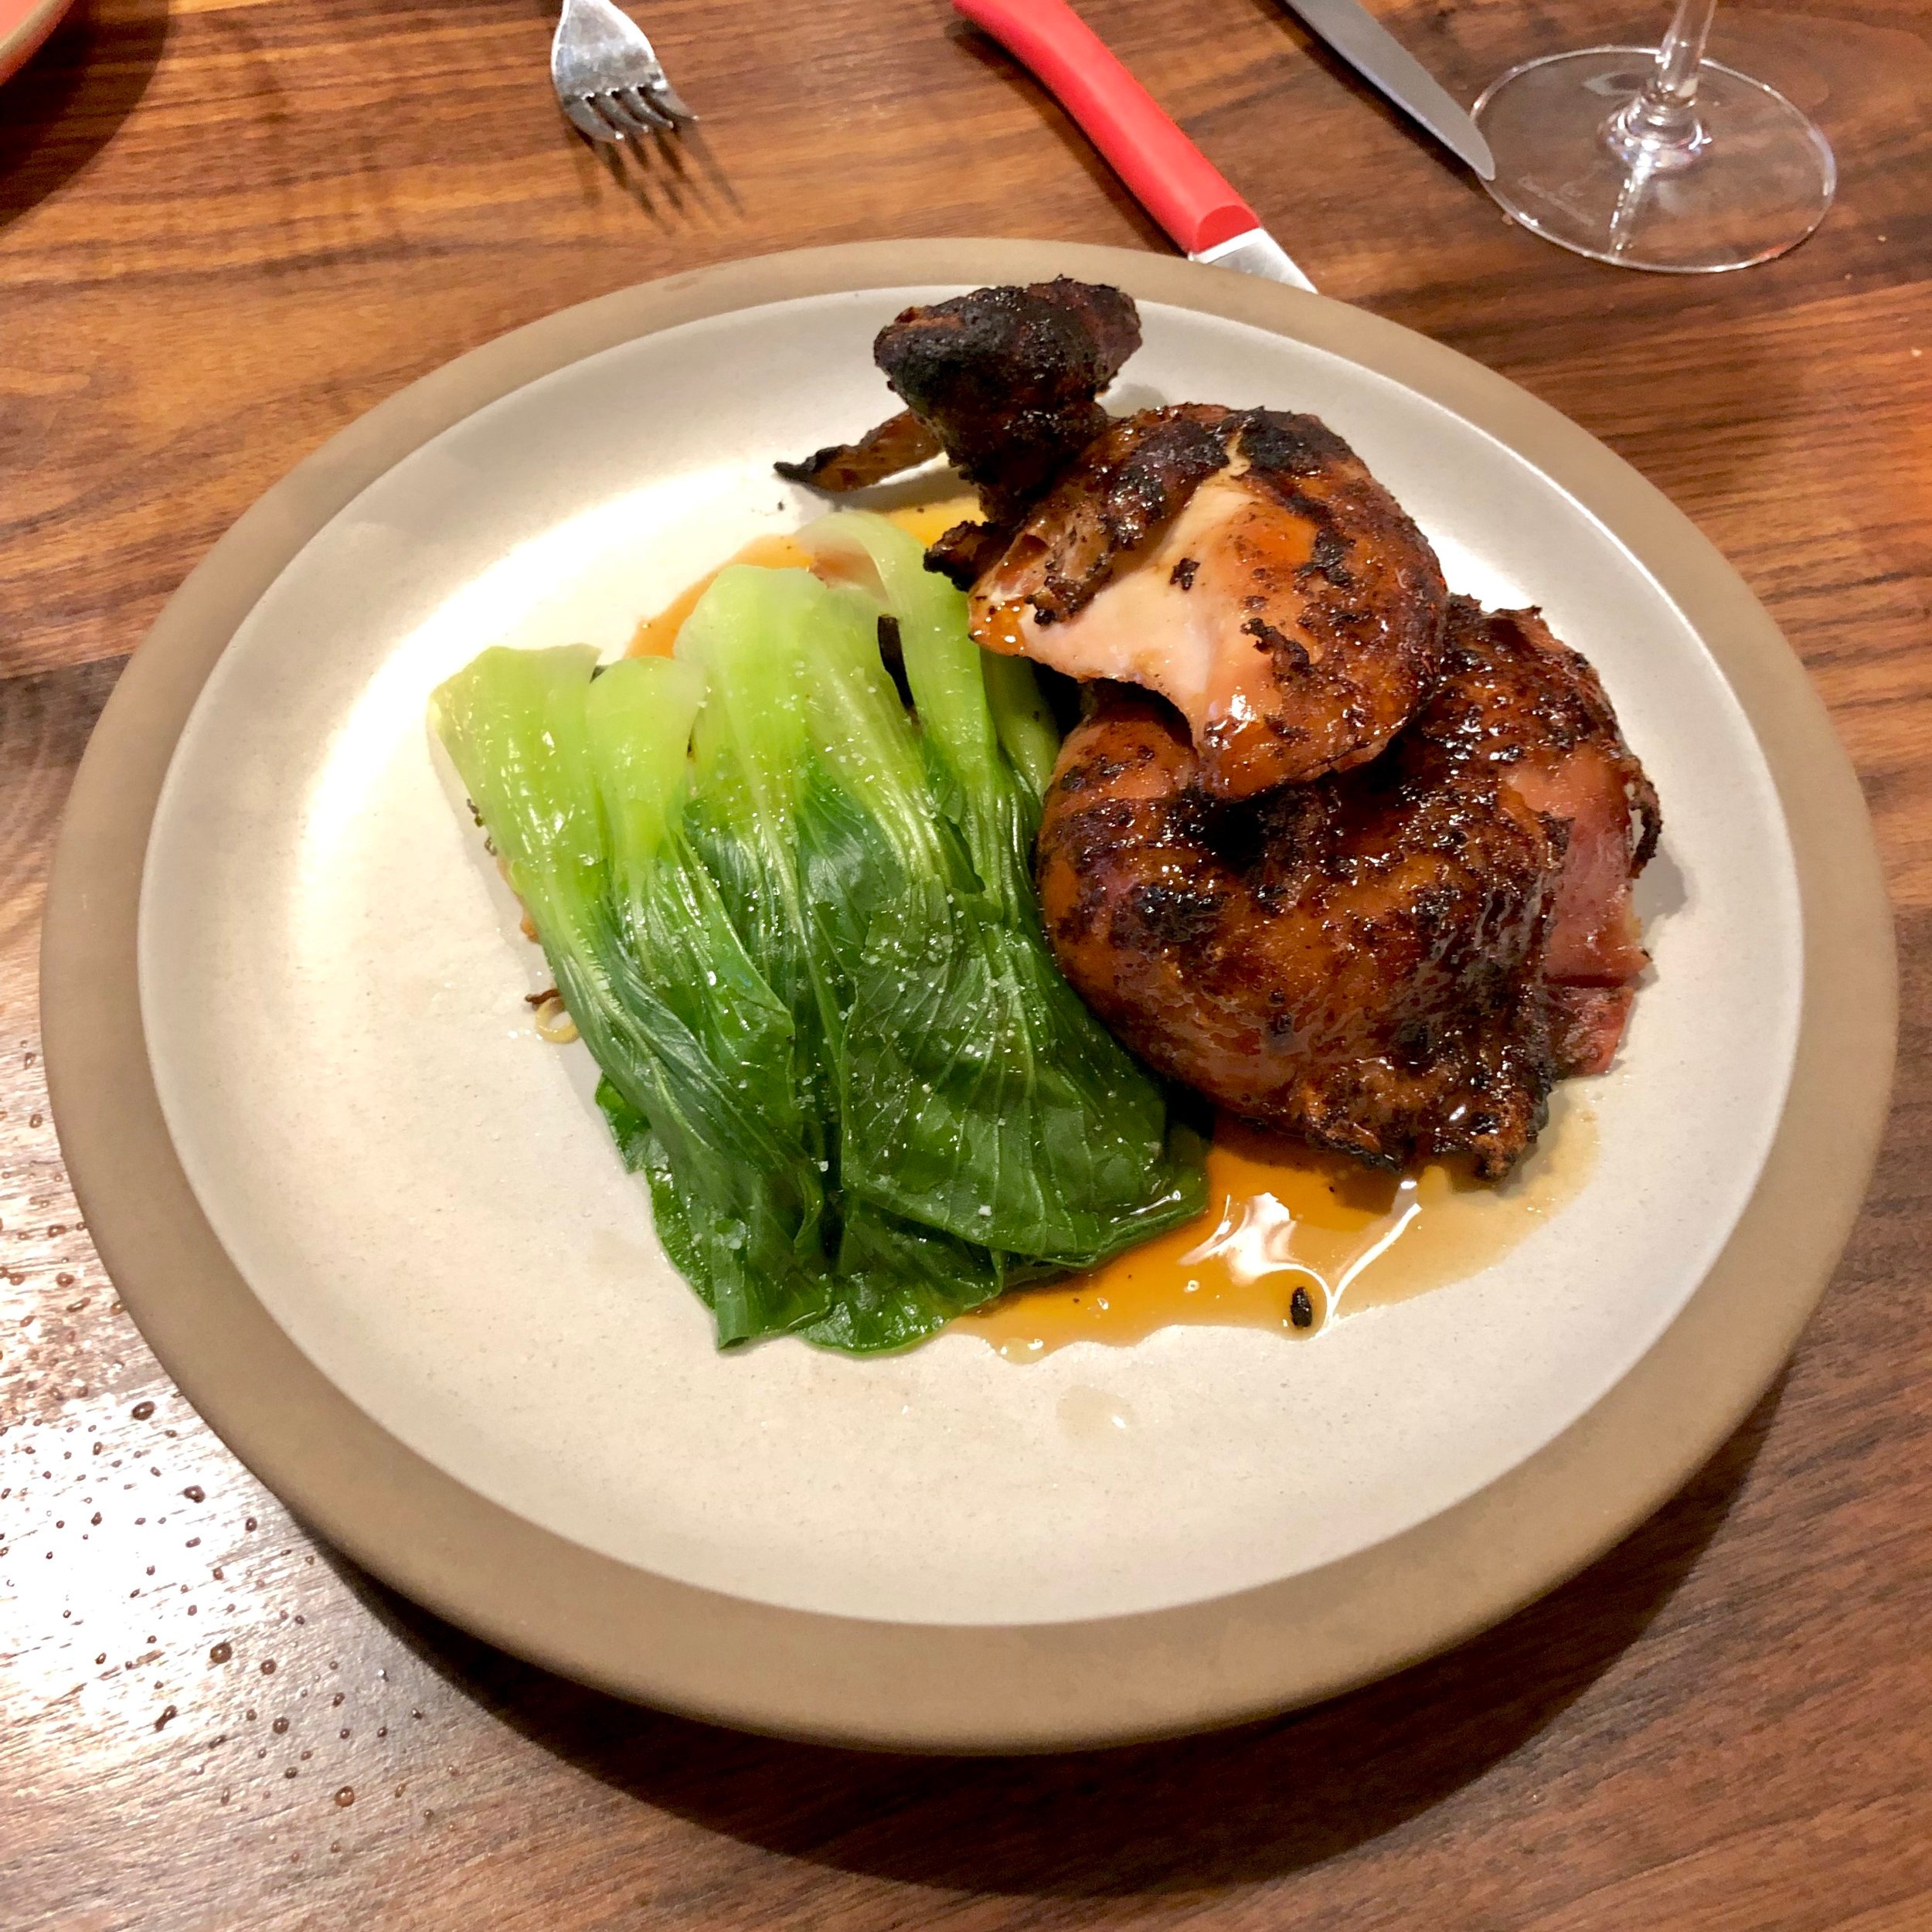
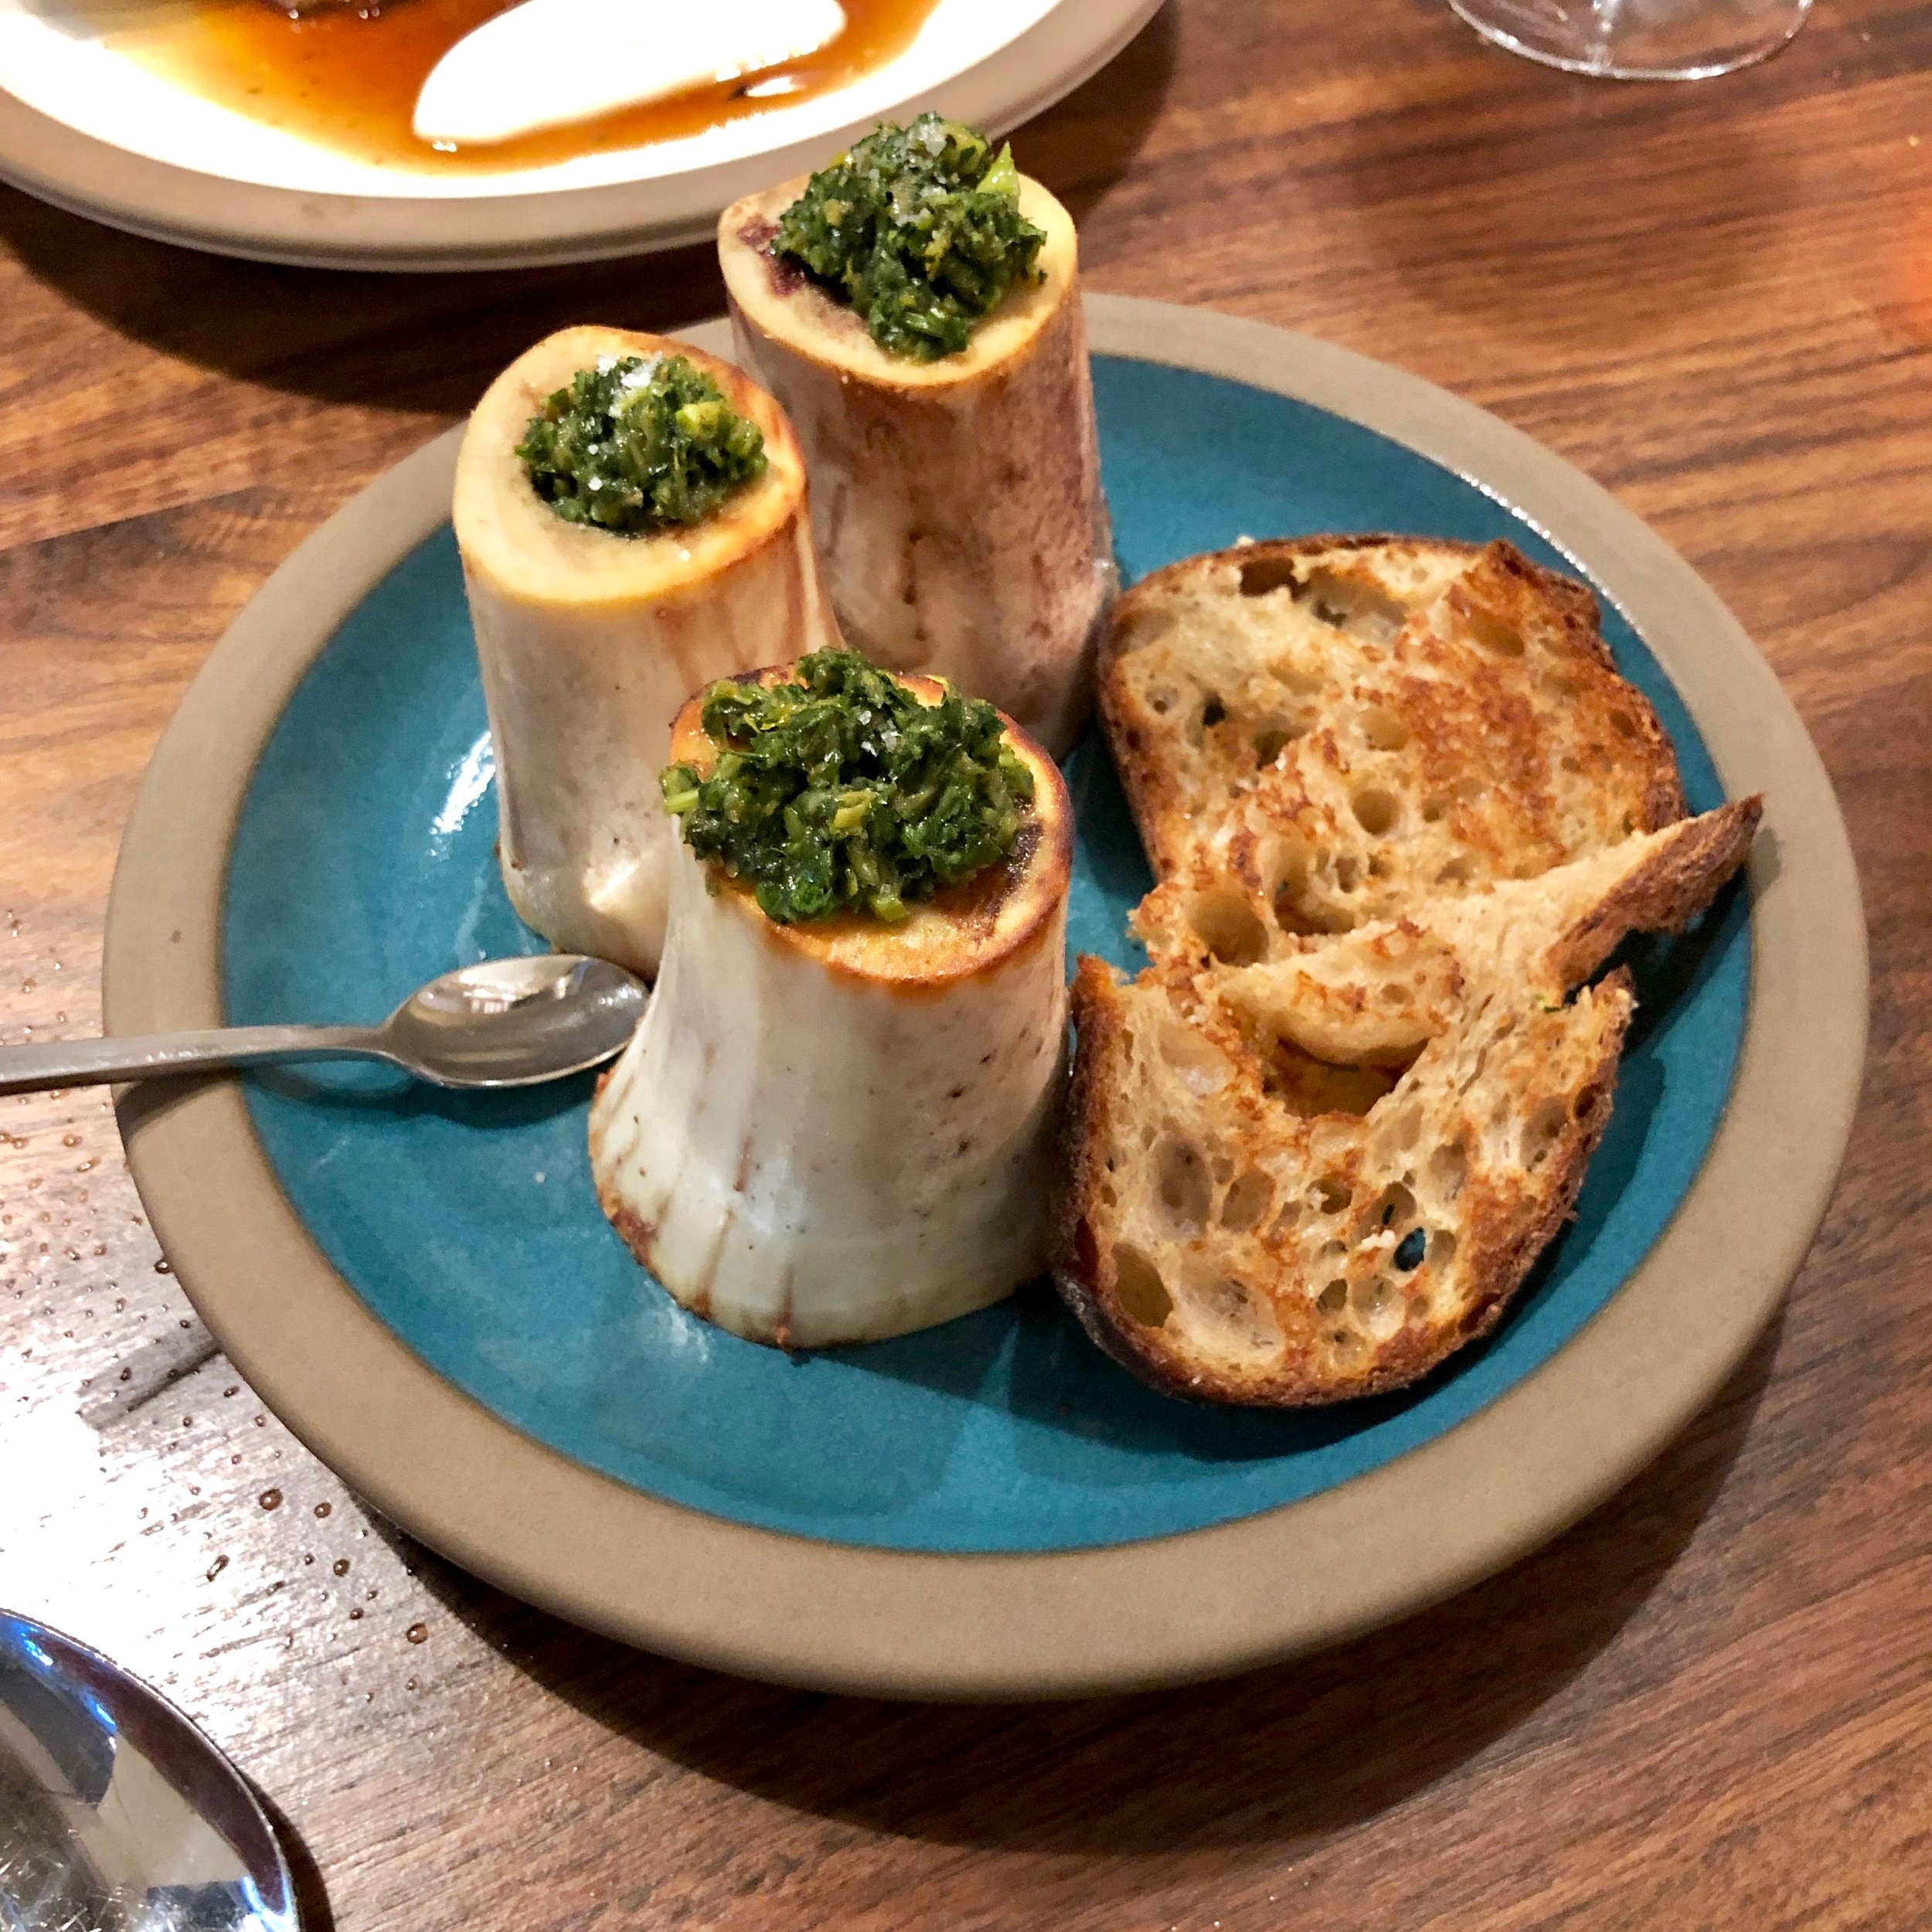
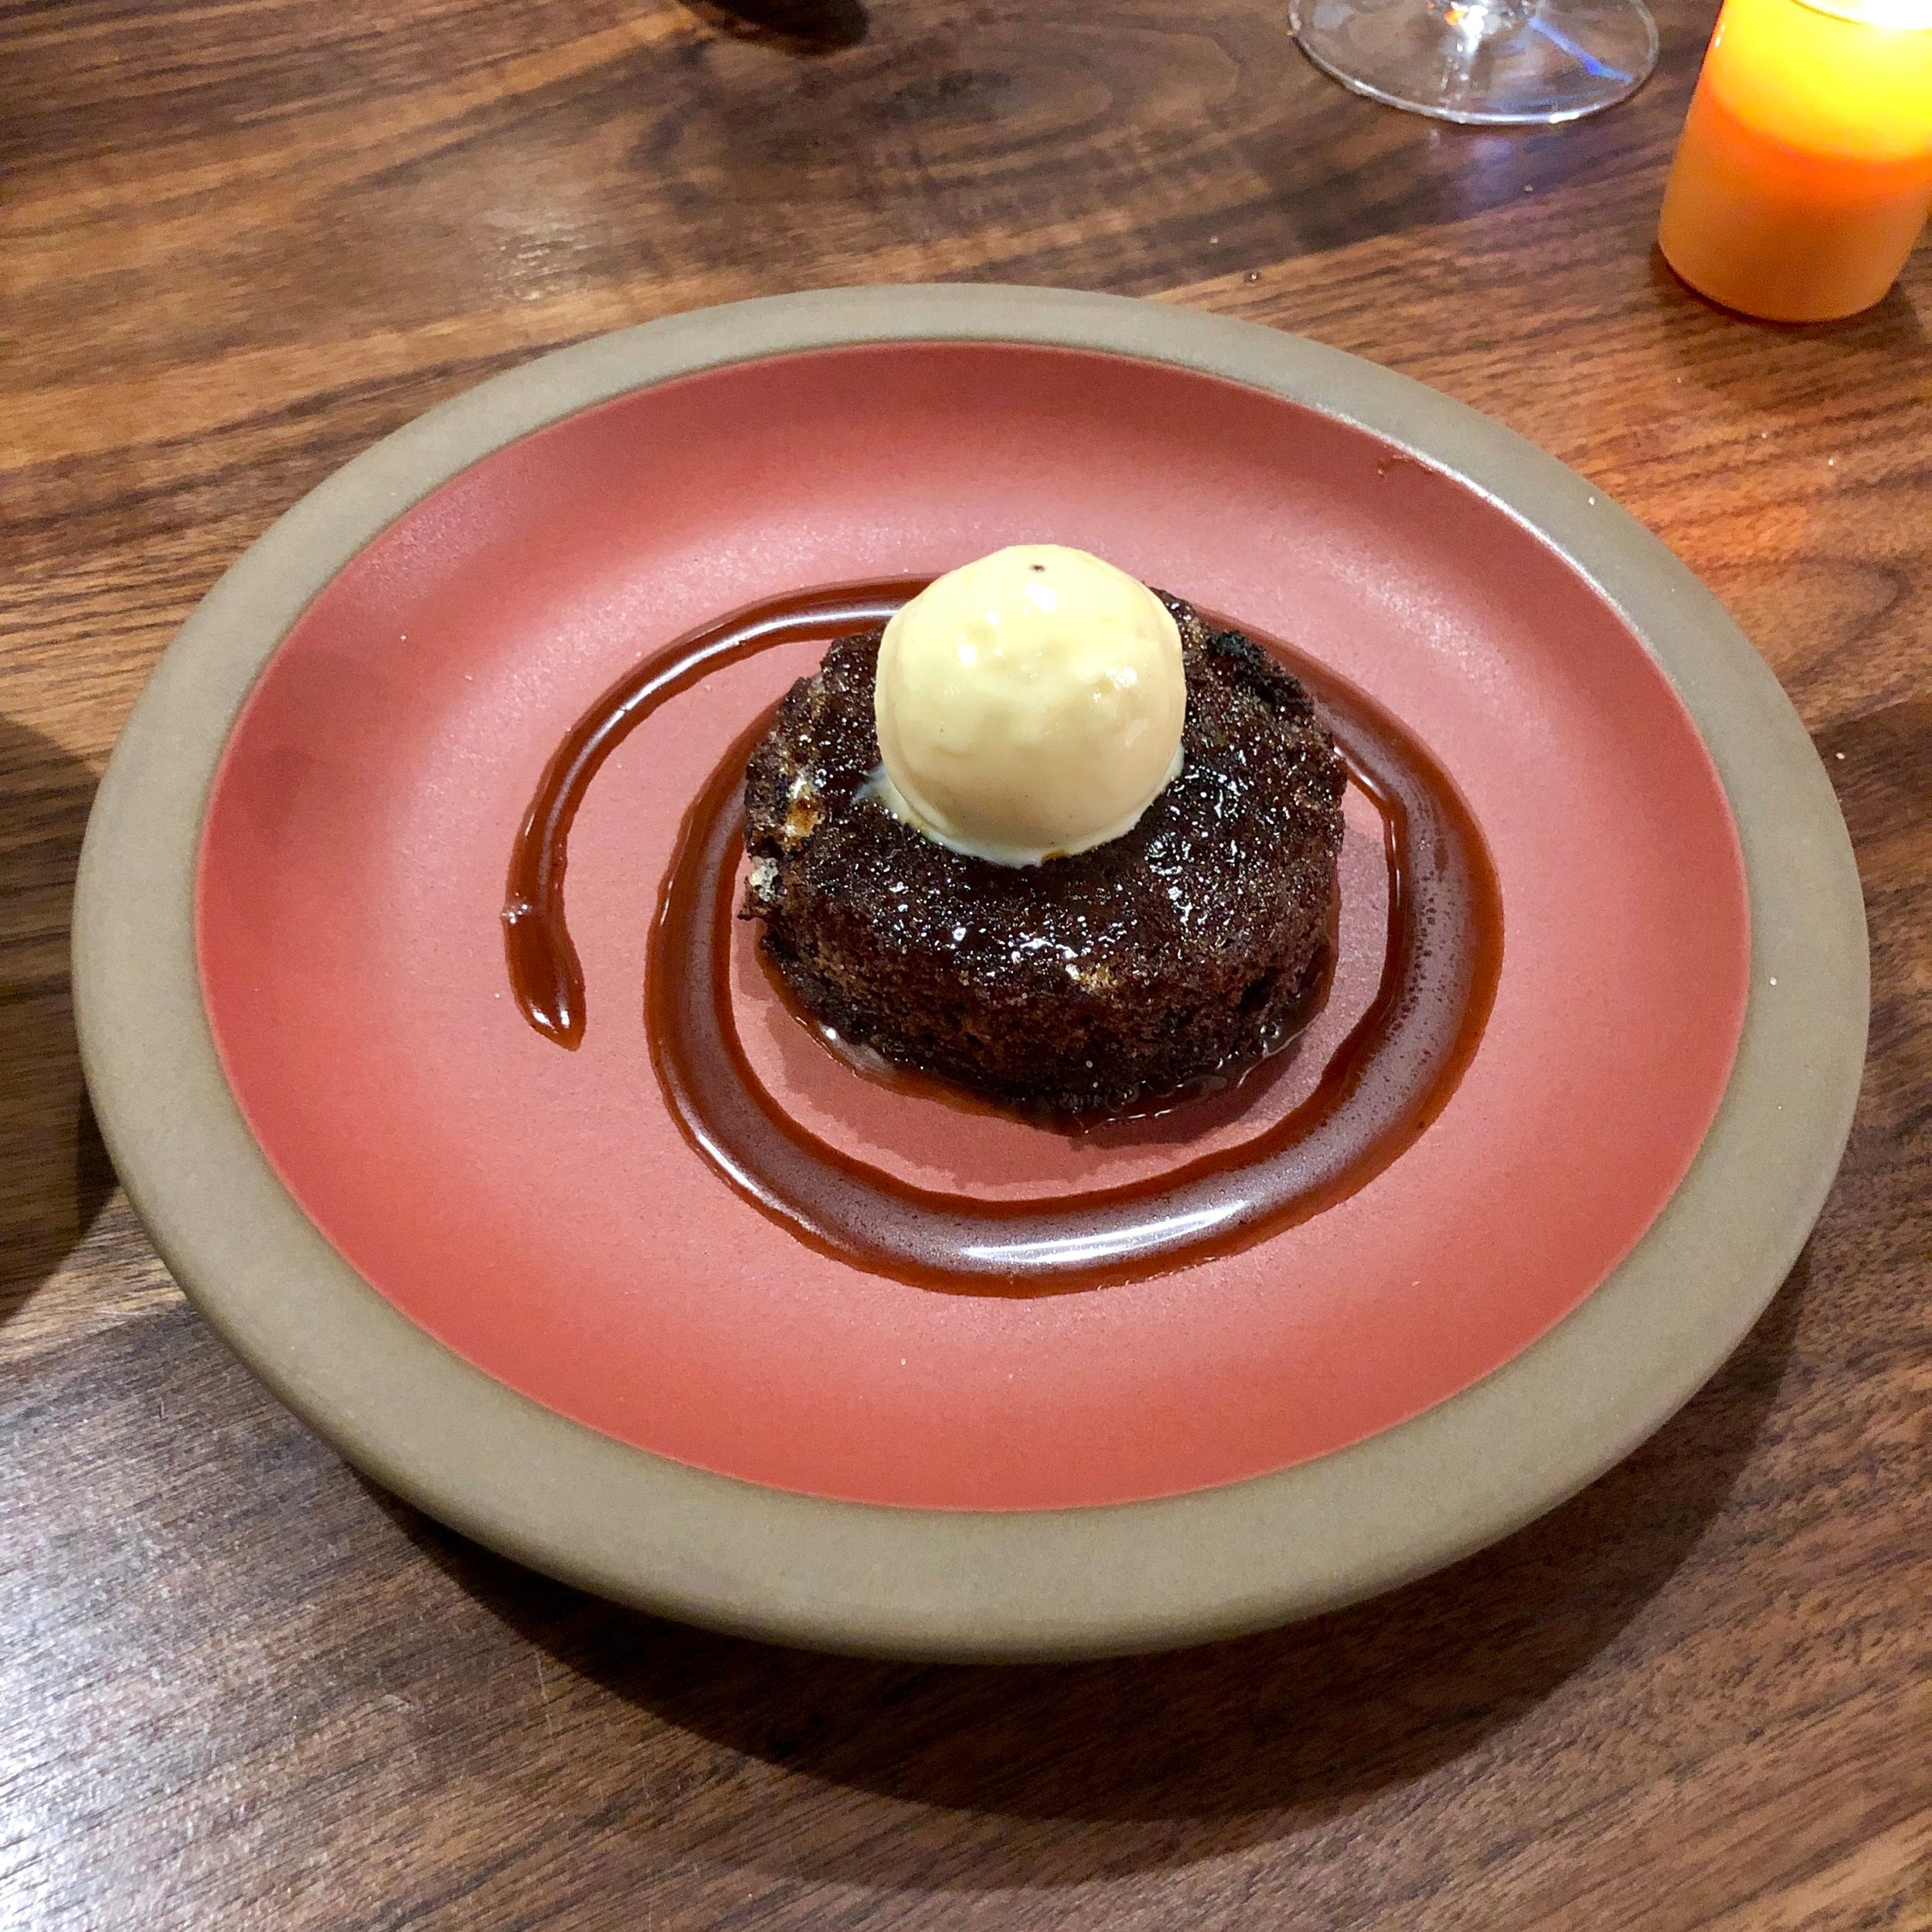
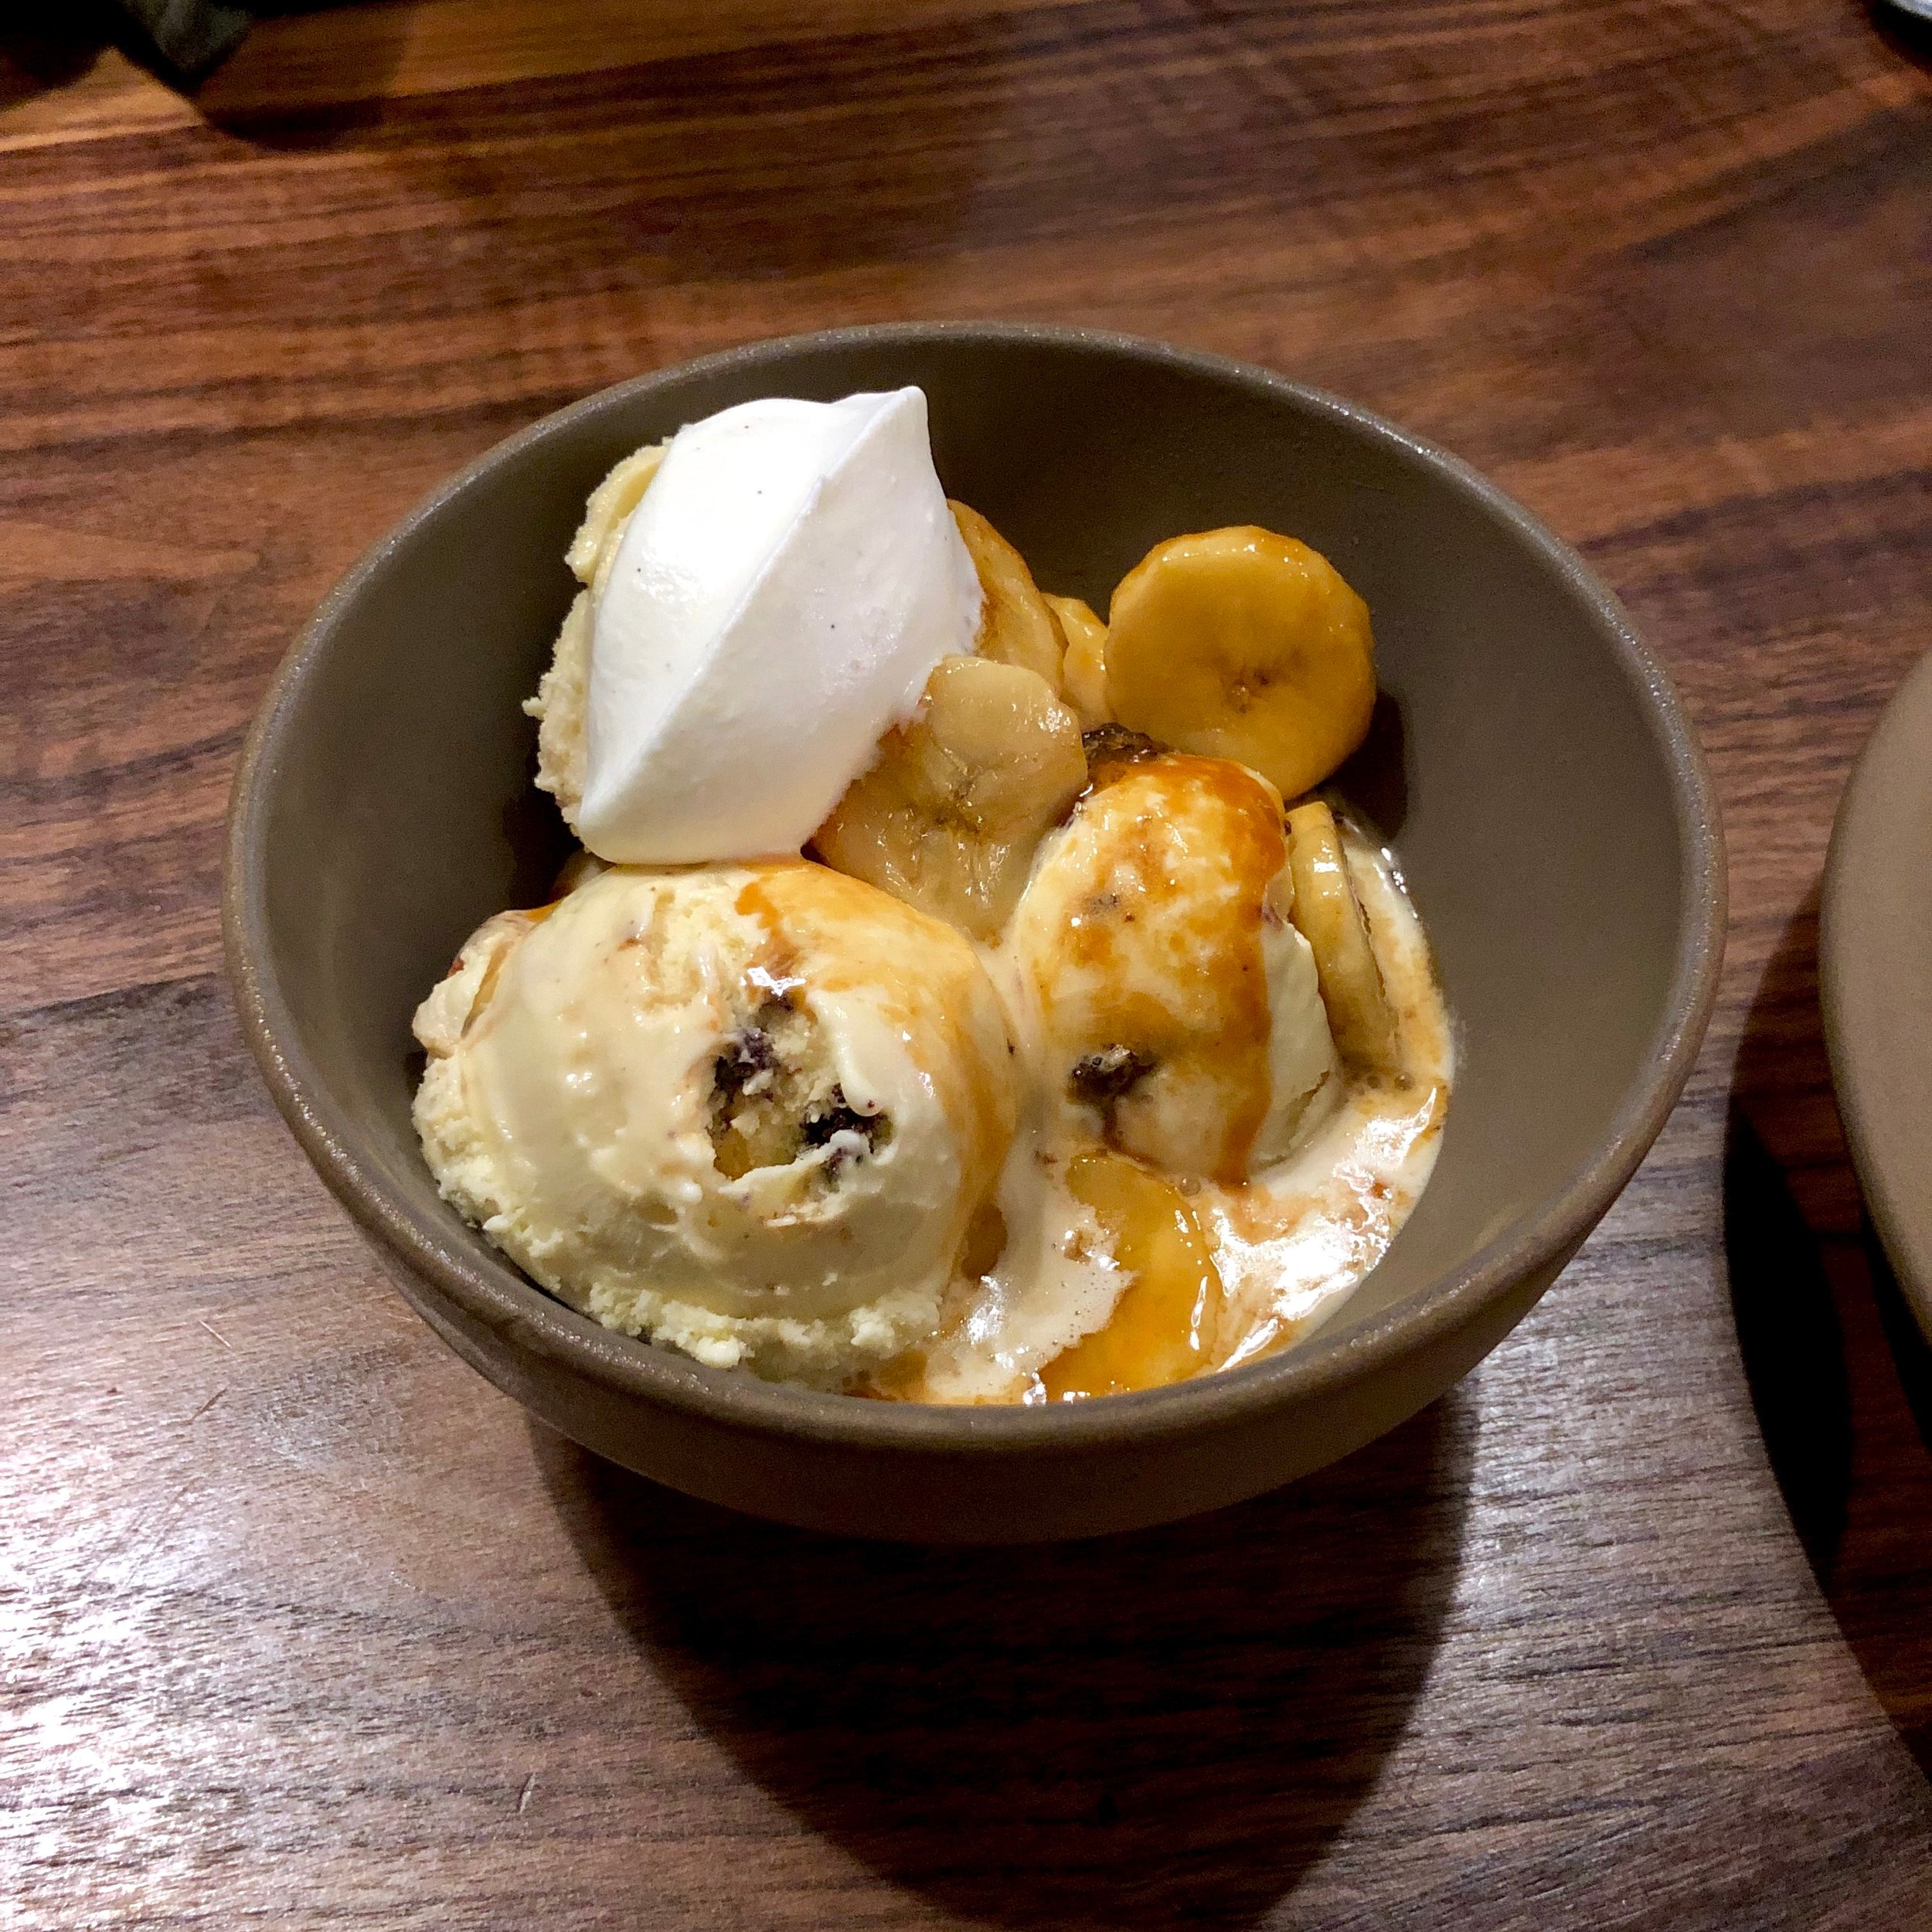
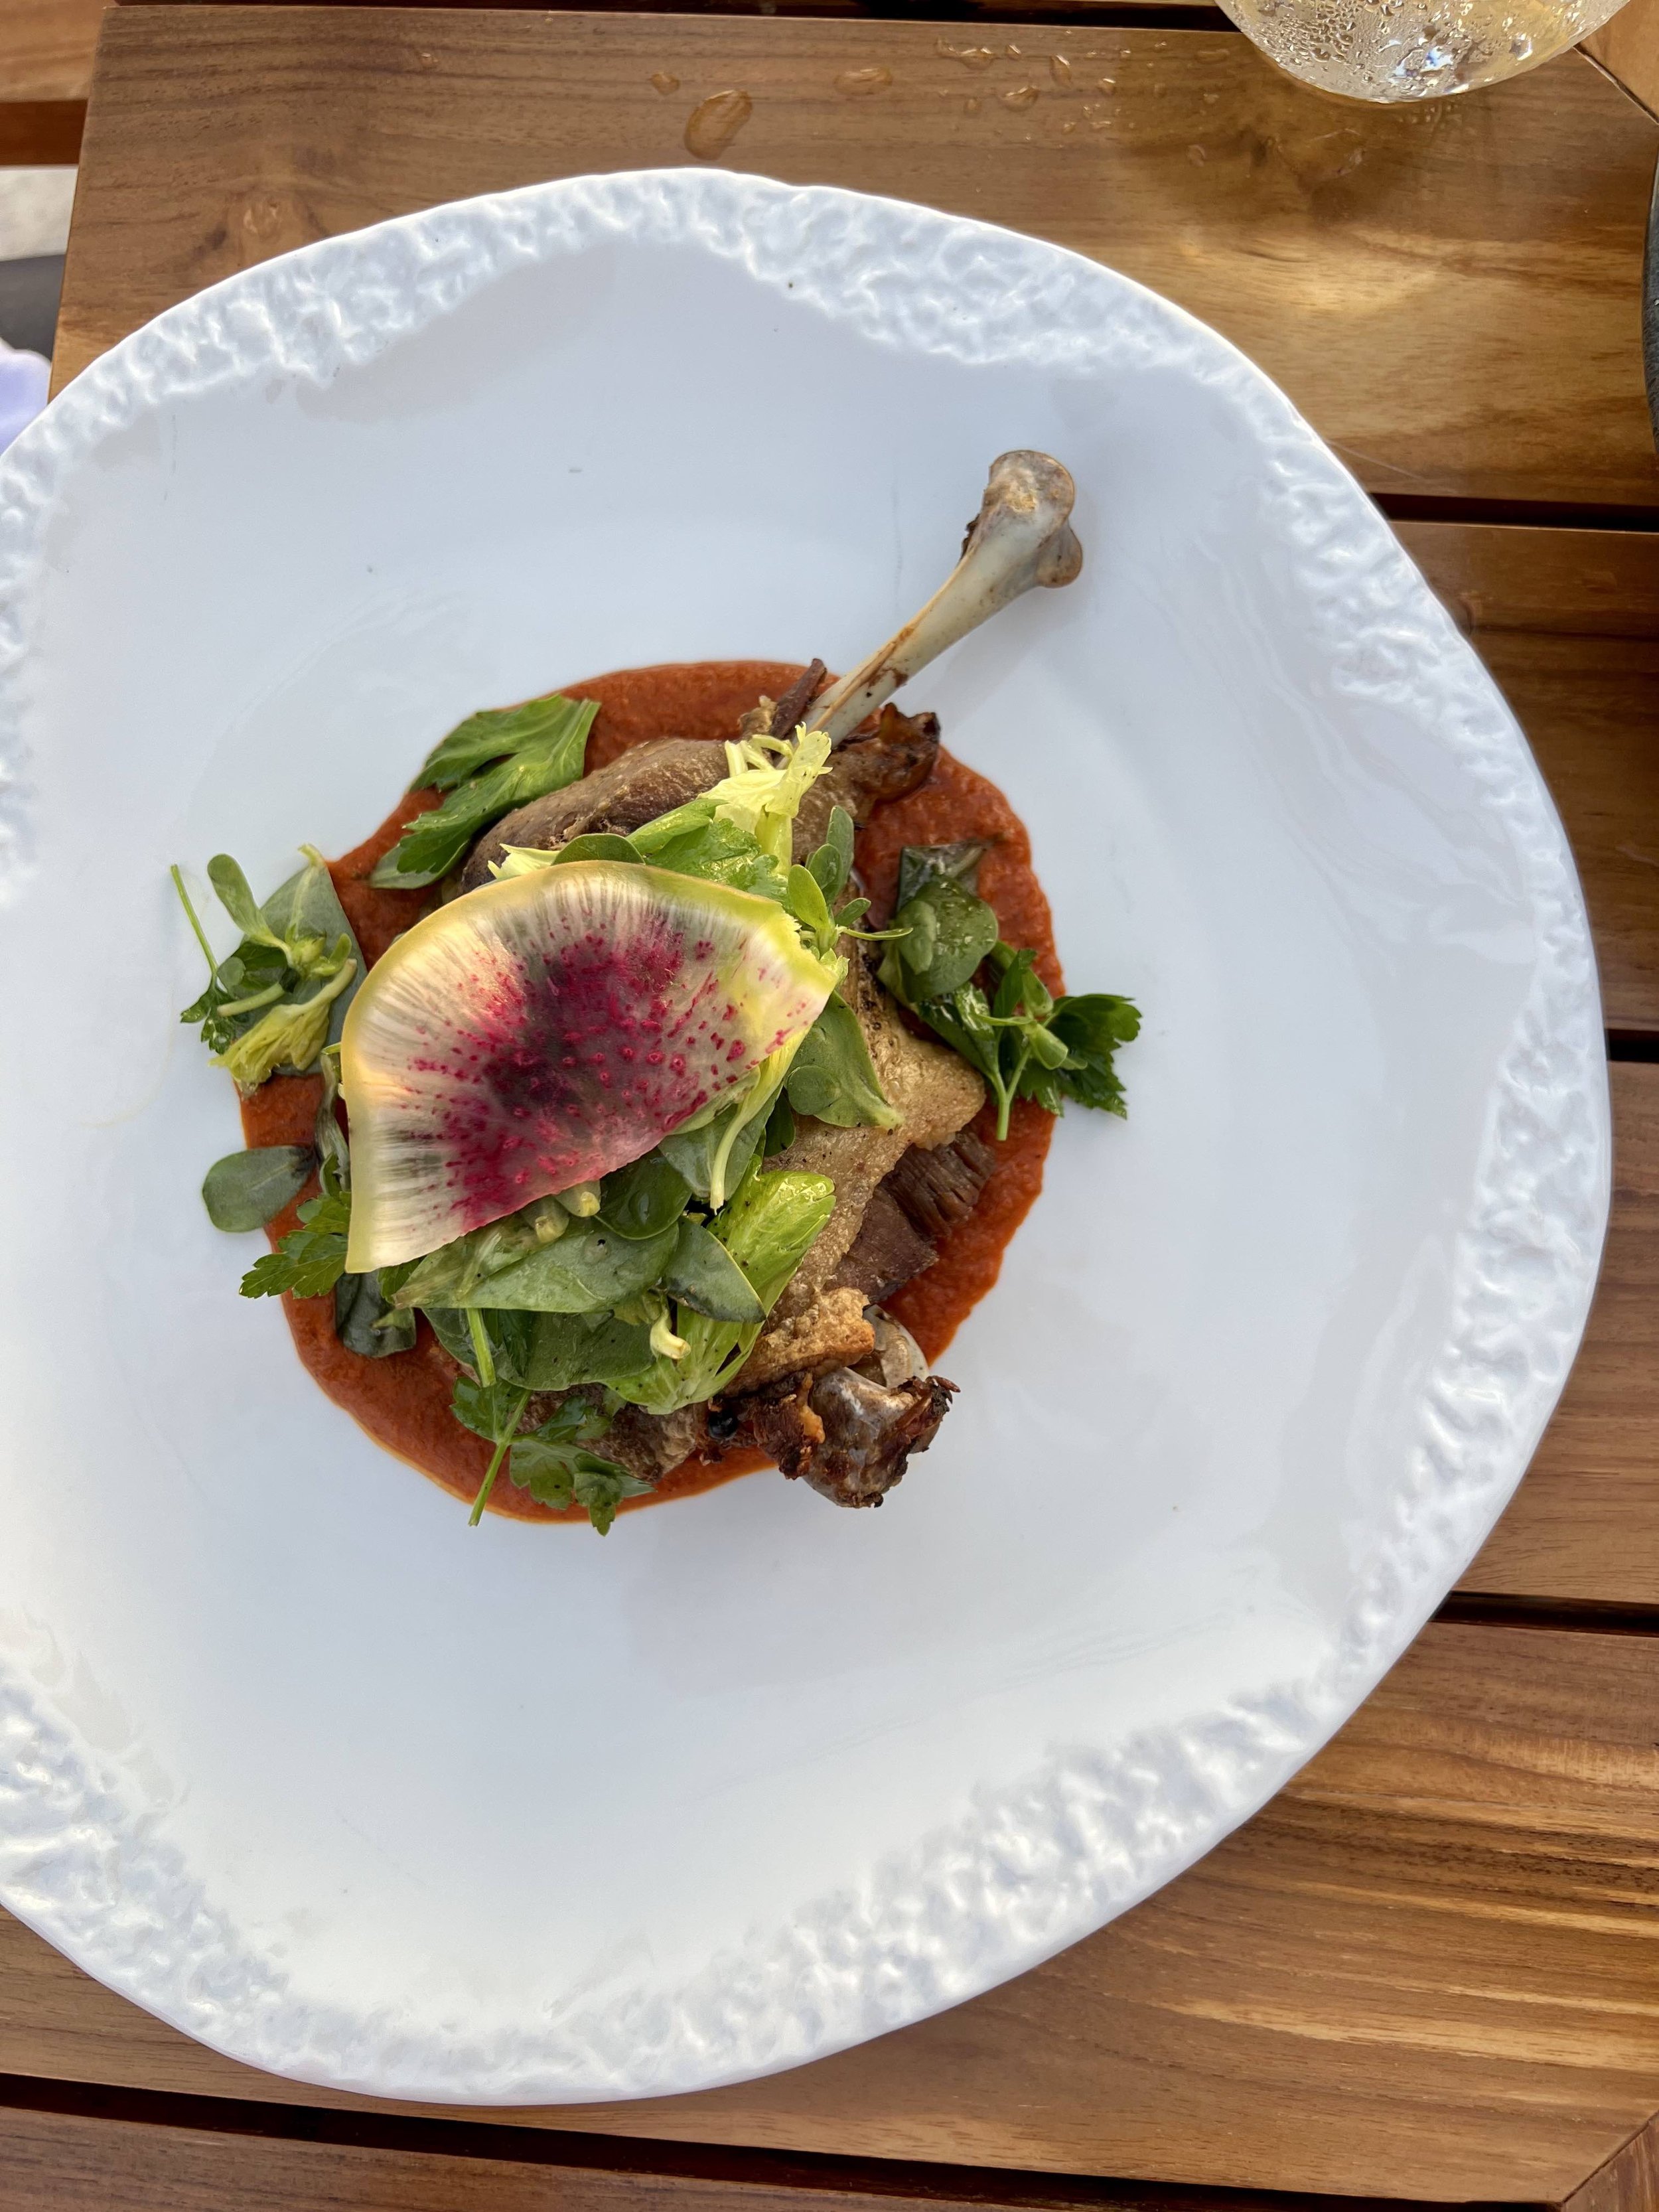
On a couple recent visits, we’ve dined at Tartine Bianco, the all-day restaurant whipping up all kinds of delights with fresh ingredients from the farmers market. It’s very comparable to its San Fran counterpart, Tartine Manufactory, a place I’ve dined at and absolutely loved. One main focus of the menu is the famous Tartine Bread (duh!), and food good reason. Choose from toasts, smørrebrøds, and flatbreads, or just get the bread basket with a couple of dips and go to town. Oh my glory, it’s honestly some of the best bread I have ever tasted. Baked to perfection, doughy and chewy on the inside, with the perfectly crisp, crunchy crust. Do yourself a favor and order a loaf to-go as well so you can keep the enjoyment going for a couple more days! The rest of the meal did not disappoint either, from the grilled beets with chermoula to the lamb shank with sunchokes to the malted brownie sundae, you really cannot go wrong. And how pretty is that chicken liver toast?! It’s practically a work of art. Click through the slideshow below to check out the rest of our fantastic meal, and get ready to drool! I look forward to picking up some bread and pastries, and perhaps (read: definitely) making a pit stop at the Ice Cream Window for some delicious soft serve very soon!


deliciously ella

I've been following Ella Mills (@DeliciouslyElla) for a while now, and was super excited when she opened The MaE Deli (now called Deliciously Ella) along with her husband, Matthew. Now with multiple locations around London, the delis offer natural, seasonal, and delicious food. While I (luckily) don't have any allergies or need to avoid any specific ingredients, all the food at The MaE Deli is free from wheat, dairy, additives, and refined sugar, making it the perfect, healthy spot for breakfast or lunch for just about anyone. On a recent trip to London, I visited twice, and loved all the fresh, colorful options to choose from. I created my own "MaE Bowl", with miso broccolini salad, sweet potato with coriander tahini, cauliflower & broad bean falafel, and grilled vegetables with sorrel pesto, all topped with avocado pesto dip! Talk about a mouthful, but this is my favorite kind of lunch. Veggie-based, full of flavor, and super healthy and satisfying!

You know me- I rarely pass on the sweets, and this occasion was no different. The fudgy brownie tastes sinful and indulgent, but is far from it. I love when a dessert still tastes rich and decadent, but isn't full of a bunch of processed crap! Win-win! And how pretty is the hot pink frosting on that red velvet cupcake?! You can now also buy Ella's energy balls in various stores around London (like Whole Foods!). These bite-sized treats, made from nuts and fruits, are great, quick sources of energy and protein, and delicious to boot! I like keeping a few in my bag for whenever I start to get hangry. Here's hoping a NYC location opens soon! 


sticky toffee pudding

I've had a love affair with sticky toffee pudding for quite a while now. This British dessert made from dates and toffee sauce is less a pudding (by American standards), but rather a rich and gooey cake. Since I was in London last week, I took the opportunity to seek out and indulge in a few versions of this local dessert- all in the name of research, of course- so that I could recreate a worthy version at home just in time for Easter brunch. Sticky toffee pudding is seriously decadent, super unique, and utterly delicious, making it the perfect Easter dessert in my book. It's best served warm out of the oven, so if you need to bake the cake ahead of time, just wait to poke holes and pour the sauce over it until just before serving. Cover and reheat at 300ºF for about 20 minutes. While this cake is super delicious as-is, a little ice cream or whipped cream never hurt anybody, right? Throw on some toasted nuts and the rest of the warm toffee sauce, and you'll be adding this to your dessert rotation in no time!

Sticky Toffee Pudding:

Date Cake:

  • 1 cup Medjool dates, pitted & chopped

  • 1 1/4 cup boiling water

  • 1 teaspoon baking soda

  • 3/4 cup all-purpose flour

  • 1/2 cup whole wheat flour

  • 1 teaspoon baking powder

  • 1/2 teaspoon kosher salt

  • 1/2 cup unsalted butter

  • 1/2 cup turbinado sugar

  • 1/4 cup dark brown sugar

  • 2 large eggs, at room temperature

  • 1 teaspoon vanilla extract

Toffee Sauce:

  • 1 cup unsalted butter

  • 1 cup heavy cream

  • 1/2 cup dark brown sugar

  • 2 tsp pure vanilla extract

  • pinch salt

Toppings:

  • whipped cream or ice cream

  • pecans, toasted & chopped

  • extra toffee sauce

Preheat the oven to 350ºF and butter an 8 1/2 or 9 inch square (or round) baking dish. Place chopped dates in a heat-proof bowl, and cover with the boiling water. Mix in baking soda, then set aside to let soften. 

In the bowl of a stand mixer, beat the butter and sugars together until light and fluffy. Gradually beat in the eggs, then the vanilla until fully combined. In a separate bowl, sift together the flours, baking powder, and salt. Slowly add the flour and date mixtures to the stand mixer, alternating 1/2 of each at a time. Careful not to over-mix. 

Pour the batter into the baking dish and bake for about 45 minutes, or until a toothpick inserted into the center comes out with some moist crumbs still attached. Remove from the oven, and let cool a few minutes. While the cake bakes, make the toffee sauce. Bring the butter, cream, brown sugar, vanilla and salt to a boil in a saucepan, then lower to simmer. Whisk or stir constantly for about 10 minutes until sauce thickens and coats spoon. Remove from heat and set aside.

While cake is still warm, poke several holes over the entire surface with a chopstick. Pour toffee sauce over top of the cake, spreading it around evenly and allowing it to be absorbed into the cake. Repeat another time, leaving about 1/4 of the sauce for serving. If desired, turn oven to broil and return the cake to the oven for just one minute for extra caramelization! Careful not to let it burn.

To serve, you may cut squares, use a ring-mold, or simply spoon portions of the cake into serving bowls. Top with additional warm toffee sauce, whipped cream (or ice cream), and toasted pecans.

*Adapted from Date Cake with Toffee Sauce by Smitten Kitchen and Warm Sticky Toffee Pudding by David Lebovitz.

Useful Tools: