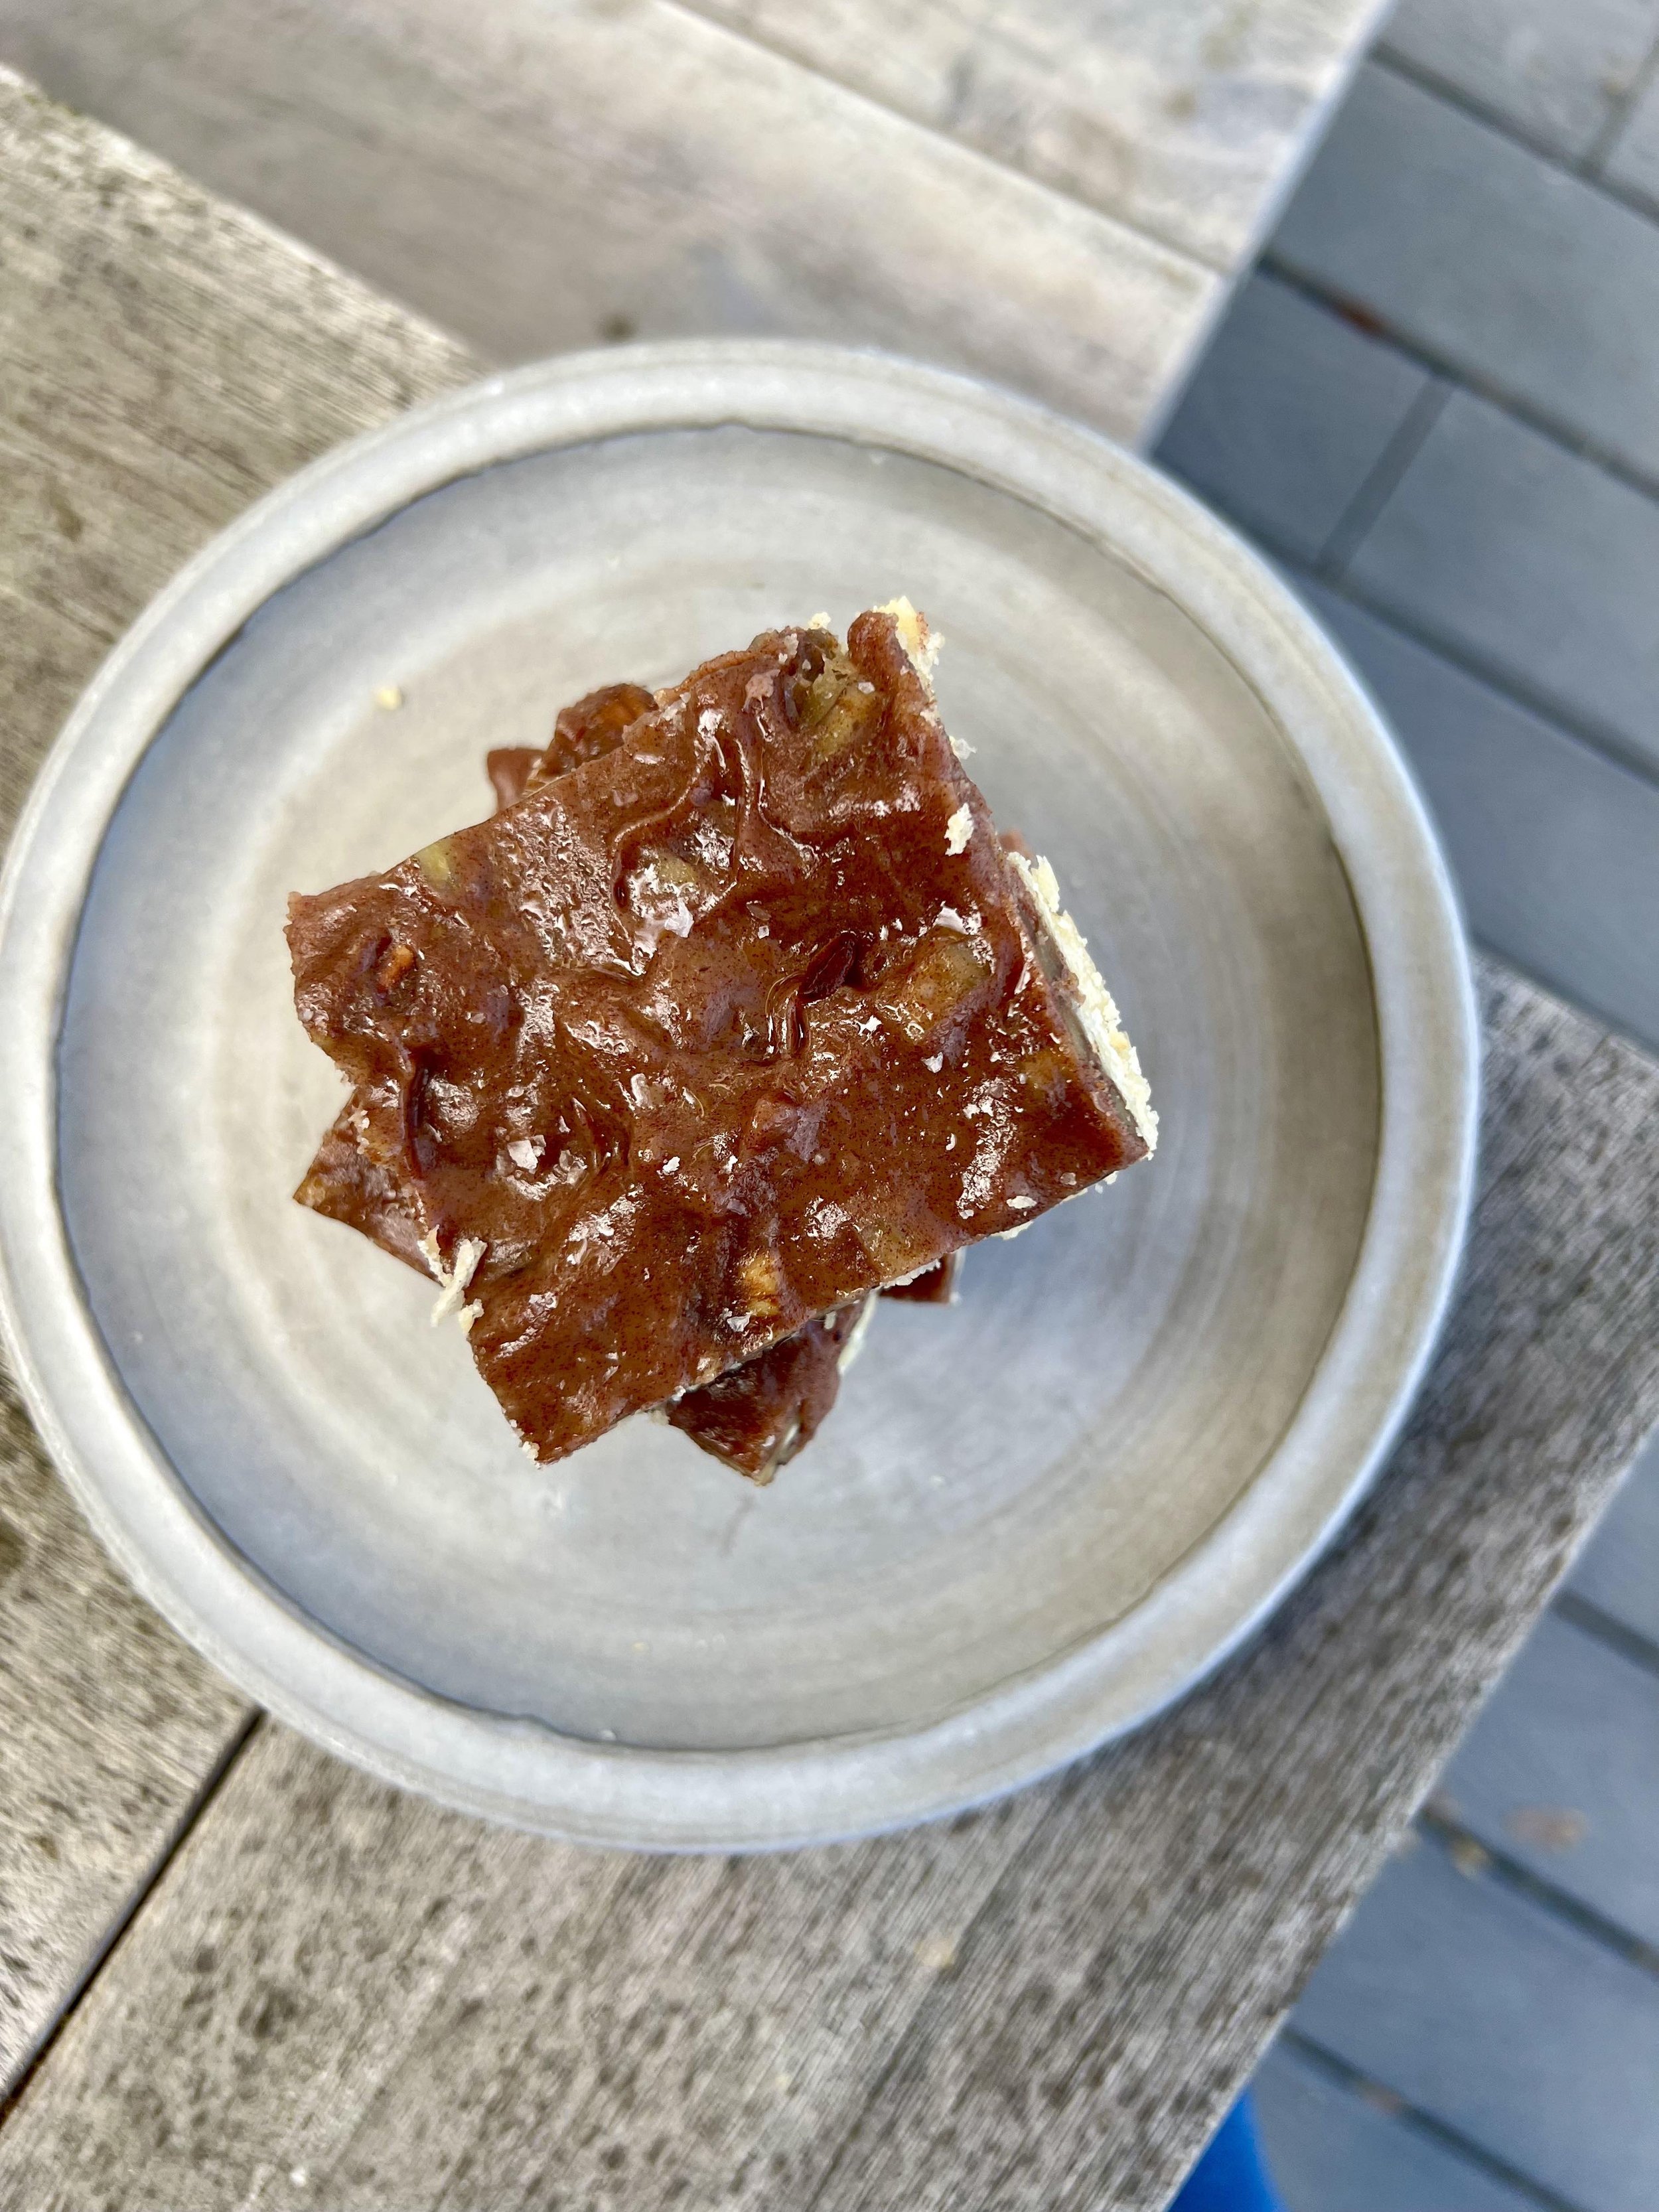
grain-free pecan pie bars

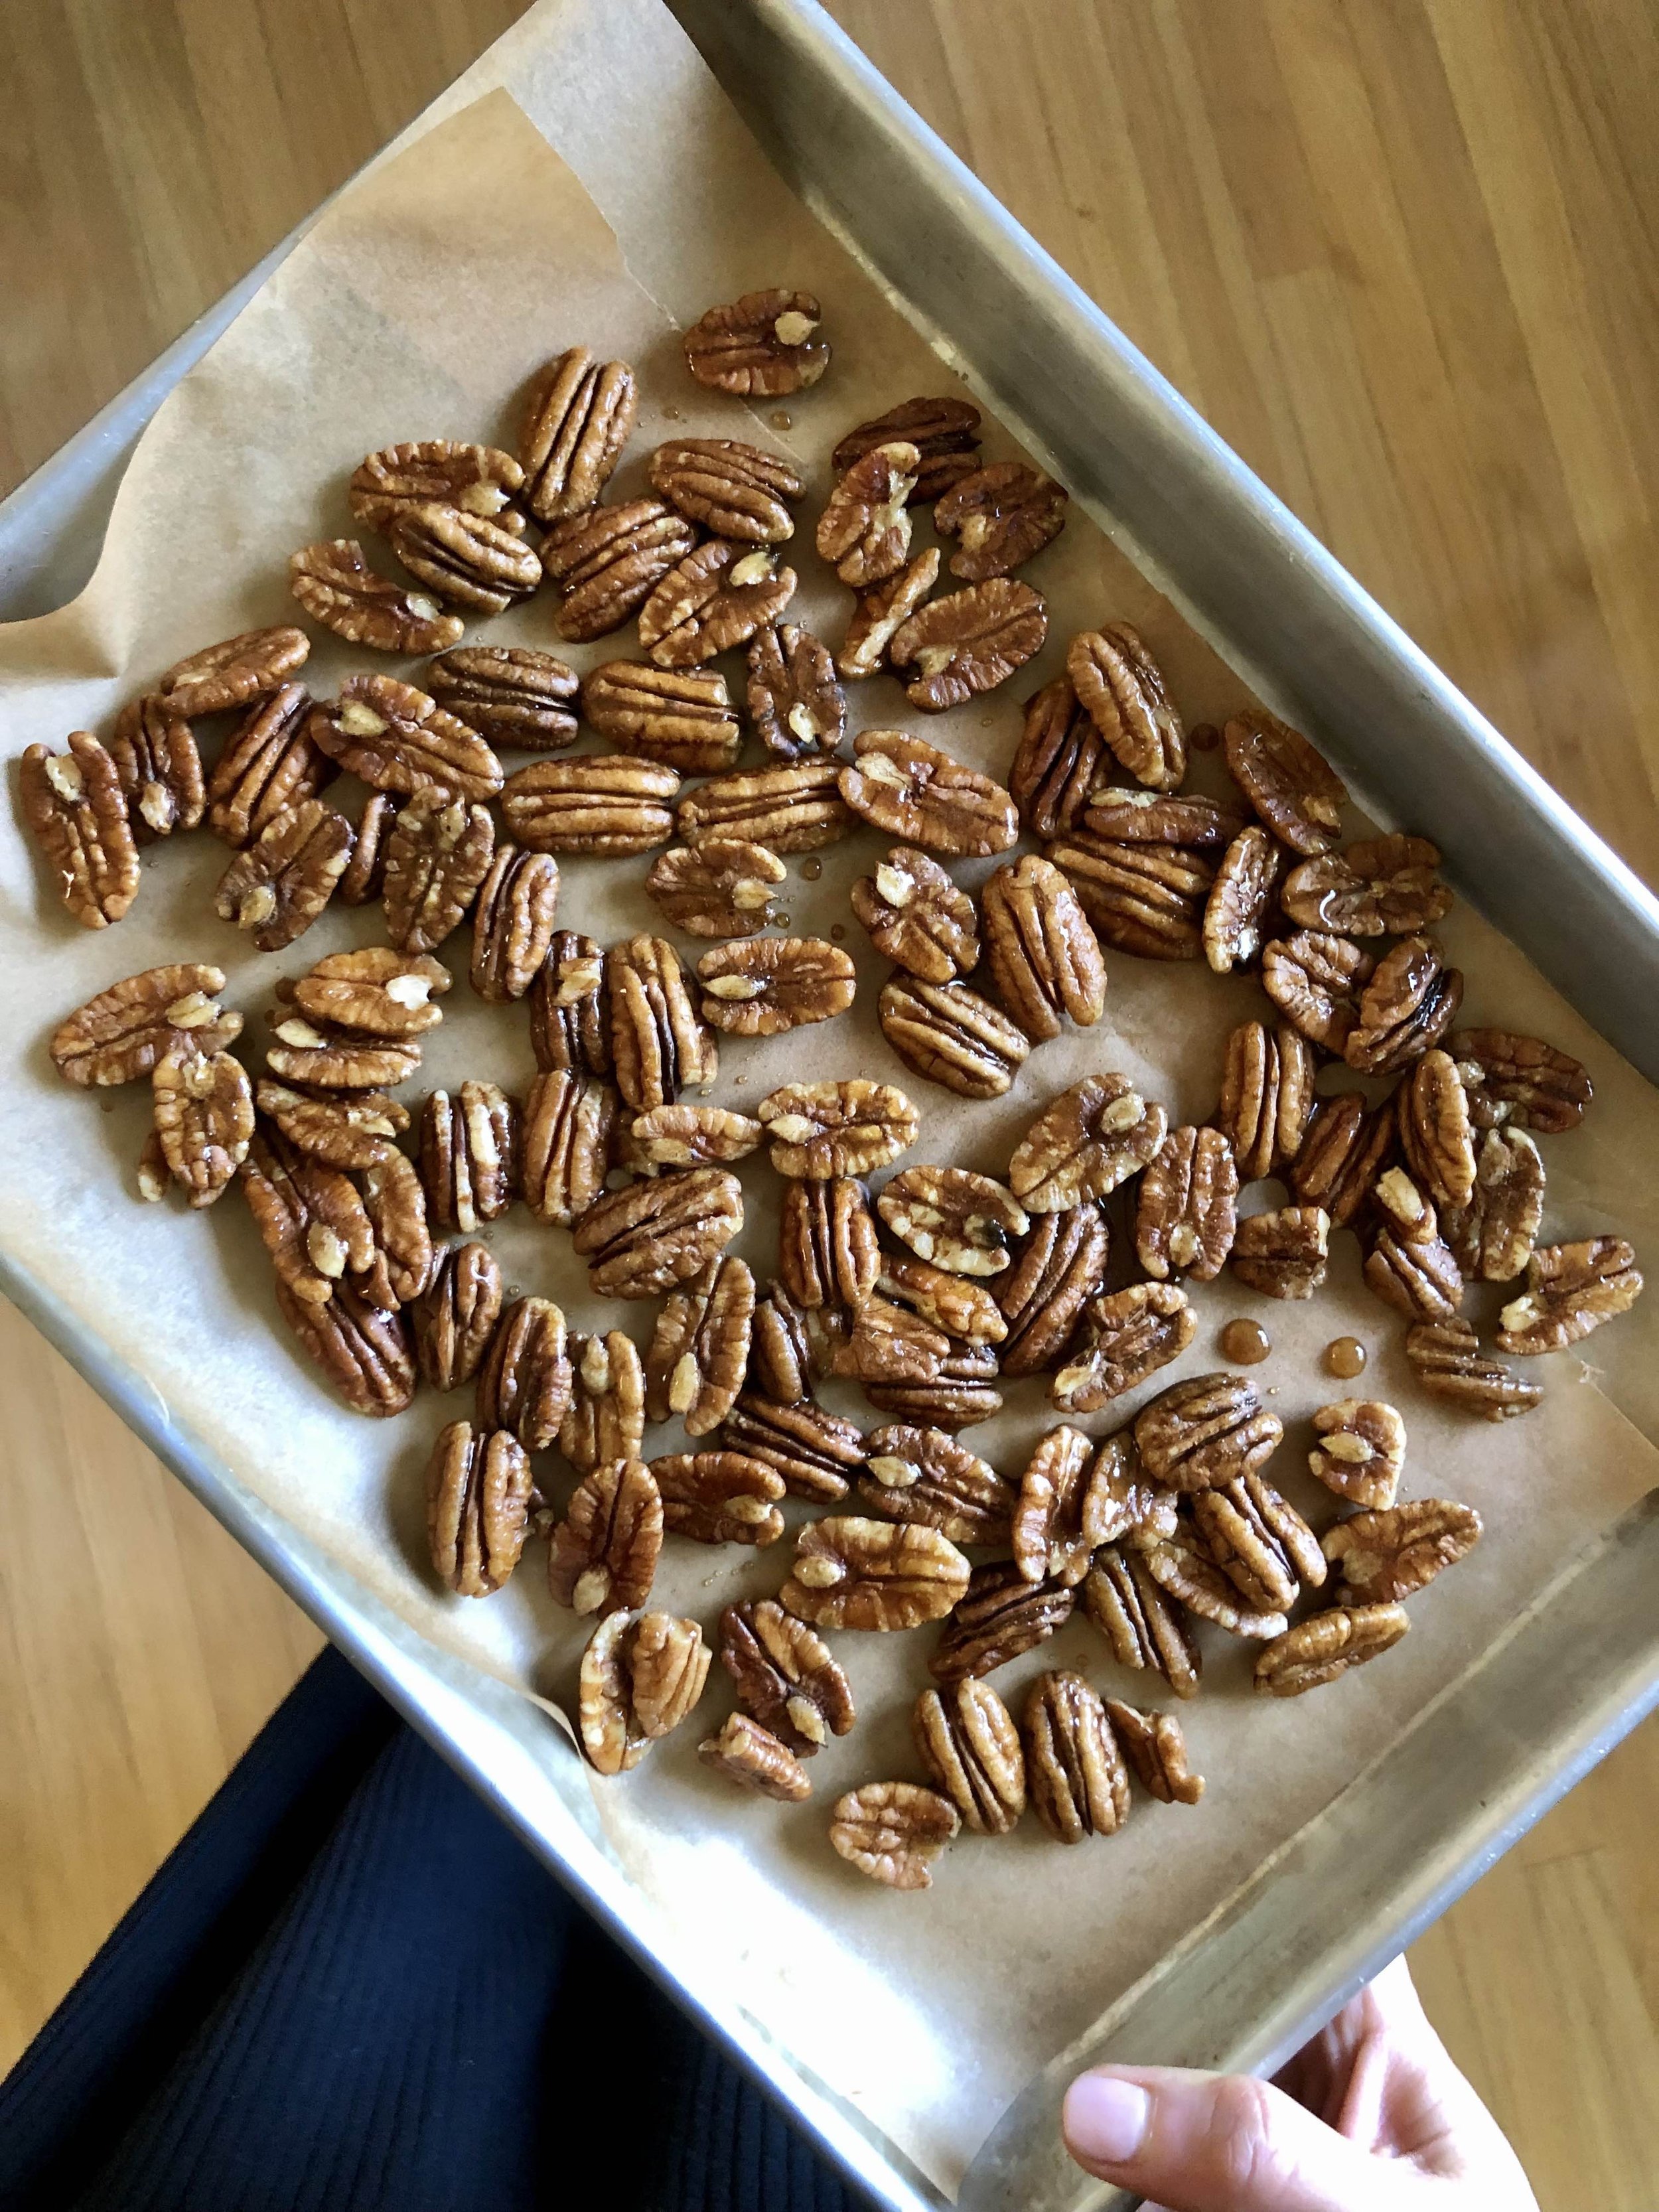
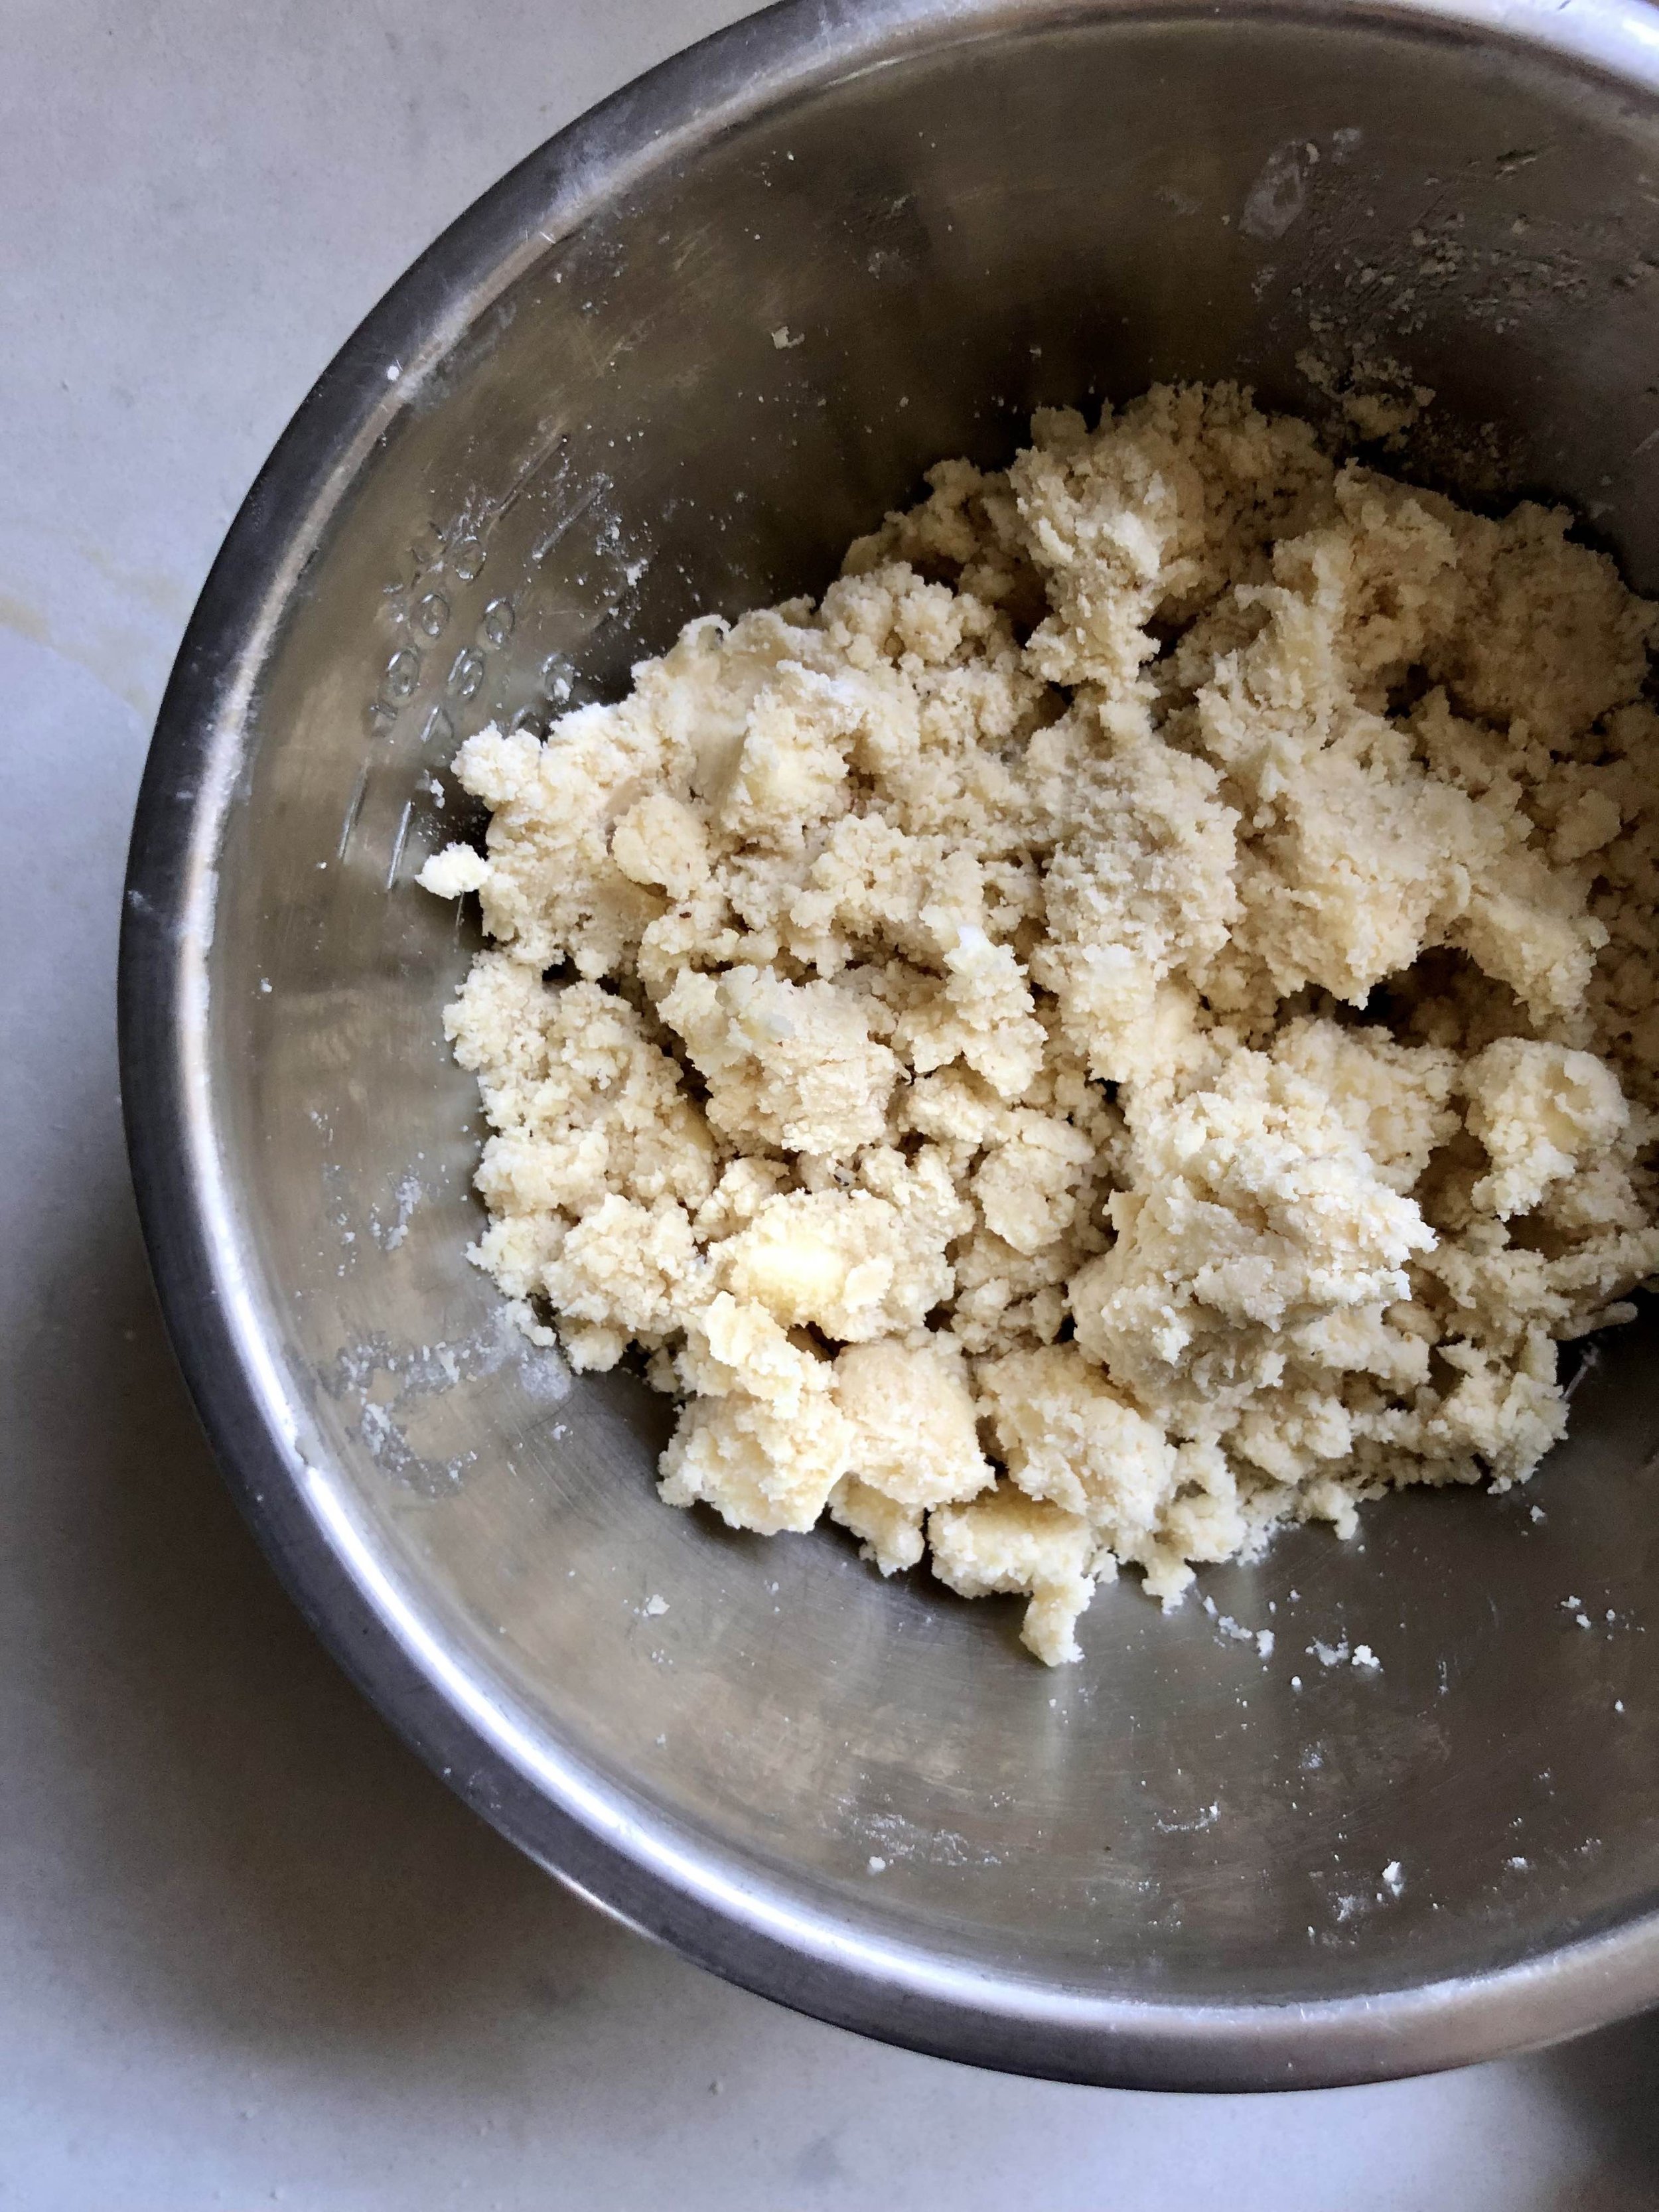
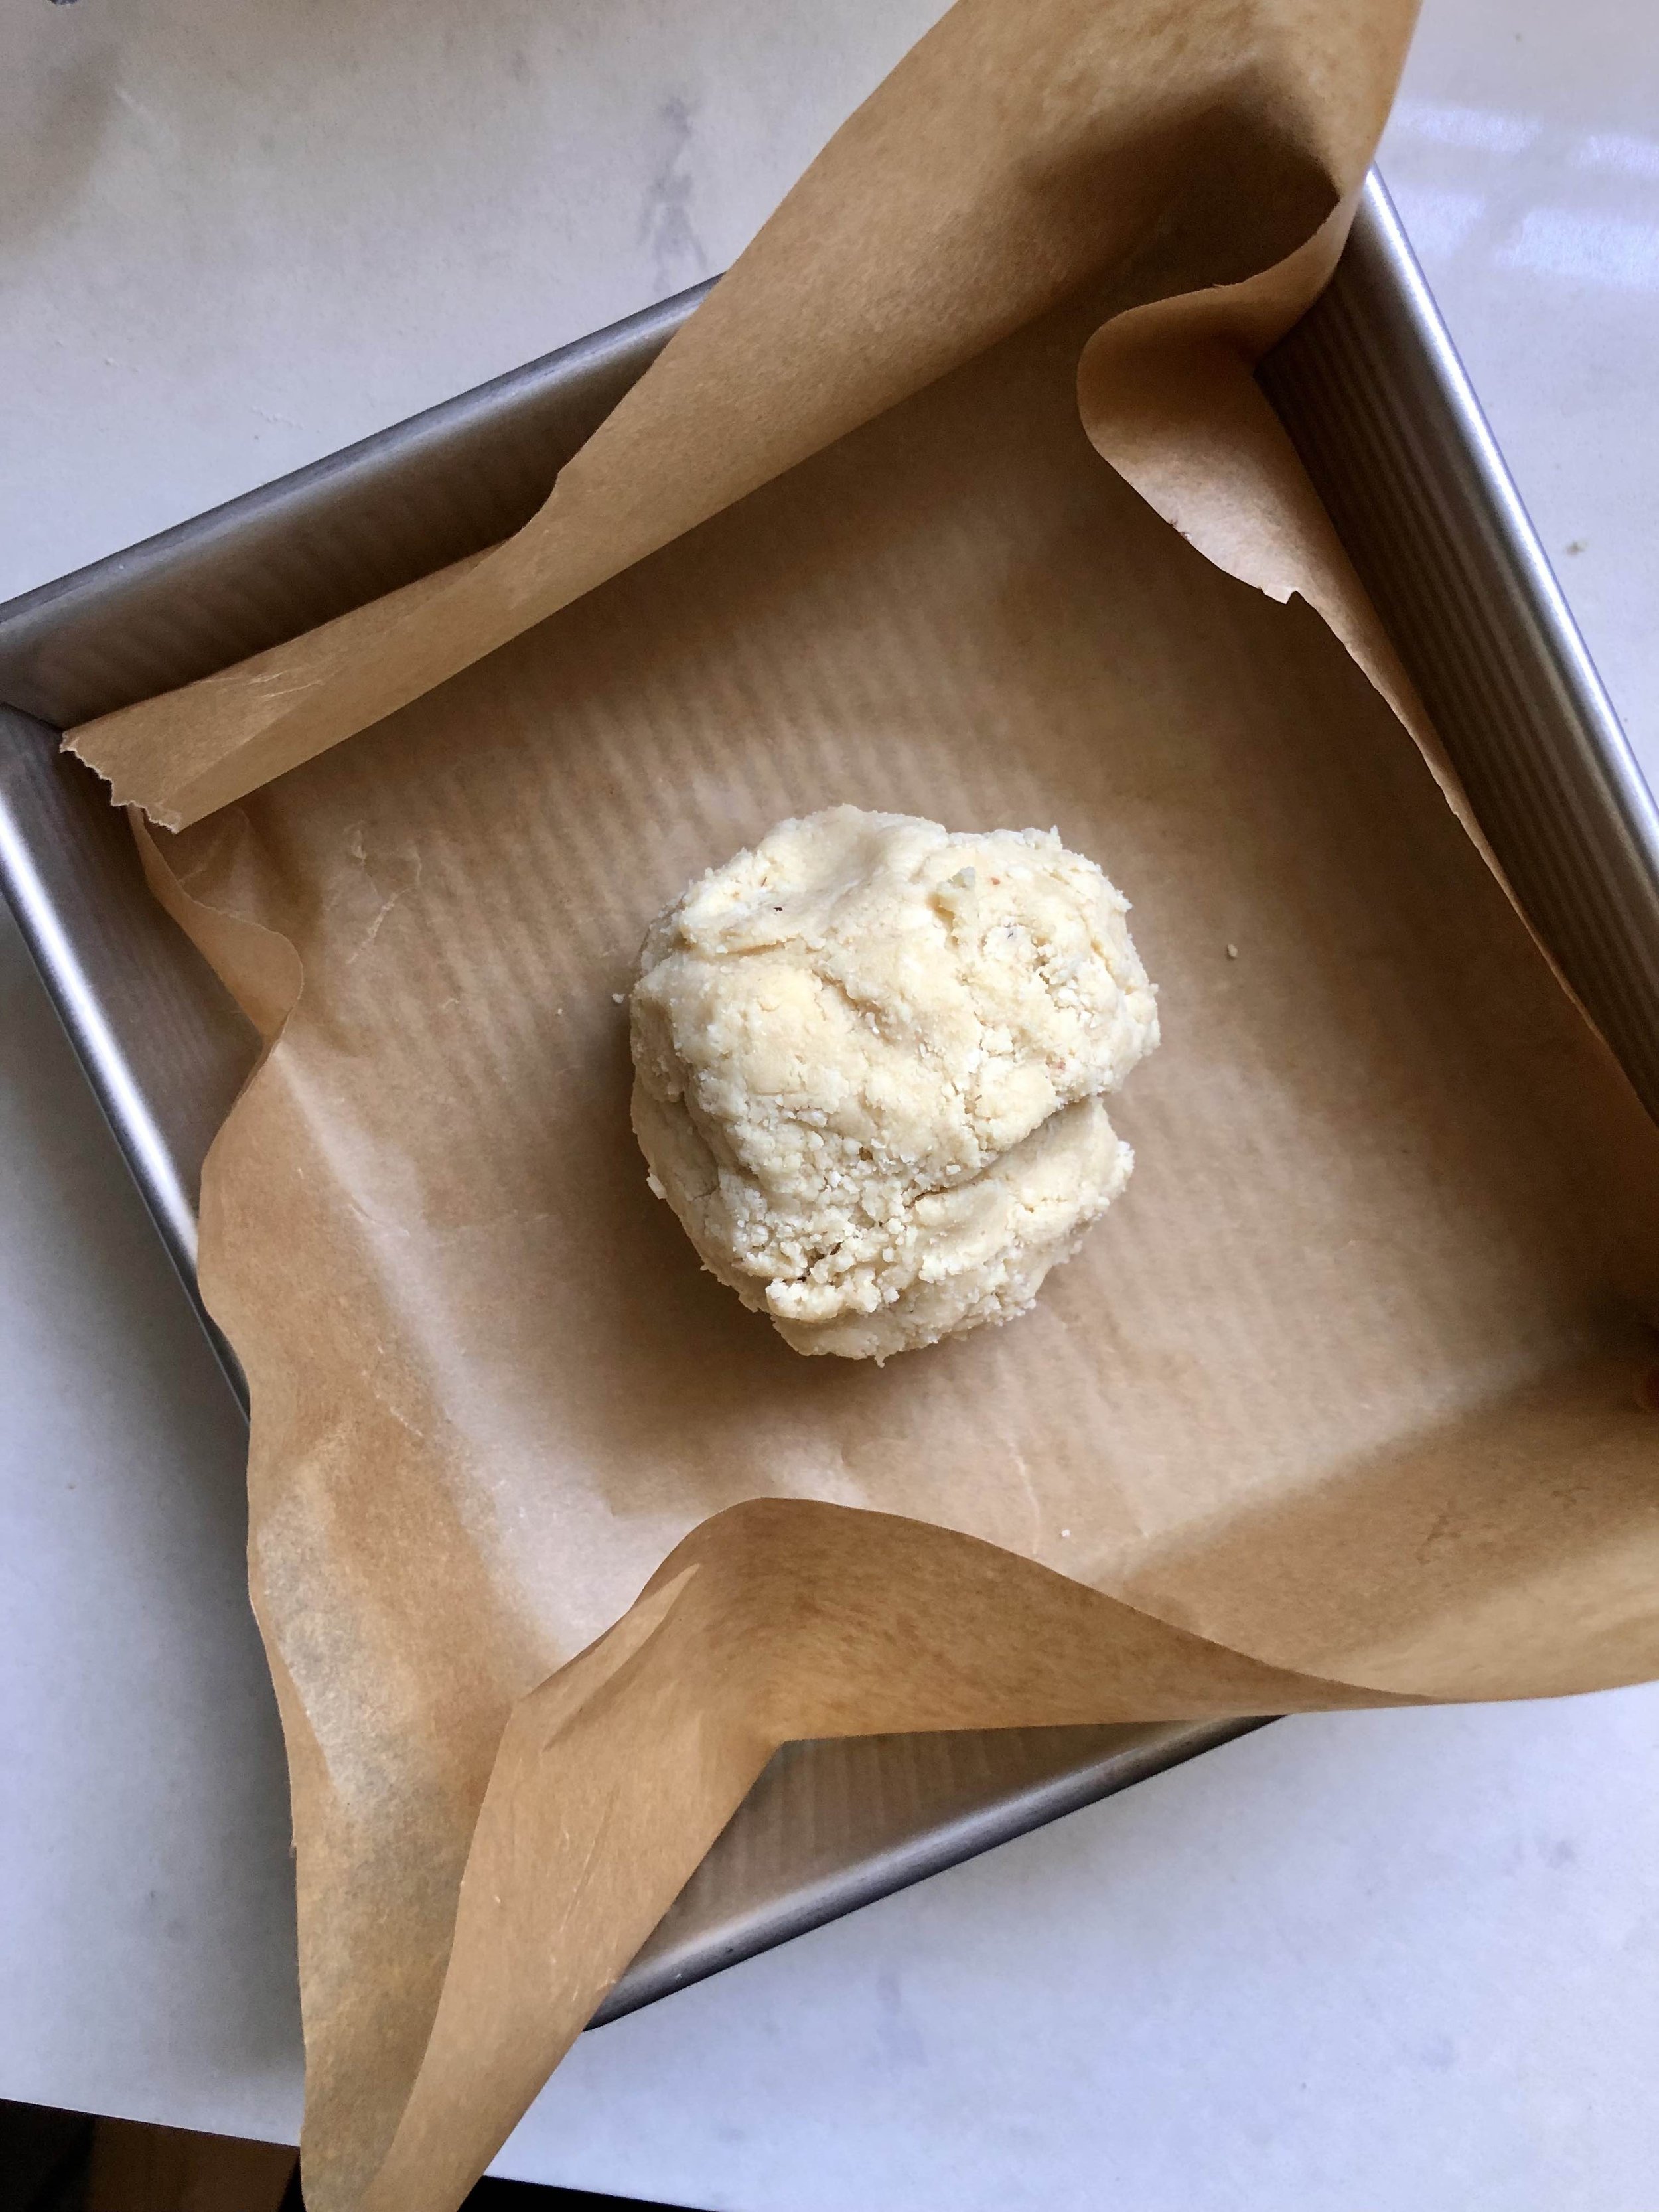
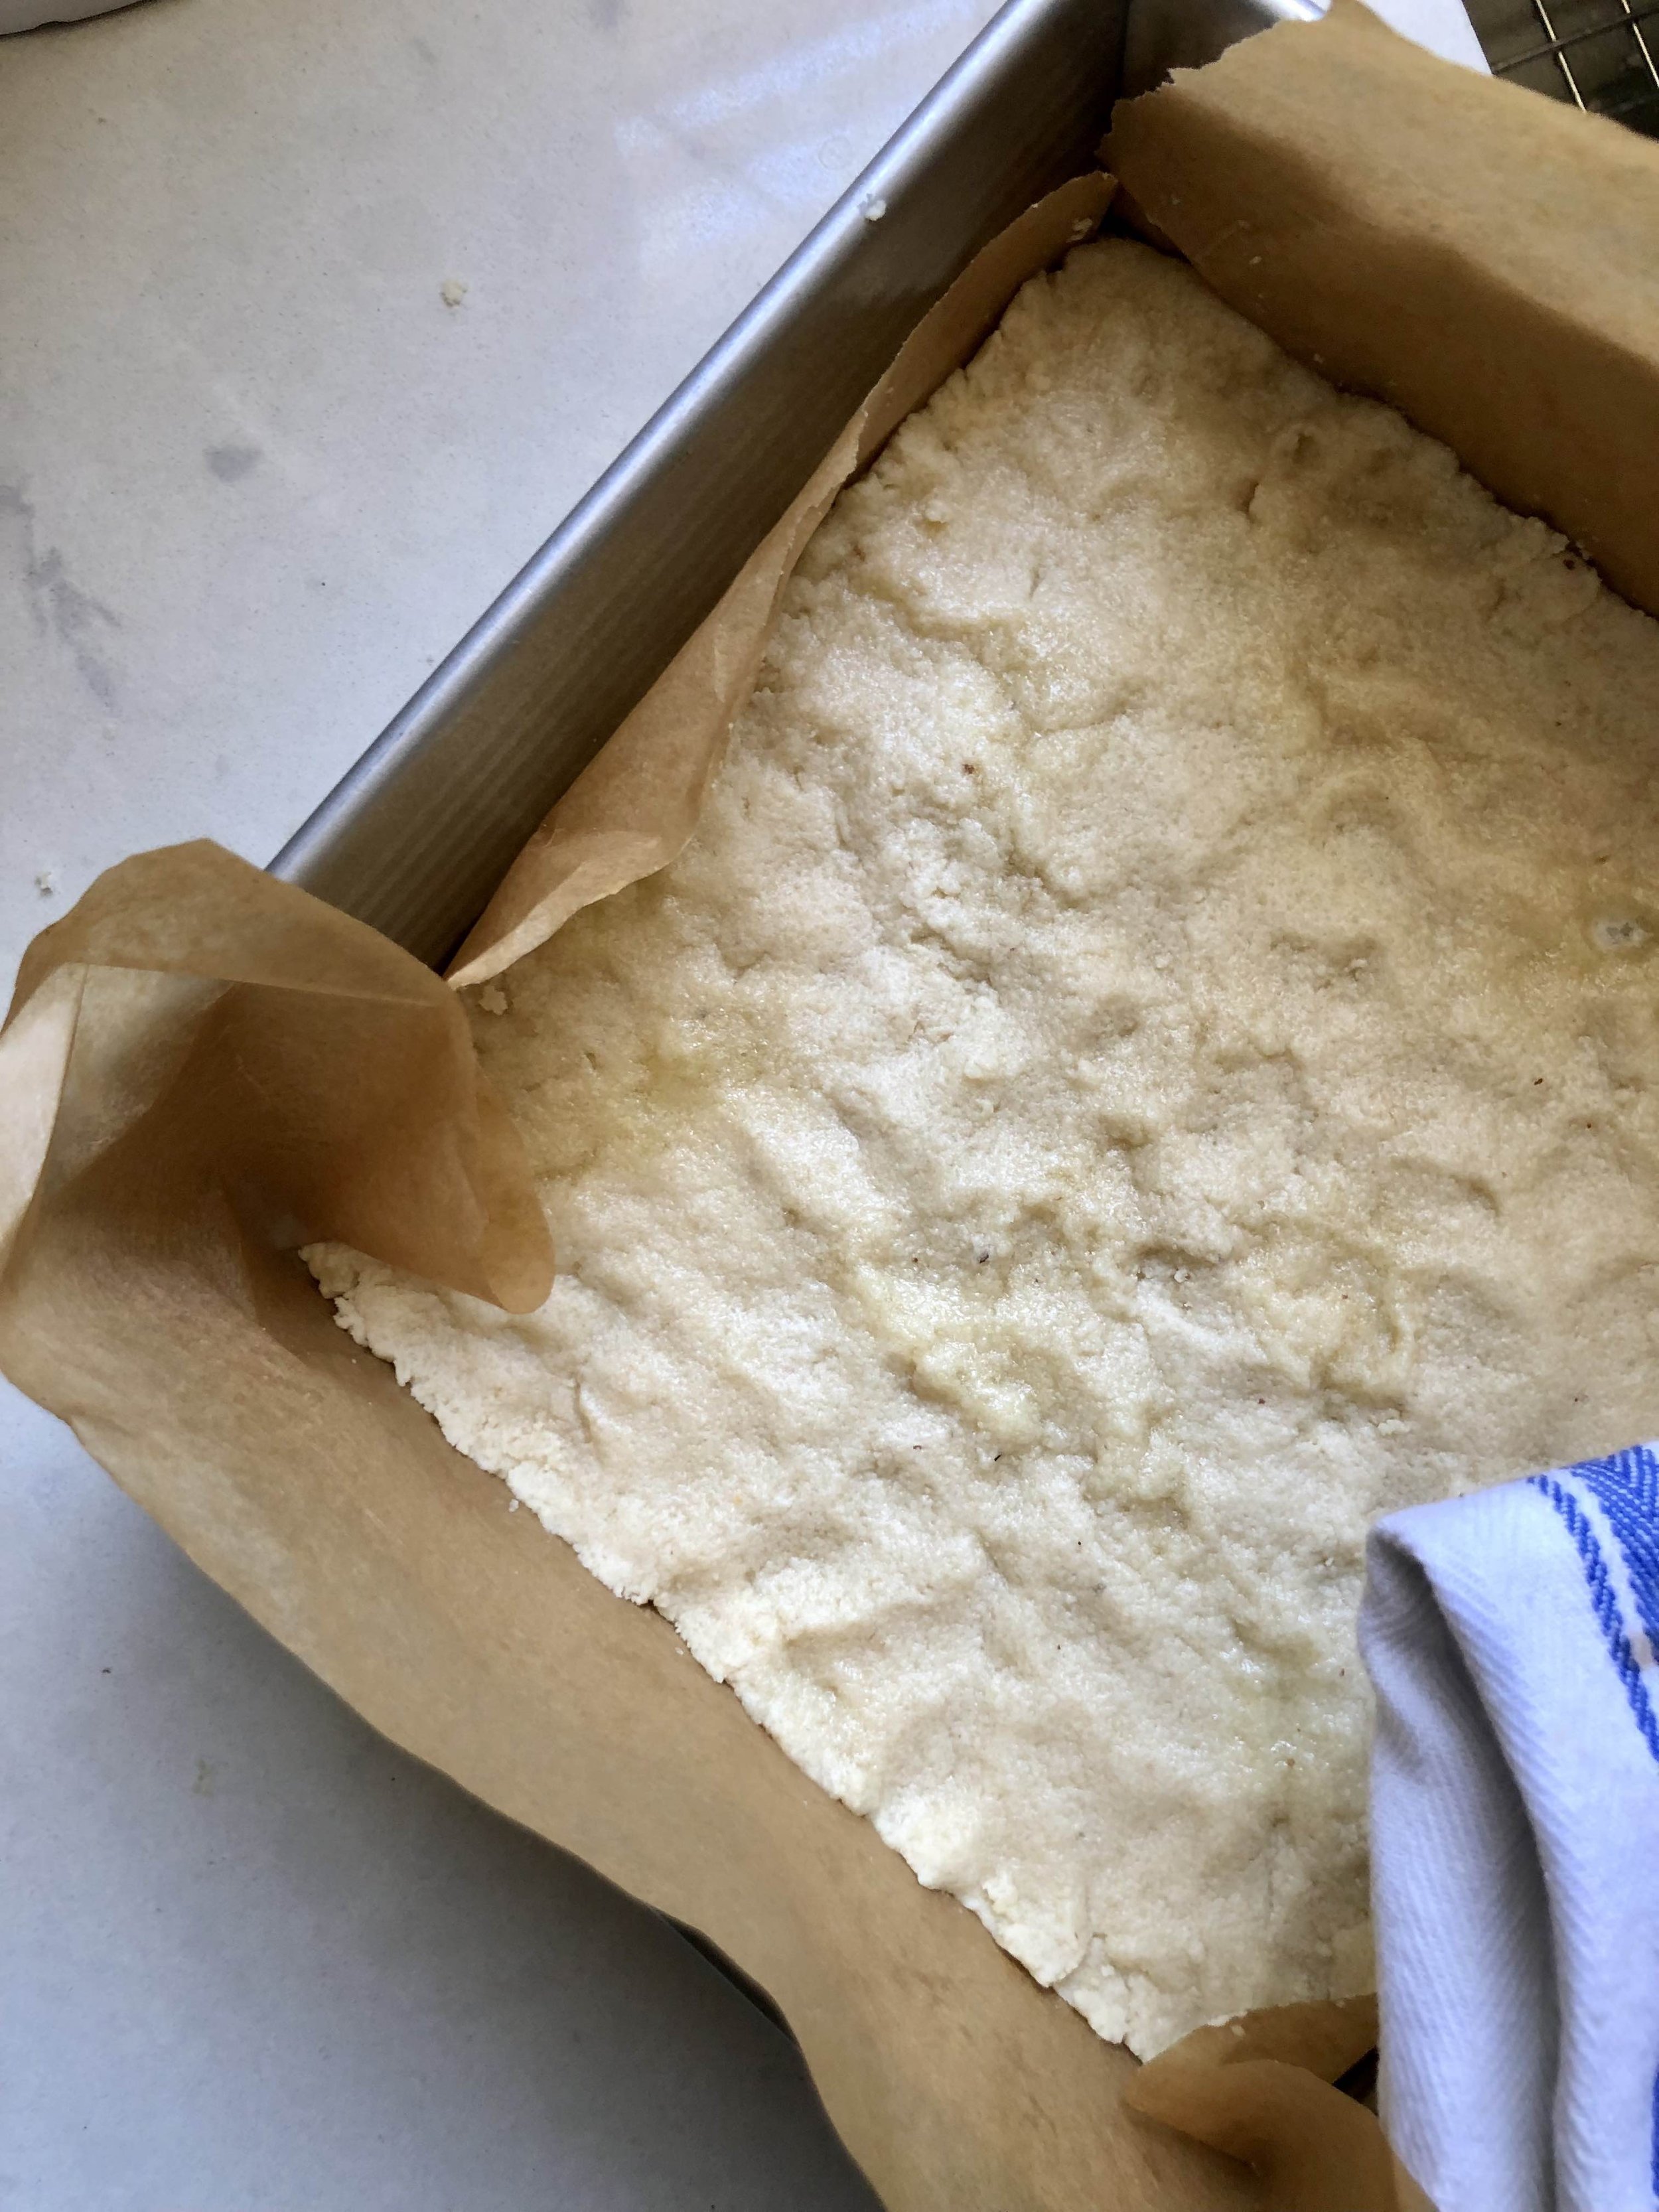
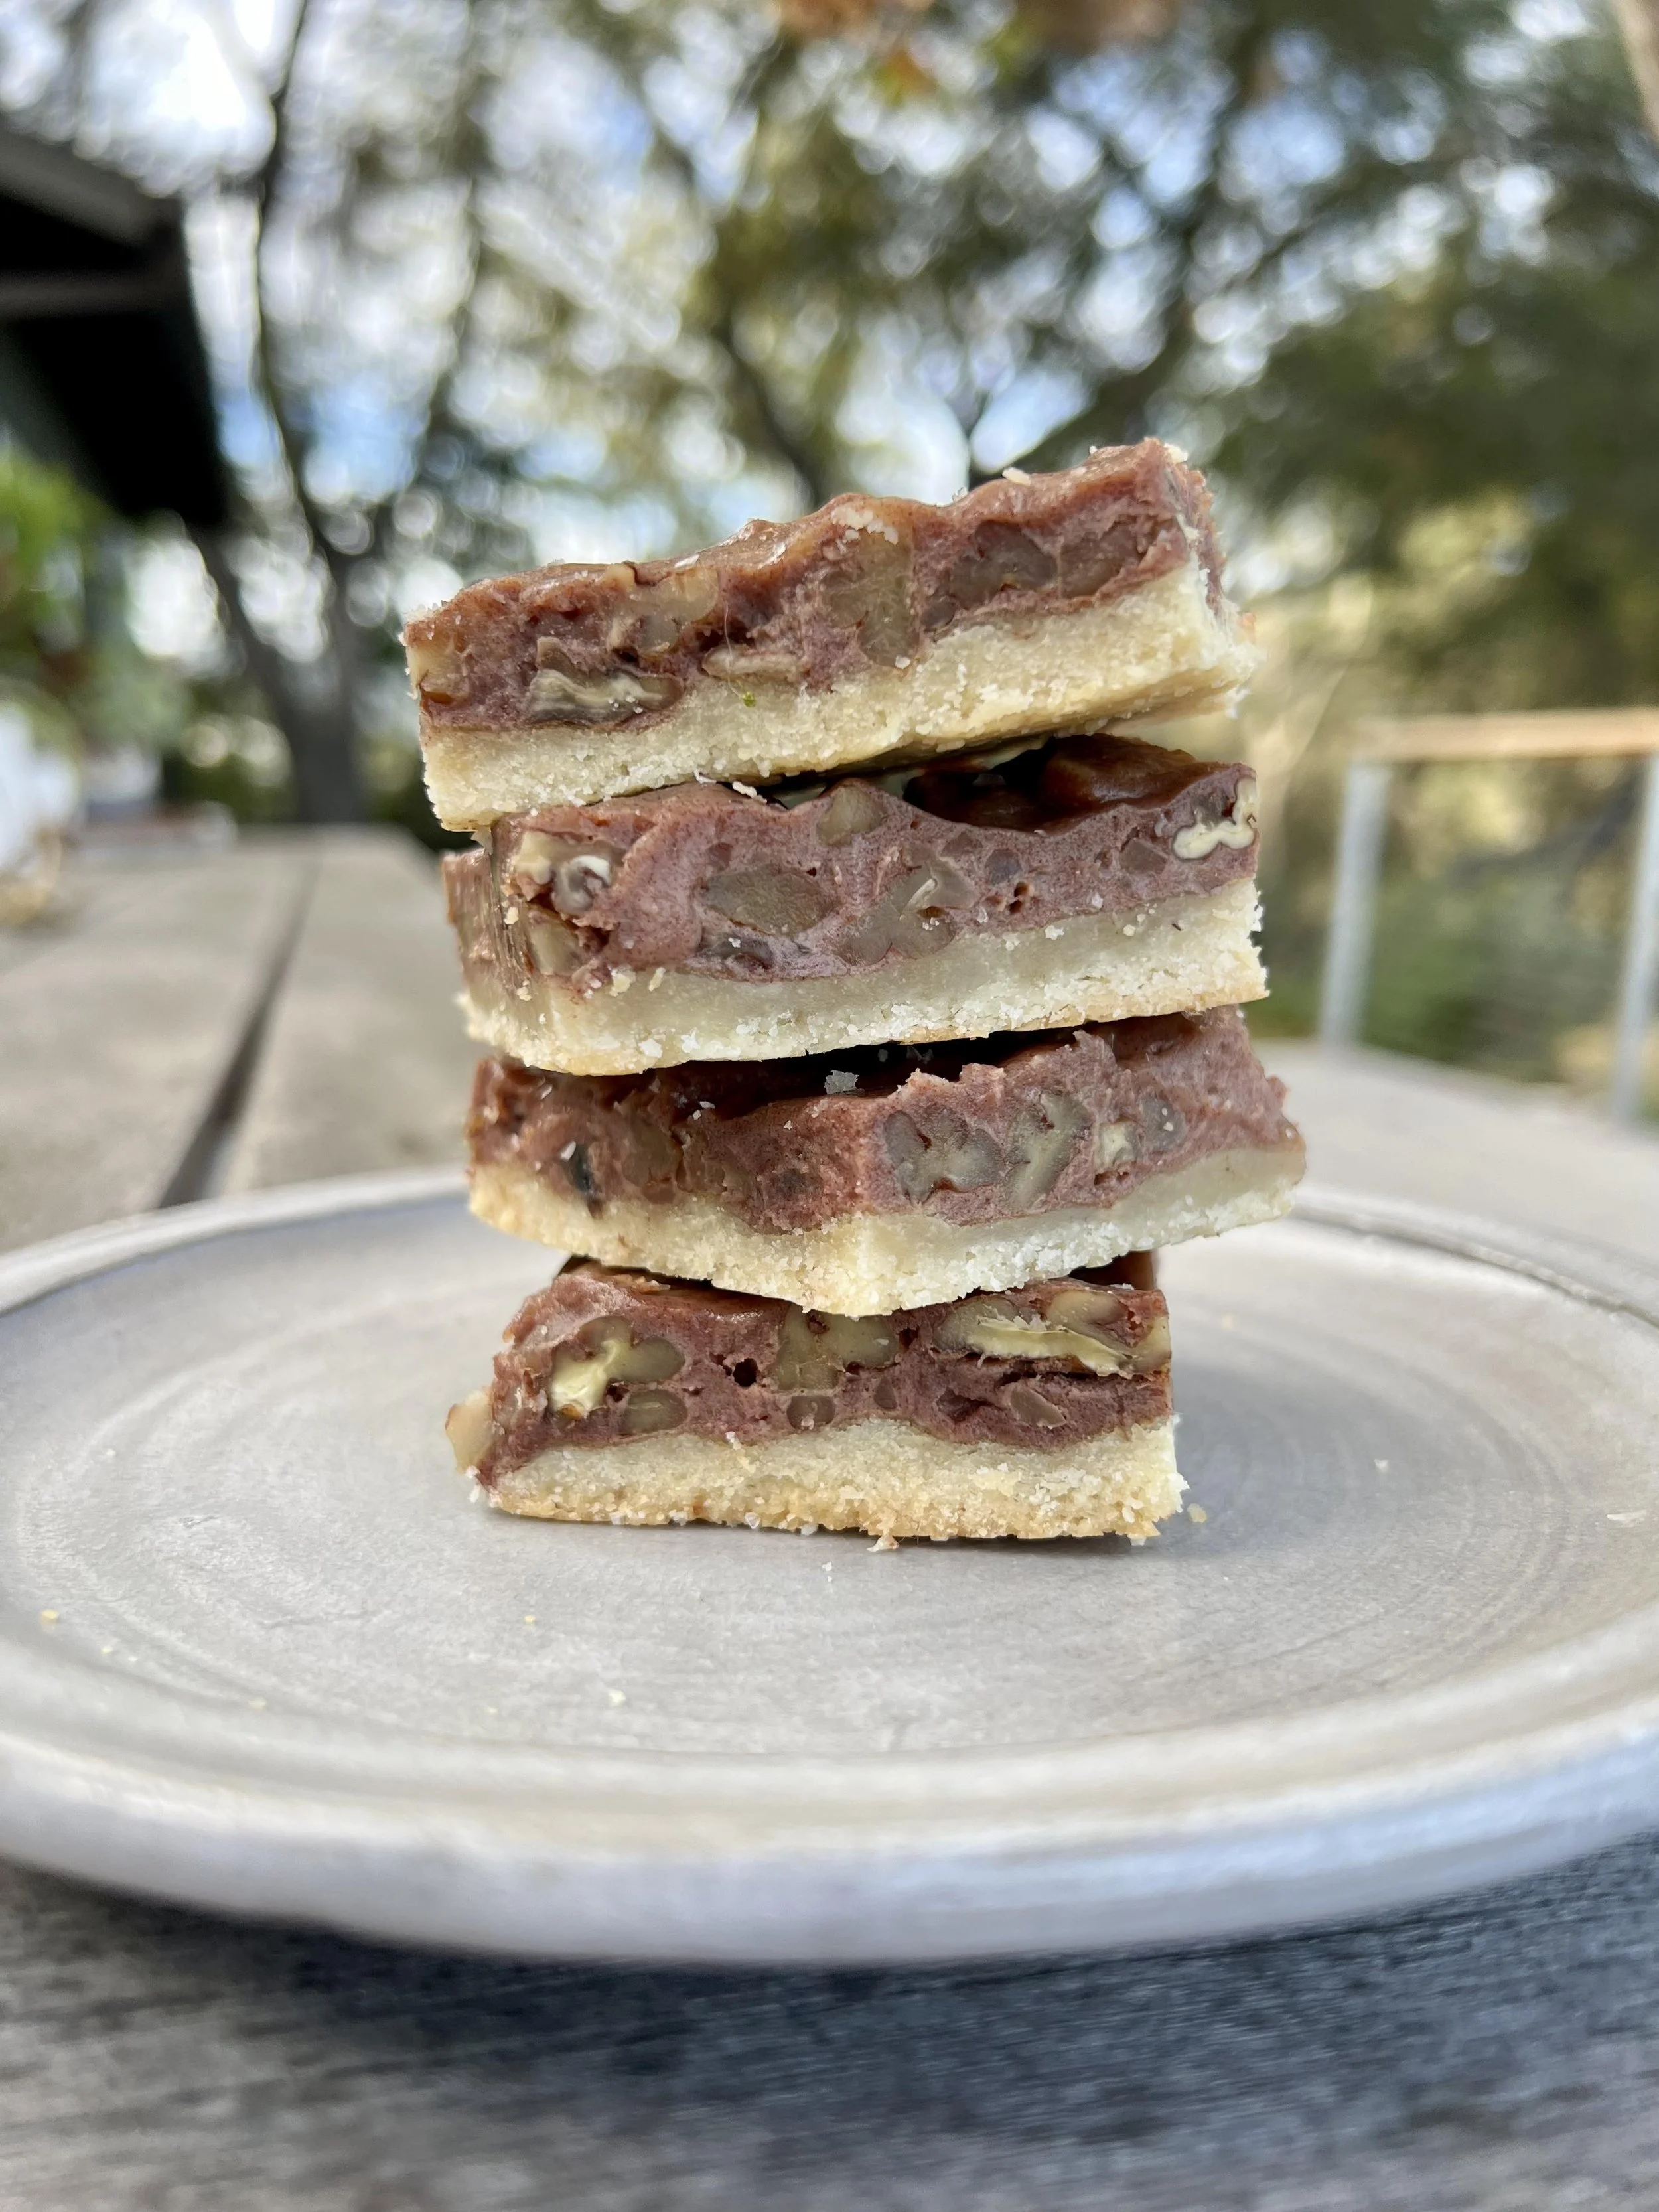
I can’t believe the holiday season is soon upon us. This year has really flown by! One of the first things that comes to mind when I think holidays is holiday baking! From festive pies at Thanksgiving to cookie exchanges at Christmas, I’m truly here for it all! Pecan pie is a southern fave for good reason- that gooey caramelized filling, with candied pecans, and a buttery shortbread crust is hard to beat. But to be honest, many pecan pies can be sickeningly sweet, and I’m not a huge fan of the corn syrup filling that is traditionally used. I also understand pies can be a bit of an overwhelming undertaking, and so I love the approach of somewhat more casual pecan pie bars! These in particular are made with a coconut milk and date filling, along with a butter and almond flour based crust. Plus lots of gooey pecans!

These are equally as delicious as their pie-counterpart, but can be eaten with your hands! Served in a bowl topped with a big scoop of ice cream ain’t bad either, just sayin’. My bestie Rachel Mcconn at Rachel Mcconn Wellness (who I’ve baked with before & also loves a good sweet treat) developed this grain, gluten, and refined sugar- free pecan pie bar recipe, and asked me to test out the recipe for her. Okay, fine, twist my arm ;) These turned out super tasty- not to mention made the house smell absolutely fantastic- and I think they’d make a perfect addition to any holiday table. She has offered to share the recipe with my readers- so head on over to her site for the recipe! As always with RMW recipes, these are free of all gluten, grains, and refined sugars, so those with any allergies or restrictions can still indulge freely as well. Hope you enjoy, and happy holidays!


brown butter peanut butter pretzel rice krispie treats

brown butter peanut butter pretzel rice krispie treats

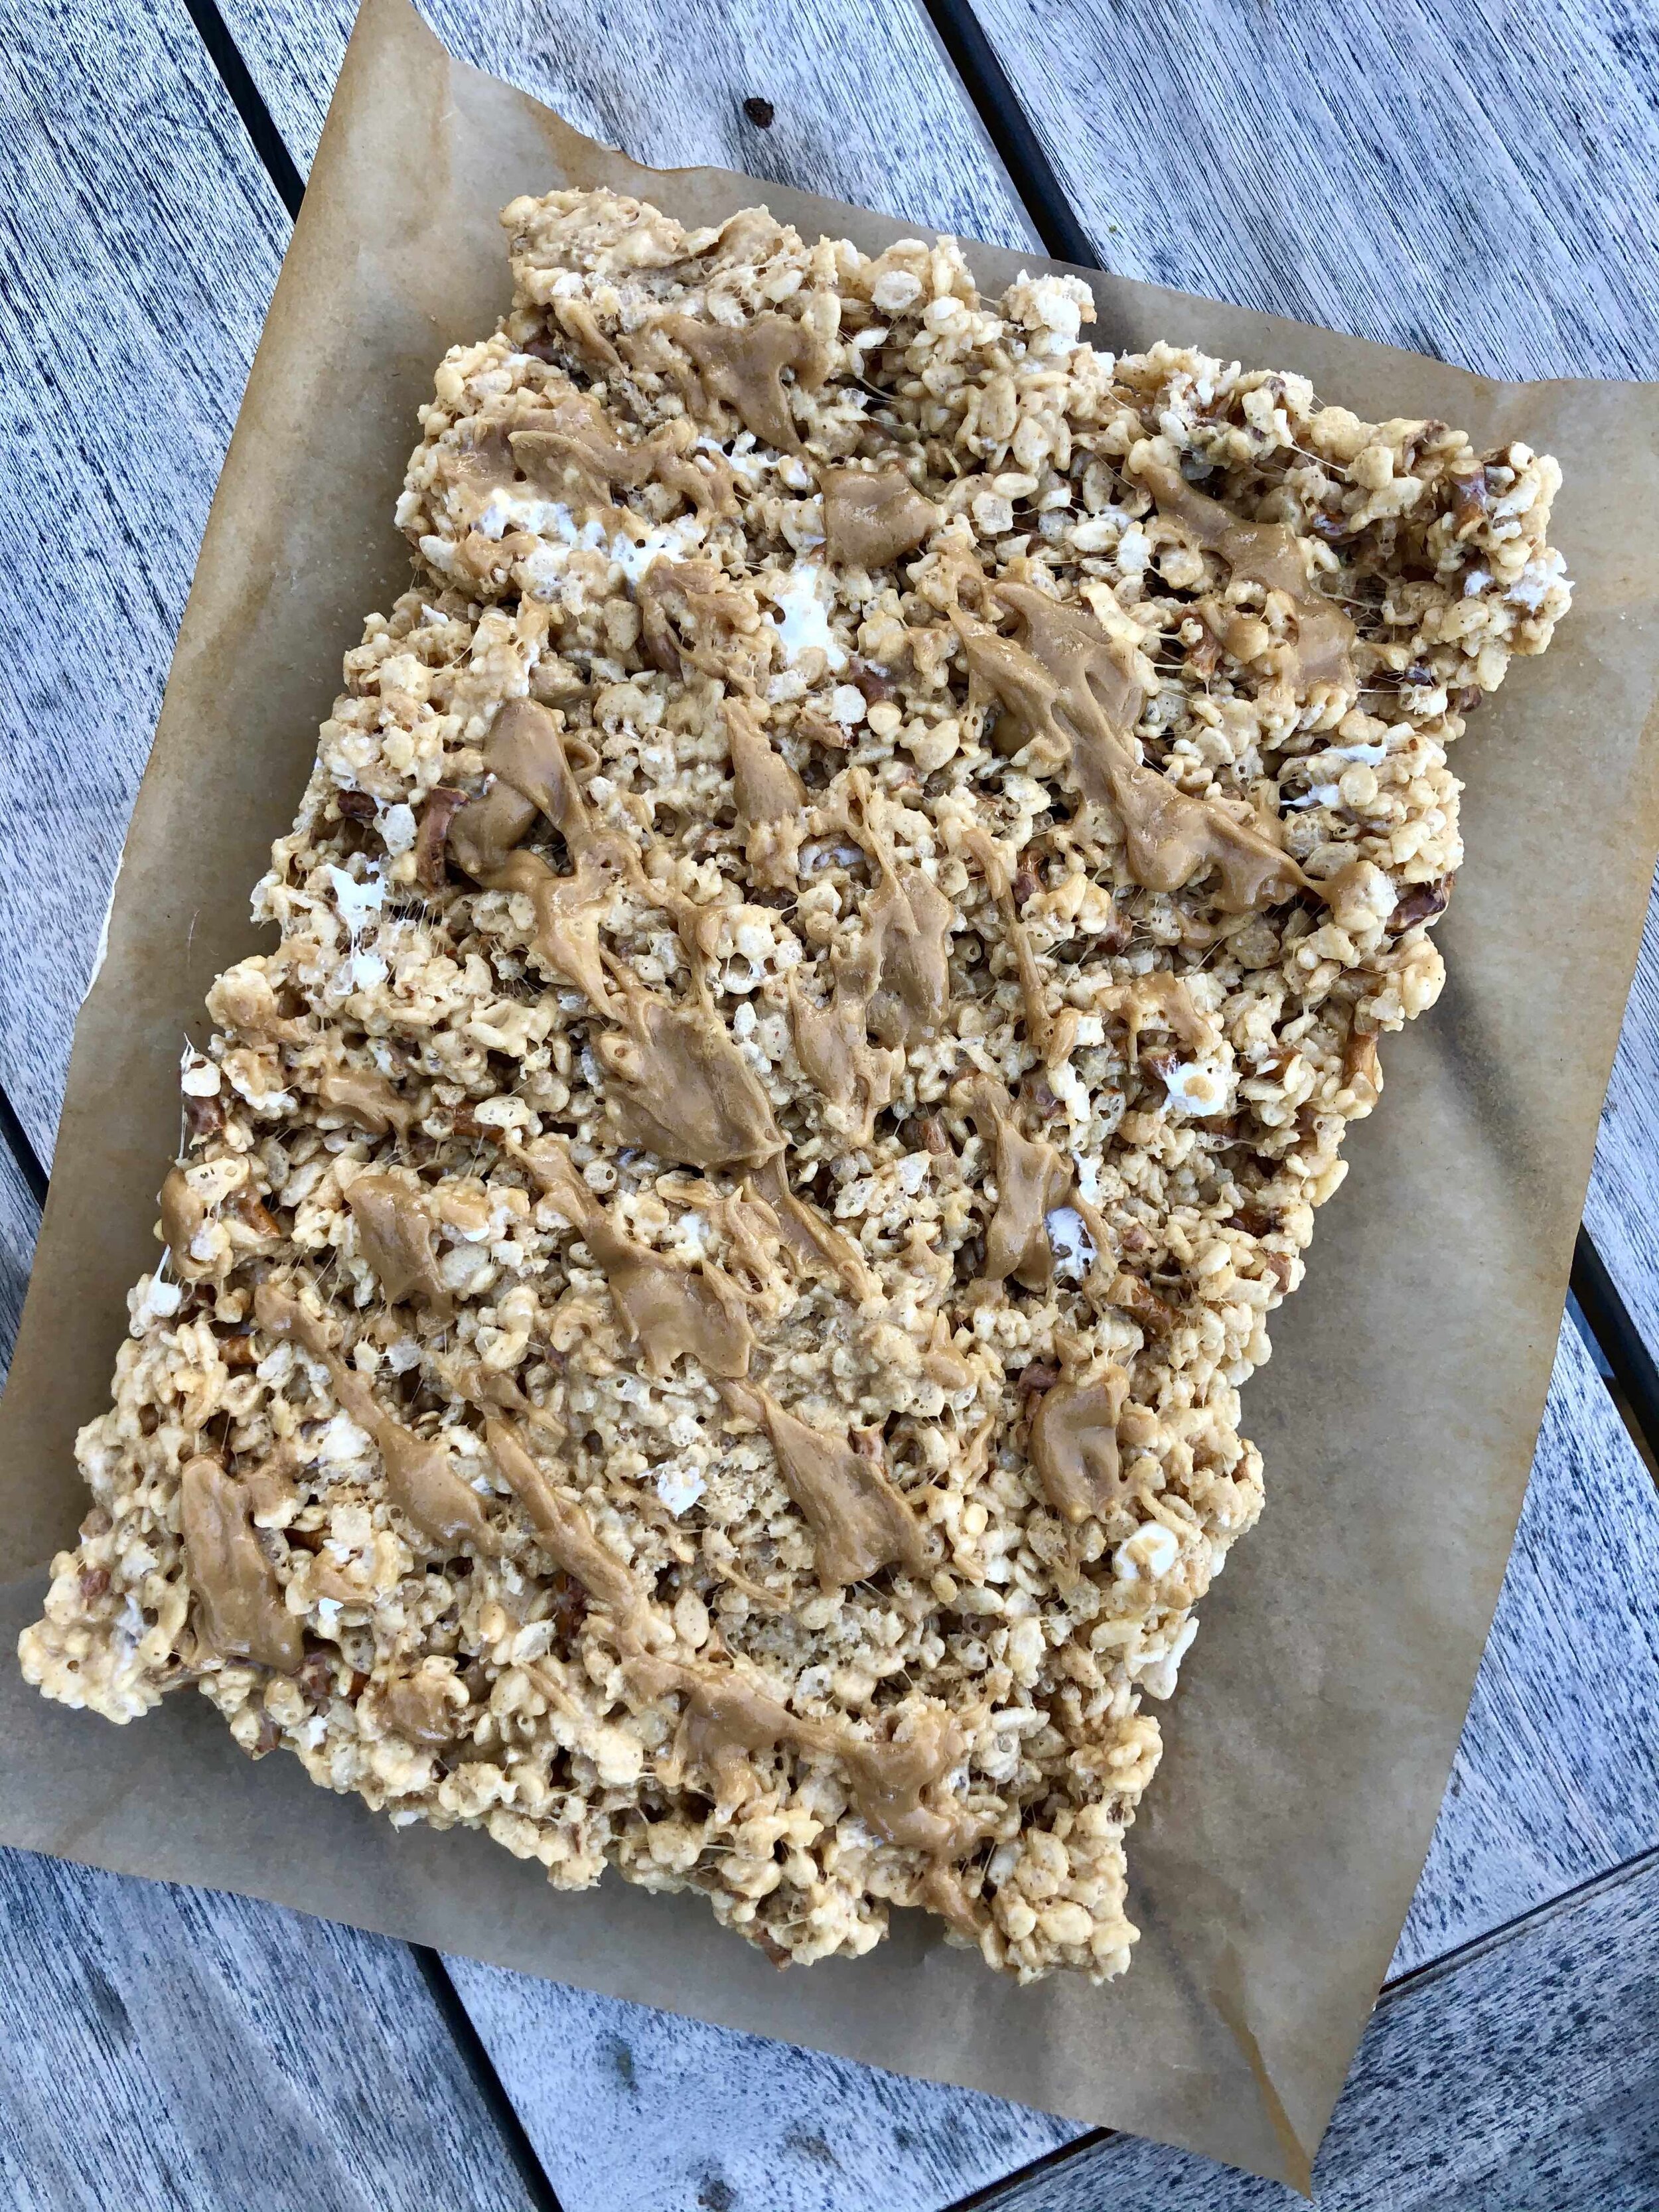
I love a sweet and salty treat- it’s such an addicting and comforting combo for me. I can’t help but reach for more! Add in a delicious, childhood goodie like rice krispie treats, and you’ve got yourself quite the tasty (yet easy!) dessert! I’d been craving rice krispie treats lately, and while there’s nothing wrong with the tried and true classic, I wanted to shake things up a bit. Since I love adding mix-ins to my baked goods, I figured I’d toss in some creamy peanut butter and crunchy pretzels to take these to the next level. Plus, I browned my butter before adding the marshmallows to the pot, which really kicks things up a notch. That nutty, caramel flavor from the brown butter is just oh so good in these rice krispie treats. Feel free to swap out a different nut butter if you’re not into peanuts, or use gluten free pretzels if you need. I kept things classic in this case, and I must say- they’re super delish! The peanut butter glaze is just a lil extra somethin’ somethin’ on top. Totally not necessary, but a welcome addition for sure :) A few lil tips and tricks to pass along to make these extra tasty: 1) Instead of melting all the marshmallows into the browned butter, save 1-2 cups to mix in at the end with the cereal. This ensures you get ooey gooey pockets of marshmallow goodness in your finished product! 2) Use your empty butter wrapers or a greased spatula when spreading the treats into the pan, to prevent them sticking to everything! 3) Be careful not to pack down the rice krispie treats too hard in the pan! Just a gentle press, otherwise you’ll end up with thin, hard treats, and no one wants that! I hope you enjoy :)

Brown Butter Peanut Butter Pretzel Rice Krispie Treats:

Peanut Butter Glaze:

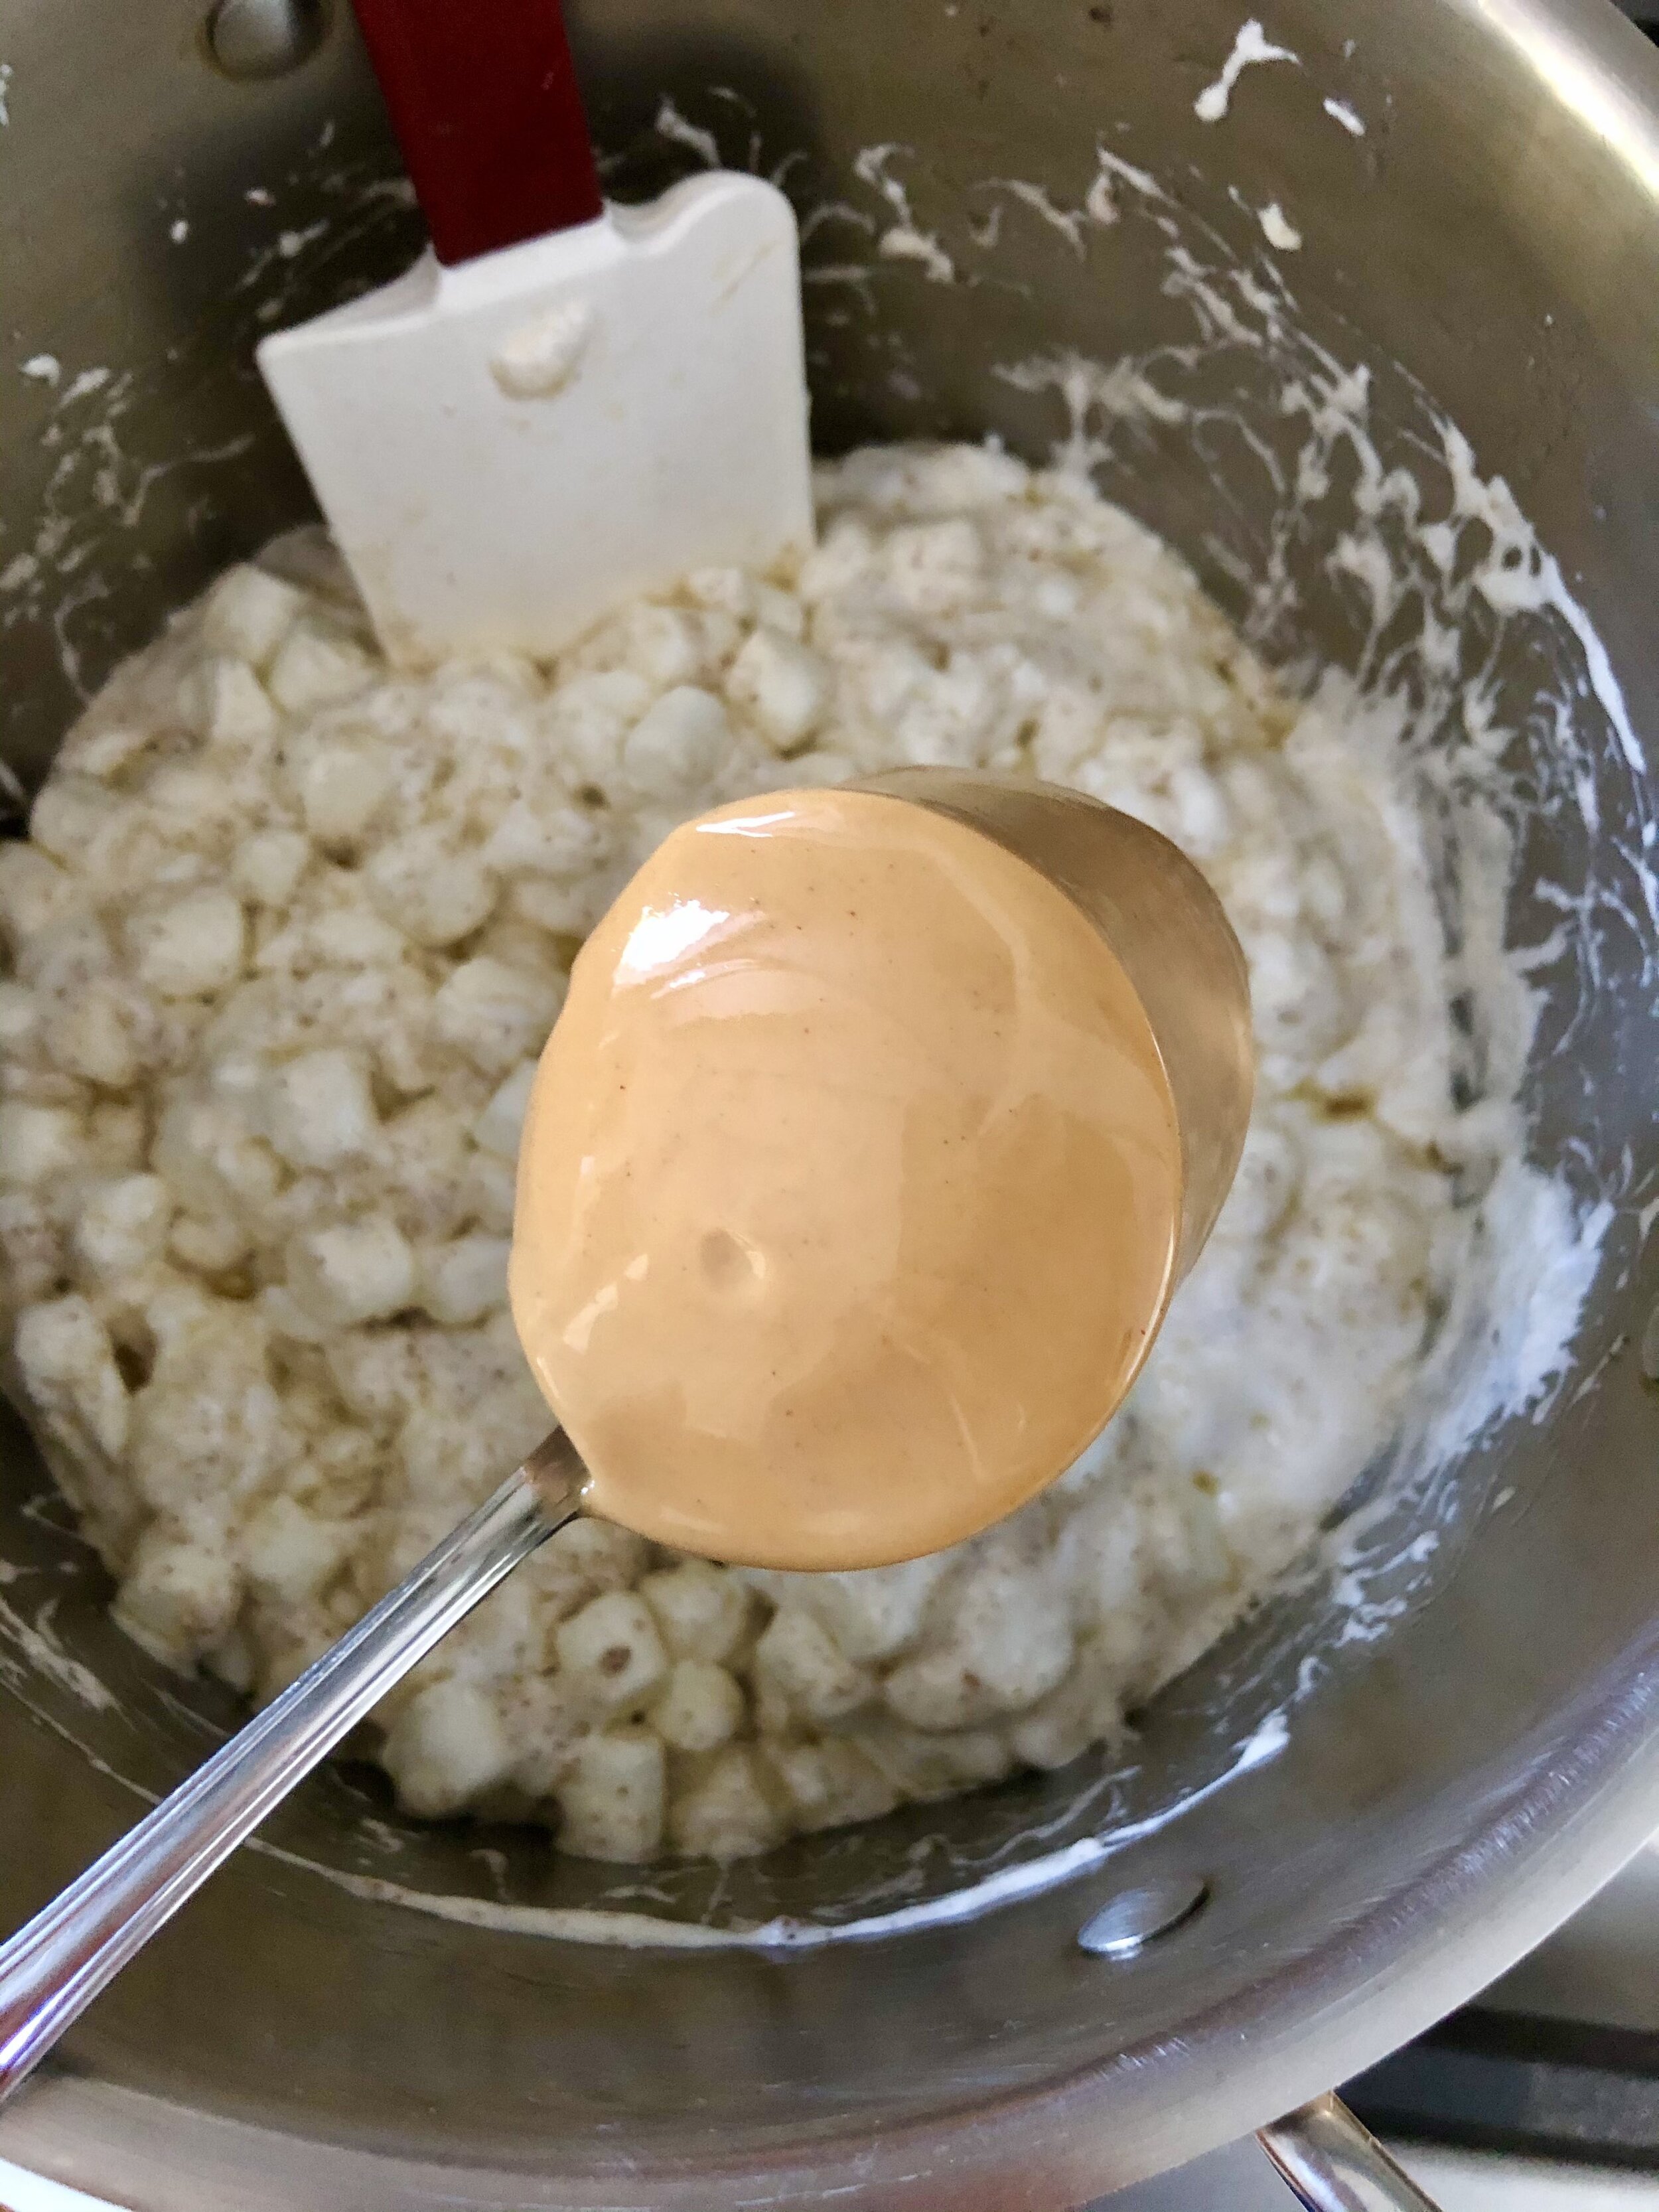
Line a 9×13 inch baking pan with parchment paper & grease with butter or cooking spray. Melt the butter over medium heat in a very large pot. Once melted, continue cooking for a few more minutes, constantly stirring. Mixture will bubble and foam, and you’ll know it’s browned when it’s a golden color and smells nutty. Careful not to burn it! Add all but 1 cup of marshmallows, and stir until completely melted.

Remove from heat, then immediately stir in the peanut butter, vanilla extract and salt. Lastly, fold in the Rice Krispies cereal, crushed pretzels, and remaining marshmallows. Make sure everything is evenly coated in the peanut butter marshmallow mixture. 

Transfer mixture to prepared pan. Using a rubber spatula (or the butter wrappers), gently spread mixture to fit the pan, careful not pack it down too hard. Allow treats to set for at least 1 hour at room temperature before slicing. Make the glaze in the meantime, if using. Whisk all ingredients together until smooth. You may warm the peanut butter first if need be to get it to a runnier consistency. Lift the rice krispie treats out of the pan using the parchment paper, drizzle the glaze on top, and cut into squares. Enjoy! These are best the day they’re made, but will stay fresh in an airtight container at room temperature for a few days. 

brown butter peanut butter pretzel rice krispie treats

tahini chocolate chip blondies

tahini chocolate chip blondies (gluten free, paleo, refined sugar free)

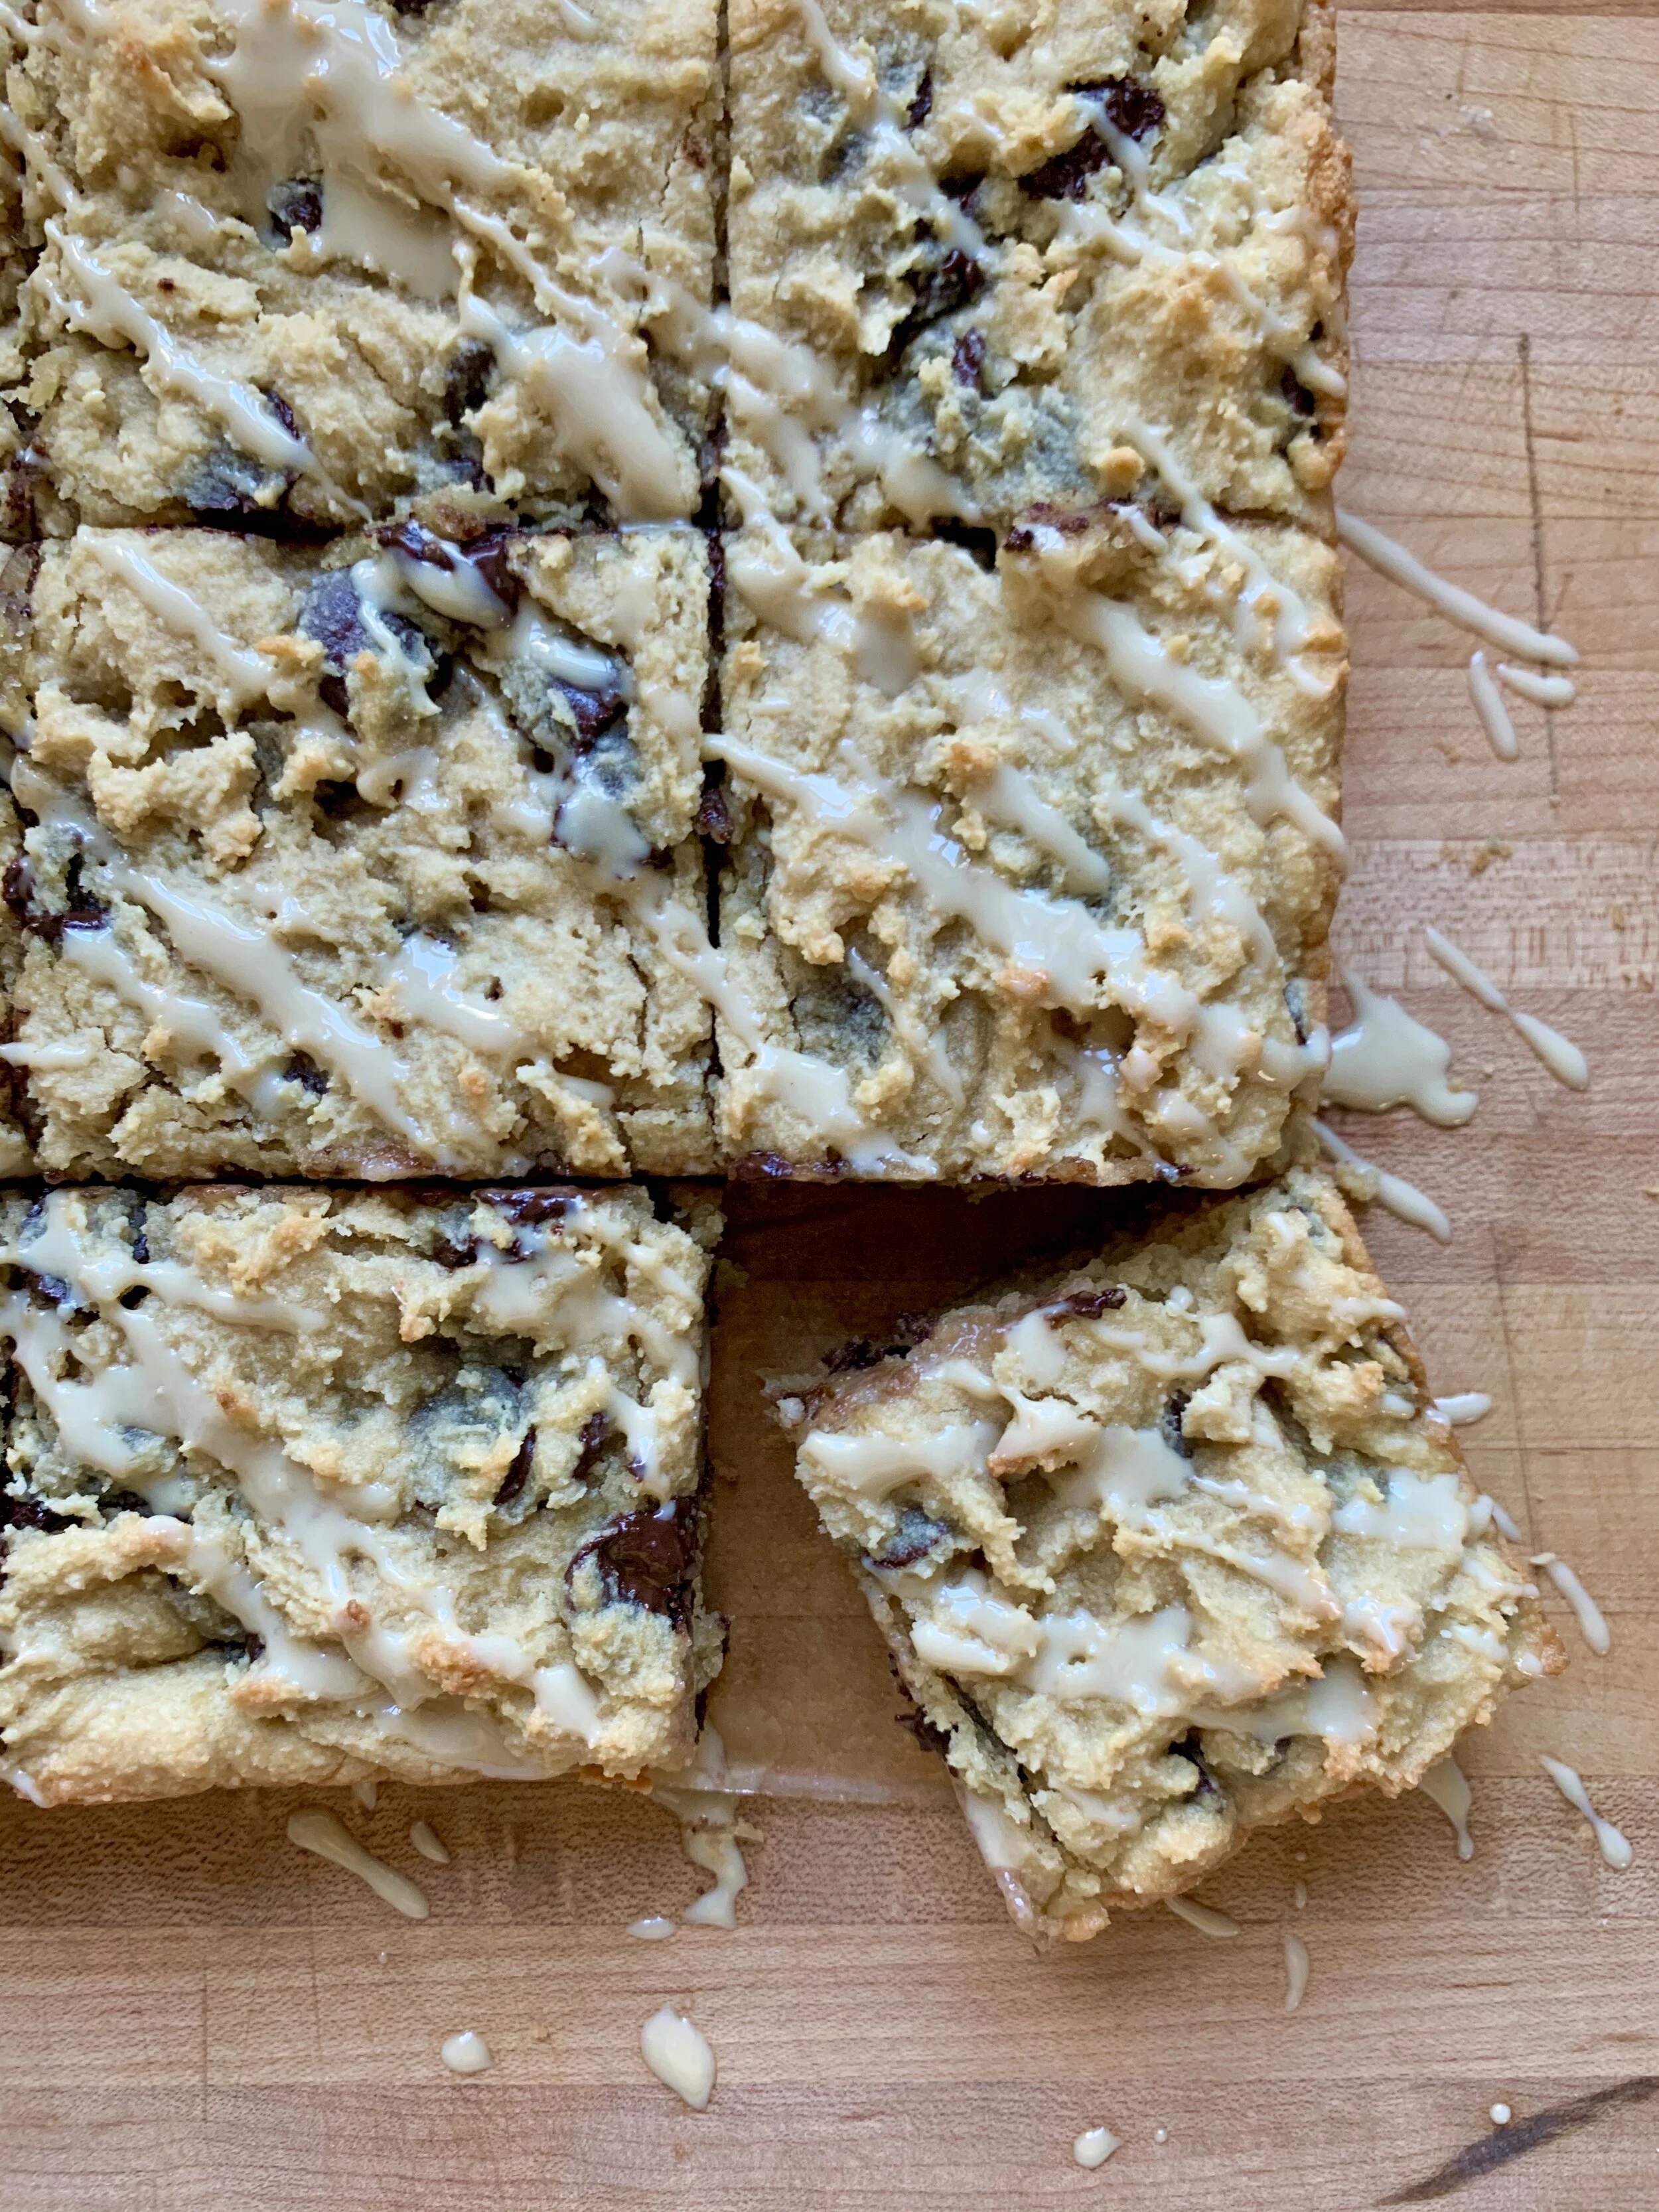
I’m obsessed with any and all things tahini. I eat it multiple times a day, whether it’s drizzled over roasted veggies and lamb meatballs for dinner or spooned into Medjool dates with chocolate chips for a sweet treat, tahini is the jam. It also makes for a delicious baking ingredient! Its creamy, fatty, smooth texture makes it a wonderful butter, oil, and/or nut butter alternative in many recipes. Plus, tahini and chocolate is such a tasty combo. This recipe uses wholesome, nutrient-dense ingredients, but still tastes oh so rich and decadent. Tahini chocolate chip blondies that are gluten & grain free, paleo, and refined sugar free as well? Sign me up!

Tahini Chocolate Chip Blondies:

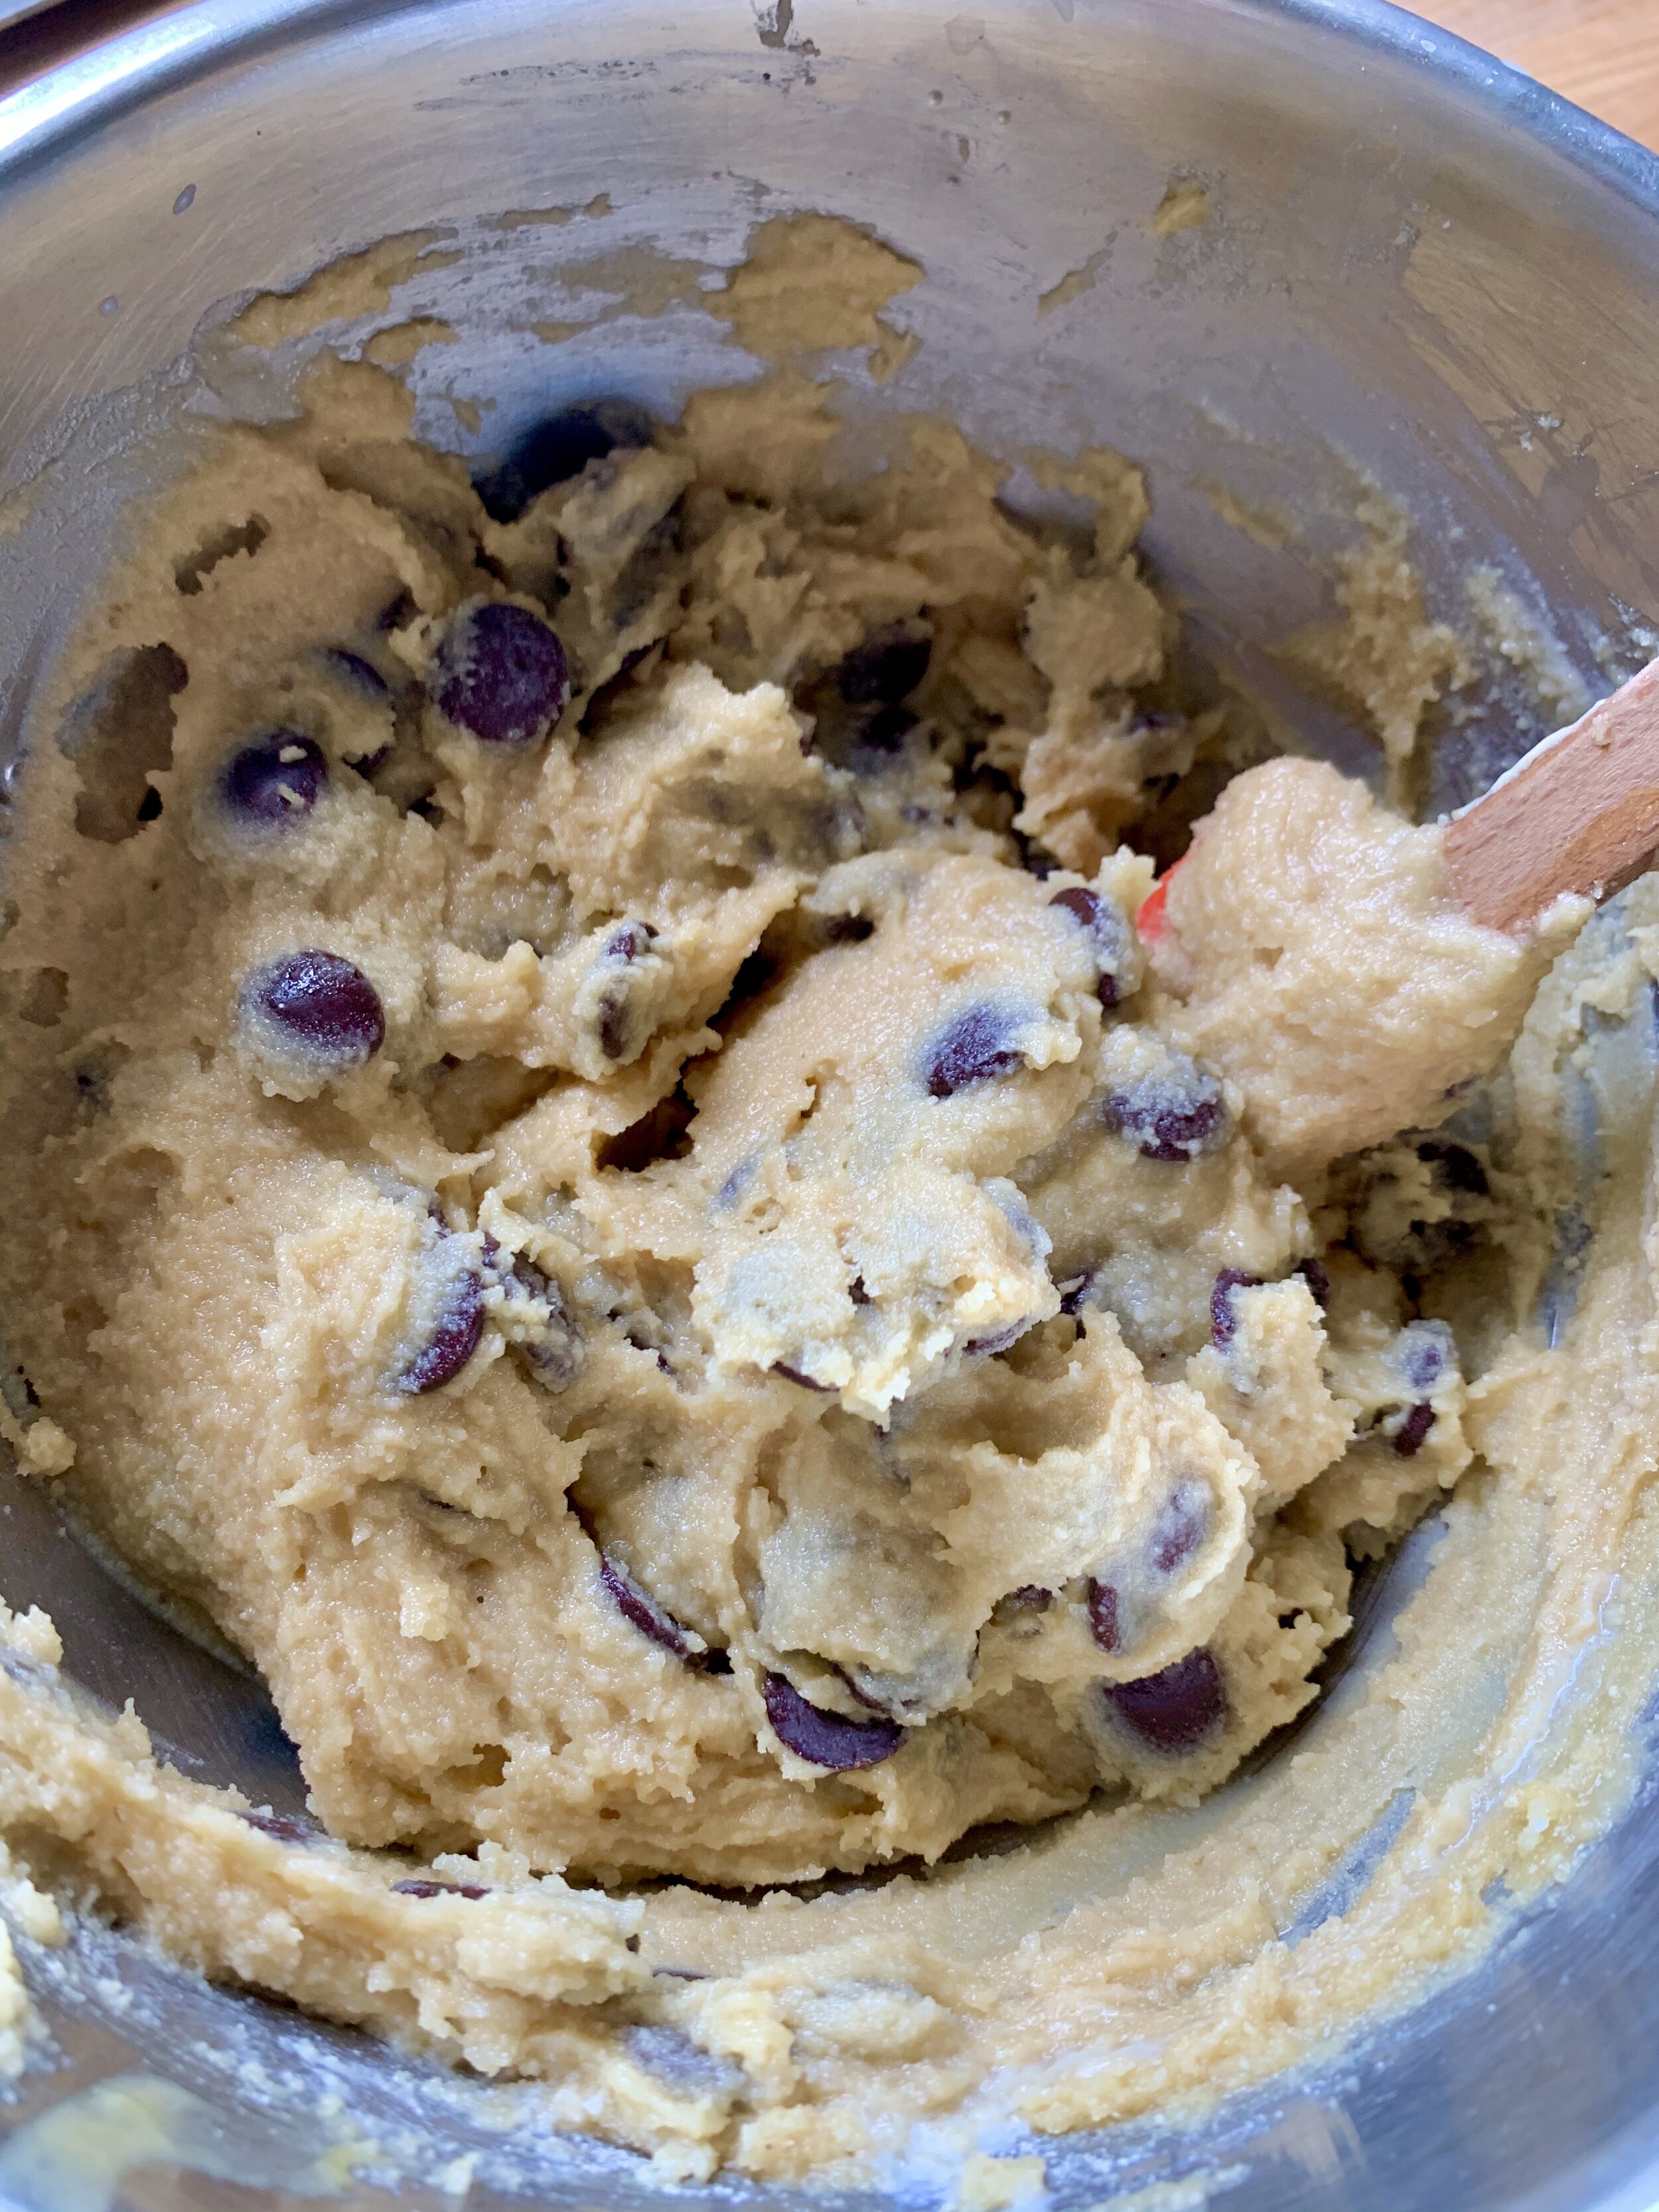
Preheat oven to 350 degrees Fahrenheit. Line an 8x8 inch square baking pan (double recipe for 13x9 inch pan) with parchment paper and grease with coconut oil or nonstick cooking spray. In a large bowl or base of a stand mixer, whisk together eggs, maple syrup, tahini, and vanilla extract until smooth. In a separate bowl, mix together almond flour, coconut flour, baking soda and salt. Slowly stir dry ingredients into wet ingredients until just incorporated, careful not to over mix (it will be thick!). Fold in the chocolate chips. Add batter to the prepared pan and spread evenly. Bake for about 25-26 minutes until edges are just slightly golden, but center may seem slightly underdone. Check using a cake tester- if it comes out mostly clean, they should be ready. Don’t overbake as grain-free baked goods will continue to set in the pan. Let blondies cool in pan for about five minutes before removing and allowing them to cool completely on a cooling rack. Sprinkle with flakey sea salt and drizzle with tahini, if desired. Cut into bars and enjoy!

*Adapted from Paleo Chocolate Chip Tahini Blondies by Ambitious Kitchen.


ooey gooey pumpkin dream bars

I love baking seasonal desserts. This time of year, warmly spiced baked goods packed with pumpkin really just hit the spot, am I right? And yes- I know it’s now December, but fall weather is still upon us here in Cali, so I’m keeping that fall baking spirit alive! Just like my grain-free vanilla cake with pumpkin cream frosting, this tasty treat goes a bit beyond your regular ol’ pumpkin pie, and adds ingredients like cream cheese, chocolate, and coconut to the mix! Let’s just say it takes things to a whole other level ;) These ooey gooey pumpkin dream bars are reminiscent of those decadent seven layer bars everyone loves, but with a festive twist! A buttery graham cracker crust, layered with a rich, cinnamon-spiced pumpkin cheesecake filling, and topped with a generous amount of chocolate chips and toasted coconut? Yes please! Crumbly graham crackers, creamy pumpkin, and melty chocolate are quite the addicting combo, if I do say so myself. 

Pumpkin butter is easy to find in stores these days, but it’s also easy to make if you have an extra can of pumpkin purée lying around. Some toasted nuts would be great in these as well- perhaps crushed up into the crust or sprinkled on top? Pumpkin dream bars are delish served warm or cold, topped with ice cream of course! Happy baking, y’all :)

Ooey Gooey Pumpkin Dream Bars:

Preheat the oven to 350 degrees F. Line a 9x13 inch baking dish with parchment paper and grease with nonstick spray. Pulverize graham crackers in a food processor, or crush in a bag with a rolling pin, until you have a fine crumb mixture. In a large bowl, stir together the graham cracker crumbs and melted butter until well combined. Press the mixture into the bottom of the baking dish to create a crust, using the back of a measuring cup to flatten if needed.

In the base of a stand mixer fitted with a whisk (or use a handheld mixer), add the cream cheese and beat until creamy. then beat in the pumpkin butter, pumpkin puree, brown sugar, eggs, vanilla, cinnamon, ginger, nutmeg, and salt. Beat on medium speed until creamy and combined and no lumps remain. Pour the mixture on top of the graham crust.

Sprinkle the chocolate chips generously over the top. Bake for about 22-24 minutes, then remove the dish and sprinkle the coconut on top. Bake for another 28-30 minutes, until the coconut is golden, and the center of the bars is still just a bit underdone. If your coconut is toasting too quickly and getting brown, you may cover with foil for the last 10 minutes or so.

Let cool for about 15-20 minutes in the pan, and then use the parchment paper to remove the bars, allowing them to cool completely on a cooling rack before cutting so that they can set. These bake up super well ahead of time, and are equally delicious served warm or cold out of the fridge. Either way, top with ice cream, and extra chocolate chips and coconut. Enjoy!

*Adapted from Pumpkin Gooey Bars by How Sweet Eats.

IMG_5438 2.jpg

classic fudge brownies

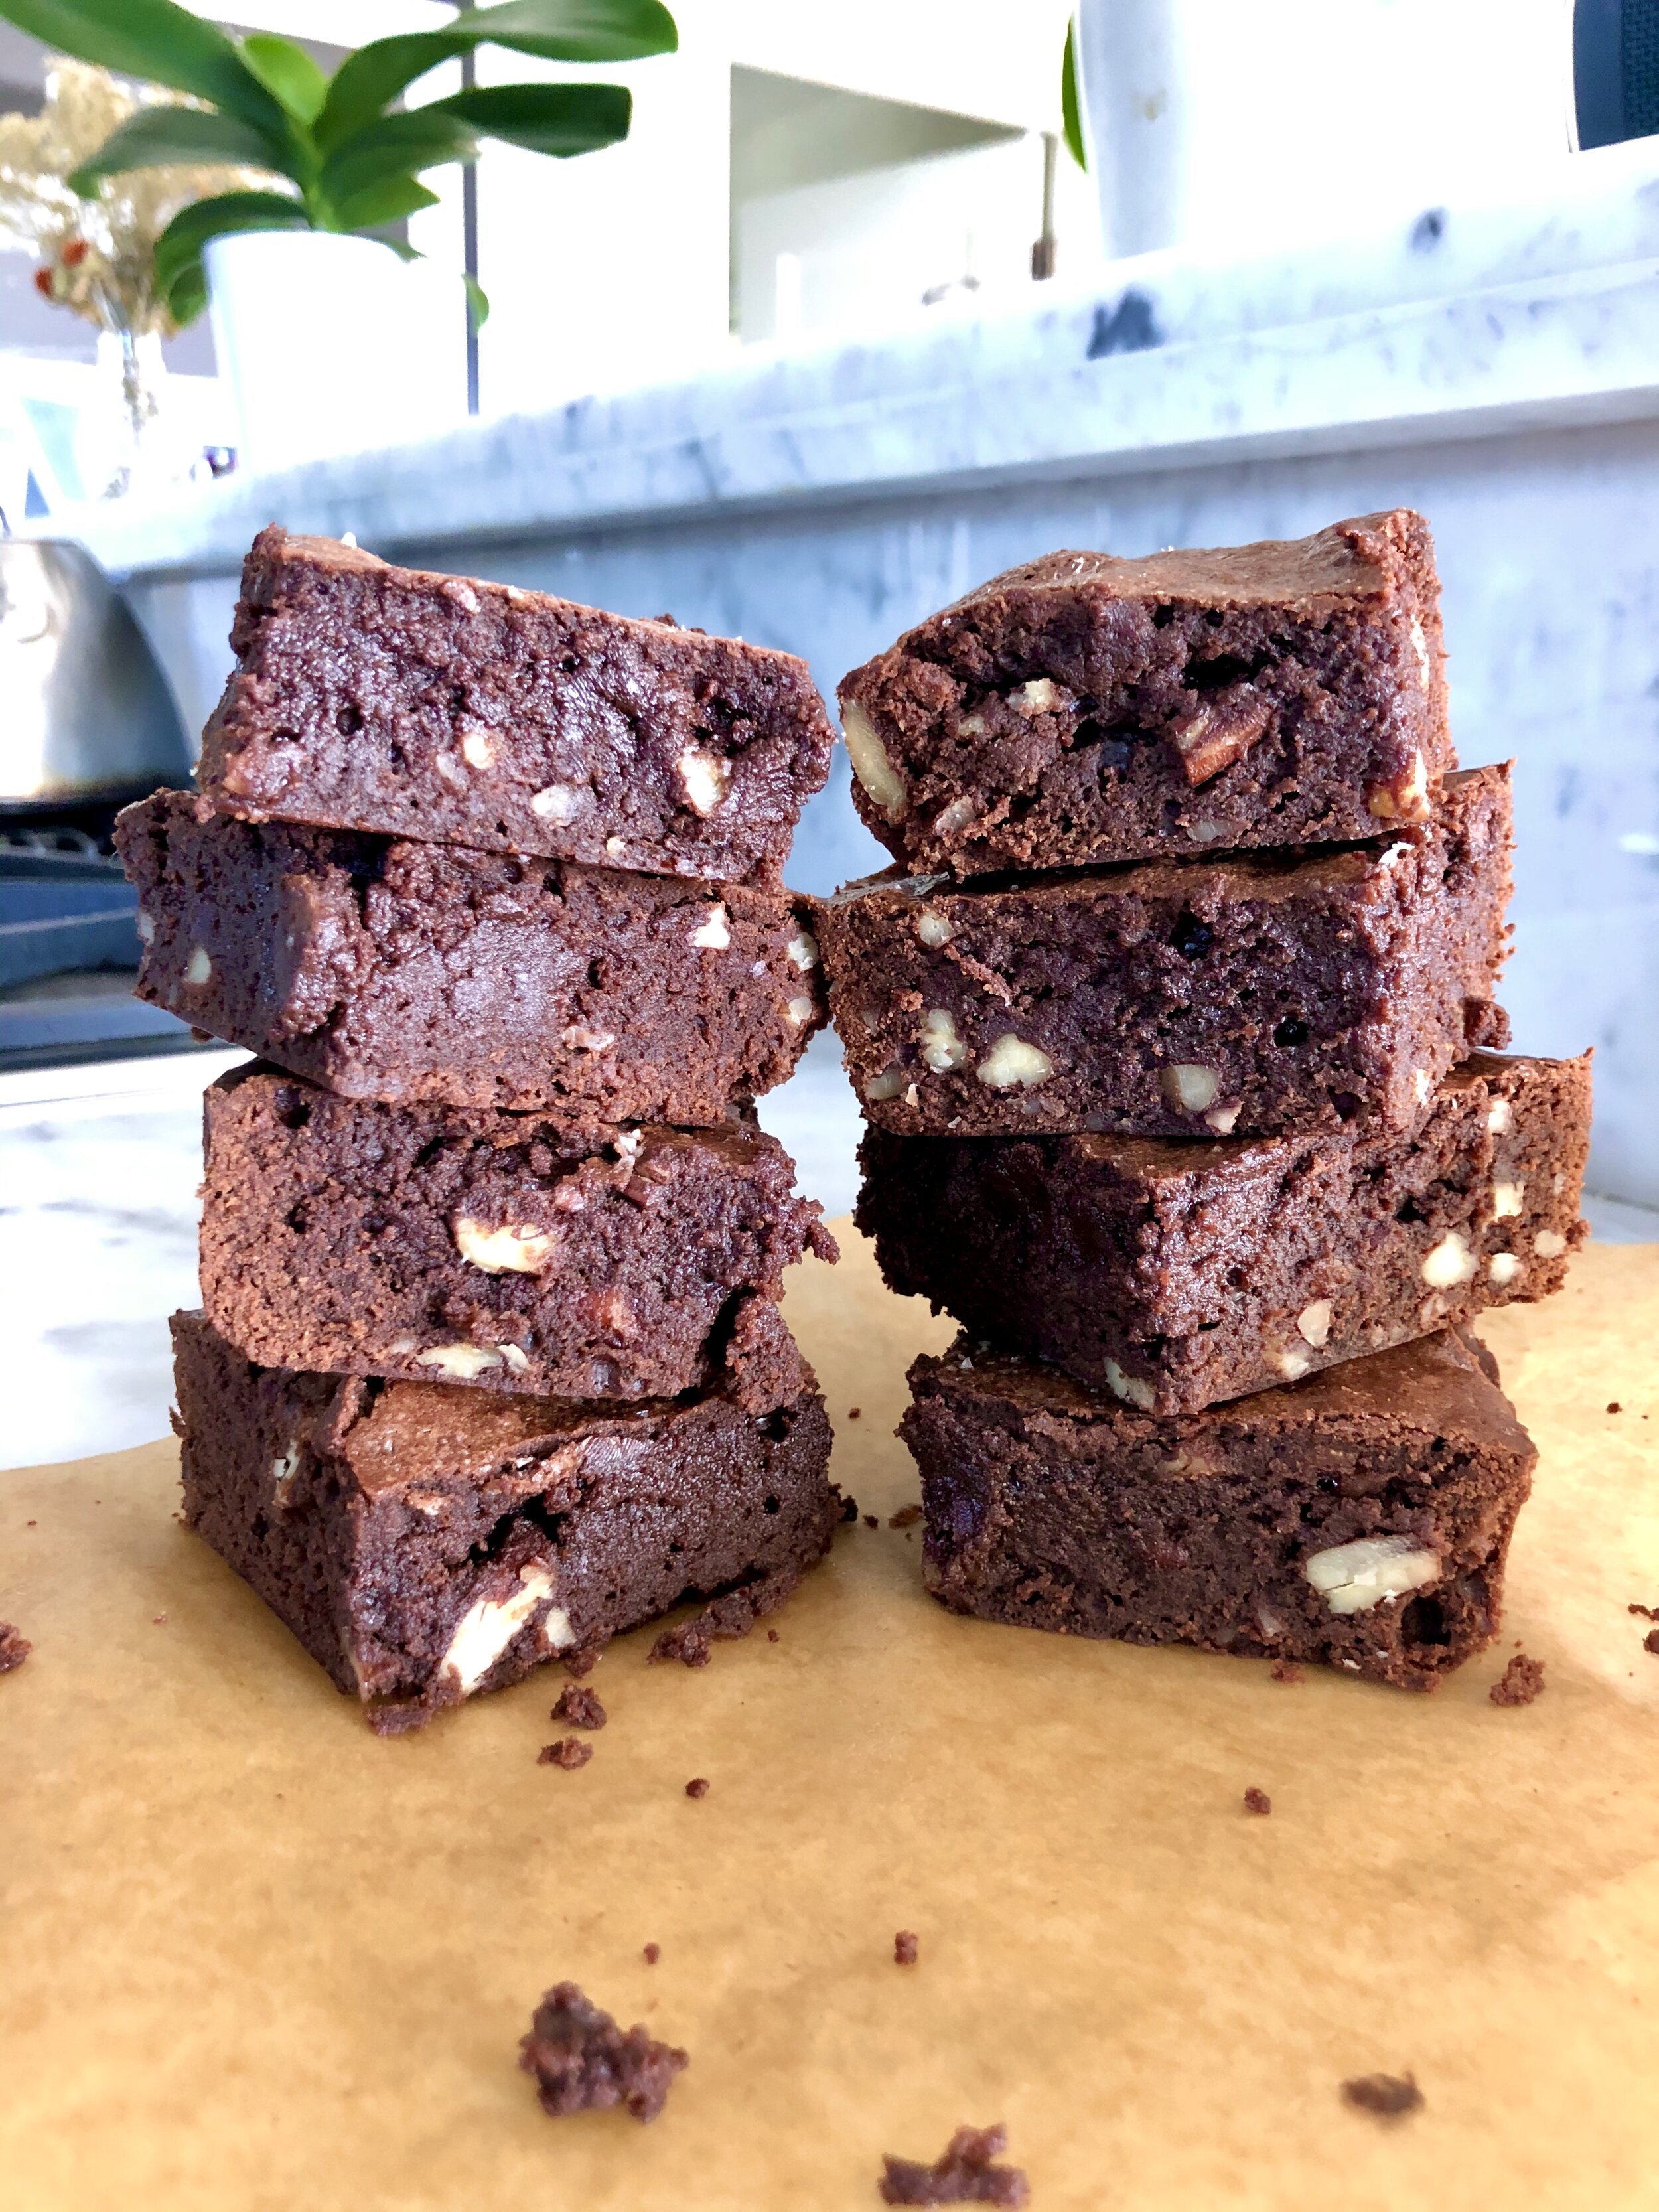
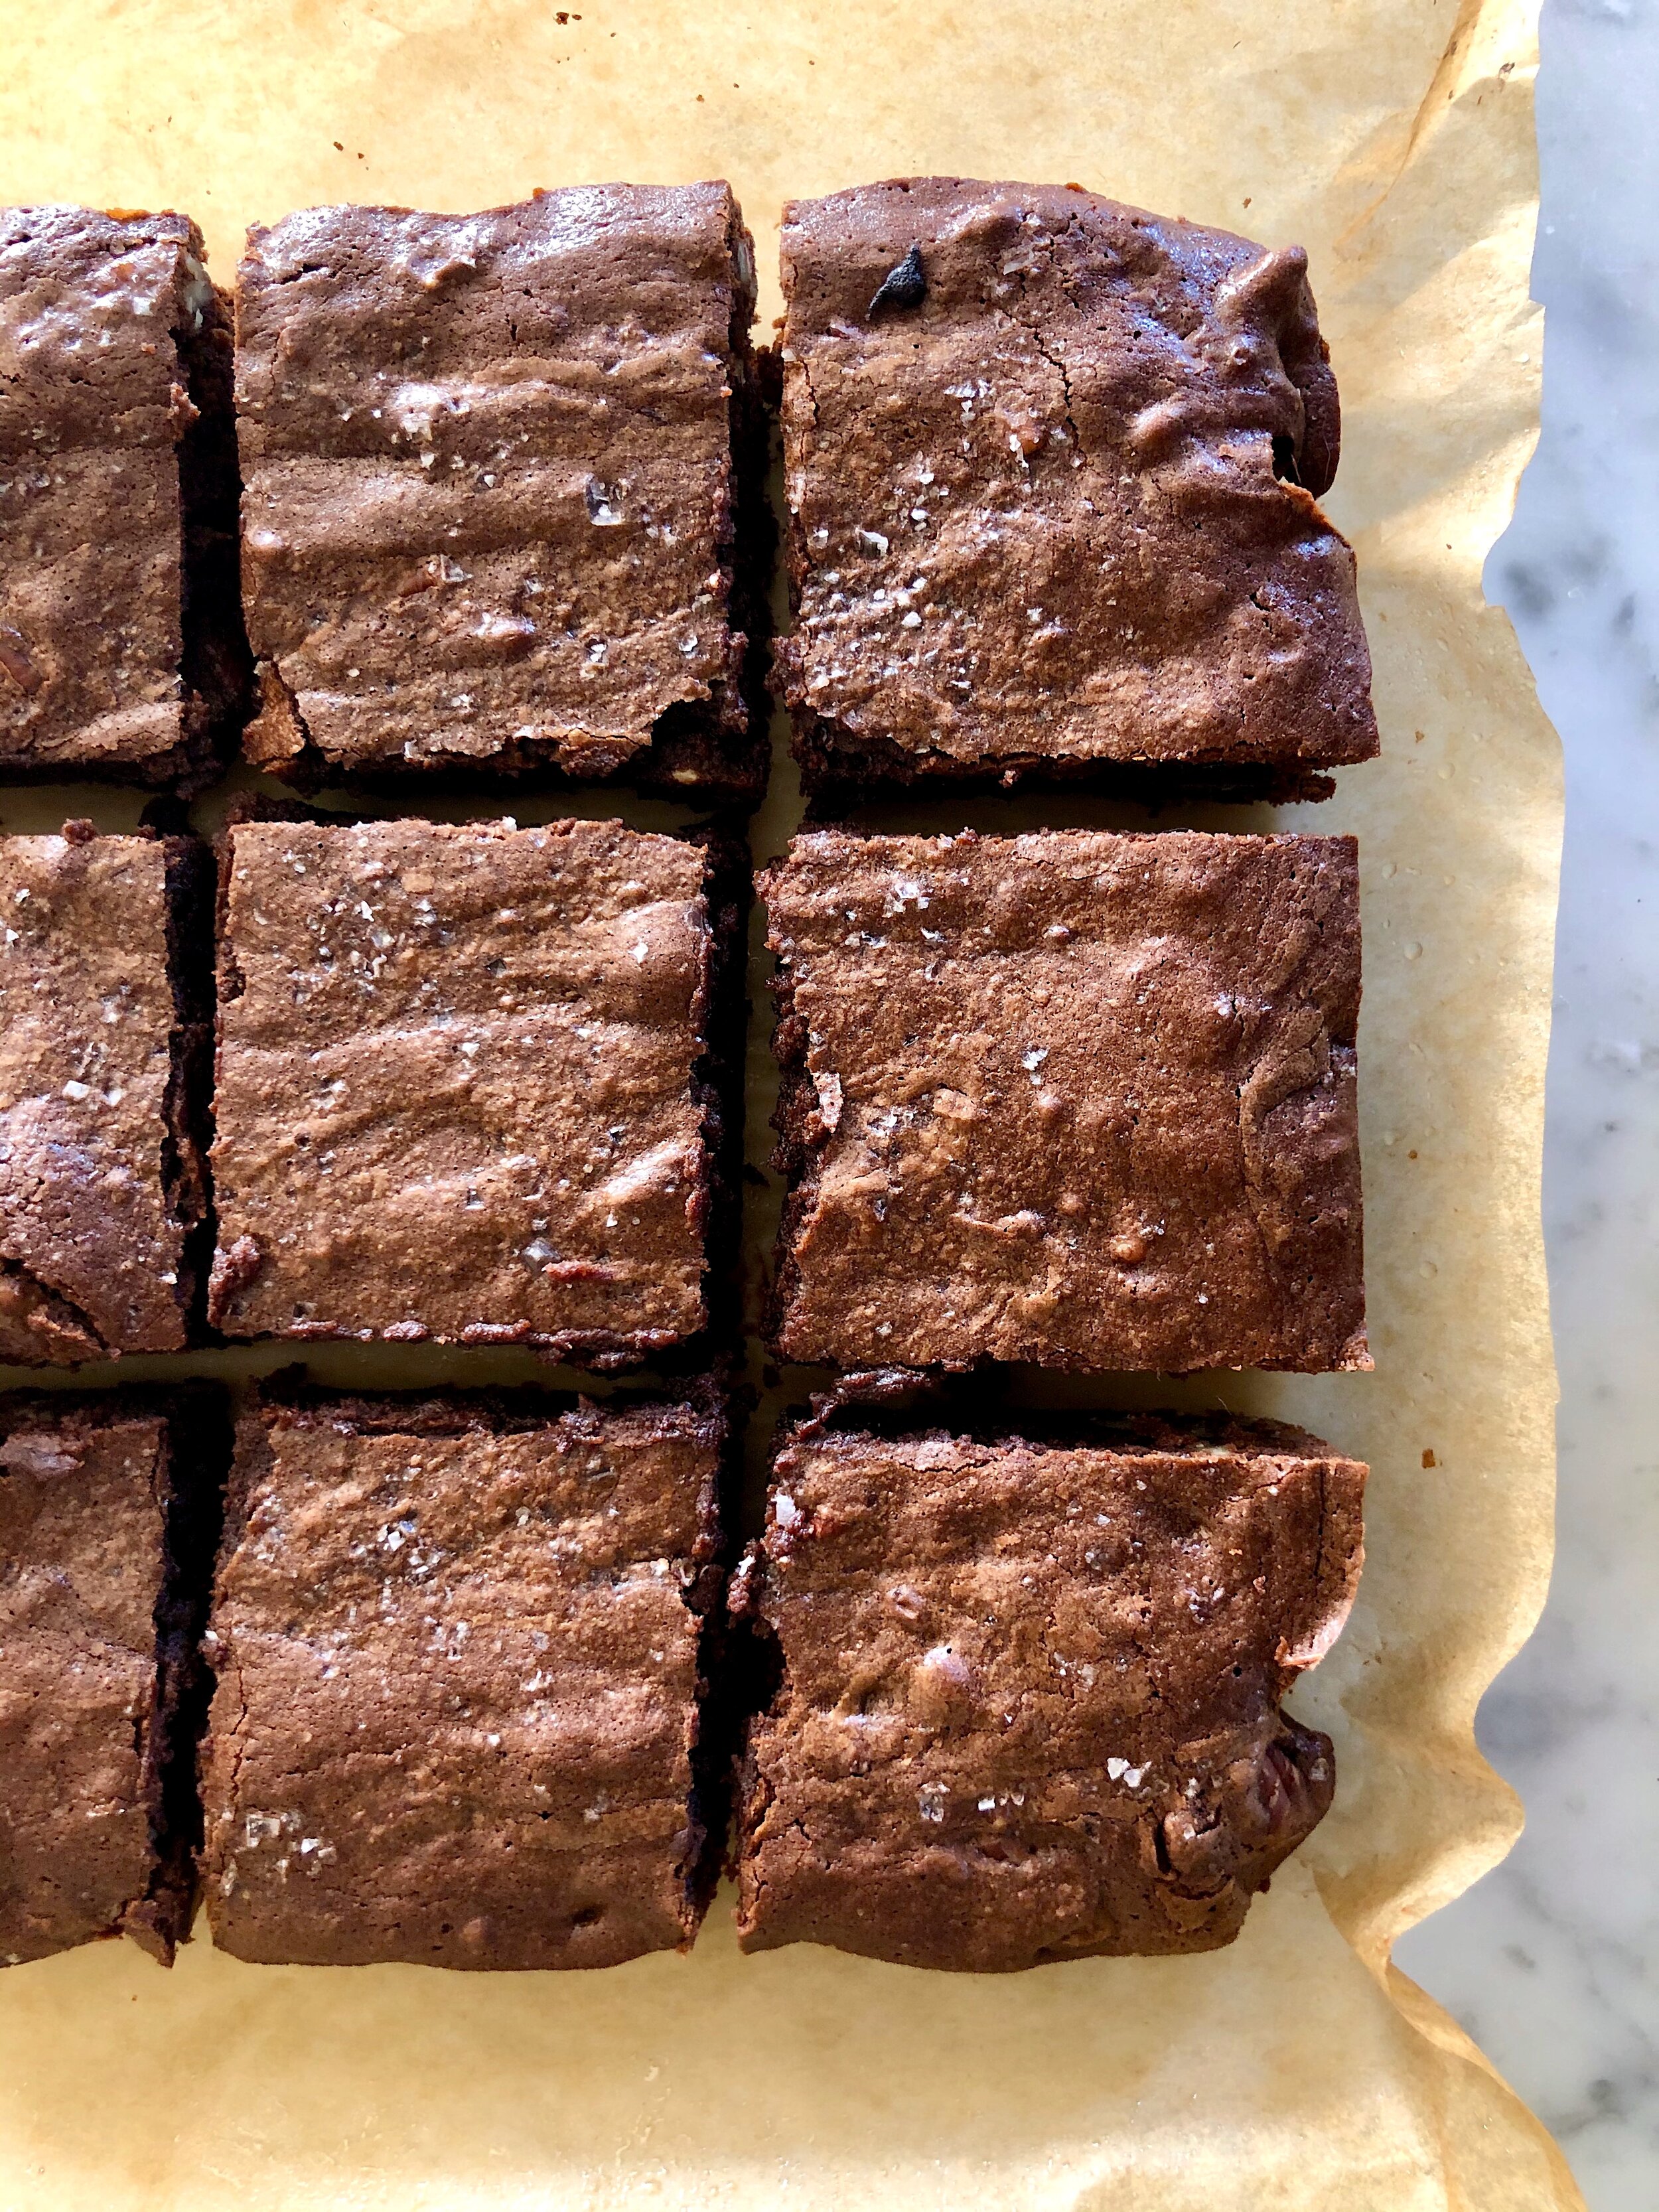
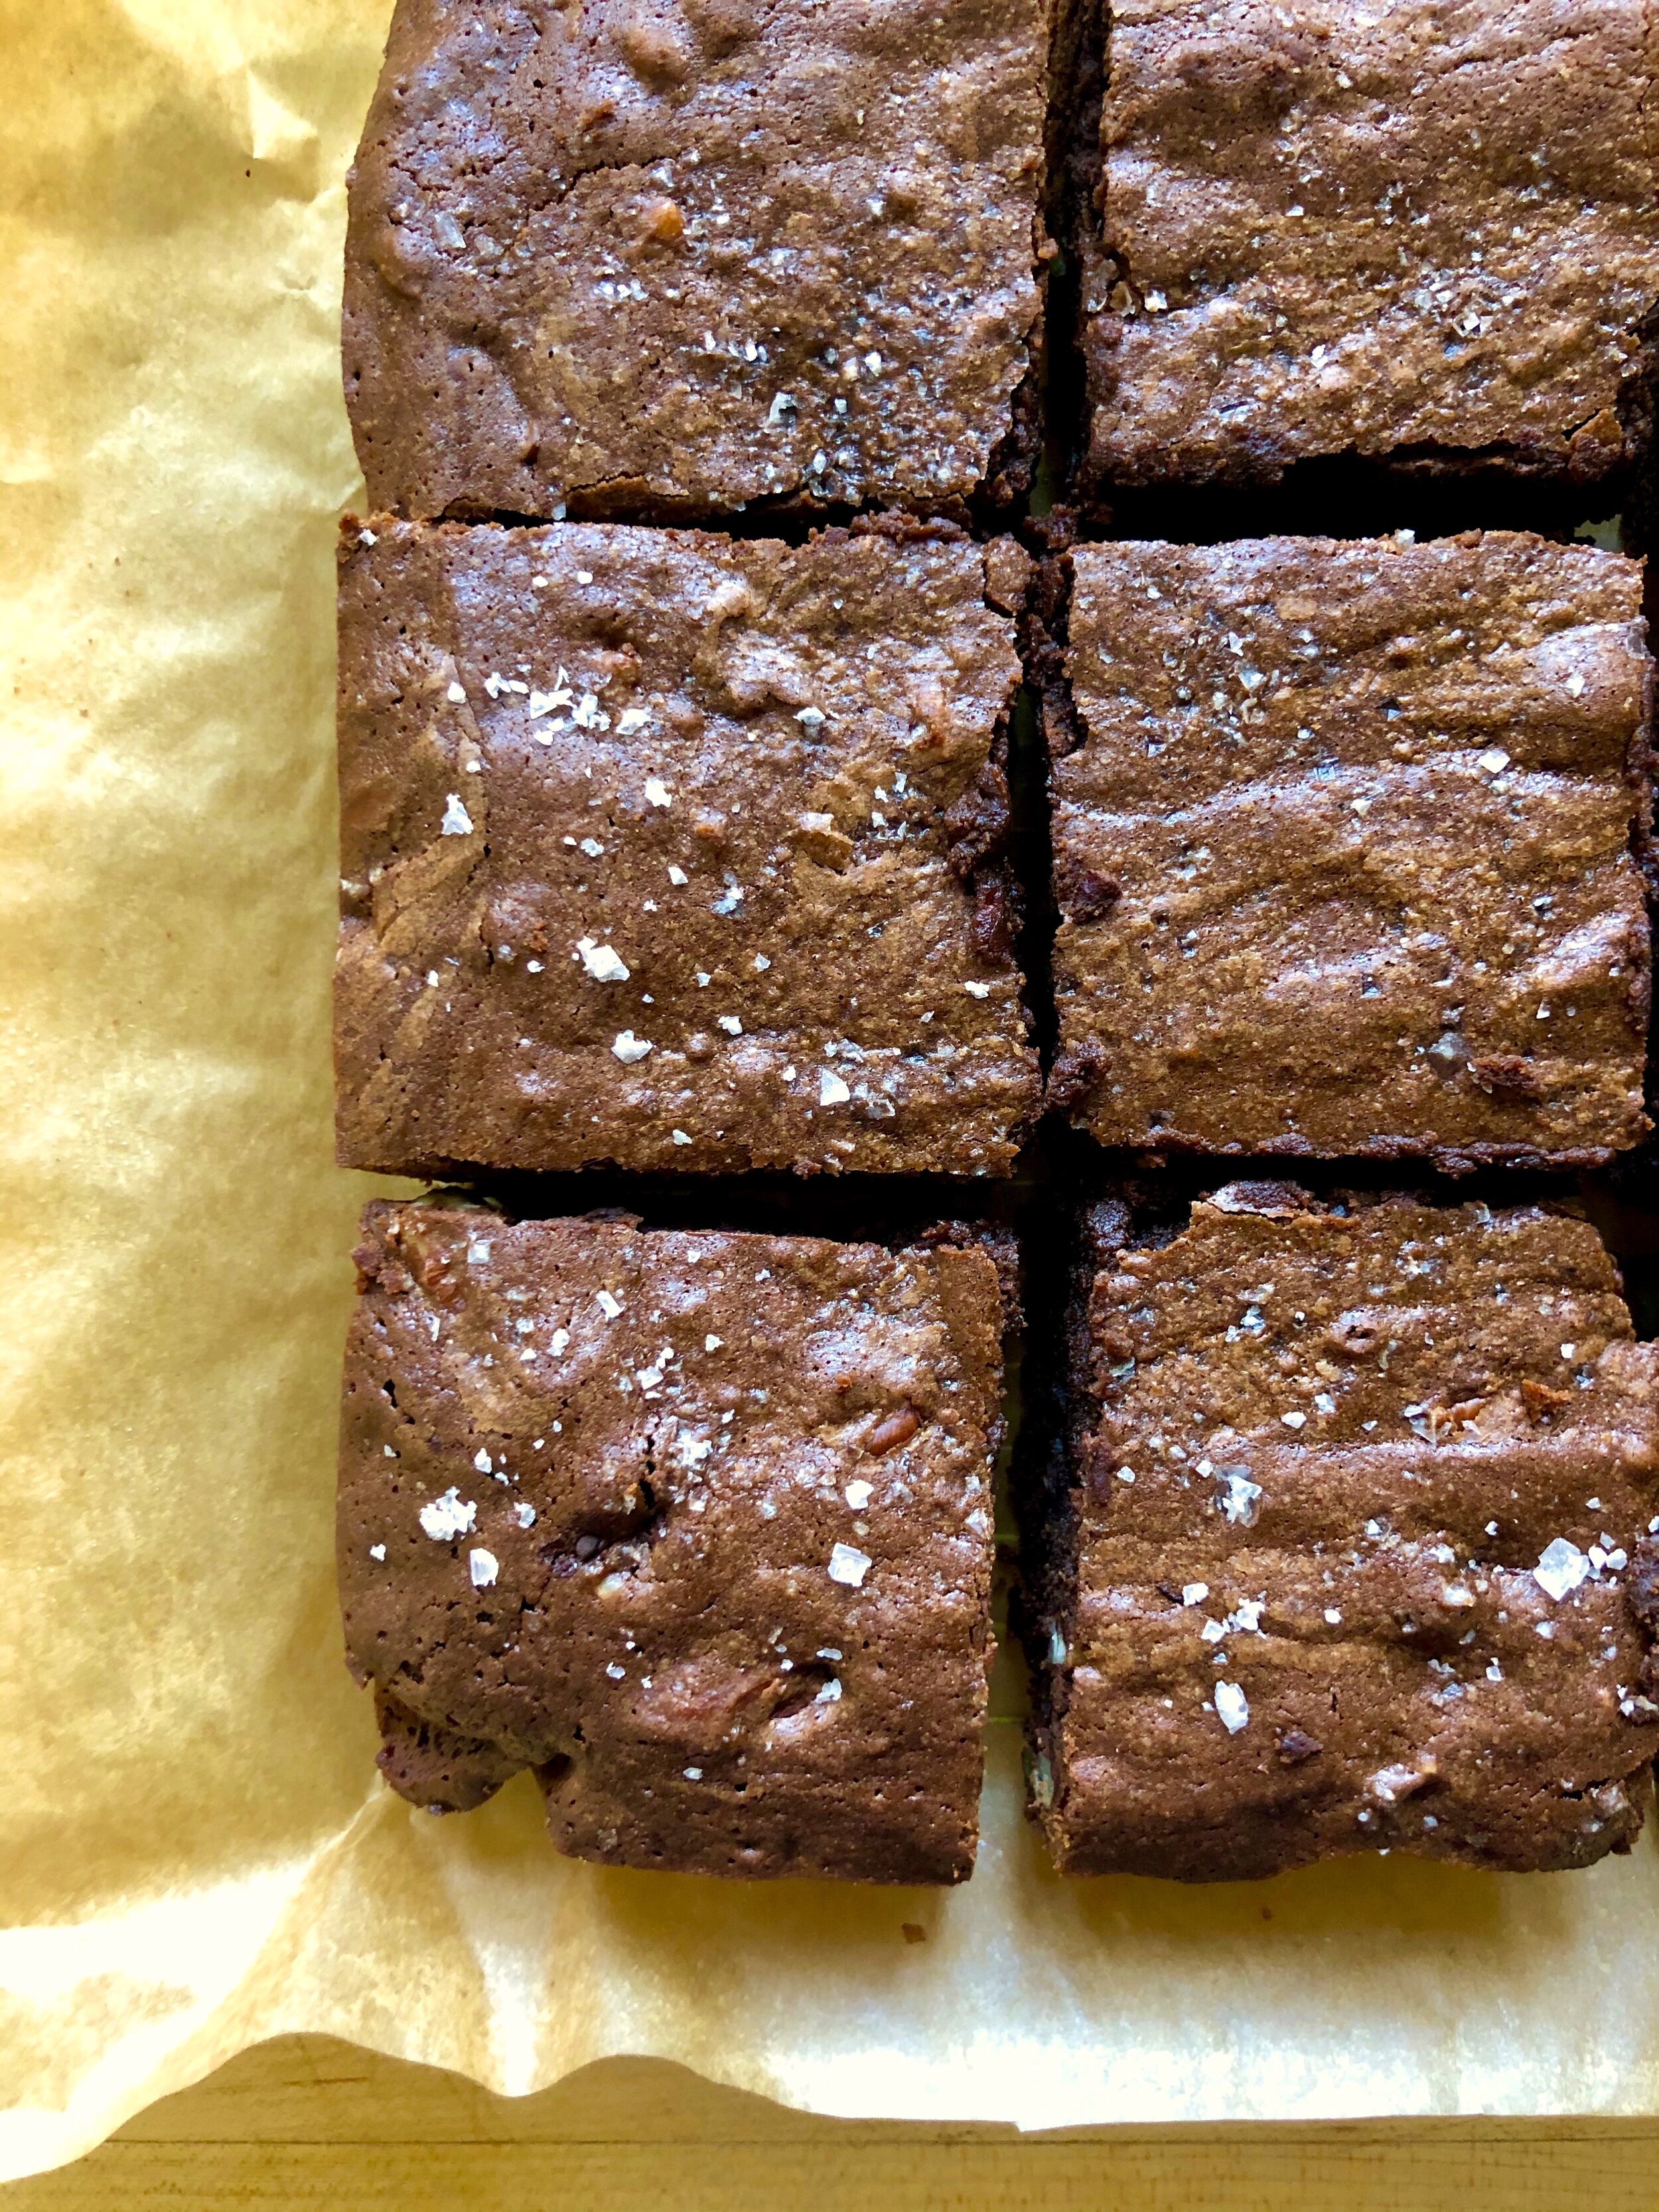
There is not much better than a super rich and decadent brownie. I prefer mine with a chewy, fudgy, almost-raw batter consistency as opposed to one that is cake-like, and I’m happy to say these fit the bill perfectly. Use high quality chocolate, like Guittard, Valrhona, or Ghirardelli, if possible. One tip for making sure your brownies get that beautiful, shiny, and crackly top- whisk the sugars into the warm, melted chocolate mixture. This allows the sugar to rise to the top while baking, and creates the perfect crackly top over a deliciously fudgy interior. Also, you’ll notice I use no leavener (baking soda or powder) in this recipe. Most fudgy brownies don’t need it, but if you prefer a slightly airier, cakey brownie, then you can add 1/4 tsp of baking soda. These are a classic staple in my household, and I love whipping up a batch whenever the chocolate craving hits!

Classic Fudge Brownies:

Preheat the oven to 350° F. Line a 9-inch square pan with parchment paper, allowing for extra to come up over the sides. Nonstick spray (or butter) both the pan and the parchment paper.

In a saucepan, melt the butter with both chocolates over low heat, stirring occasionally. Remove from the heat, whisk in both sugars until dissolved and mixture is grainy. Add in eggs, vanilla and coffee (if using), whisking until frothy. Fold in flour, cocoa powder, and salt until just combined. Lastly, add any mix-ins, if desired. 

Pour the batter into the prepared pan and smooth the surface. Sprinkle extra salt over the batter. Bake for about 30 minutes, until the edges are set but the center is still a bit soft. You may test with a cake tester, and be careful not to overbake! Lift the brownies from the pan using the loose ends of parchment paper, and allow to cool completely. Cut the brownies into squares and enjoy! Store in an air-tight container at room temperature or in the refrigerator. Makes 9 large brownies.

*Adapted from Chewy Fudge Brownies by NYT CookingExtra Nutty Dark Chocolate Fudge Brownies by Joy the Baker, and Ultimate Brownies by Handle the Heat.

Useful Tools:

 * This post may contain affiliate links. If you buy something through one of these links, it won’t cost you a penny more, but I’ll earn a small commission. This allows me to continue to generate content for you, and helps keep the site up and running. Thanks for your support! 


cheesecake brownies

My husband loves chocolate and cheesecake, so when I'm baking something for him, those flavors always come to mind. A decadent combination of the two would pretty much be the ideal combo to him, so cheesecake brownies seemed like an easy, but perfect solution! Rich and fudgy brownies are already great on their own, and I like 'em the fudgier the better! But now add a layer of cheesecake to the mix, and you've got yourself one seriously tasty treat. If you want, you can lightly swirl in the cheesecake batter to the brownie batter, creating a cool marbled effect on your brownies! I got a little carried away in mixing, so no picture-perfect marbling, but I promise they tasted great anyway! PS- I like using flatter, wider chocolate feves or discs instead of regular chips, and Valrhona makes great ones!

Cheesecake Brownies:

  • 1/2 cup unsalted butter, cut into pieces

  • 1 cup bittersweet chocolate chips, divided

  • 3/4 cup turbinado sugar

  • 2 large eggs

  • 1/2 tsp pure vanilla extract

  • 2/3 cup all-purpose flour

  • 2 tbsp unsweetened cocoa powder

  • 1/4 tsp salt

  • 8 oz. cream cheese, well softened

  • 1/3 cup turbinado sugar

  • 1 large egg yolk

  • 1/4 tsp pure vanilla extract

Preheat oven to 350°F and butter an 8-inch square baking pan. For the brownie batter, melt butter and 1/2 cup chocolate chips in a double boiler over simmering water, stirring occasionally, until smooth. Remove from heat and whisk in sugar, eggs, and vanilla until well combined. Whisk in flour, cocoa powder, and salt until just combined and spread batter evenly into baking pan.

For the cheesecake batter, whisk together cream cheese, sugar, egg yolk, and vanilla in a small bowl until smooth. Dollop large spoonfuls over brownie batter, then swirl in with a butter knife to create a marbled effect. Alternatively, you may mix the two together more evenly.

Sprinkle remaining chocolate chips over the batter. Bake until edges are slightly puffed and center is just set, about 35 minutes, then allow to cool. These are equally as delicious warm out of the oven as they are at room temperature or chilled, although the brownies will be much easier to cut if chilled. Makes nine 3" square, thick brownies.

*Adapted from cheesecake-marbled brownies by Smitten Kitchen.

Useful Tools: