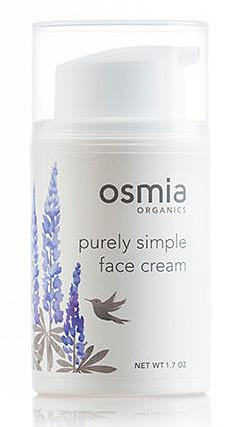


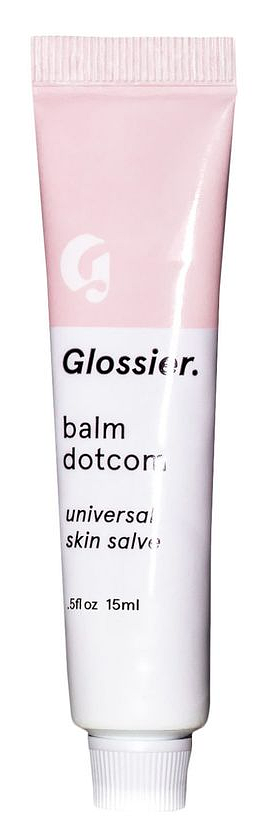


Taking care of your skin during air travel is super important. All that dry, recycled air can wreak havoc on your skin, not to mention all the germs floating around, so it's a good idea to take some preventative and healing measures along the way. I wanted to share a few of my go-to products and tips (all TSA approved!) to ensure fresh and hydrated skin upon landing. First and foremost, drink tons of water. I always bring a refillable water bottle, and fill it up before boarding (post-security), and then have the flight attendants refill it multiple times throughout the flight. This is key for staying hydrated from the inside, out. In terms of skin, I always try to fly makeup-free, with freshly cleansed and moisturized skin. This will help get you started on the right foot. I always keep some type of face mist in my carry-on, whether it's Caudalie Beauty Elixir or Avène Thermal Spring Water Spray. A spritz or two is always a nice, refreshing pick-me-up when my skin starts to feel stale or parched. If you really want to take your face spritz to the next level, I suggest investing in The Pocket Spa by Kelley Quan. This compact, refillable personal humidifier hydrates and moisturizes your skin using only water, leaving you with youthful and dewy-fresh skin! It also prepares the skin for and increases the efficacy of all your other products to follow. Once the skin is prepped, I apply moisturizer: I'll either bring an oil like Sunday Riley Juno Hydroactive Cellular Face Oil, or a moisturizer like Osmia Organics Purely Simple Face Cream, both of which are great at locking in moisture. I also make sure to have a thick ointment, like Glossier balm dotcom or Lano Lips 101 Ointment Multipurpose Superbalm, which can be used on your face & lips, hands & cuticles, or any other dry spots you may have. For longer flights, and maybe if I have a bit of privacy in business class, I'll bring a sheet mask like Hada Labo Ultimate Anti-Aging Facial Mask or SK-II Facial Treatment Mask. These may look silly while they're working their magic, but I promise your skin will thank you upon arriving. Maybe you're not willing to go this far in public, and that's alright- just apply one once you've reached your final destination. Lastly, I love this Aesop Ginger Flight Therapy. It's said to give an invigorating sensory lift when applied to your pulse points during times of stress or nausea. If nothing else, it leaves you smelling lovely with the aroma of lavender, macadamia nut, sweet almond, and ginger oils. By incorporating these tips and products into your travel routine on a regular basis, I hope you'll notice an improvement in your skin's overall look and feel just as I have.
get fit with britt // pure barre ledge
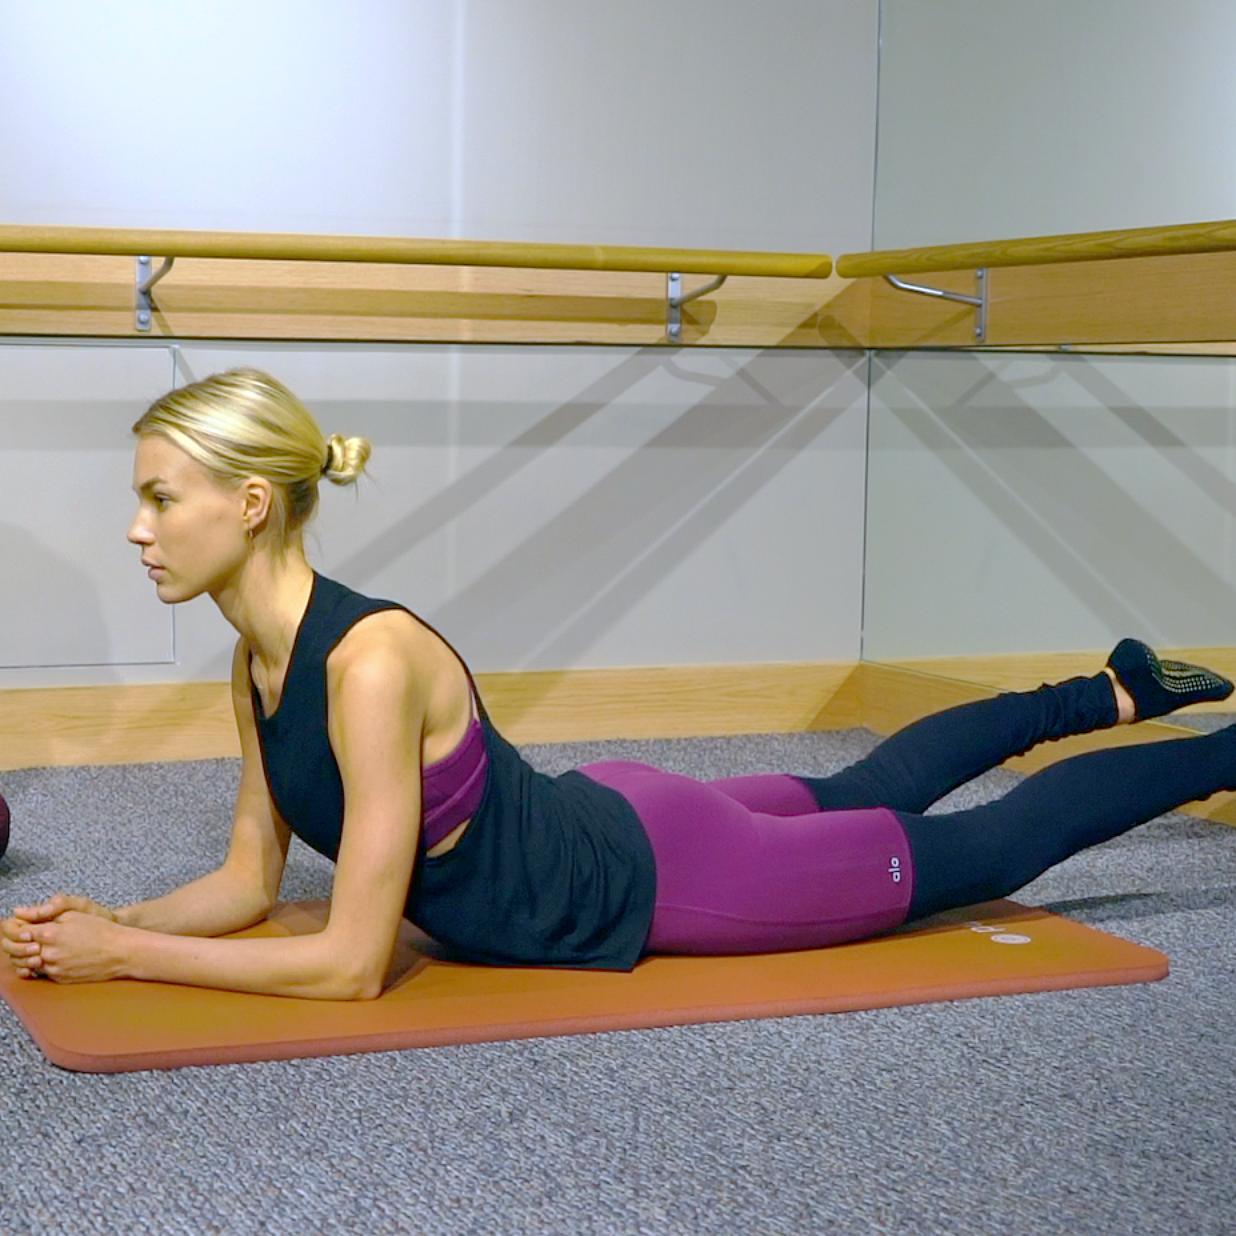
Welcome back to Get Fit with Britt! I'm going to be posting some demos of my fave exercises taught at Pure Barre Williamsburg, with the help of their awesome instructors. Pure Barre is a fast, effective, and most importantly, safe way to change your body, and follows a technique that's high-intensity, but low impact to protect your joints! Thanks to Pure Barre, I have been able to build long, lean (not bulky!) muscles while tapering everything in & lifting it up! For this series, we will pick a particular move, explain the focus area and correct form, then demonstrate it so you can practice at home! That way, if/when you come to the studio yourself, you'll be rocking the moves & way ahead of the game ;) These exercises are also a great way to get fit at home or on-the-go! I find myself regularly using Pure Barre exercises during my hotel room workouts. Additionally, you can get all the outfits I'm wearing at the Pure Barre Williamsburg studio, so definitely go by if you're looking for some fun, new workout gear! Come & join me, get that healthy & strong body you've always wanted- come Get Fit with Britt!
Today's exercise focuses on the area where your seat meets the back of your leg. At Pure Barre, we call this area your "pure barre ledge", because you're essentially working to create a ledge where your booty pops out from the back of your legs. I love this position because, yet again, you get to relax most of your body on the ground (do you see a trend here?), all while really focusing the work on your seat. Adding a resistance band around your ankle adds an extra challenge here, but feel free to do this exercise without it as well. Rest your head on your arms, flex your foot, and keep your hips tucked under. Make sure to initiate each movement with a squeeze in the back of your seat as opposed to just moving your leg. This will ensure you maintain a smaller range of movement, and are able to tone the target area effectively. Repeat three sets of ten reps for a killer seat workout!
*I am not a trainer or health professional, so please consult one if you feel you're doing something wrong or could potentially injure yourself.