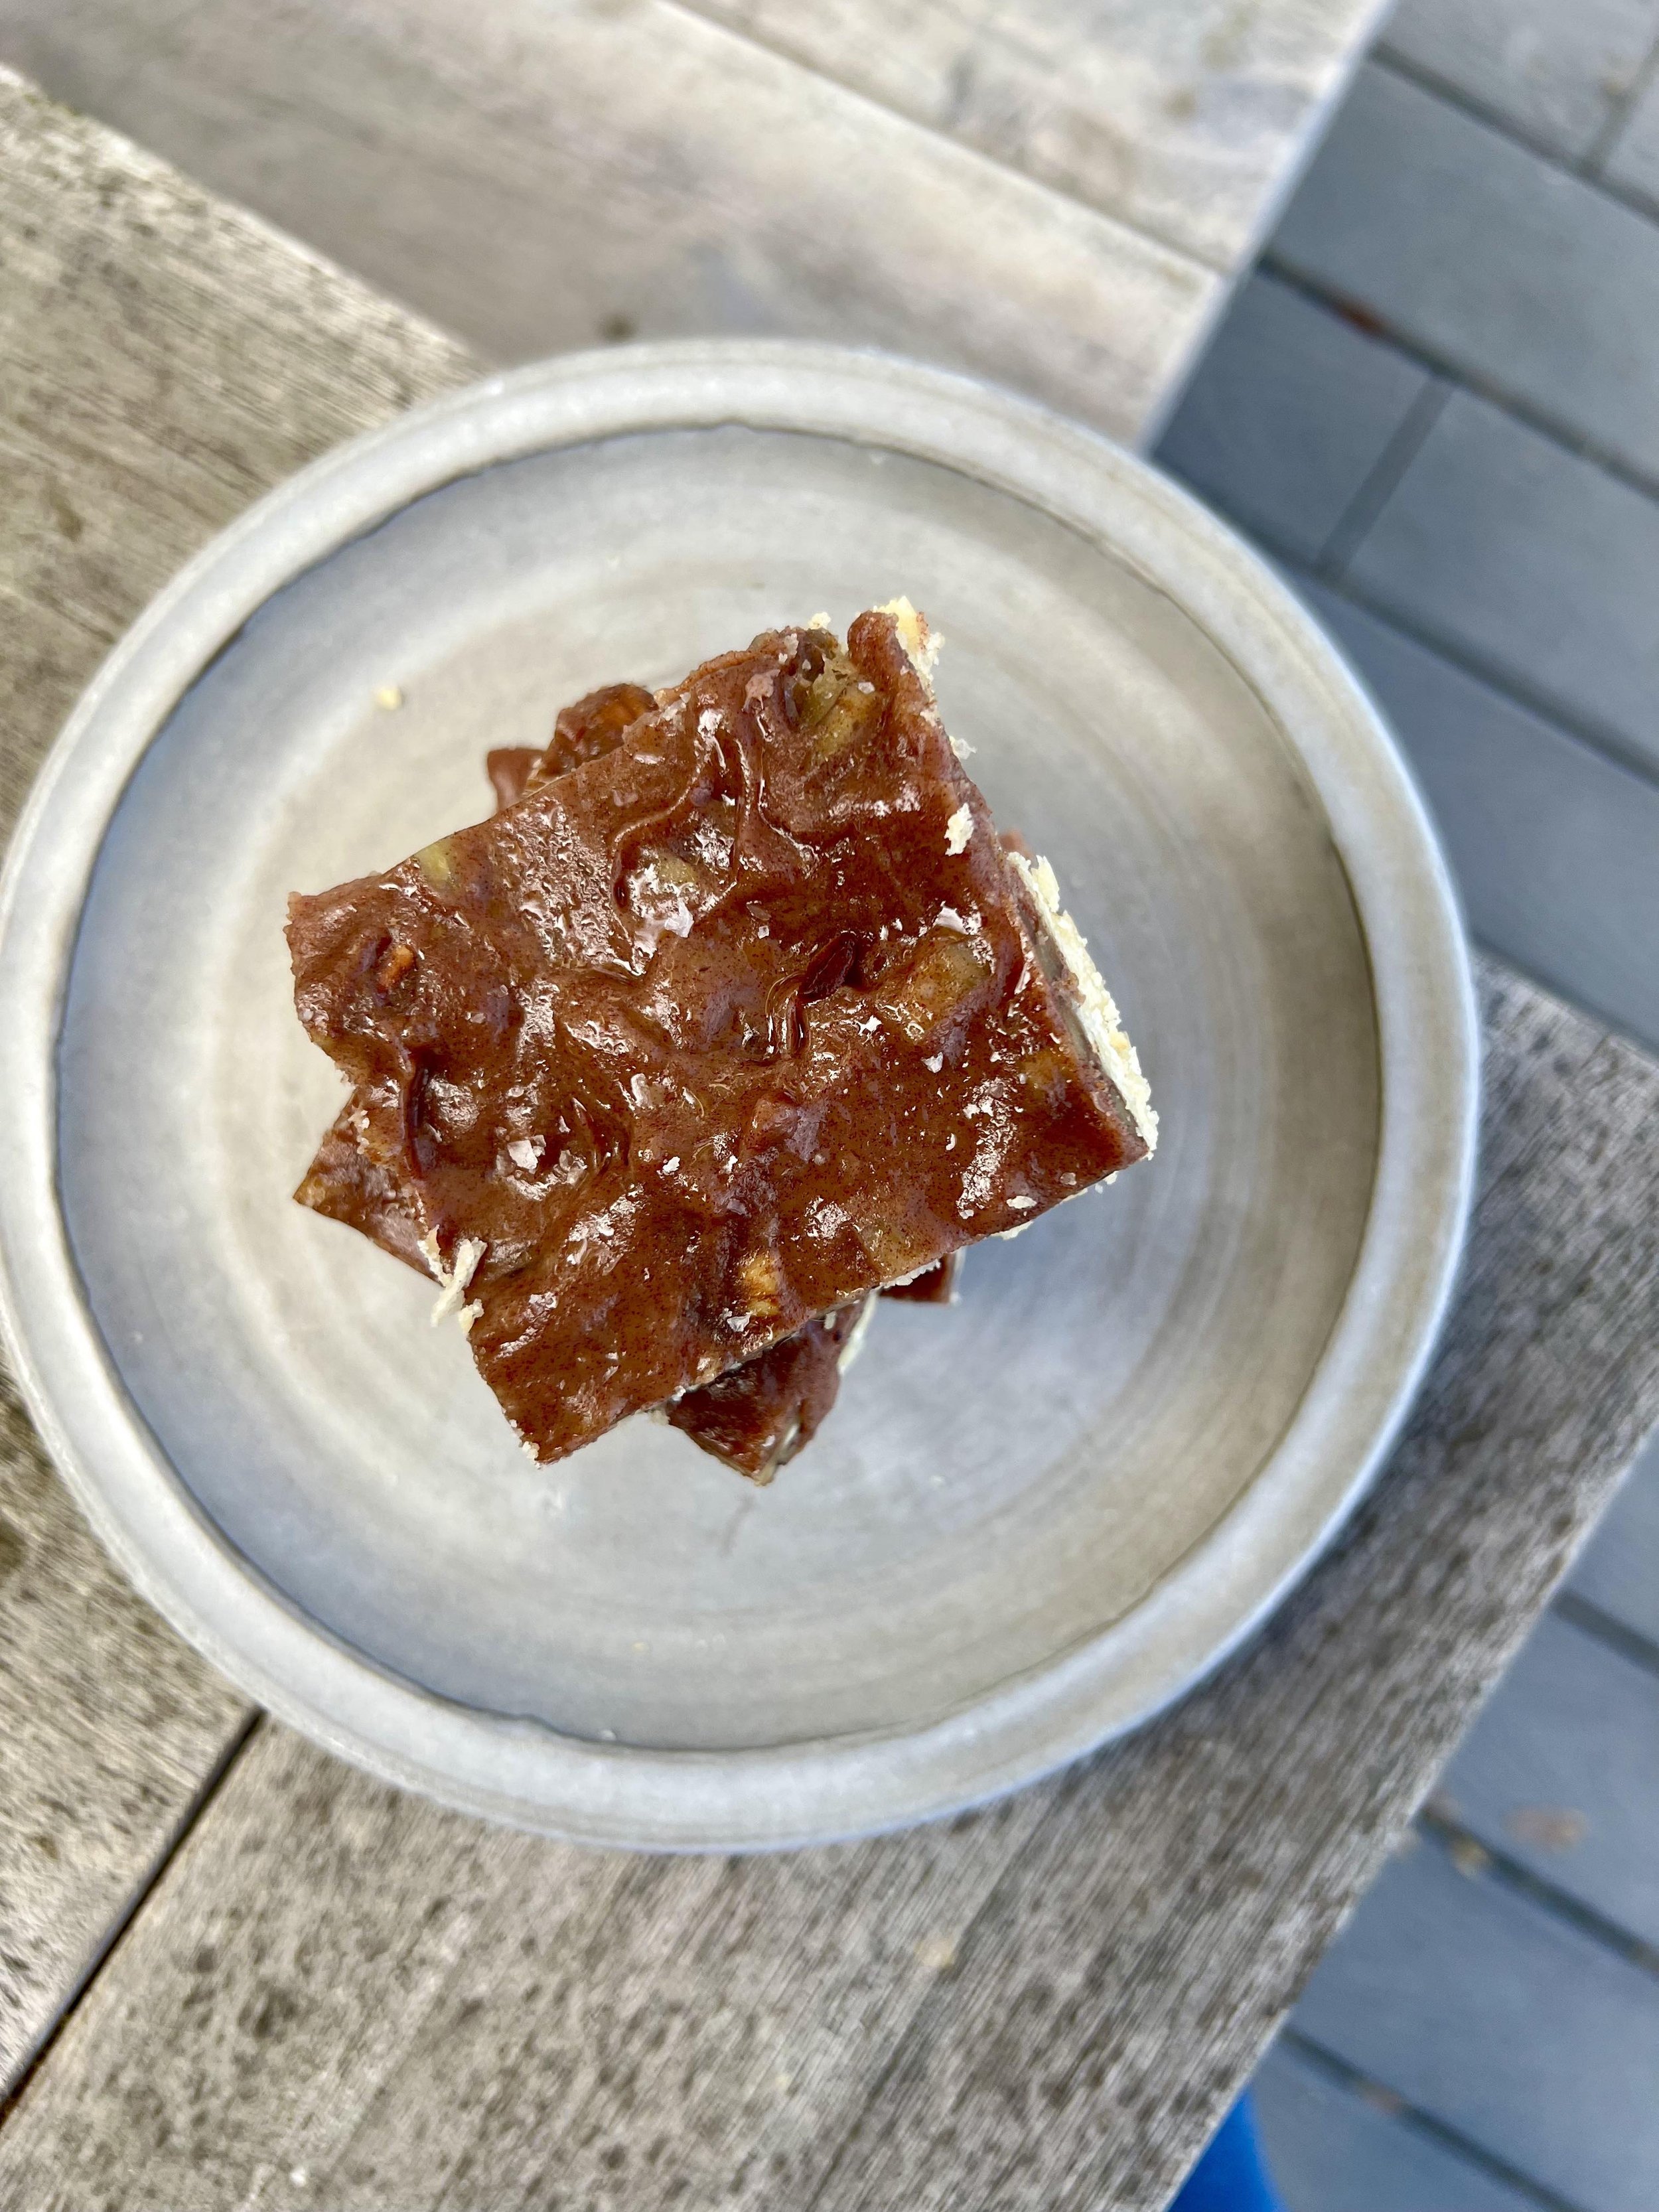
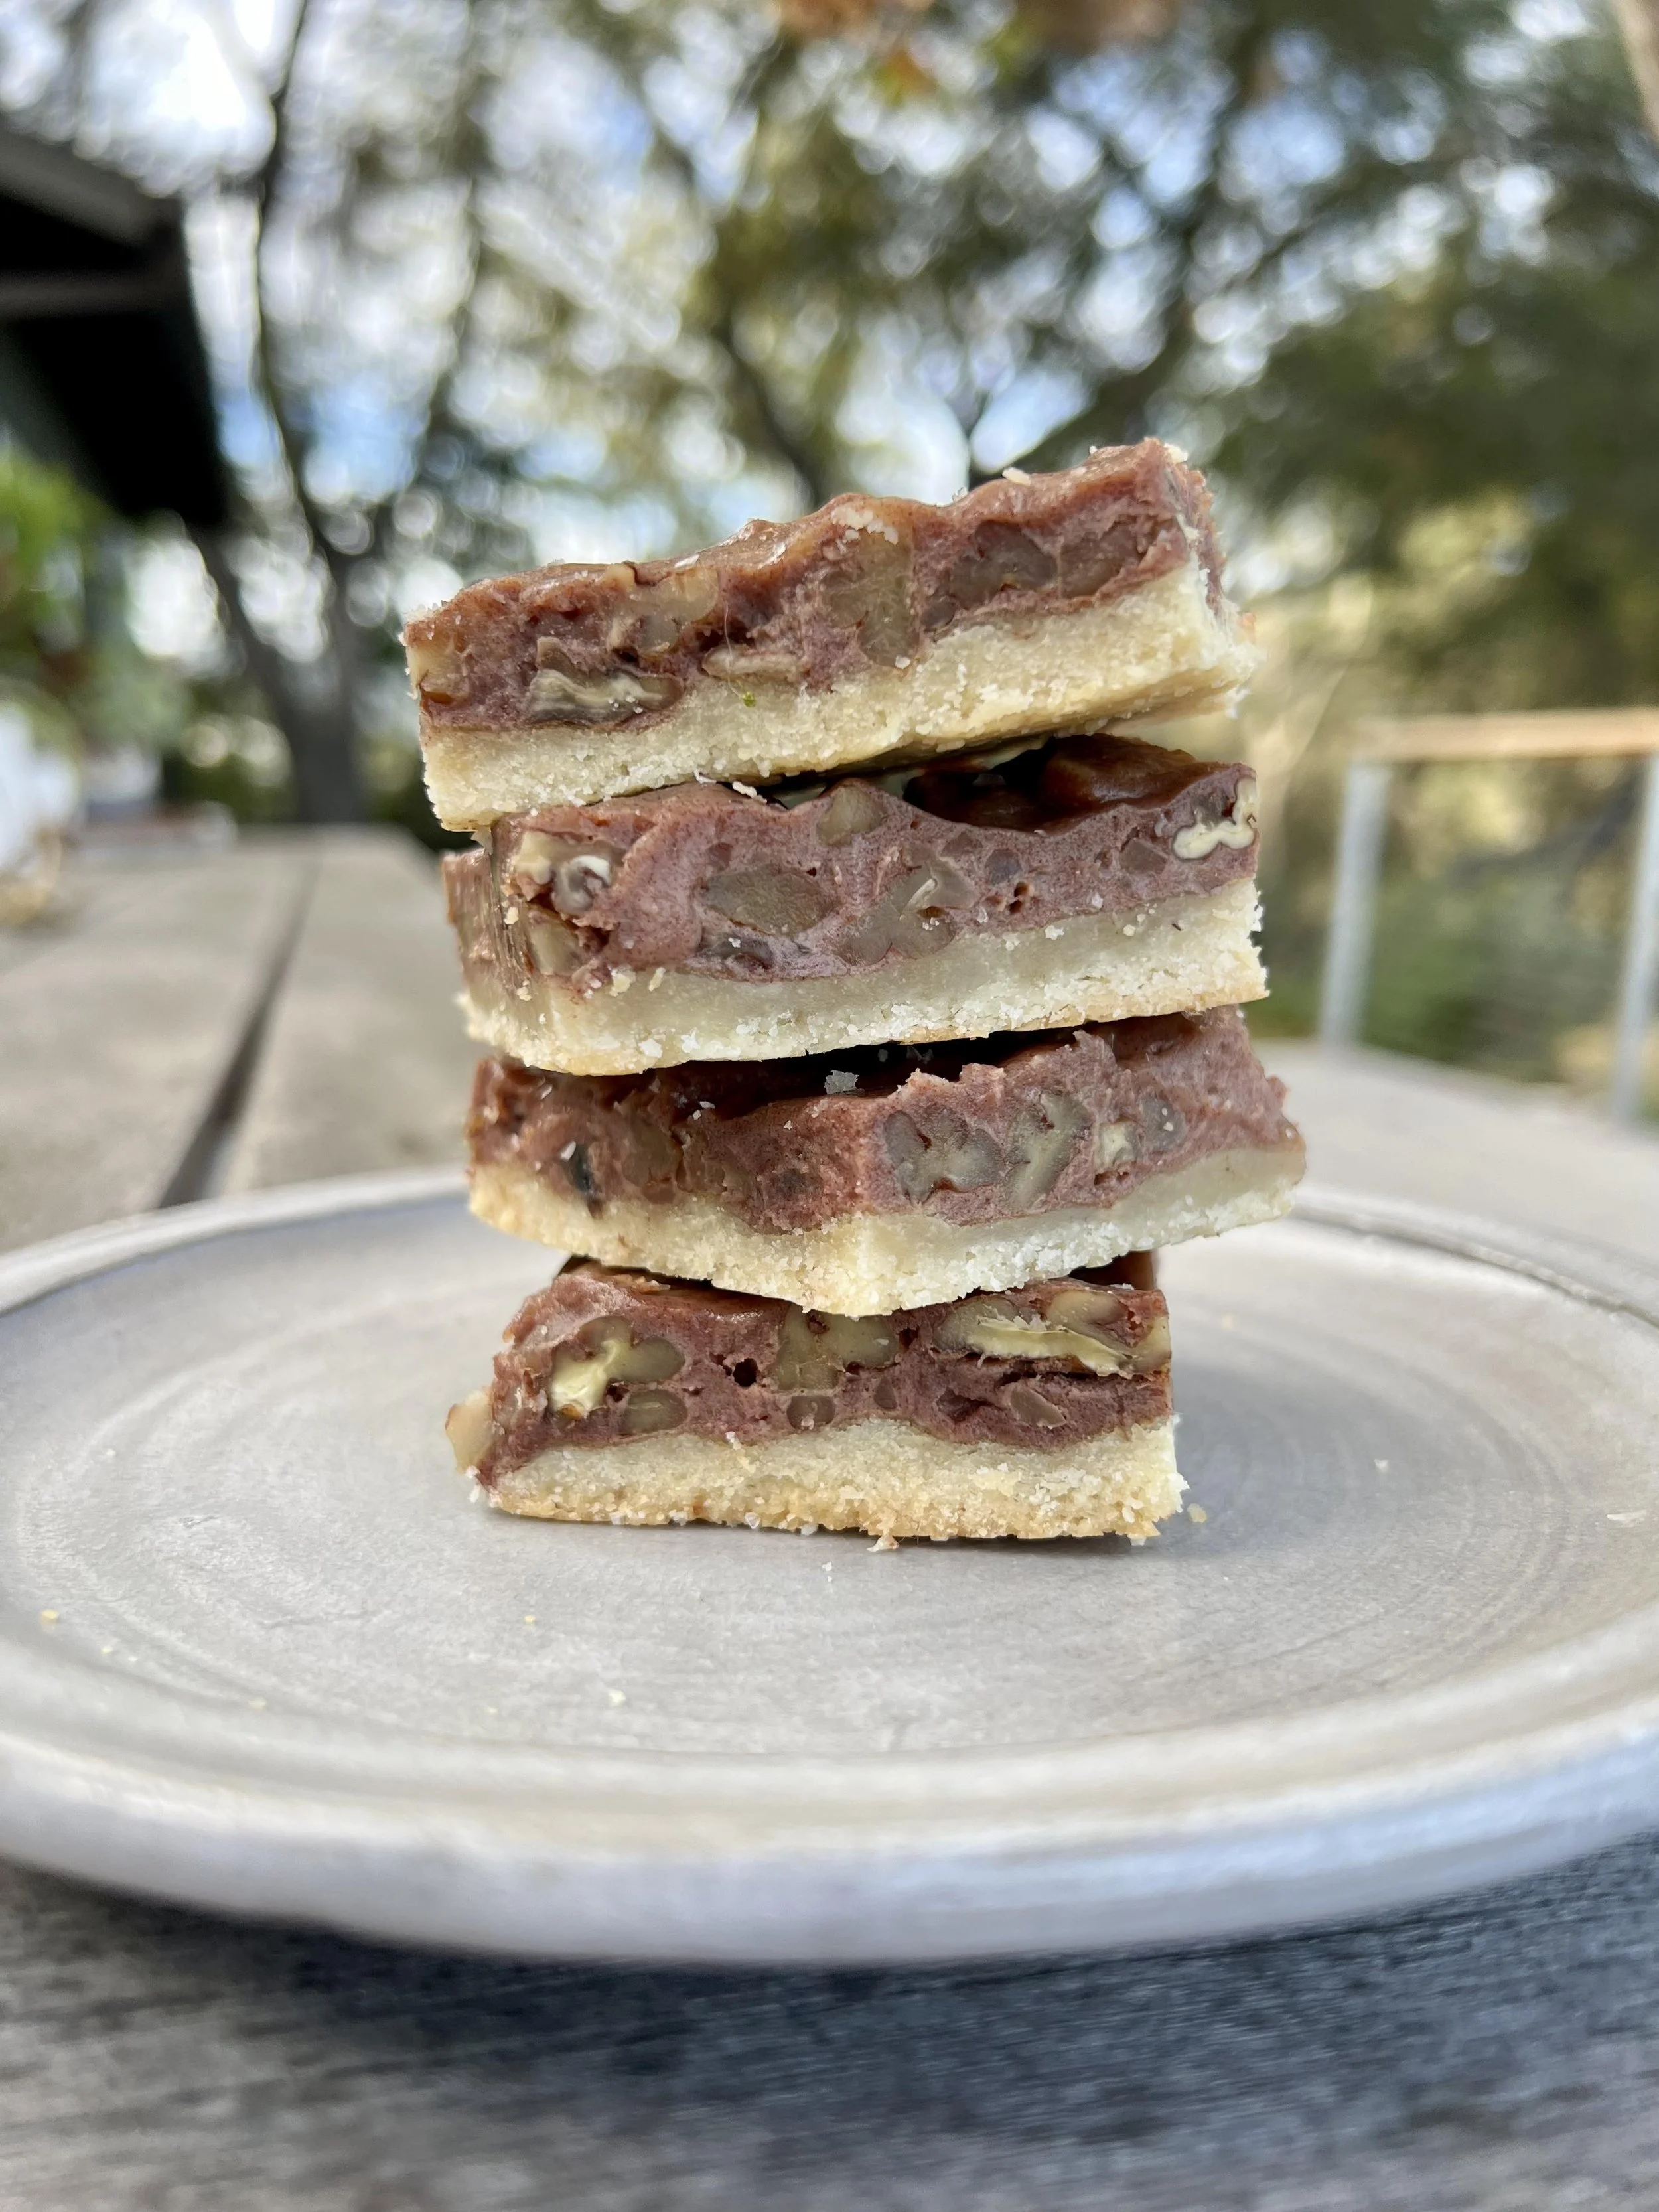
grain-free pecan pie bars

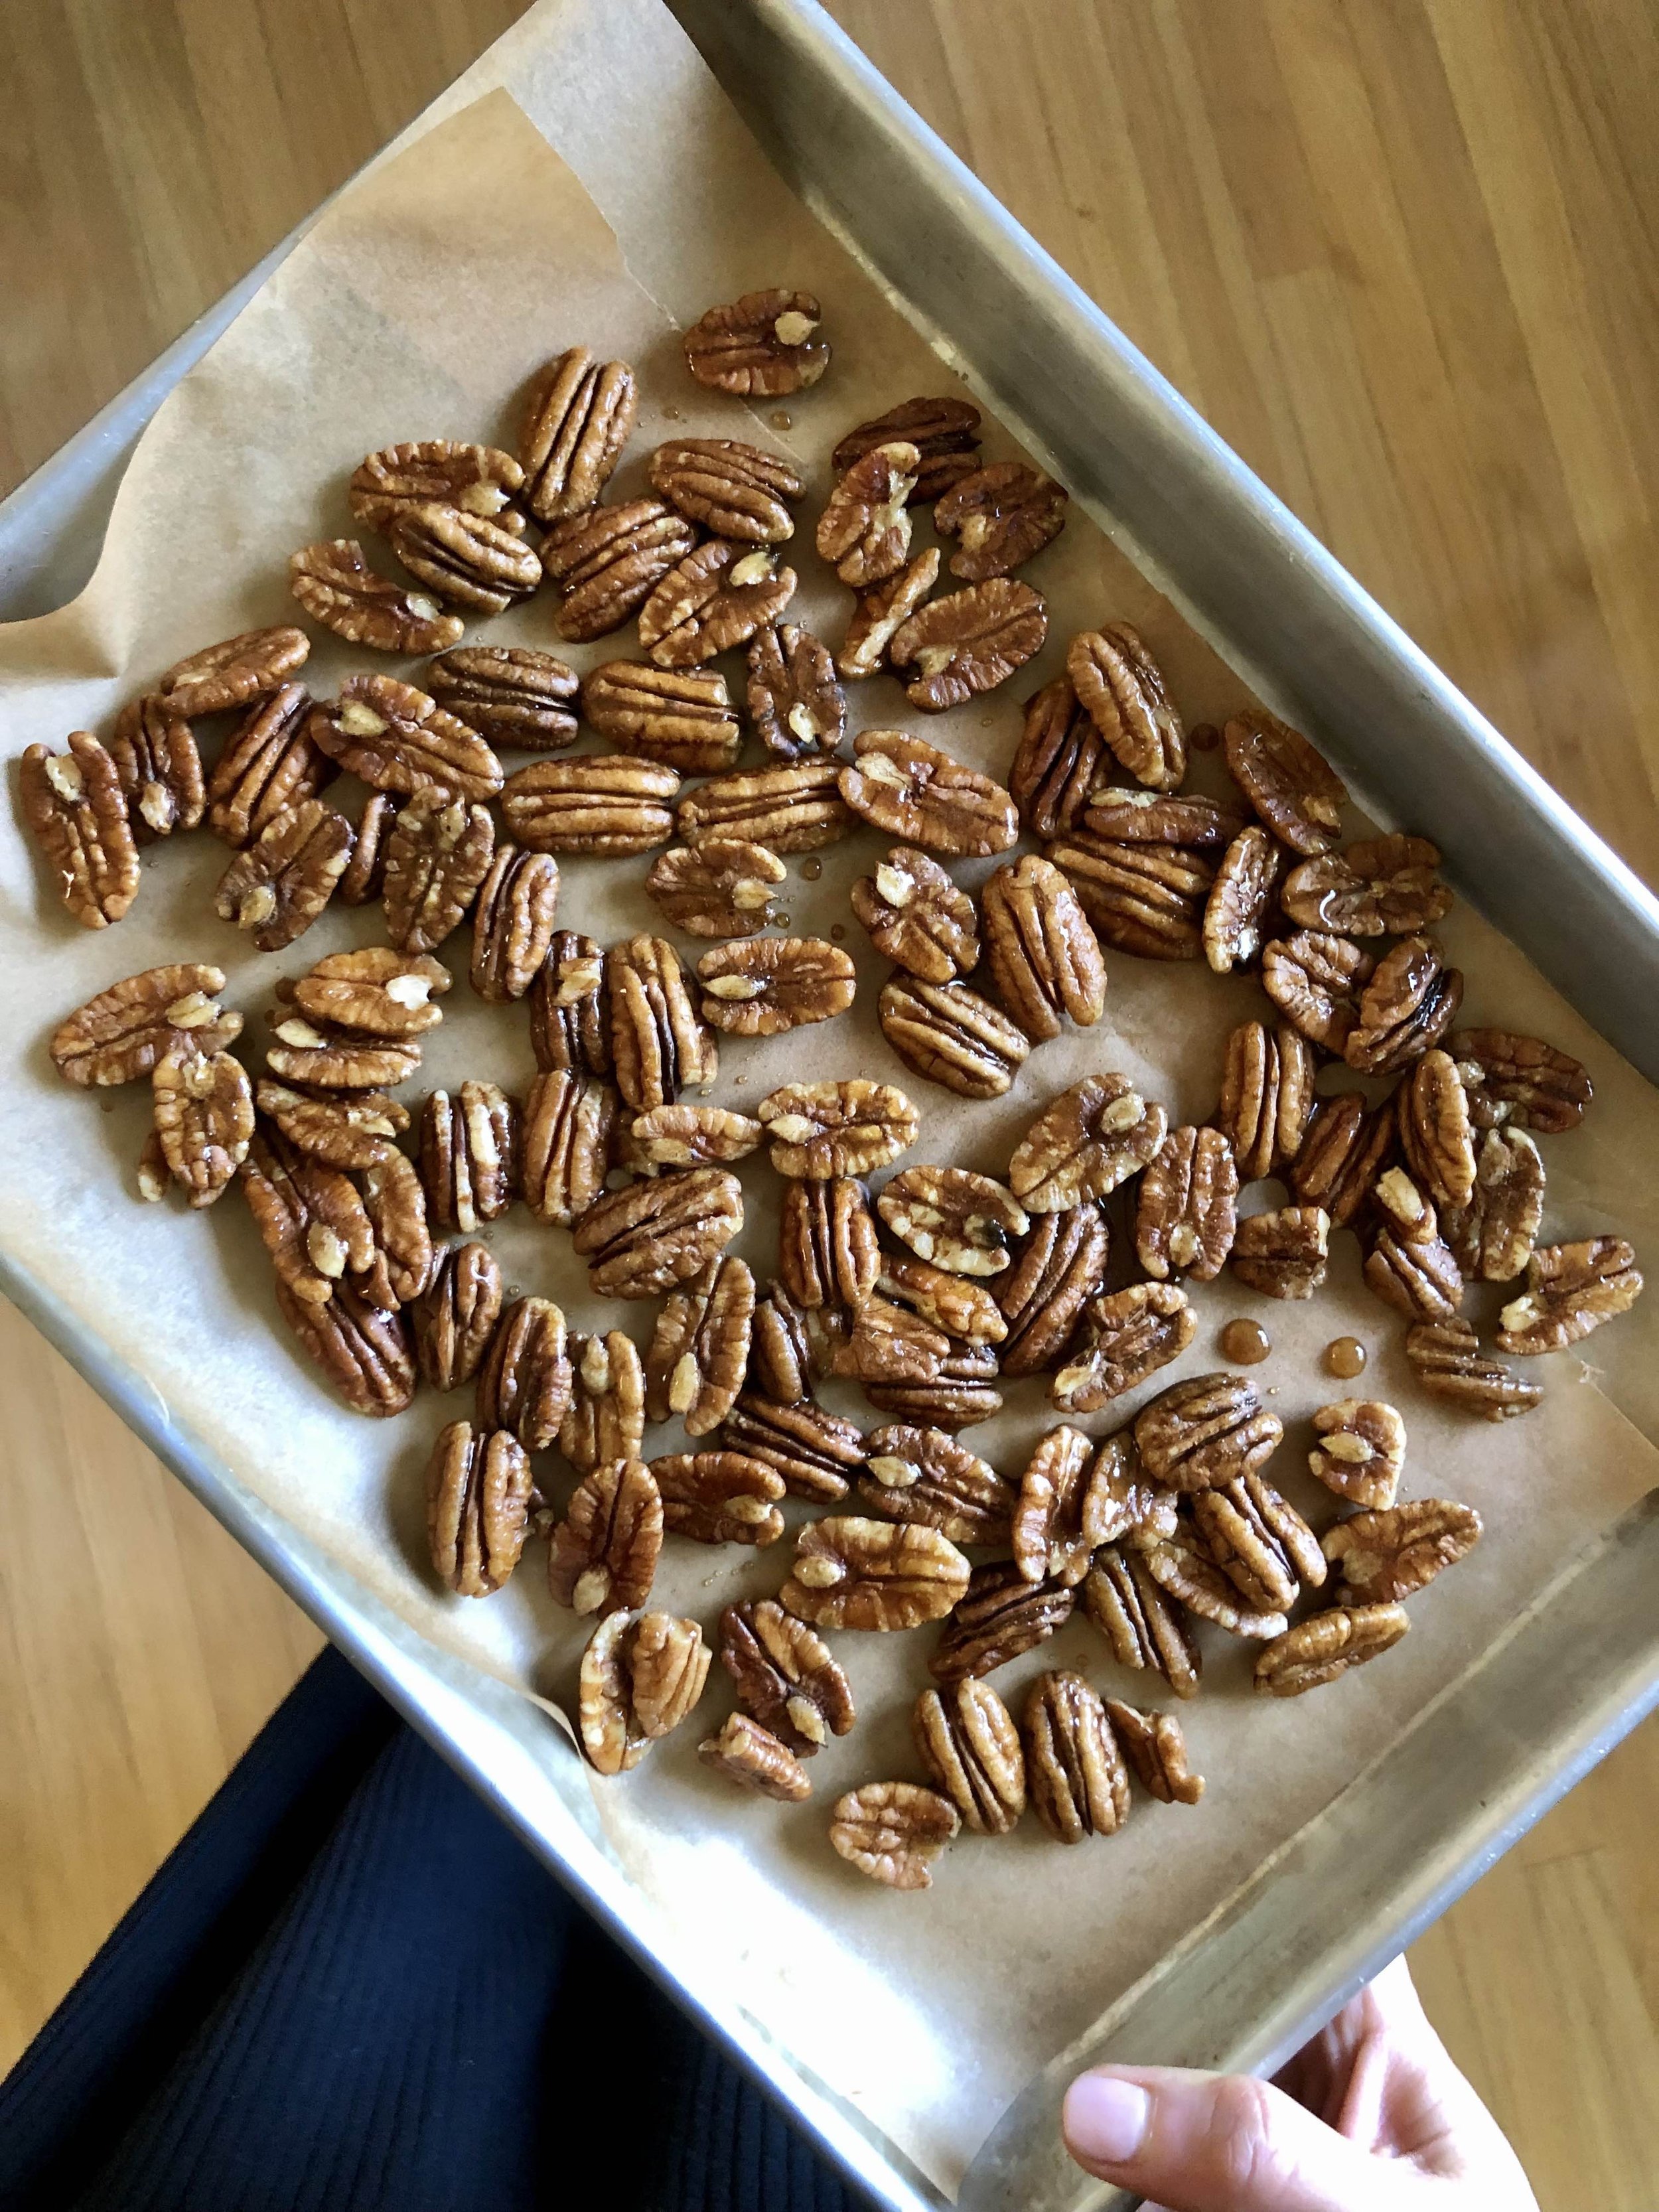
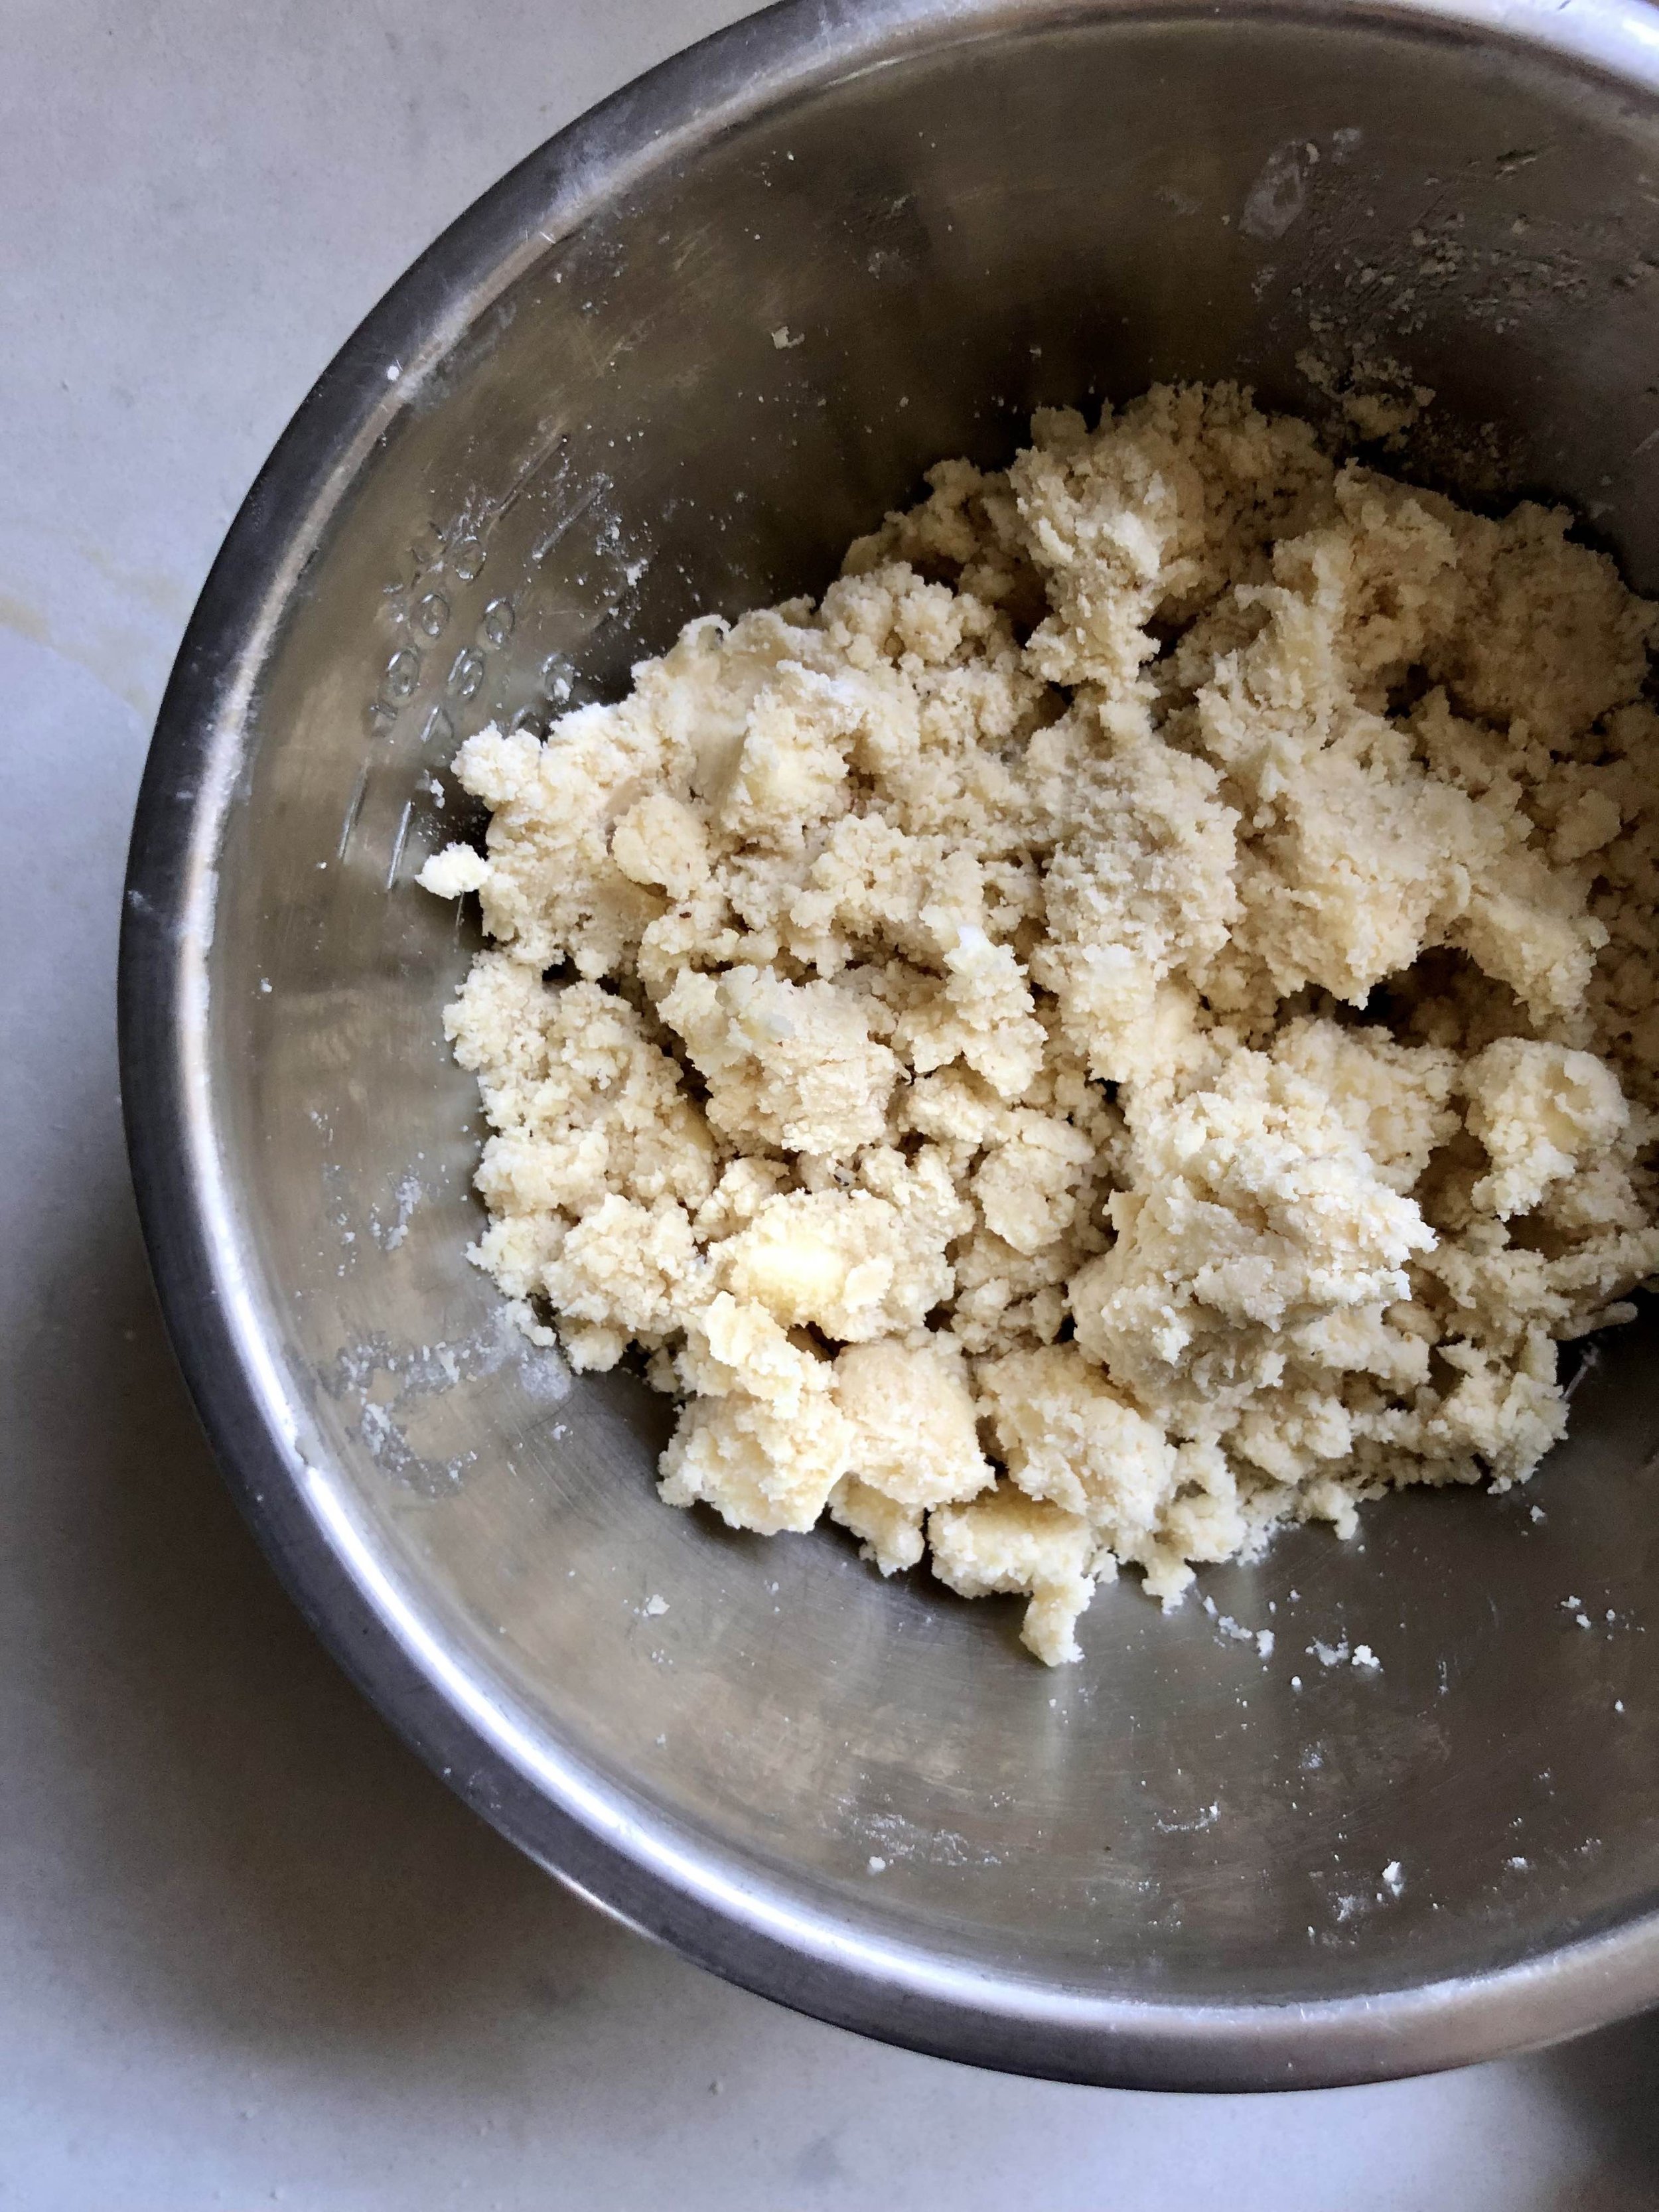
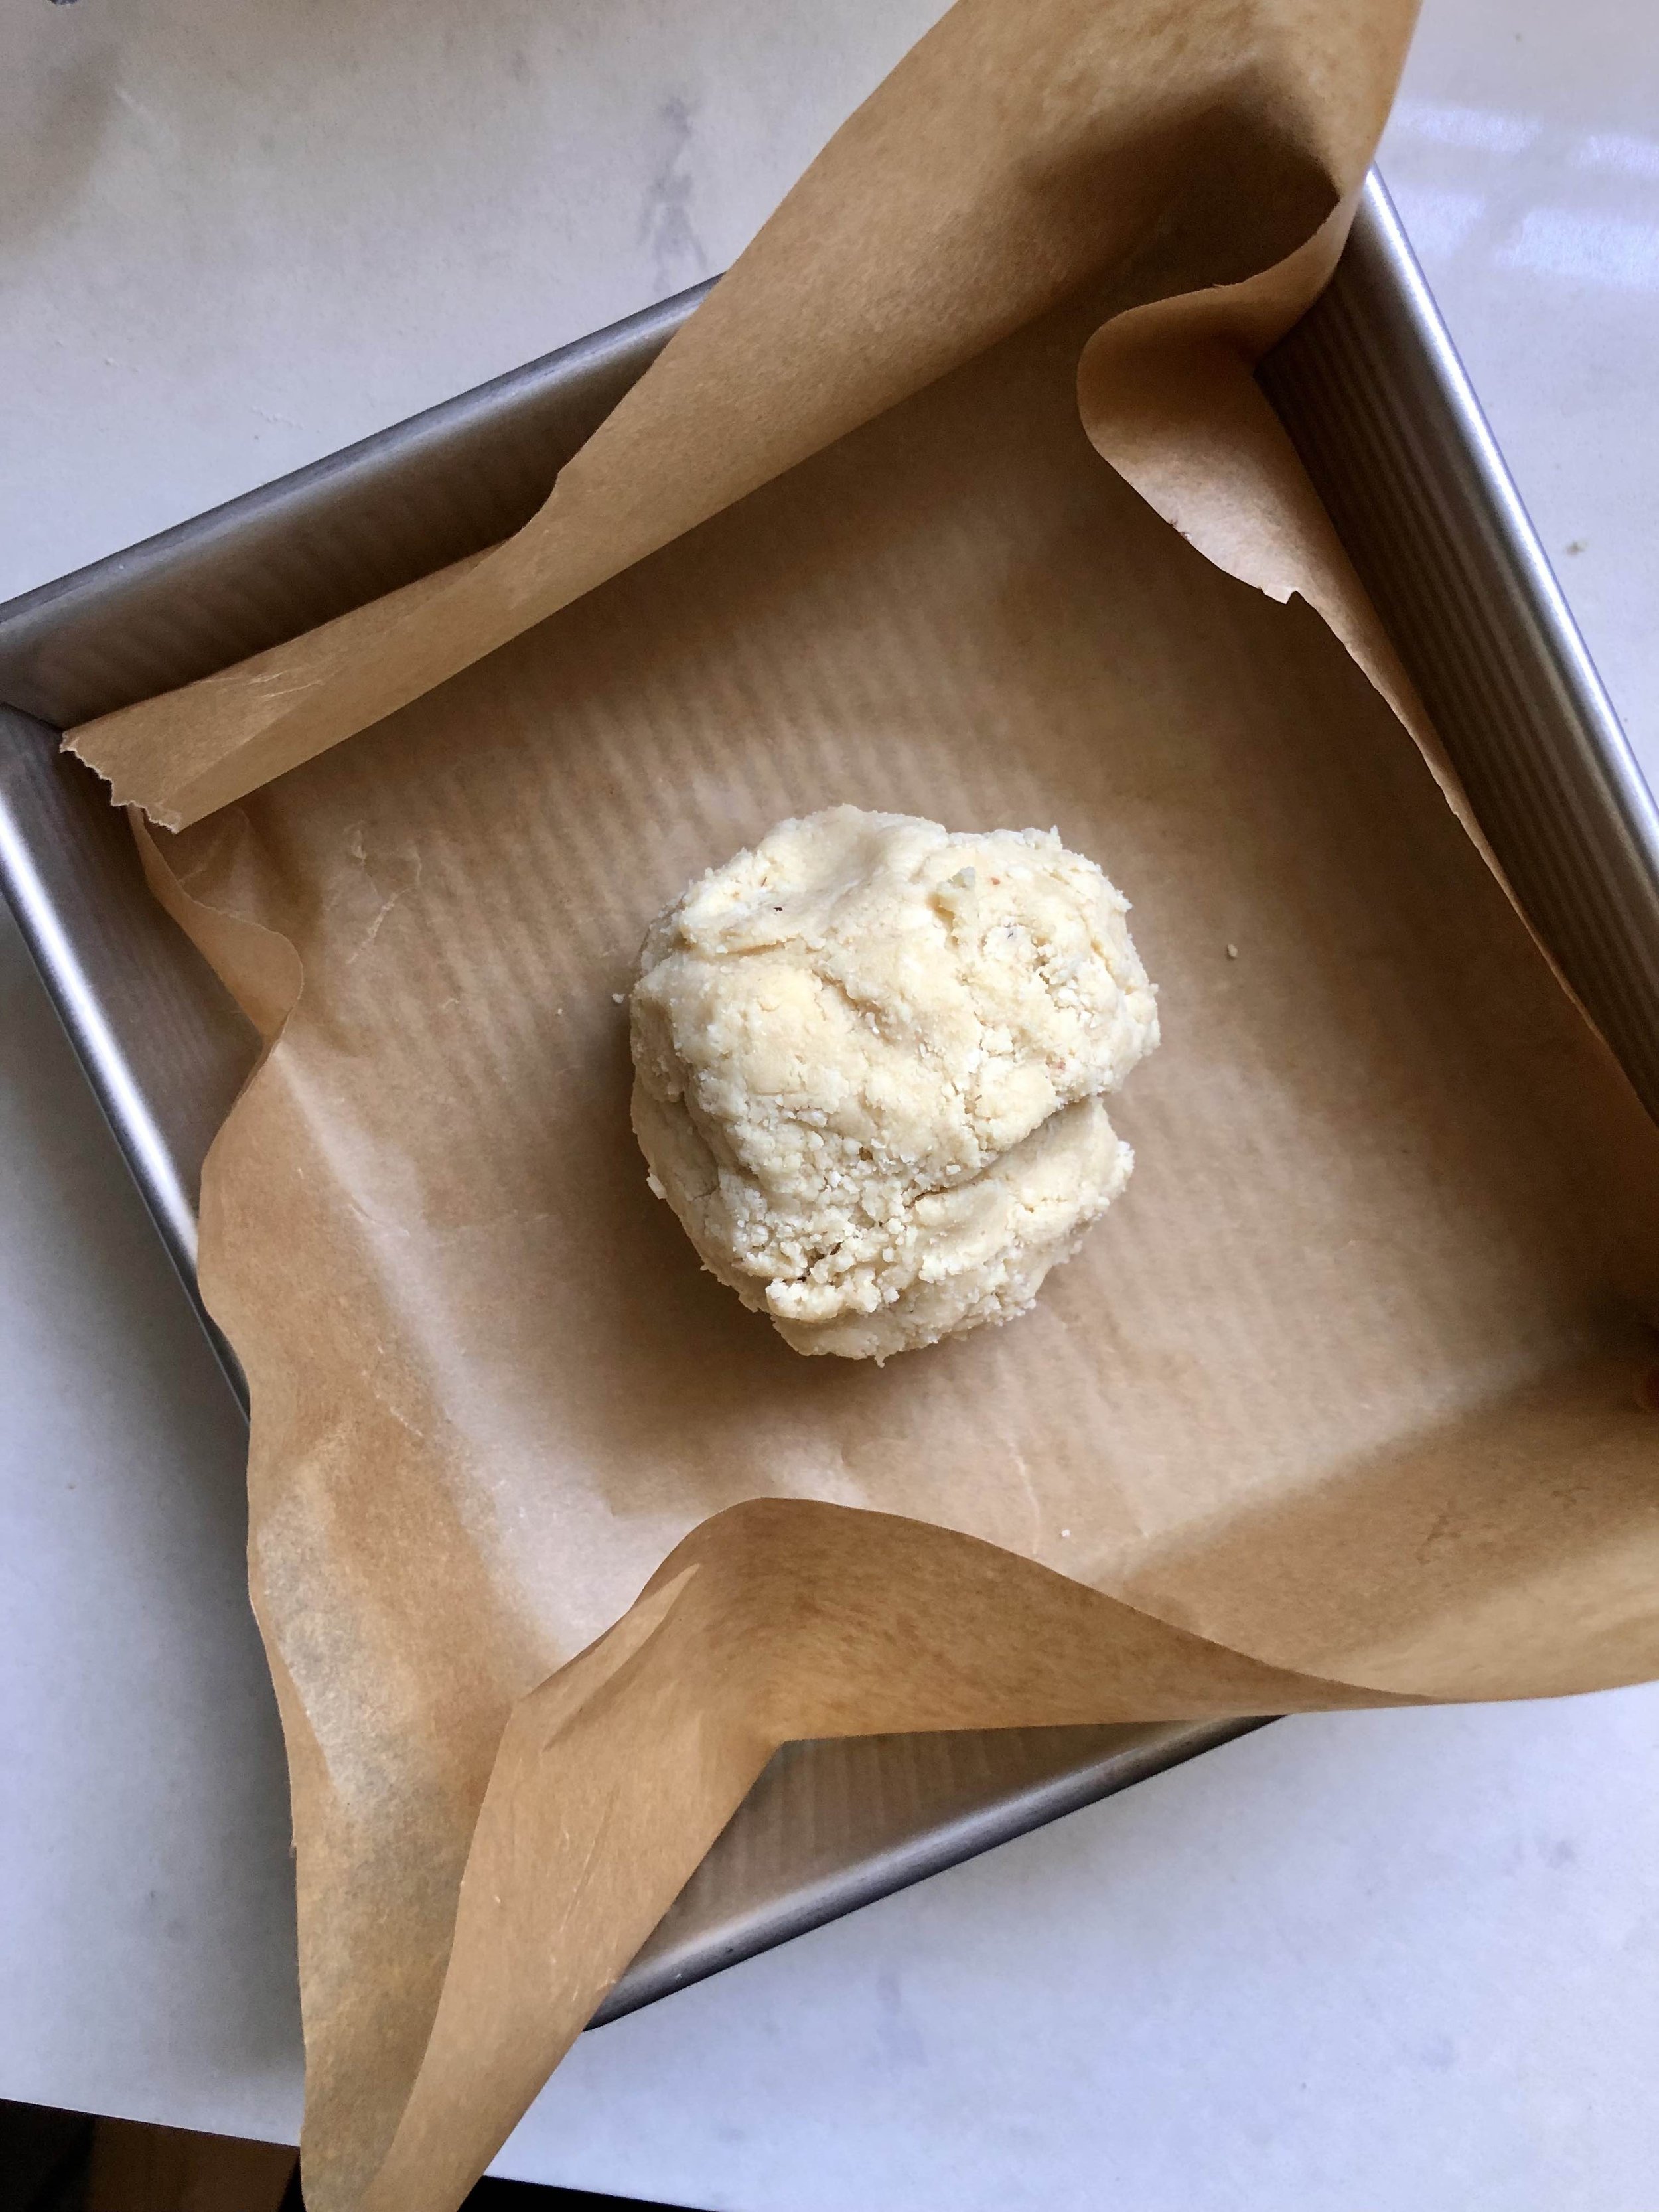
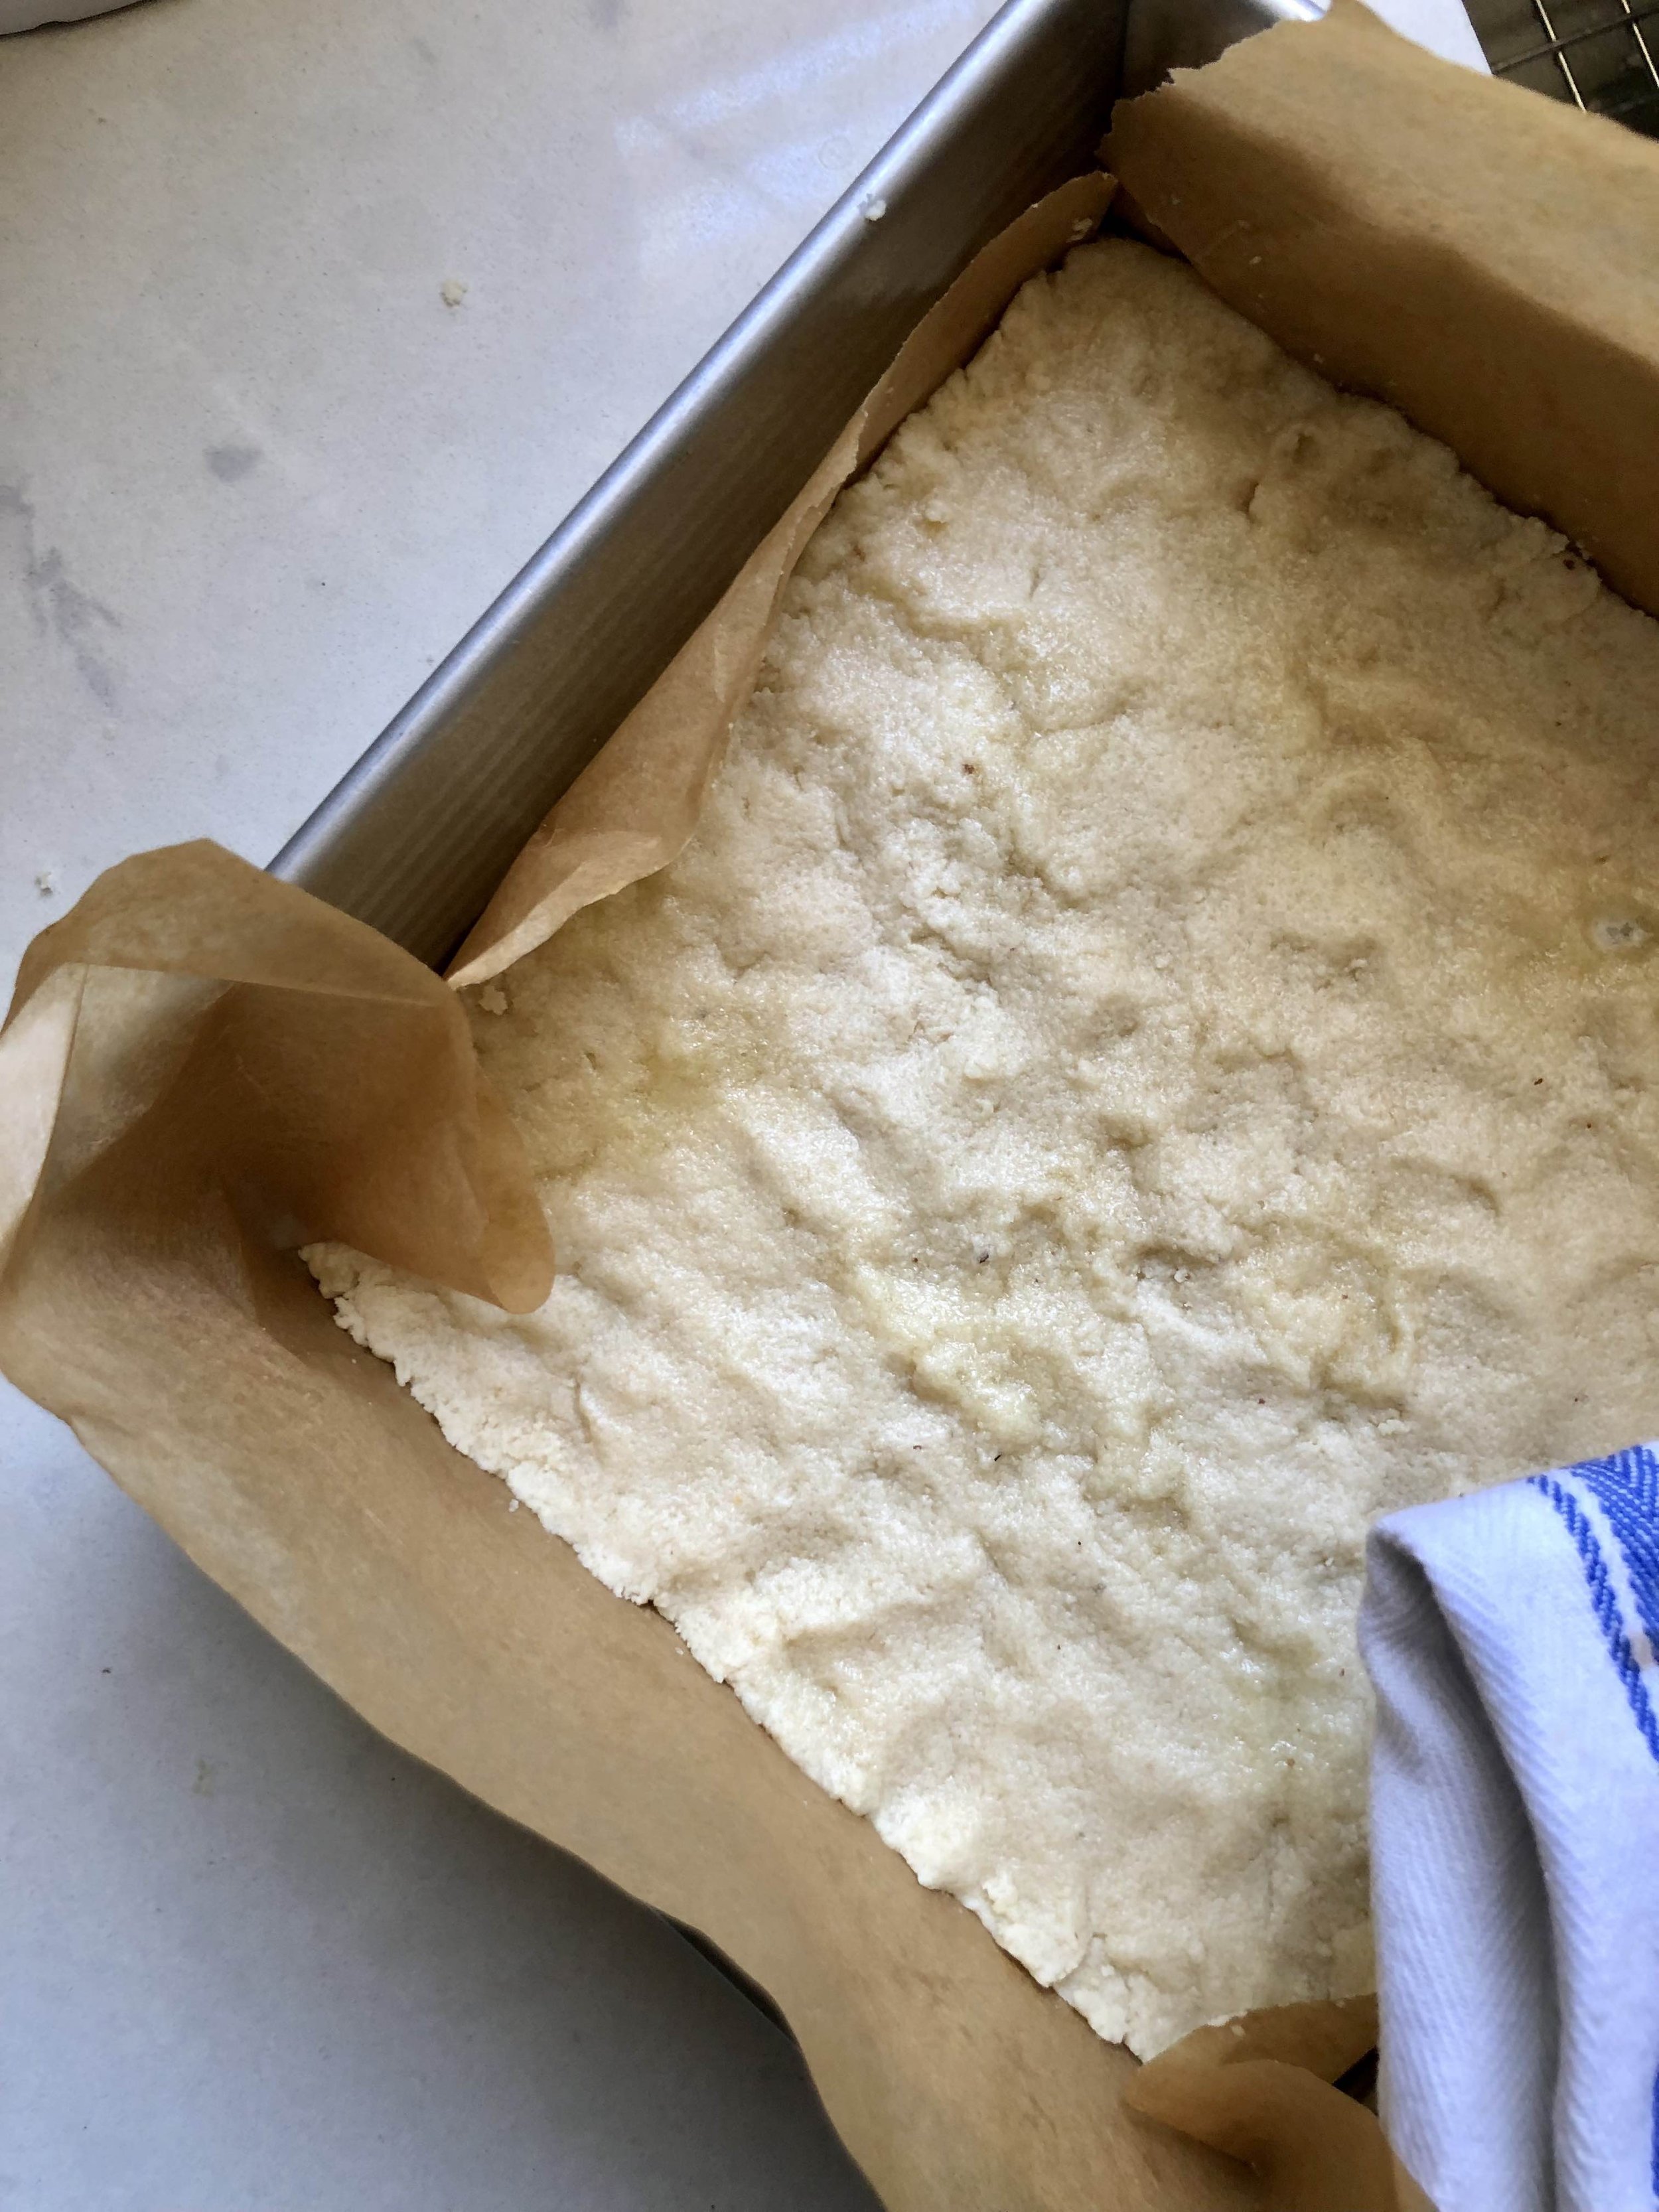
I can’t believe the holiday season is soon upon us. This year has really flown by! One of the first things that comes to mind when I think holidays is holiday baking! From festive pies at Thanksgiving to cookie exchanges at Christmas, I’m truly here for it all! Pecan pie is a southern fave for good reason- that gooey caramelized filling, with candied pecans, and a buttery shortbread crust is hard to beat. But to be honest, many pecan pies can be sickeningly sweet, and I’m not a huge fan of the corn syrup filling that is traditionally used. I also understand pies can be a bit of an overwhelming undertaking, and so I love the approach of somewhat more casual pecan pie bars! These in particular are made with a coconut milk and date filling, along with a butter and almond flour based crust. Plus lots of gooey pecans!

These are equally as delicious as their pie-counterpart, but can be eaten with your hands! Served in a bowl topped with a big scoop of ice cream ain’t bad either, just sayin’. My bestie Rachel Mcconn at Rachel Mcconn Wellness (who I’ve baked with before & also loves a good sweet treat) developed this grain, gluten, and refined sugar- free pecan pie bar recipe, and asked me to test out the recipe for her. Okay, fine, twist my arm ;) These turned out super tasty- not to mention made the house smell absolutely fantastic- and I think they’d make a perfect addition to any holiday table. She has offered to share the recipe with my readers- so head on over to her site for the recipe! As always with RMW recipes, these are free of all gluten, grains, and refined sugars, so those with any allergies or restrictions can still indulge freely as well. Hope you enjoy, and happy holidays!


real coconut kitchen

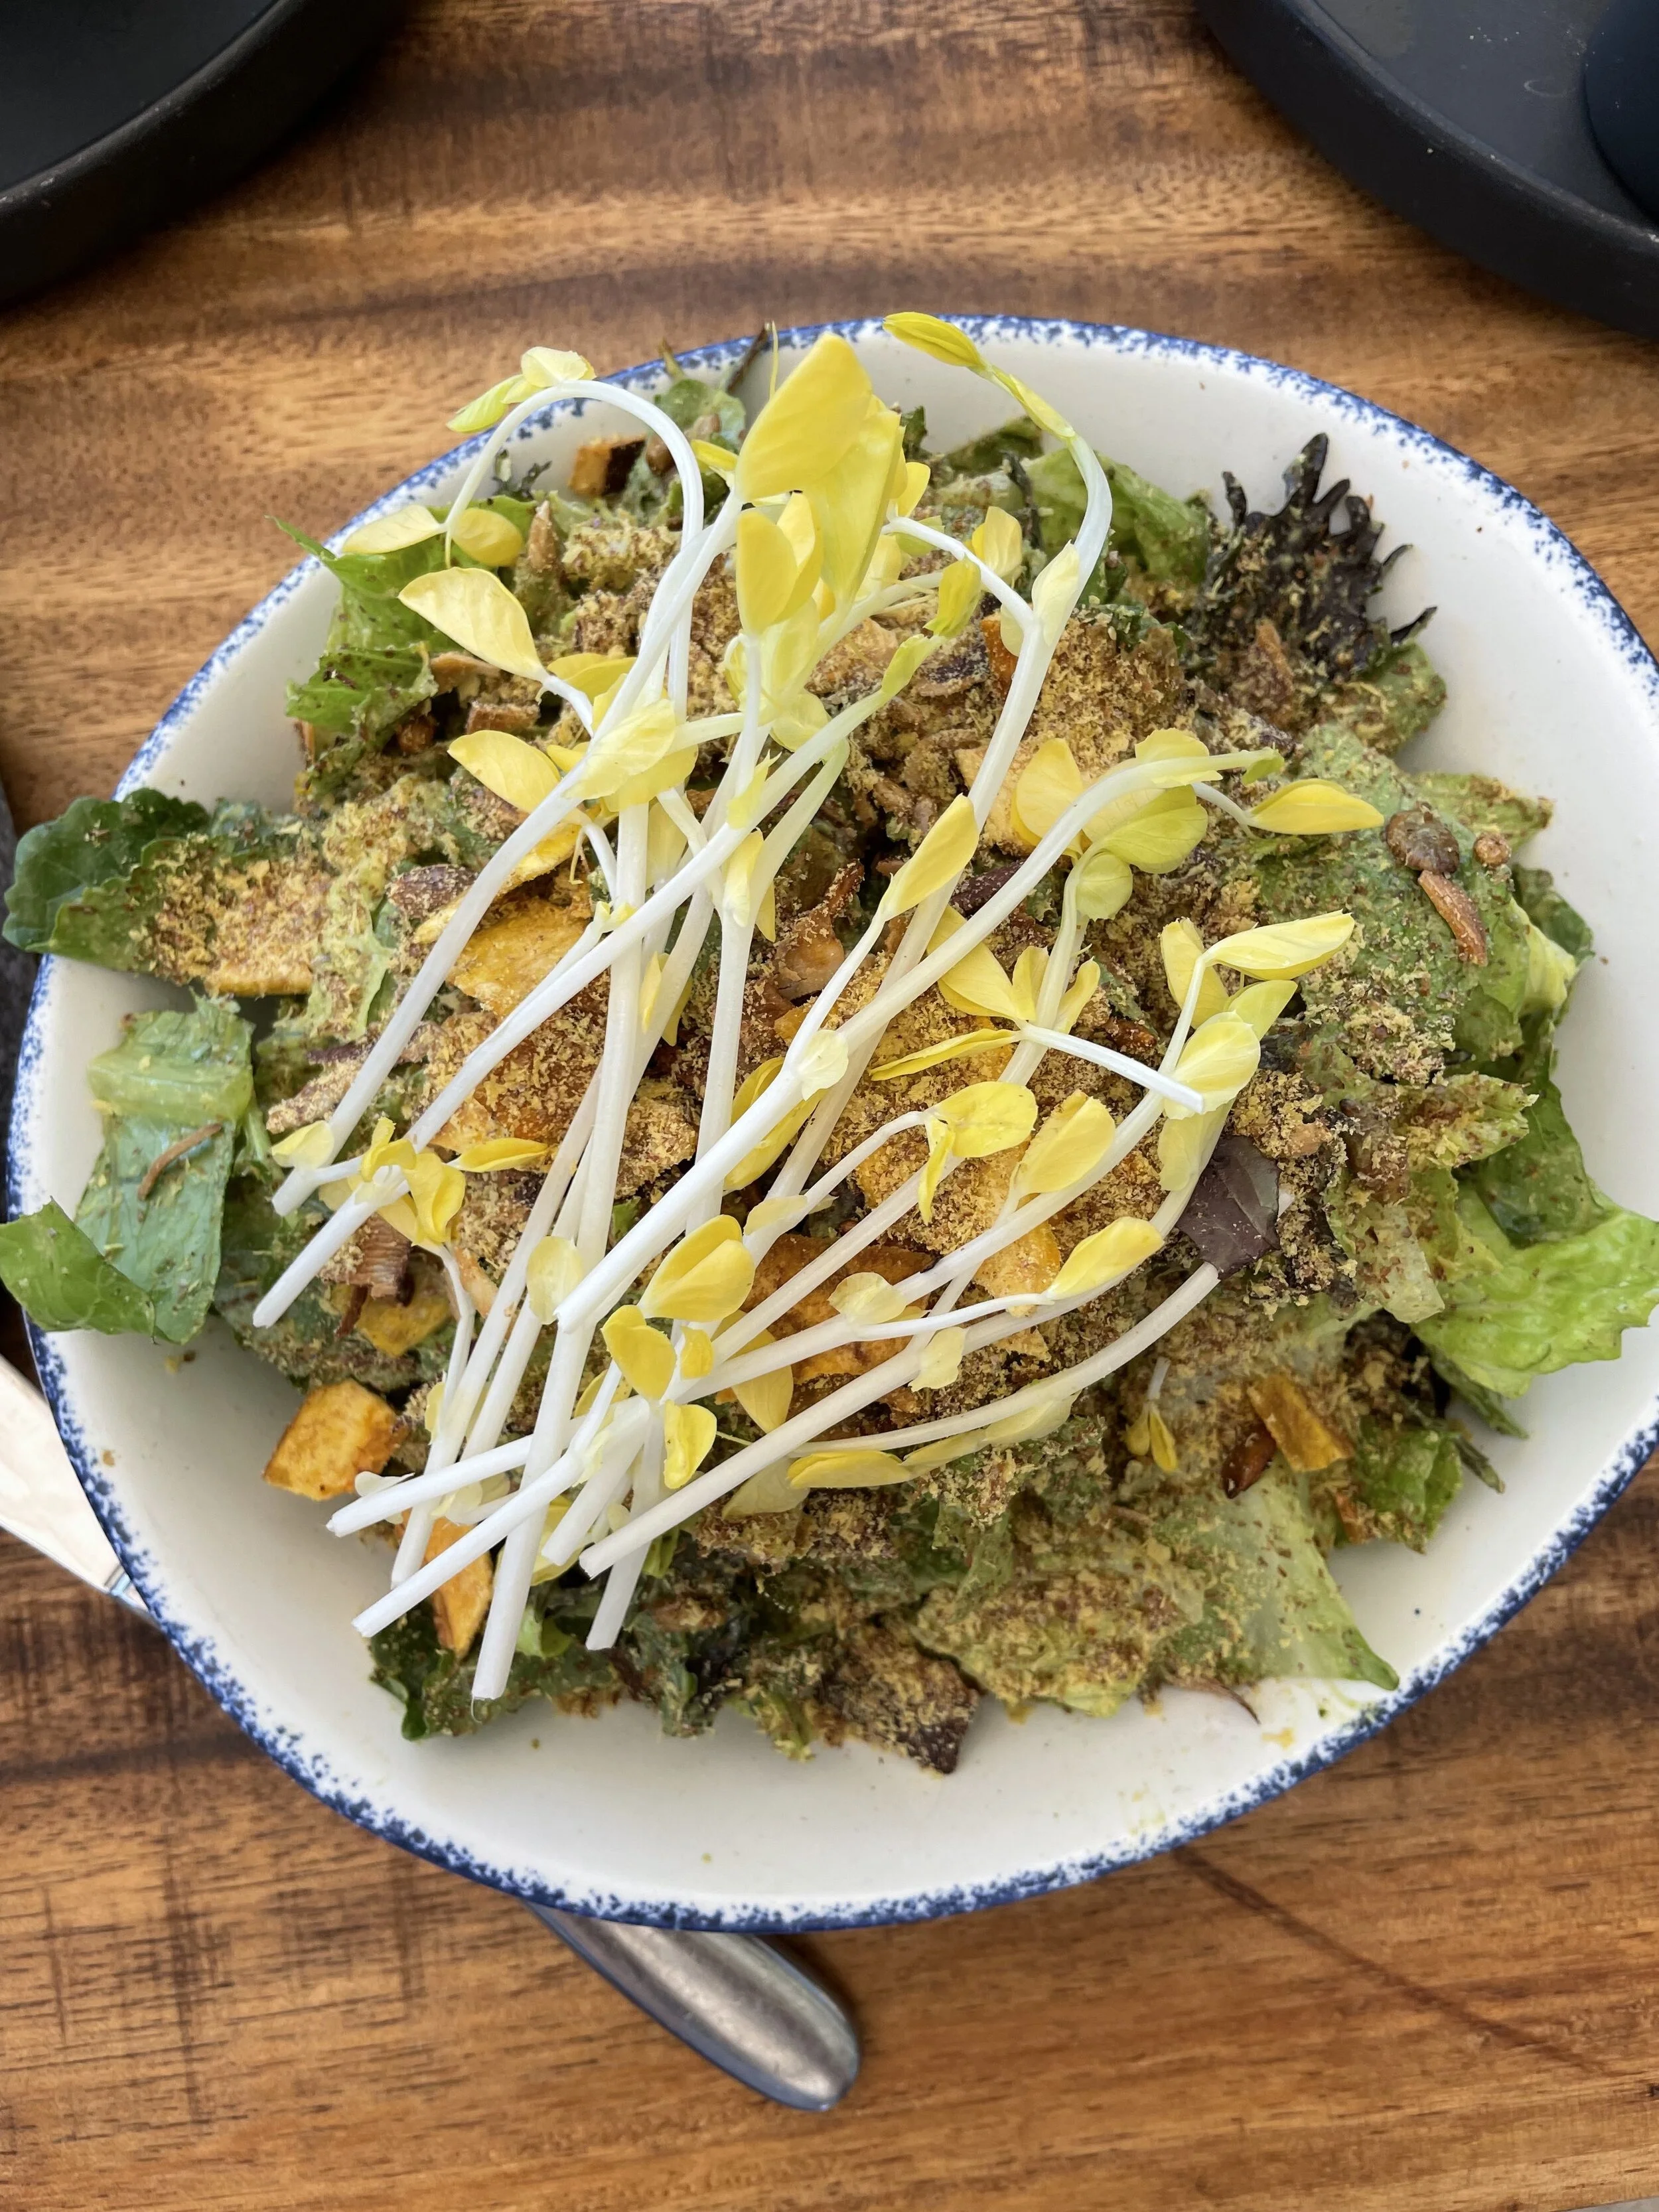
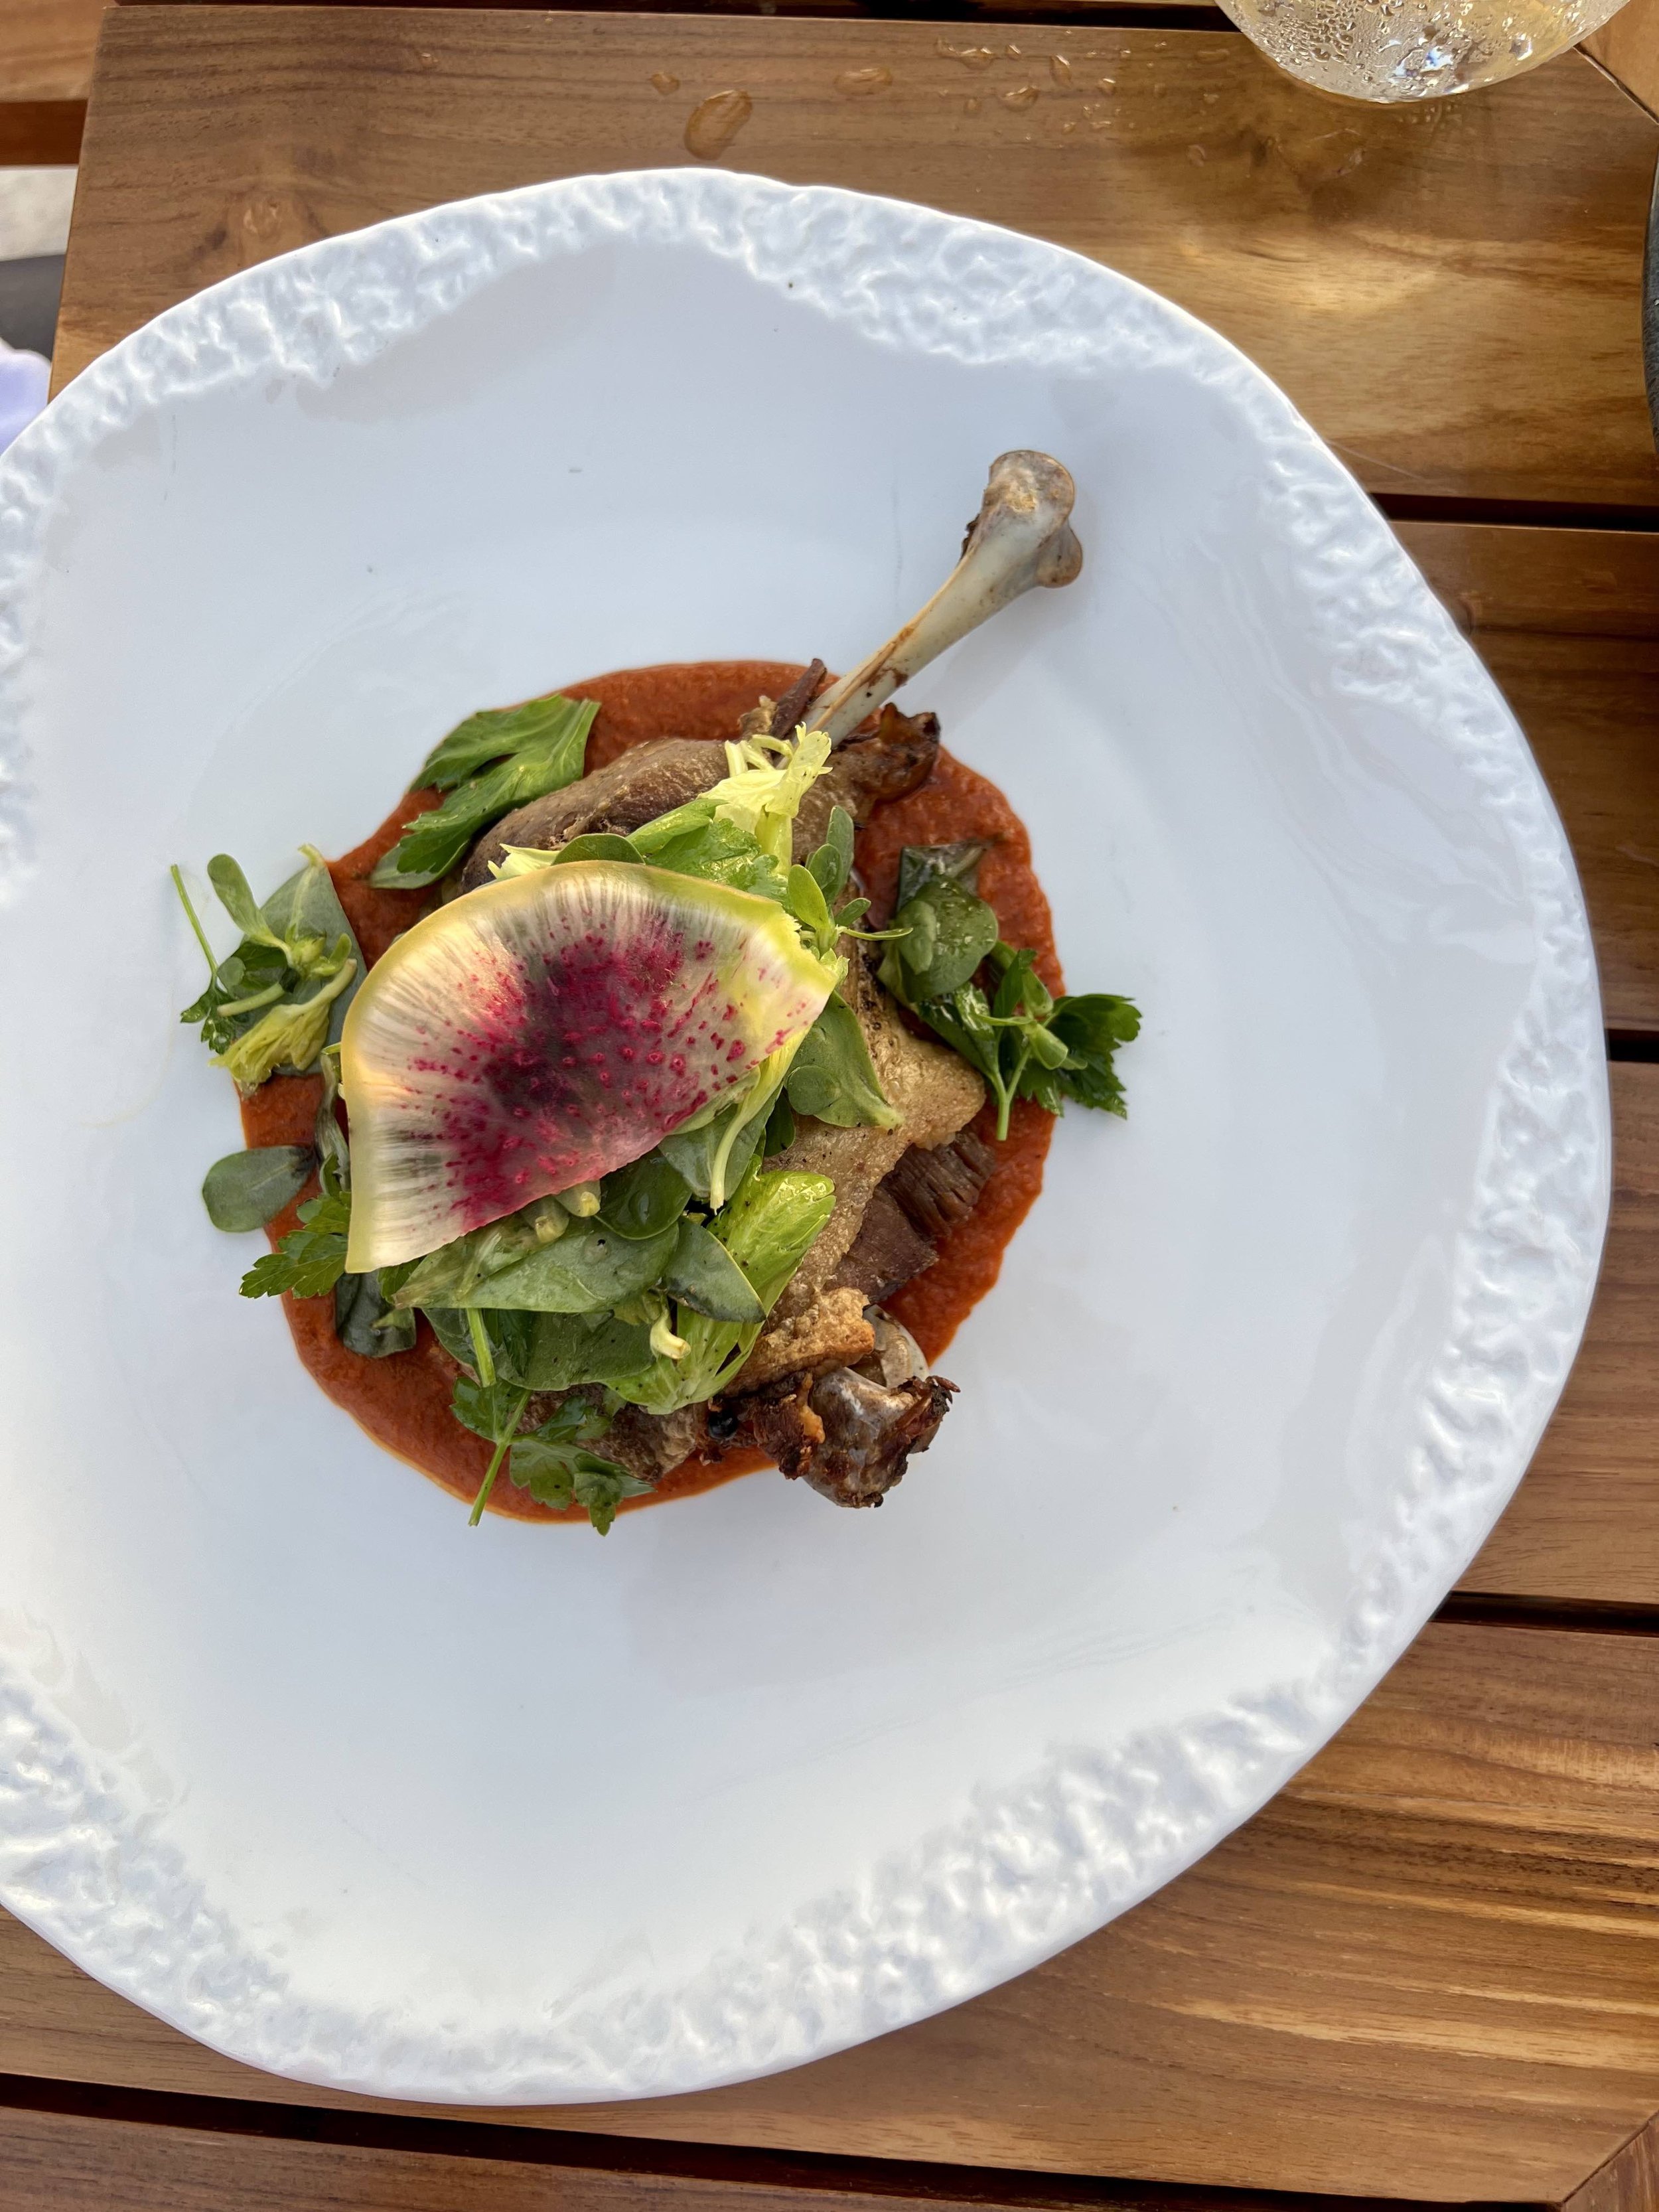
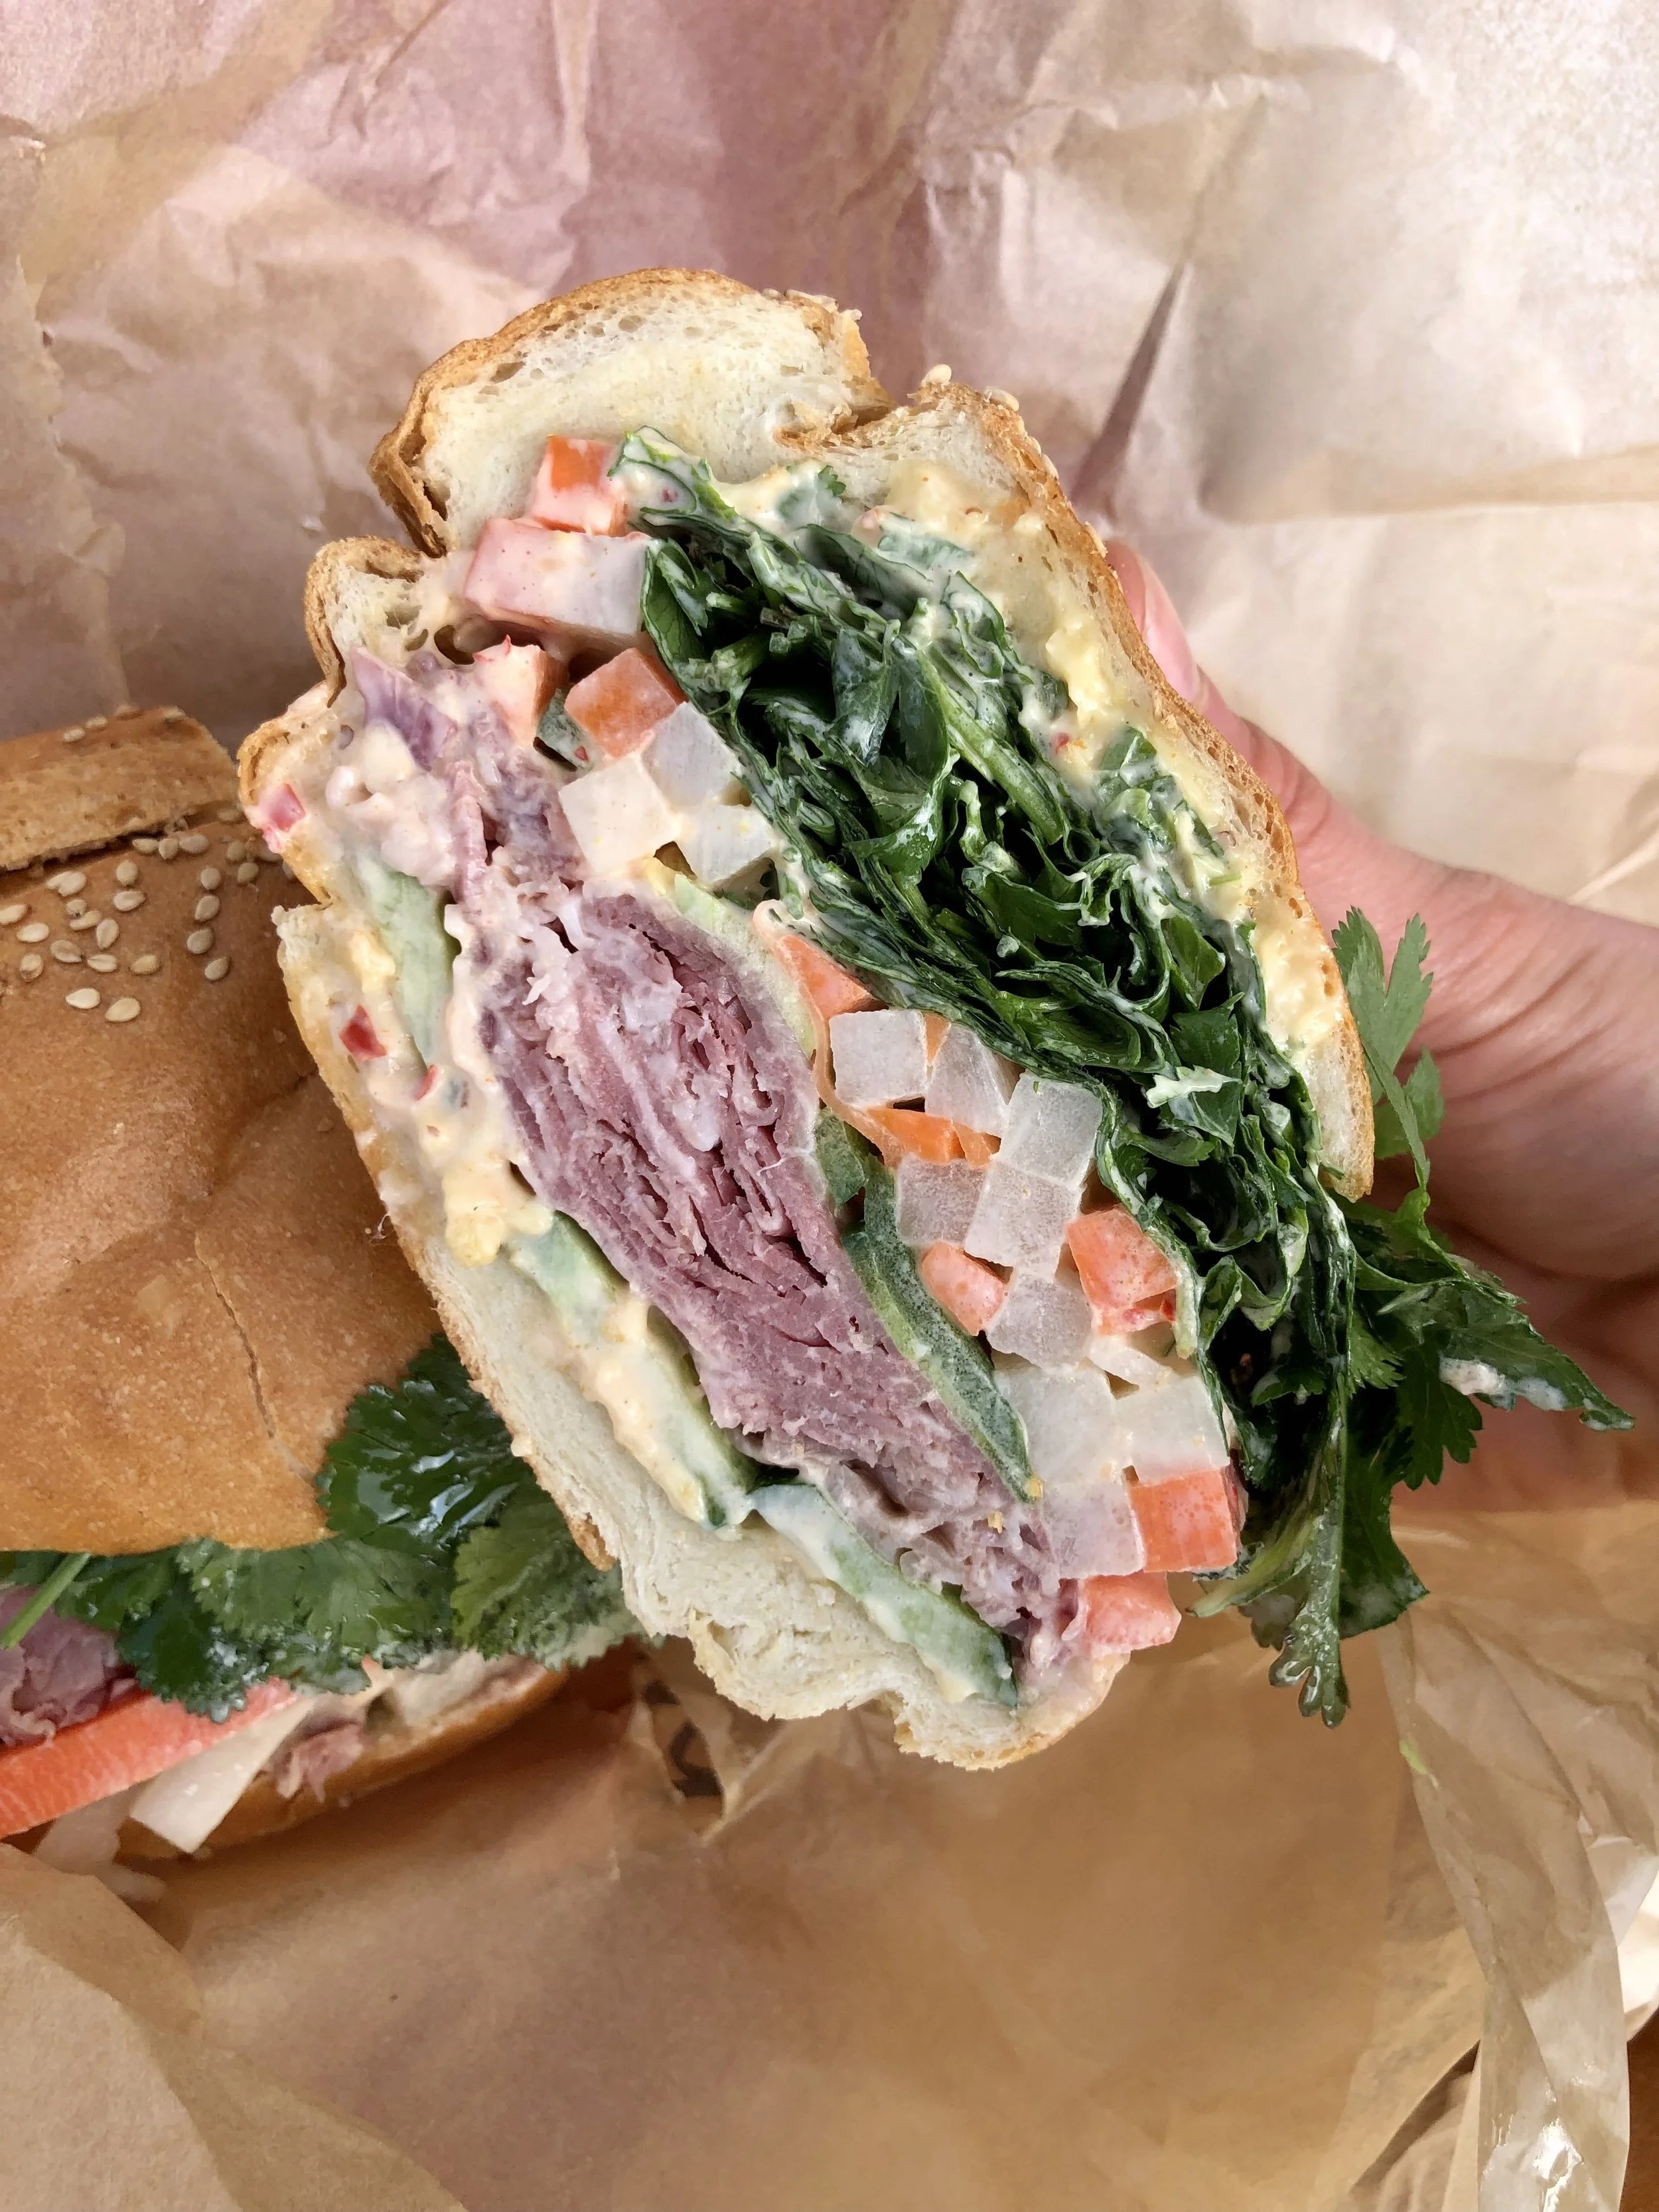
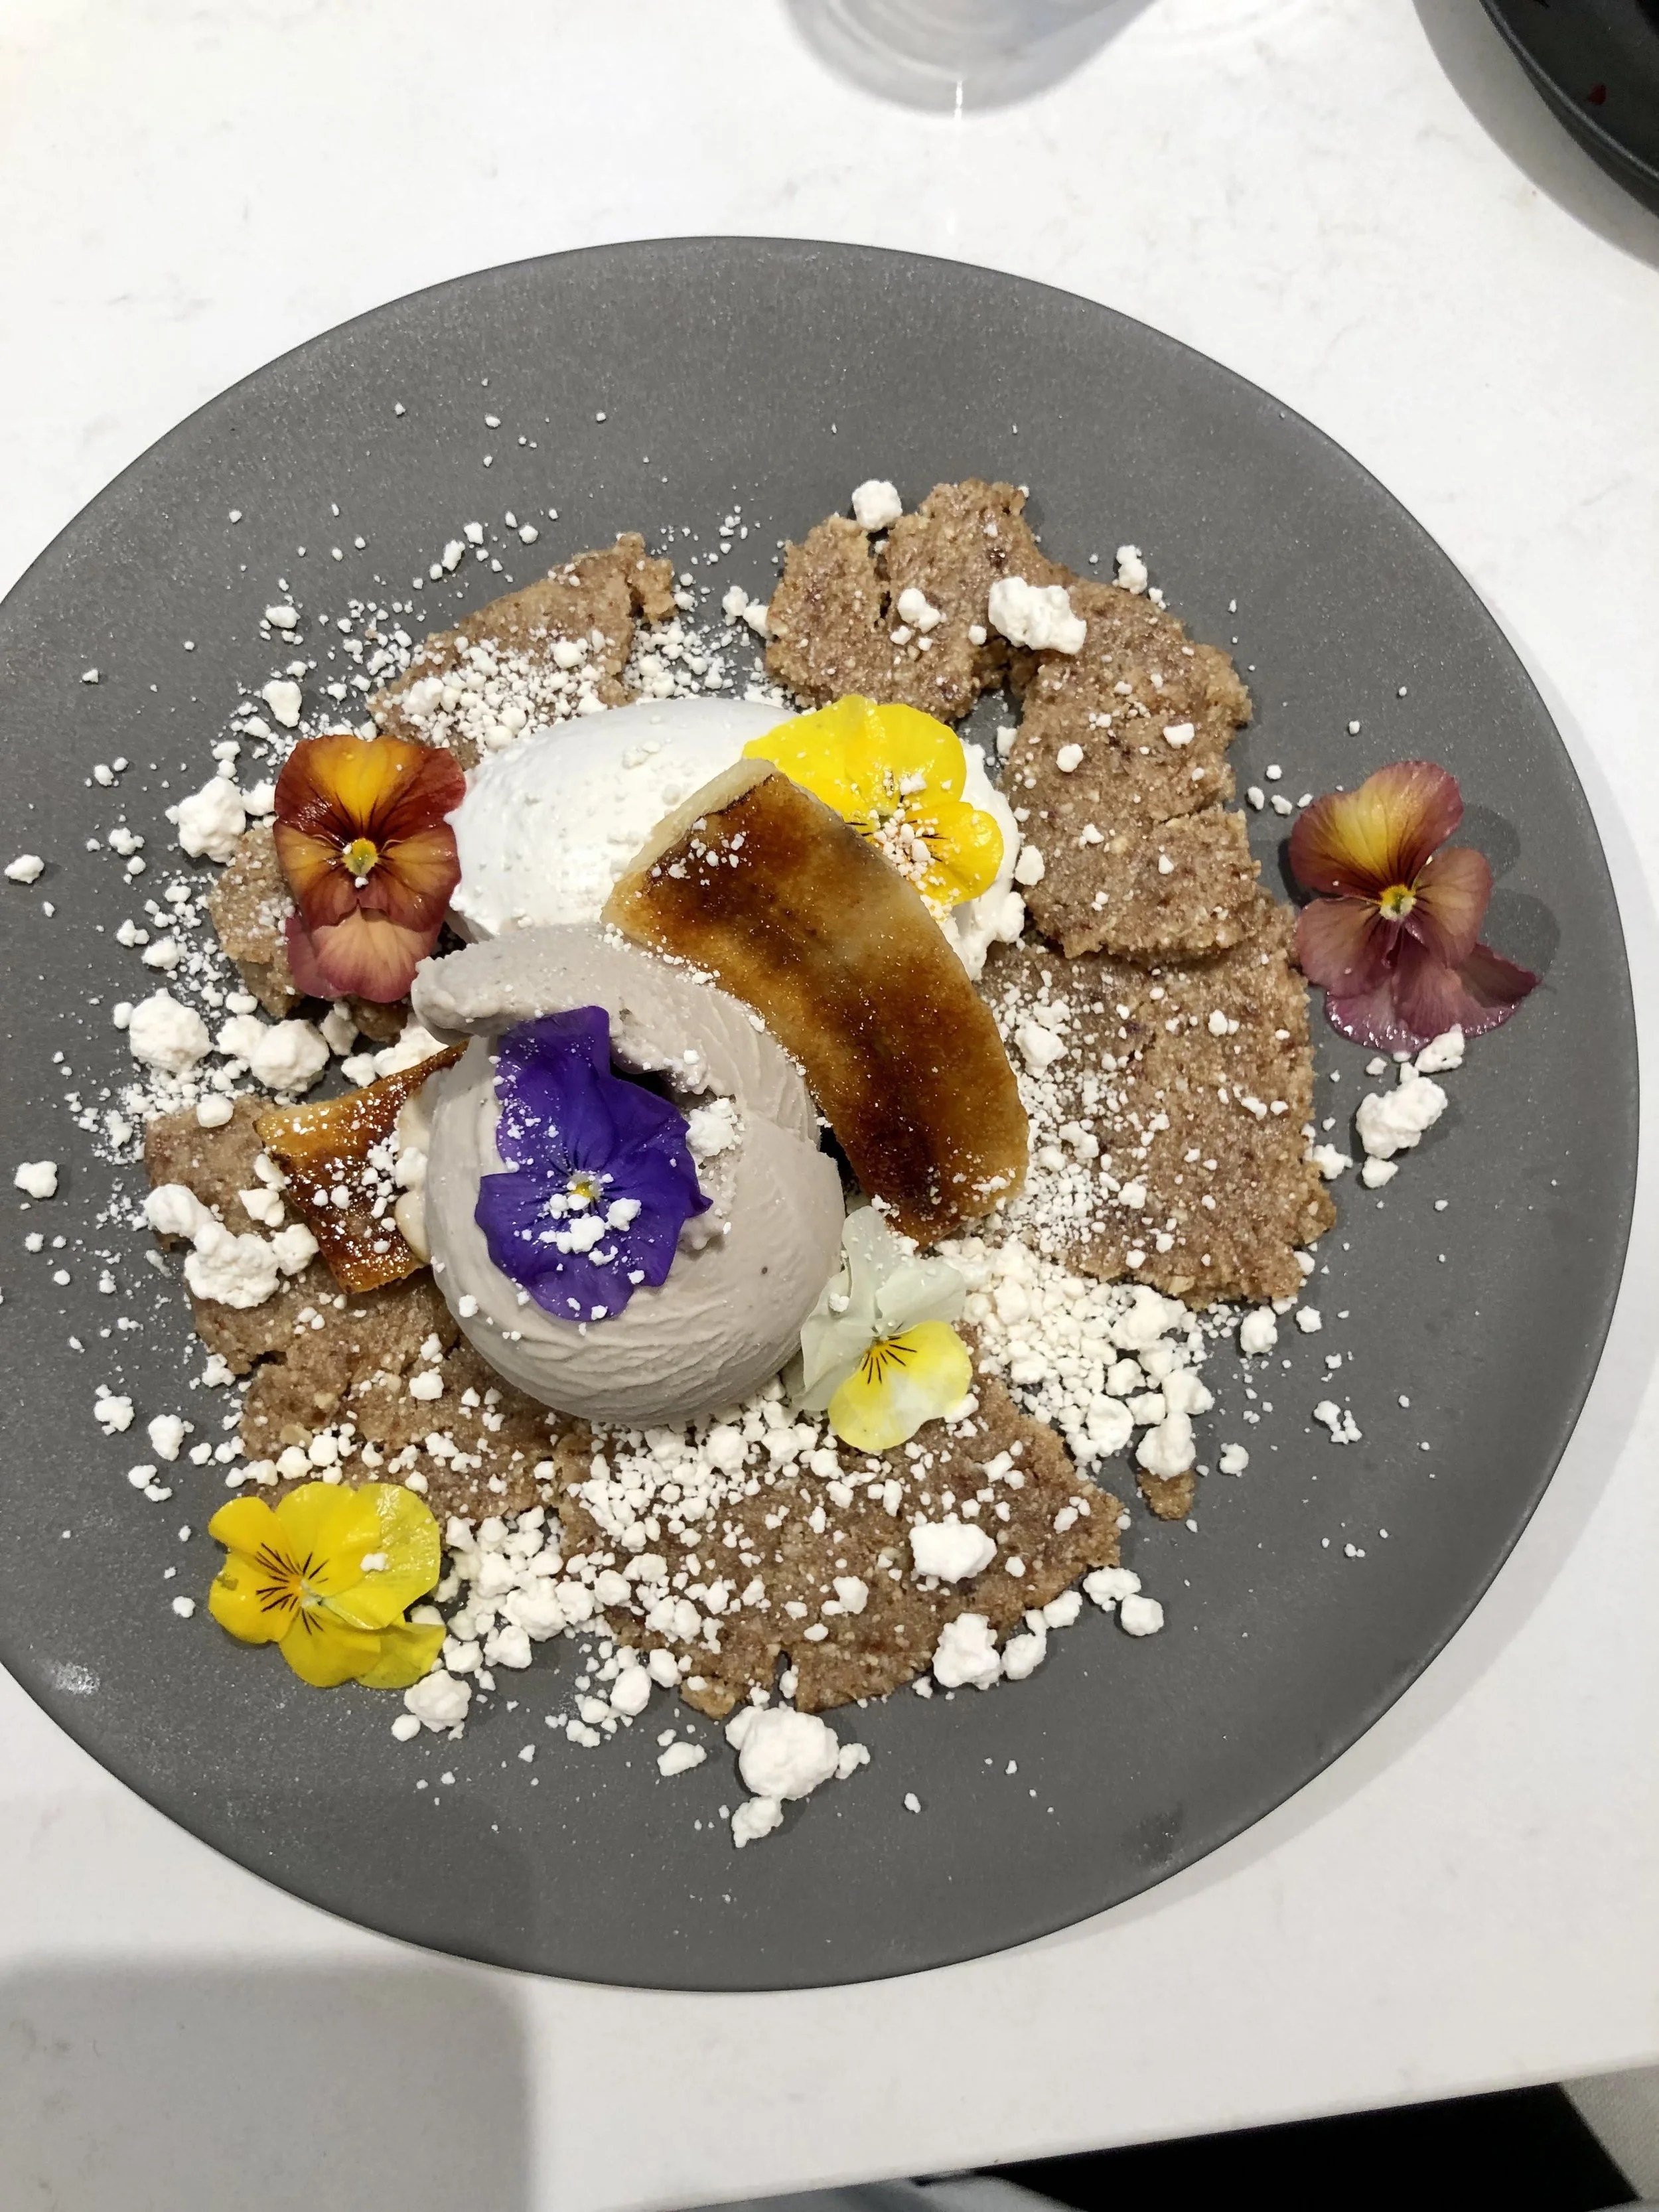
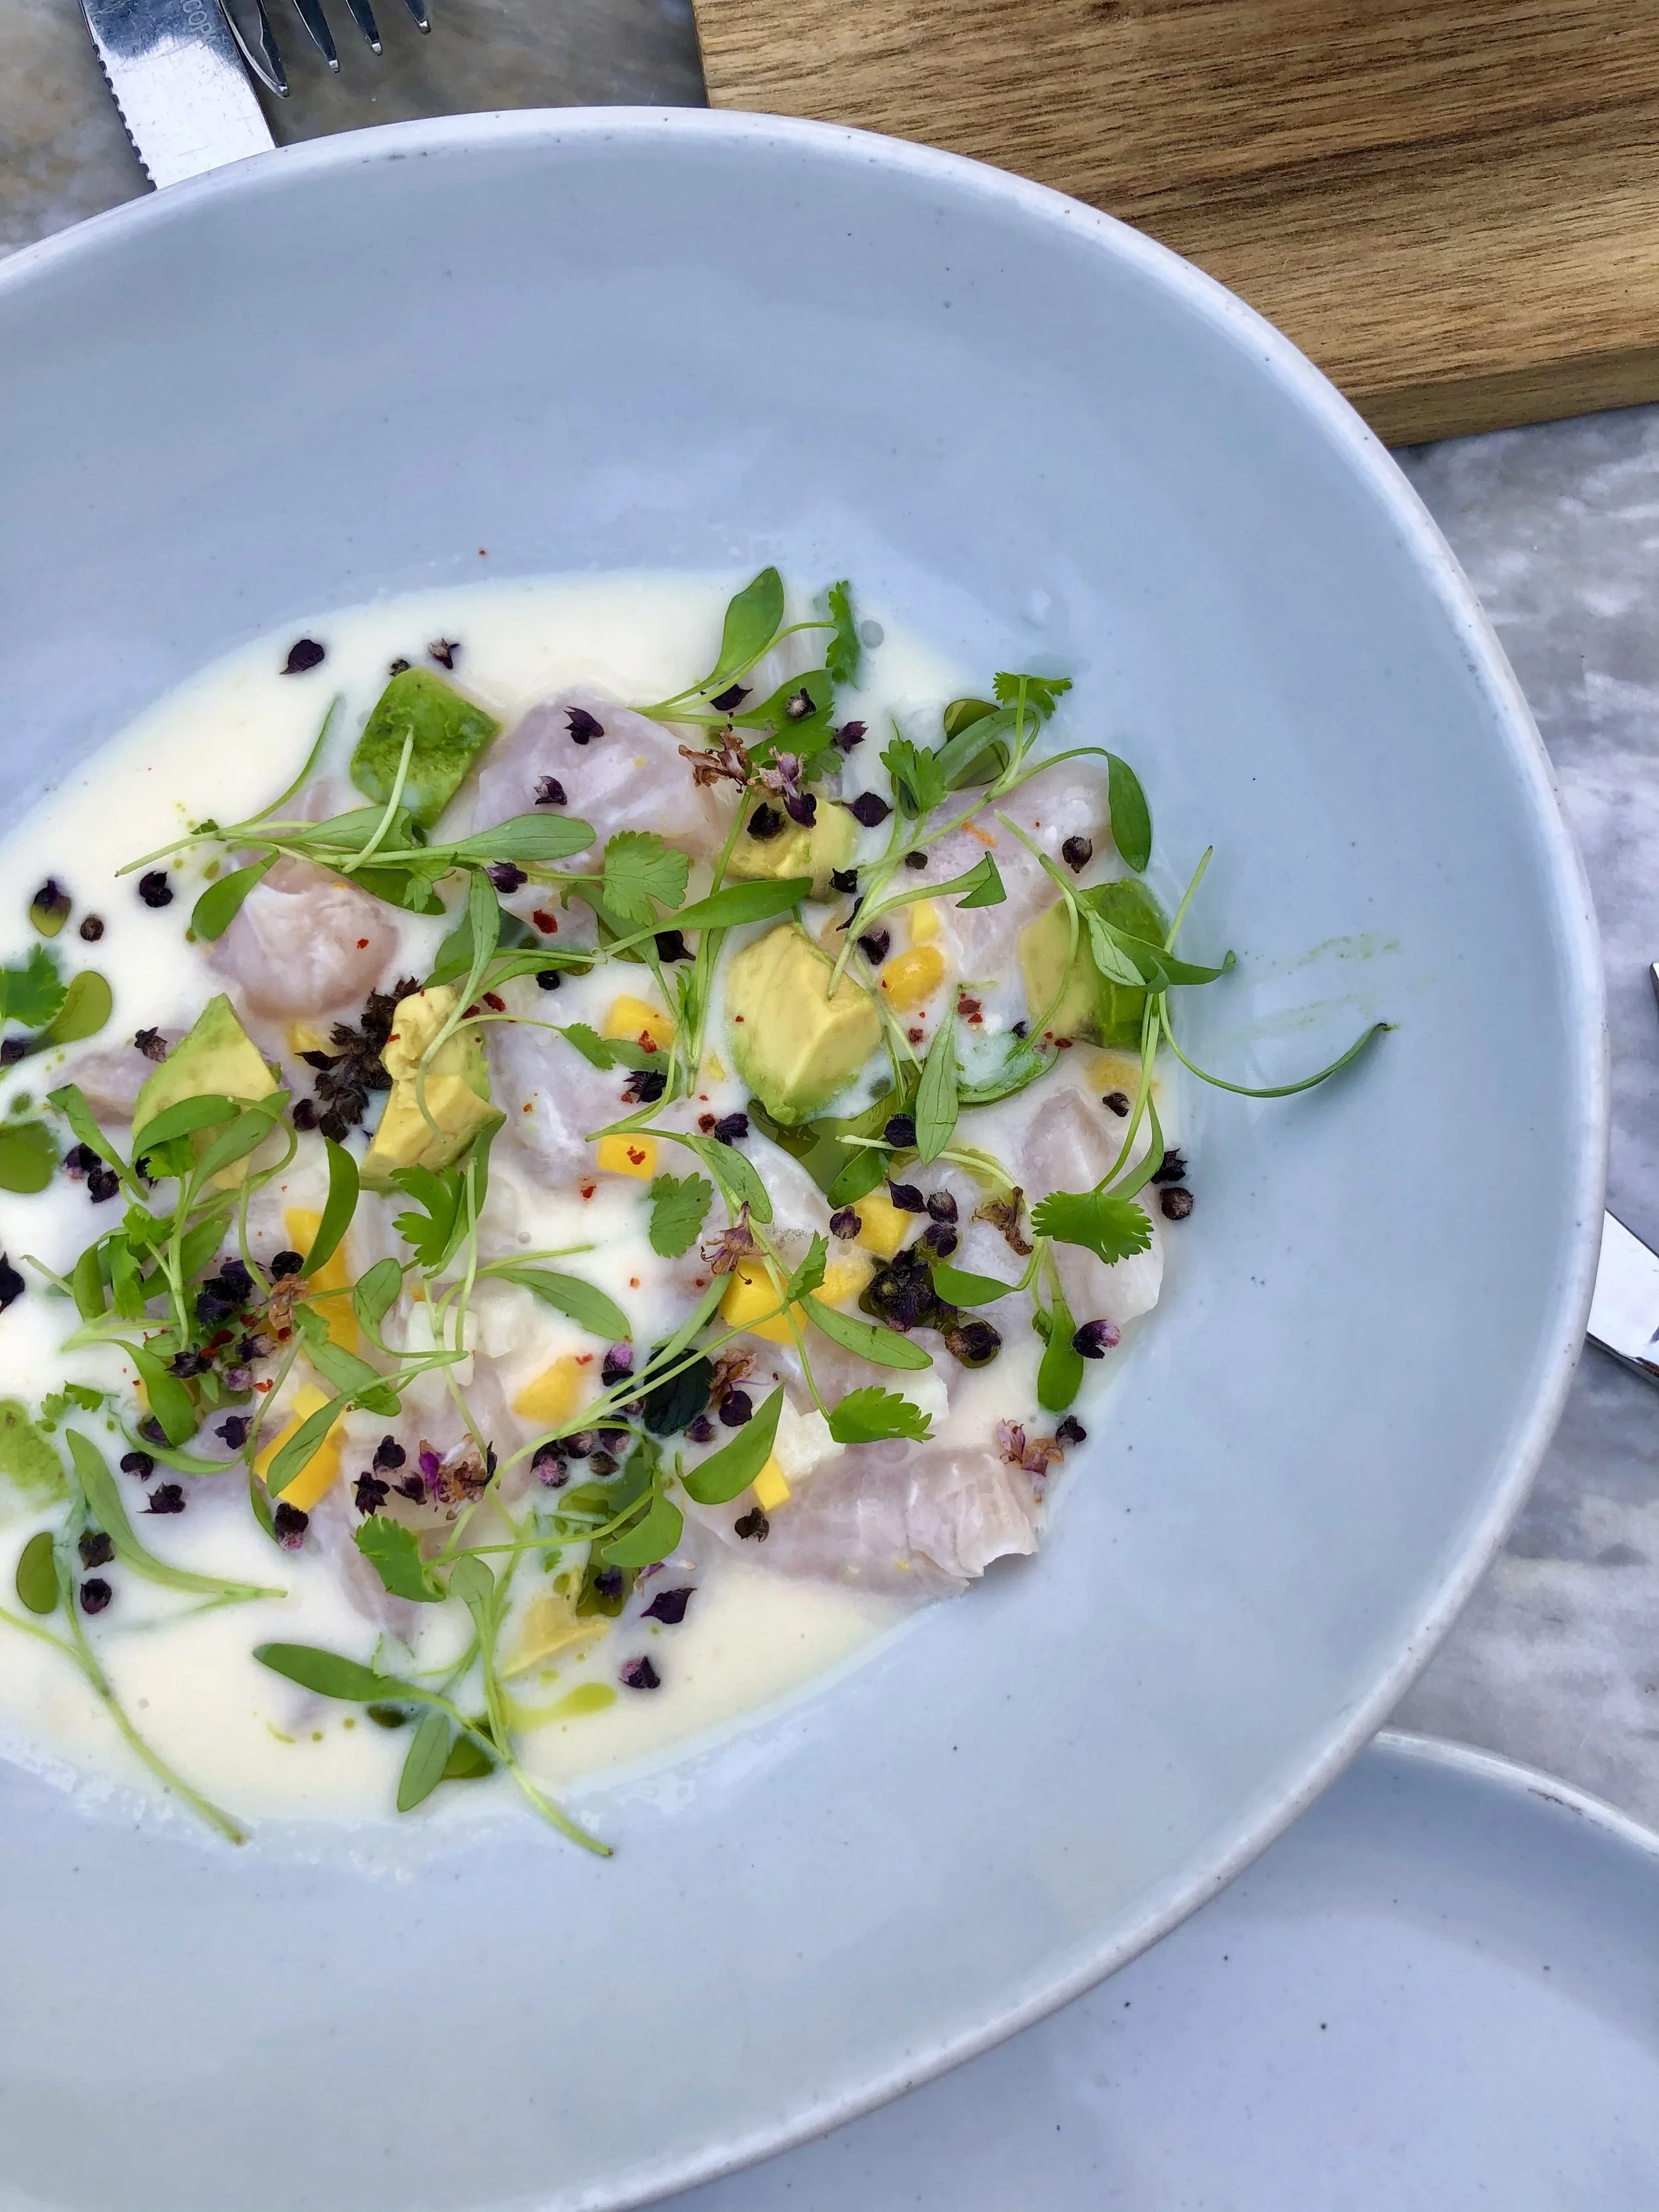
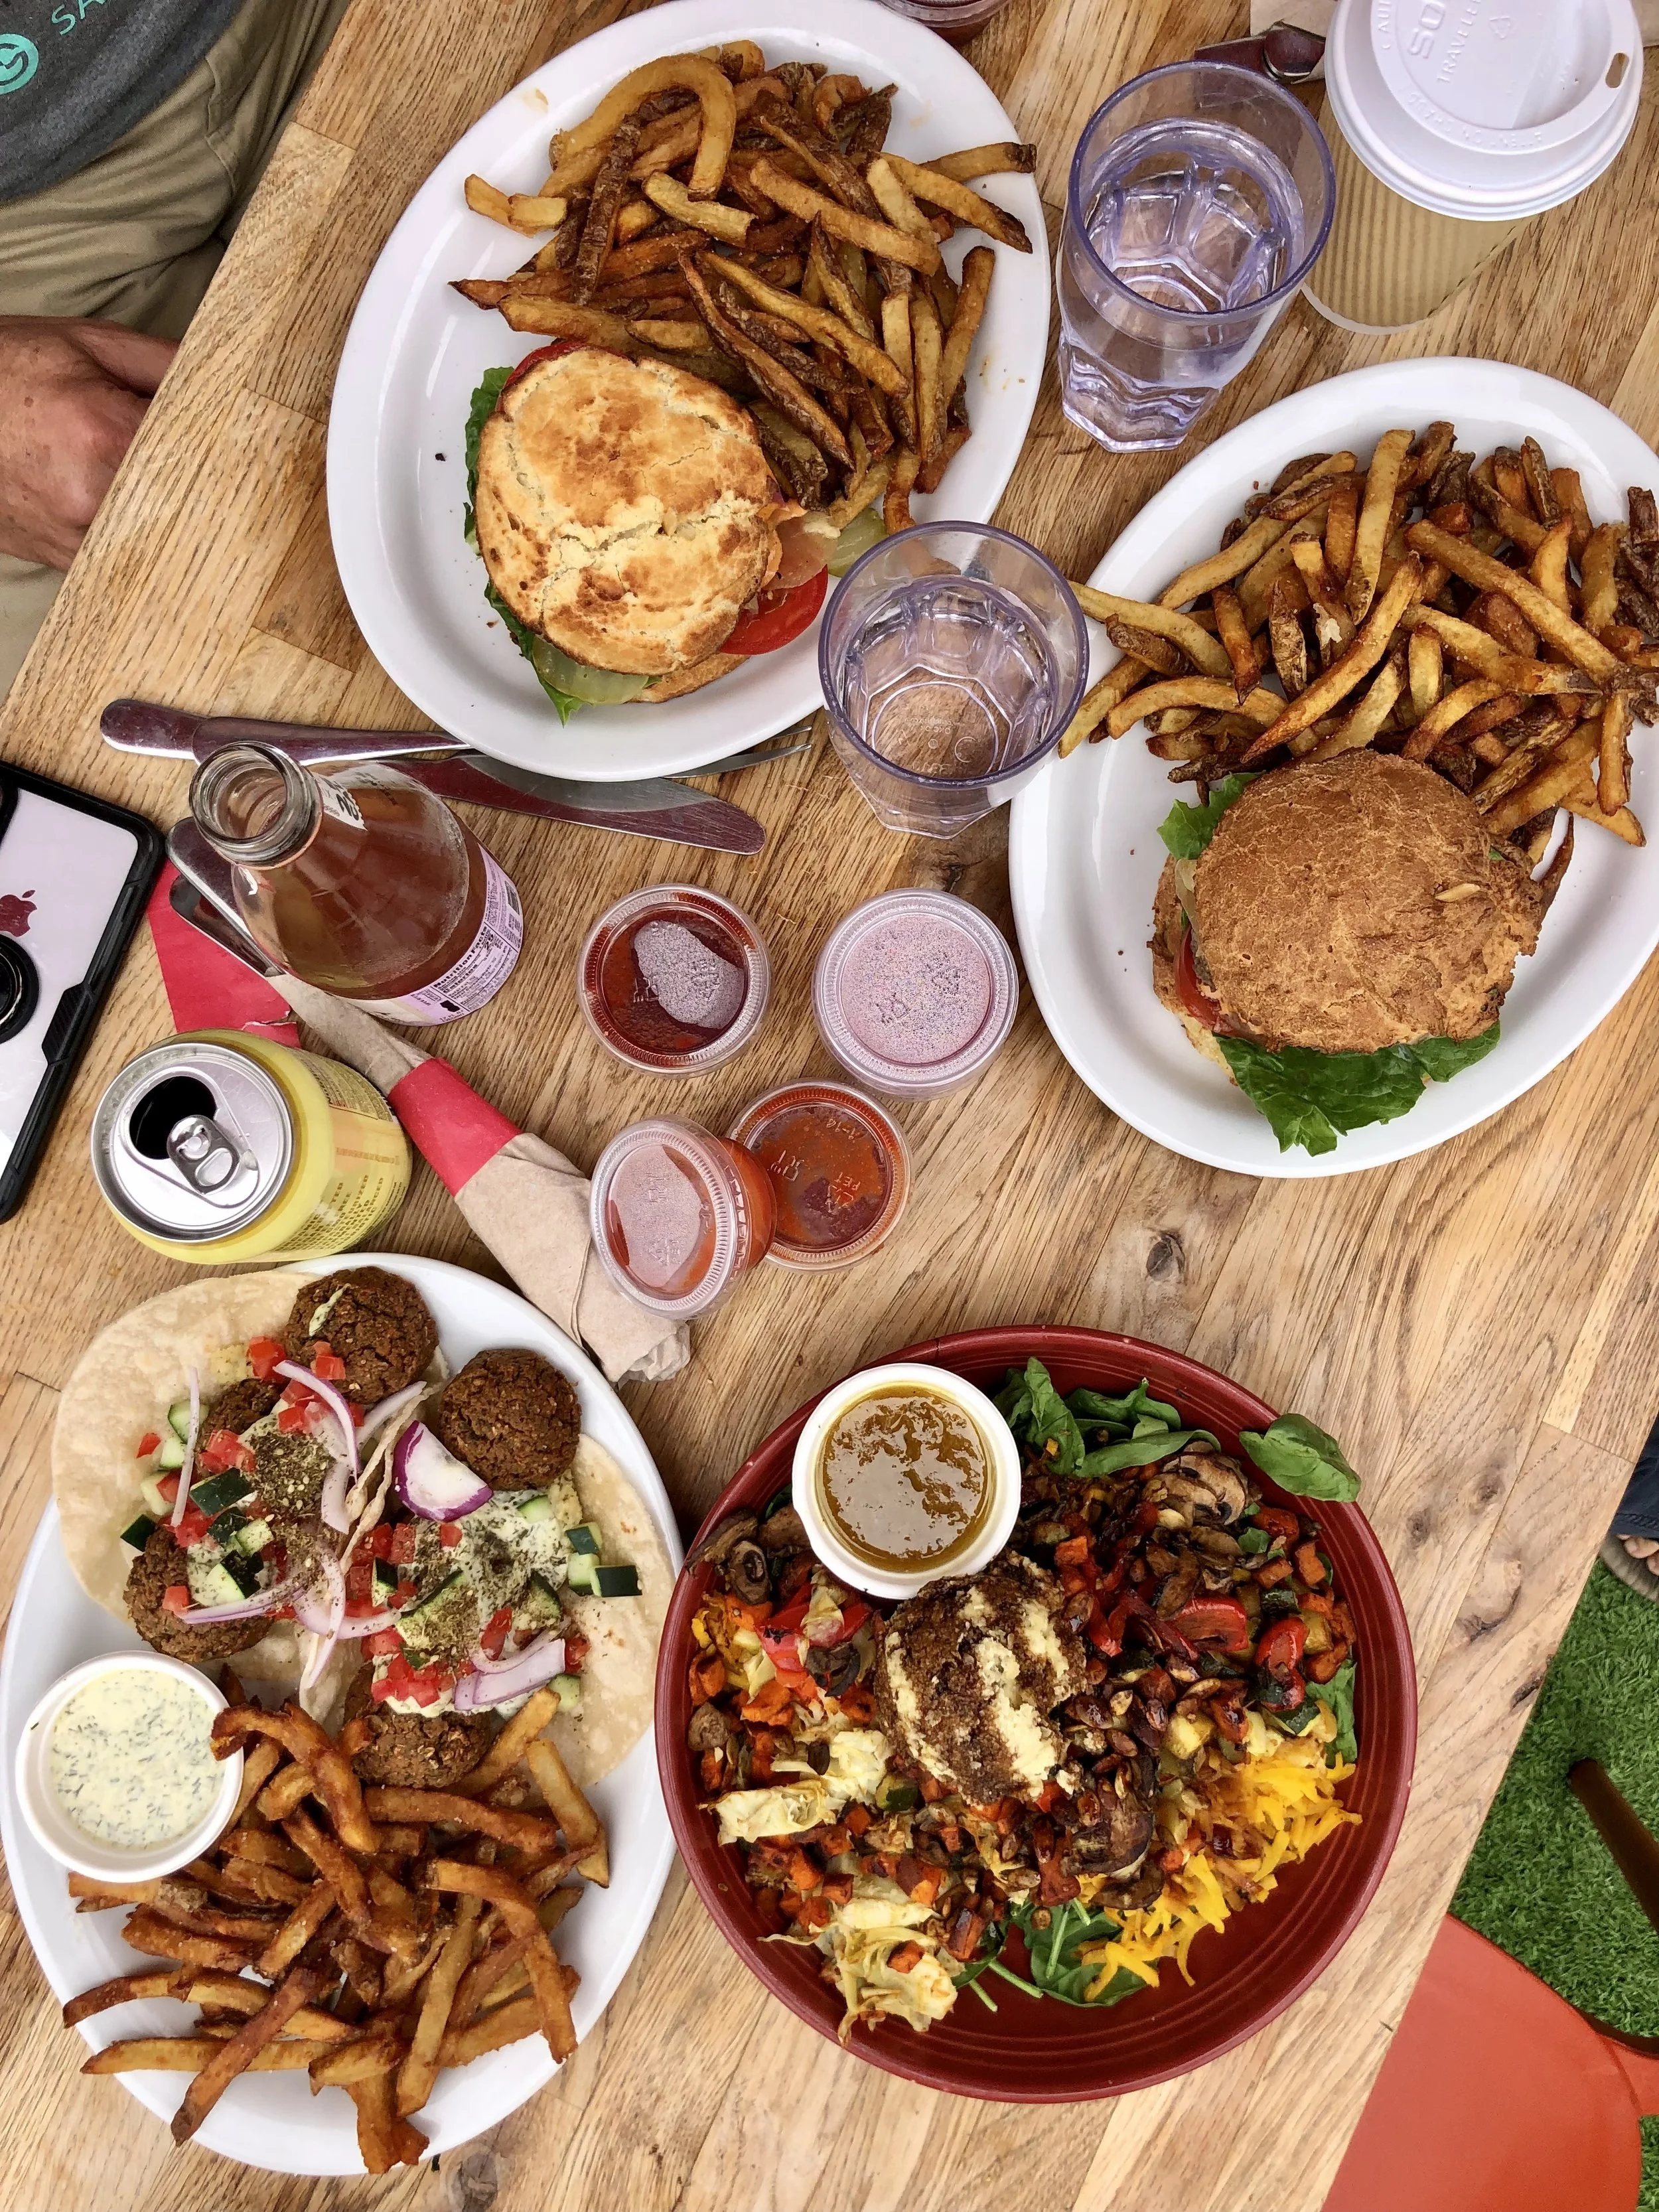
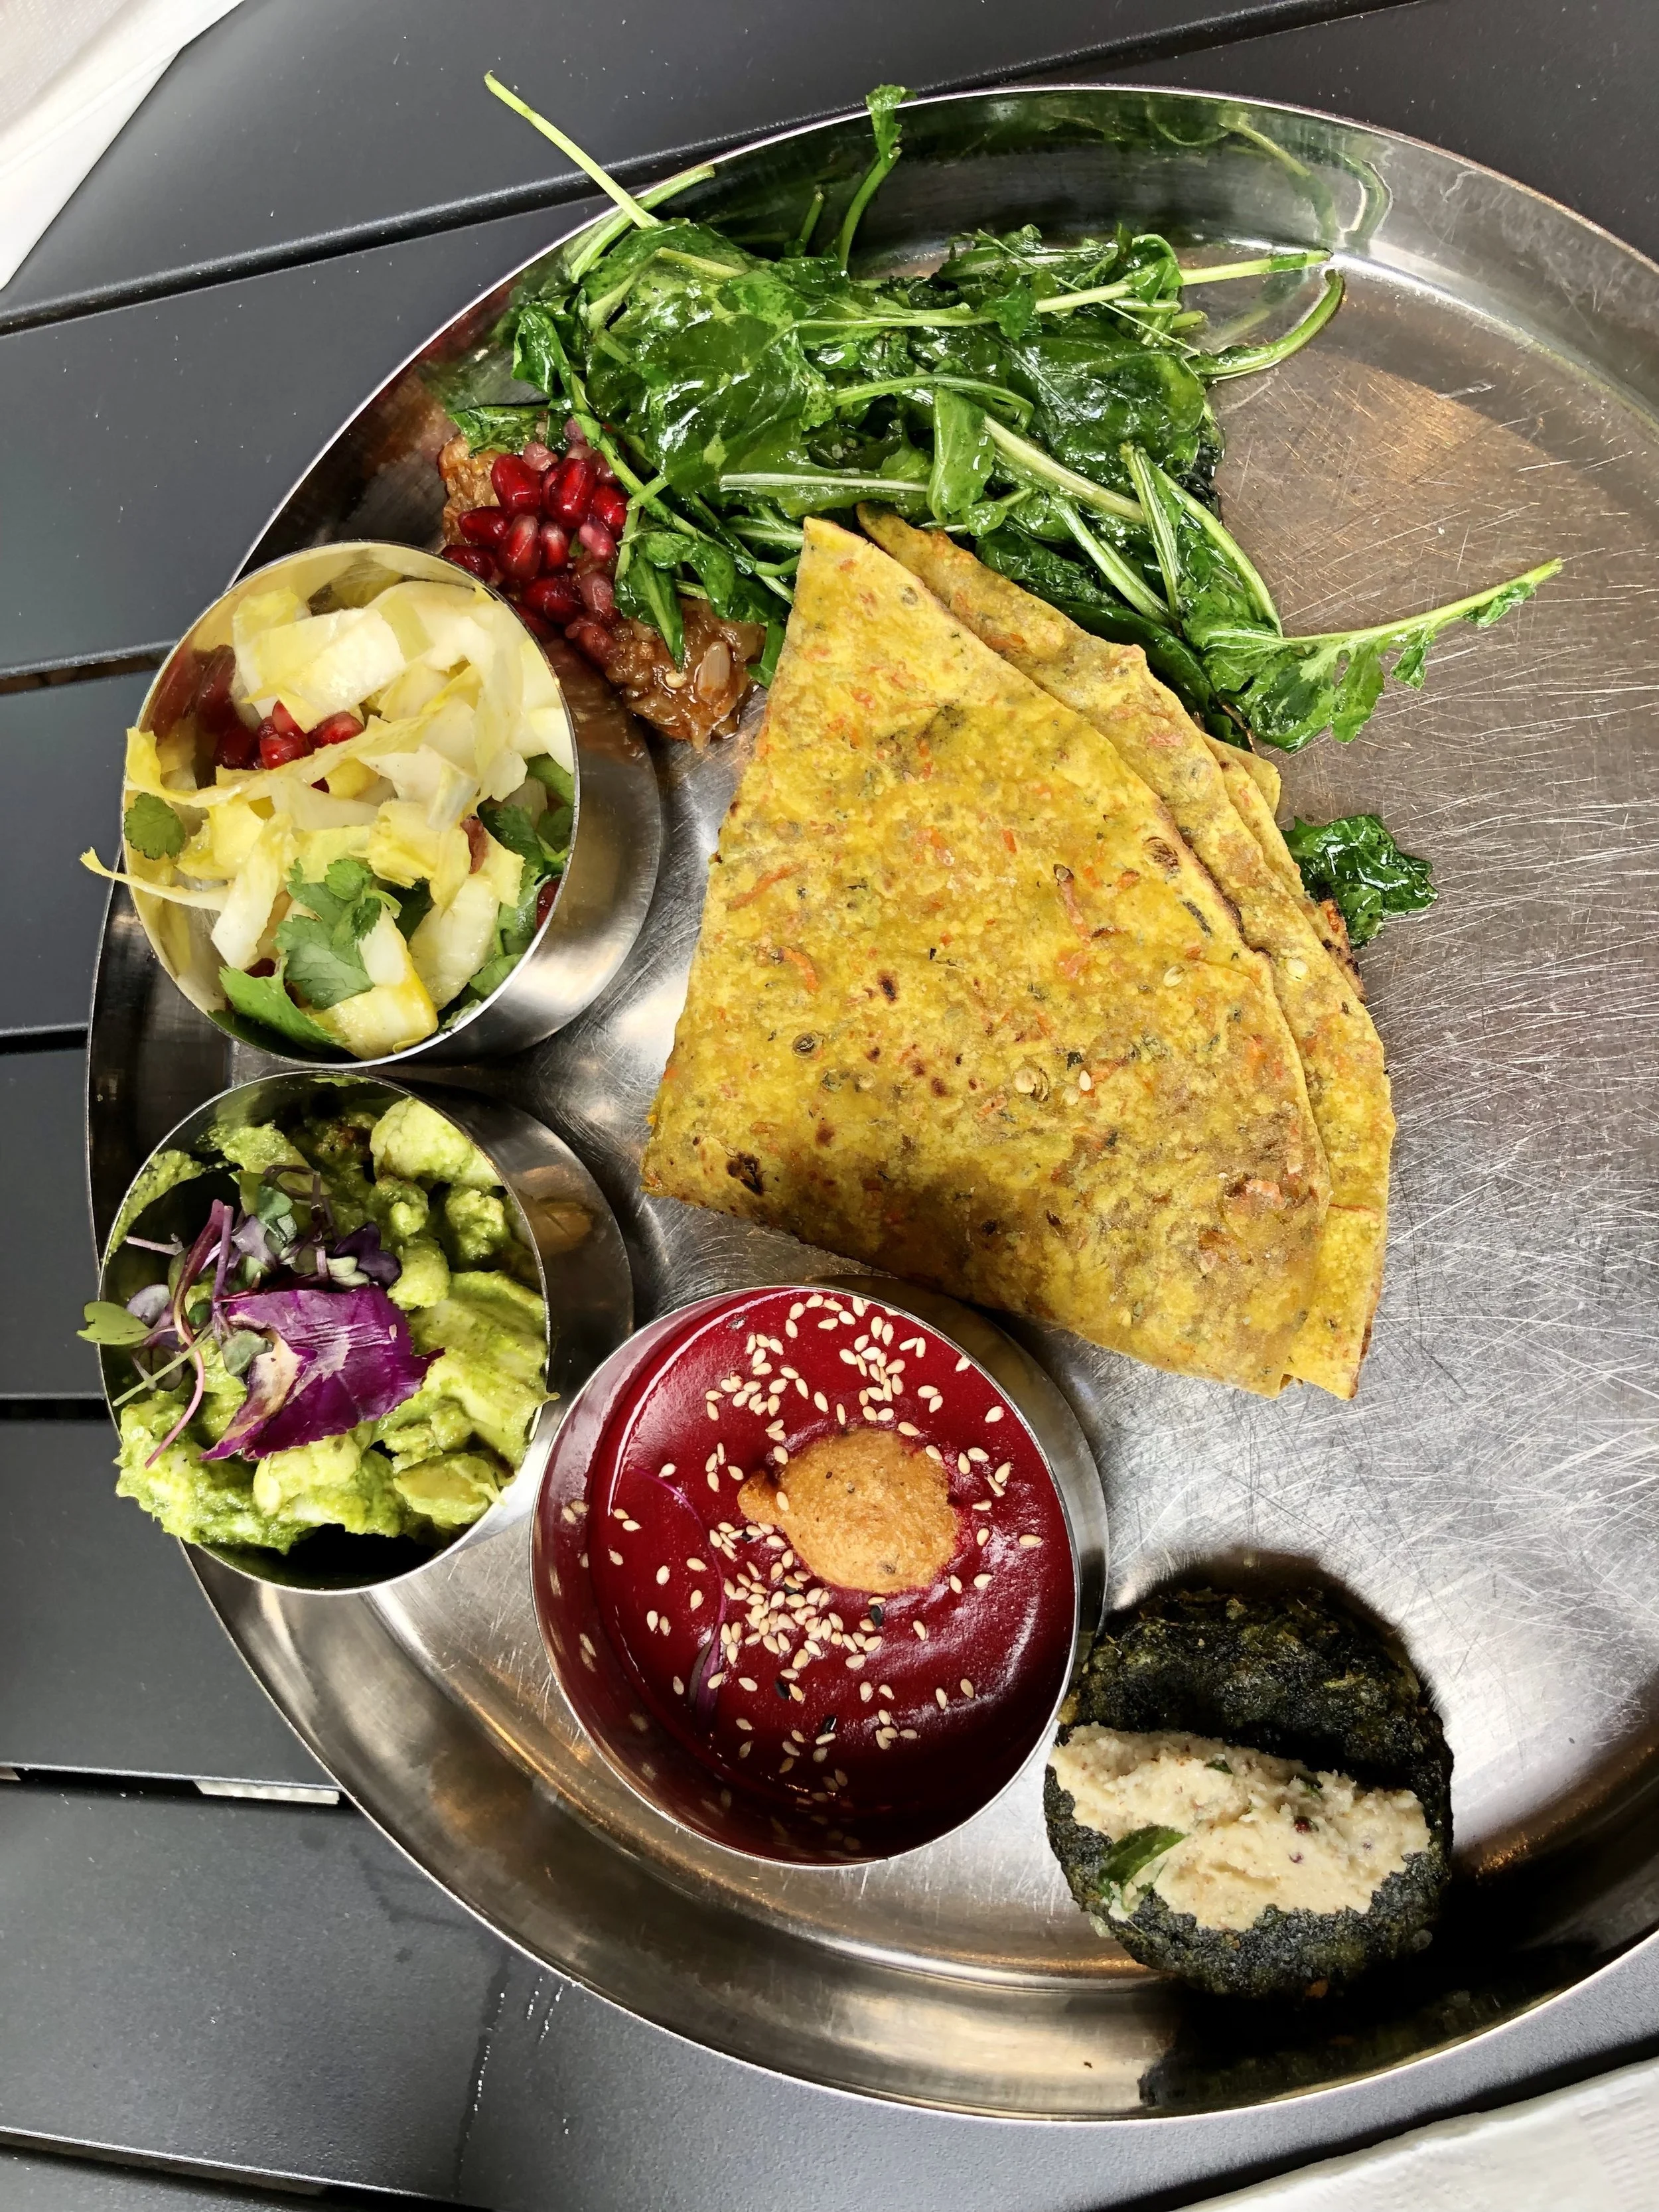
I love that there are so many fresh, healthy and flavorful eats in my area of Los Angeles. You can find tasty yet nourishing food almost anywhere you go, and that truly just makes my heart sing. Real Coconut Kitchen is a plant-focused, 100% gluten, grain, and dairy free restaurant serving up vibrant food in a chic Malibu setting. Their recipes truly define what it means to be a conscious kitchen- doing good for both your body and the world as a whole. Real Coconut sources organic produce, pasture-raised eggs and chicken, and wild-caught seafood from local farms and fisherman, and this quality commitment really shines through in every dish.

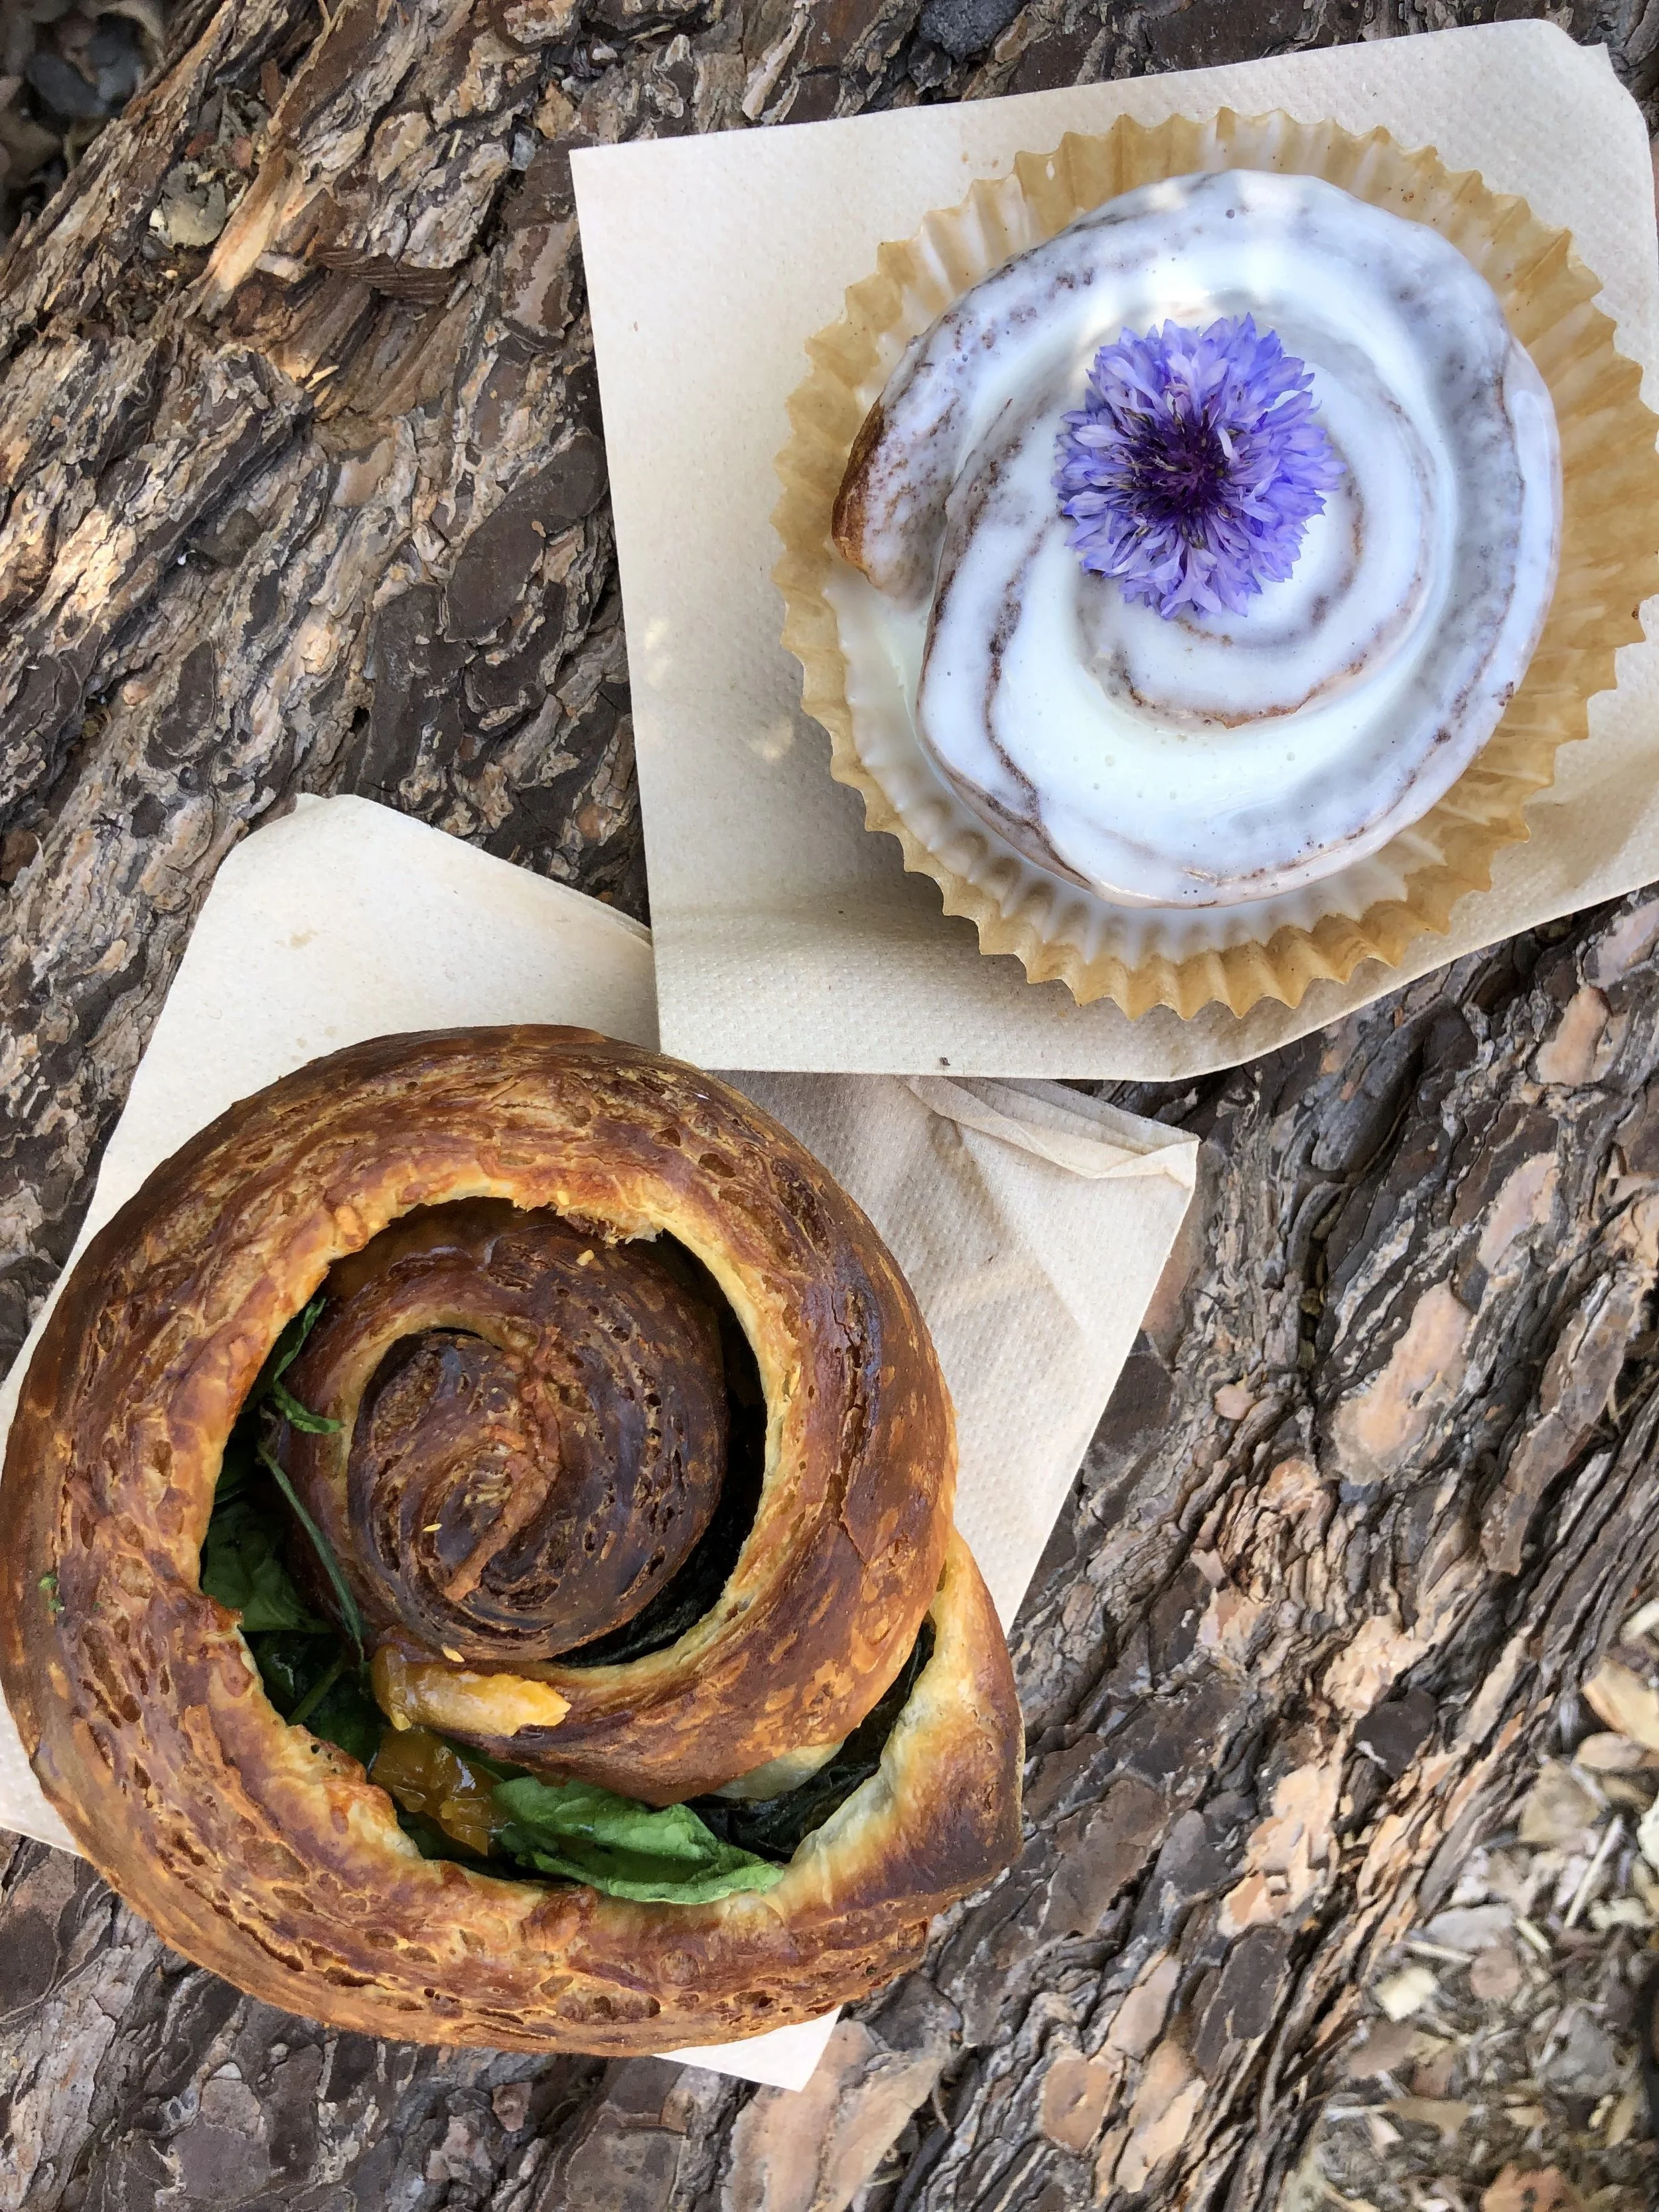
I’ve gotten to dine at Real Coconut Kitchen on a number of occasions now- from a quick smoothie & baked good to several lavish lunches on the outdoor patio, I’ve sampled quite a bit of the menu at this point, and there are many standouts. The fish tacos are light and crispy, with a zesty jalapeno radish salsa, served on housemade coconut flour tortillas. Seasonal salads are always a hit- can’t go wrong with nourishing veggies in my book! My bestie Rachel of Rachel Mcconn Wellness got us hooked on their Fried Chicken Bites (and even created her own version at home!)- the coconut buttermilk and grain-free plantain batter are anything but traditional, but super delicious all the same. I’m a big fan of their smoothies and shakes- from the Deep Green health infusion to indulgent-tasting Mint Choco Chip (sweetened with dates!), there’s something for everyone. My son thoroughly enjoyed his vegan blueberry lemon donut as well!

Besides the stellar food, another impressive aspect of The Real Coconut family is their focus on conscious food innovation. Their menus focus on low impact and nutrient dense hero crops: coconut, cassava, plantain, hemp, and marine phytoplankton to name a few. I love that they proudly support local & international farmers and agricultural programs, recognizing the impact each ingredient choice can make along the way. In addition, they continually strive to minimize their environmental impact, through reducing food waste, recycling and composting programs, repurposing cooking oil for biodiesel, and using low to no plastic, whenever possible. Talk about impressive! They also have a Market, where they sell some of their packaged items like plantain flour bread, cassava flour bagels, coconut yogurt, coconut flour tortilla chips, and more, so you can stock up your pantry at home as well! PS- the original Real Coconut Kitchen location is in Tulum. Perhaps a Mexico trip is in order soon?!

real coconut kitchen food

healthy nut & seed granola

Granola makes for a delicious breakfast or snack anytime of day, am I right? I’ve been known to enjoy it dry on its own, in a bowl with almond milk or Greek yogurt & fresh fruit, and even sprinkled on top of chia pudding or açaí bowls! And I have to say, it always hits the spot! Although it’s easy to buy granola pre-made, many store-bought versions are loaded with sugar and other unhealthy and unnecessary ingredients. At our house we tend to go through Costco-size bags of grain-free granola at a pretty rapid pace (it’s so addicting), and as I was finishing one off the other day, I decided to make some myself for a change! 

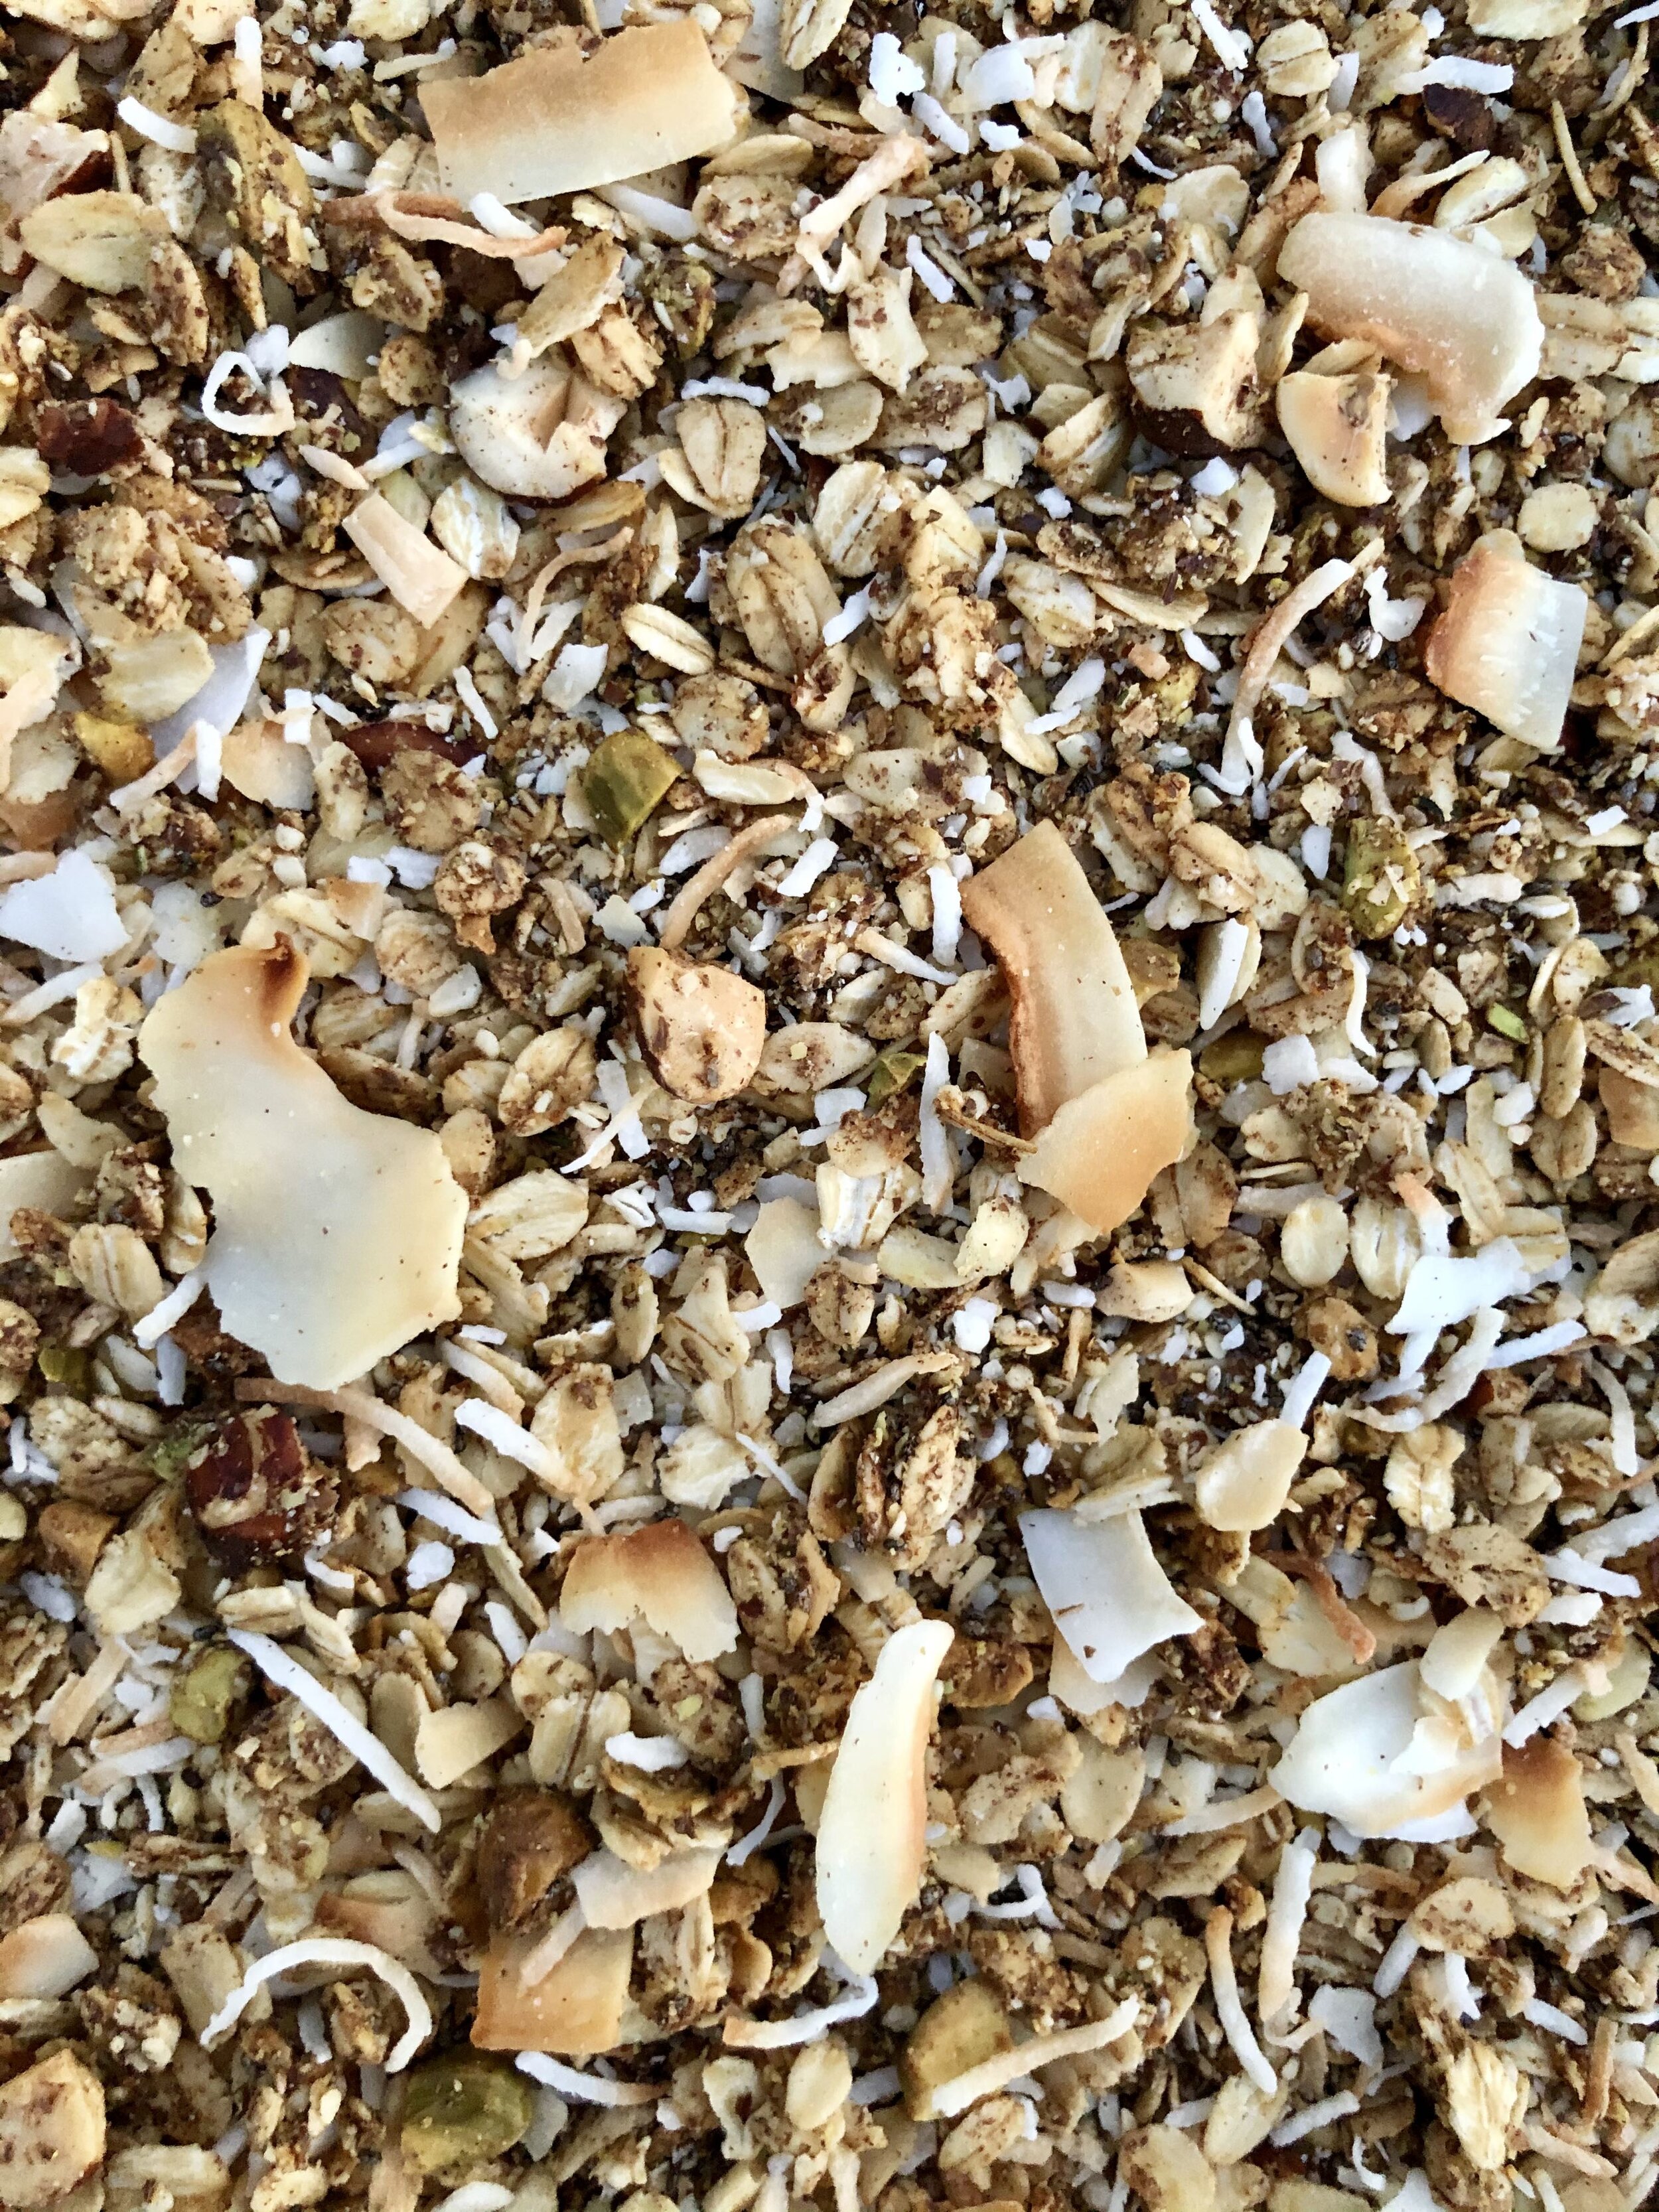
This recipe is super adaptable, so feel free to swap out other nuts and seeds if you prefer, or use what you have on hand. But do make sure to use plenty of them since they are the star- and super important for that tasty crunch! No one in my household avoids grains, so I did include rolled oats as well, since they make such a good base for granola. If you’d like to keep things gluten free, just make sure your oats are certified GF! My healthy nut & seed granola boasts a pretty impressive nutritional profile thanks to superfoods like chia & flax seeds, fiber-rich oats, and an extra dose of healthy fats from coconut oil. Plus, it’s lightly sweetened with pure maple syrup, which is much lower on the glycemic index than regular sugar and corn syrup, so it won’t spike your blood sugar! I definitely recommend adding pure vanilla extract and ground cinnamon for some added depth of flavor, but feel free to skip these if you prefer. You can also toss in some dried or freeze dried fruit after baking, if that’s your jam, as well. The options are endless! Homemade granola is so easy y’all- I don’t know why I haven’t done this more often, but I definitely will going forward! Not to mention it leaves your house smelling oh so delicious and fragrant! Enjoy!

Healthy Nut & Seed Granola:

healthy nut & seed granola

Preheat the oven to 300 degrees F. Line a half sheet pan or large cookie sheet with parchment paper. In a large bowl, stir together oats, nuts, seeds, cinnamon and salt (keep coconut separate for now). Set aside. In a separate bowl, heat the coconut oil and maple syrup until melted. Stir in vanilla extract. Pour over dry ingredients and mix well until oat mixture is completely coated.

Spread the granola on the baking sheet in an even layer and press down evenly with a spatula. Bake for about 35 minutes, until golden brown. Sprinkle coconut flakes on top, and return to oven for a few more minutes, until just toasted. Granola should be nice and fragrant. Remove from the oven and allow the granola to cool on the baking sheet for 10-15 minutes to set. Feel free to break it into clumps or clusters if you prefer. Transfer to an airtight container or large mason jar.

Useful Tools:


ooey gooey pumpkin dream bars

I love baking seasonal desserts. This time of year, warmly spiced baked goods packed with pumpkin really just hit the spot, am I right? And yes- I know it’s now December, but fall weather is still upon us here in Cali, so I’m keeping that fall baking spirit alive! Just like my grain-free vanilla cake with pumpkin cream frosting, this tasty treat goes a bit beyond your regular ol’ pumpkin pie, and adds ingredients like cream cheese, chocolate, and coconut to the mix! Let’s just say it takes things to a whole other level ;) These ooey gooey pumpkin dream bars are reminiscent of those decadent seven layer bars everyone loves, but with a festive twist! A buttery graham cracker crust, layered with a rich, cinnamon-spiced pumpkin cheesecake filling, and topped with a generous amount of chocolate chips and toasted coconut? Yes please! Crumbly graham crackers, creamy pumpkin, and melty chocolate are quite the addicting combo, if I do say so myself. 

Pumpkin butter is easy to find in stores these days, but it’s also easy to make if you have an extra can of pumpkin purée lying around. Some toasted nuts would be great in these as well- perhaps crushed up into the crust or sprinkled on top? Pumpkin dream bars are delish served warm or cold, topped with ice cream of course! Happy baking, y’all :)

Ooey Gooey Pumpkin Dream Bars:

Preheat the oven to 350 degrees F. Line a 9x13 inch baking dish with parchment paper and grease with nonstick spray. Pulverize graham crackers in a food processor, or crush in a bag with a rolling pin, until you have a fine crumb mixture. In a large bowl, stir together the graham cracker crumbs and melted butter until well combined. Press the mixture into the bottom of the baking dish to create a crust, using the back of a measuring cup to flatten if needed.

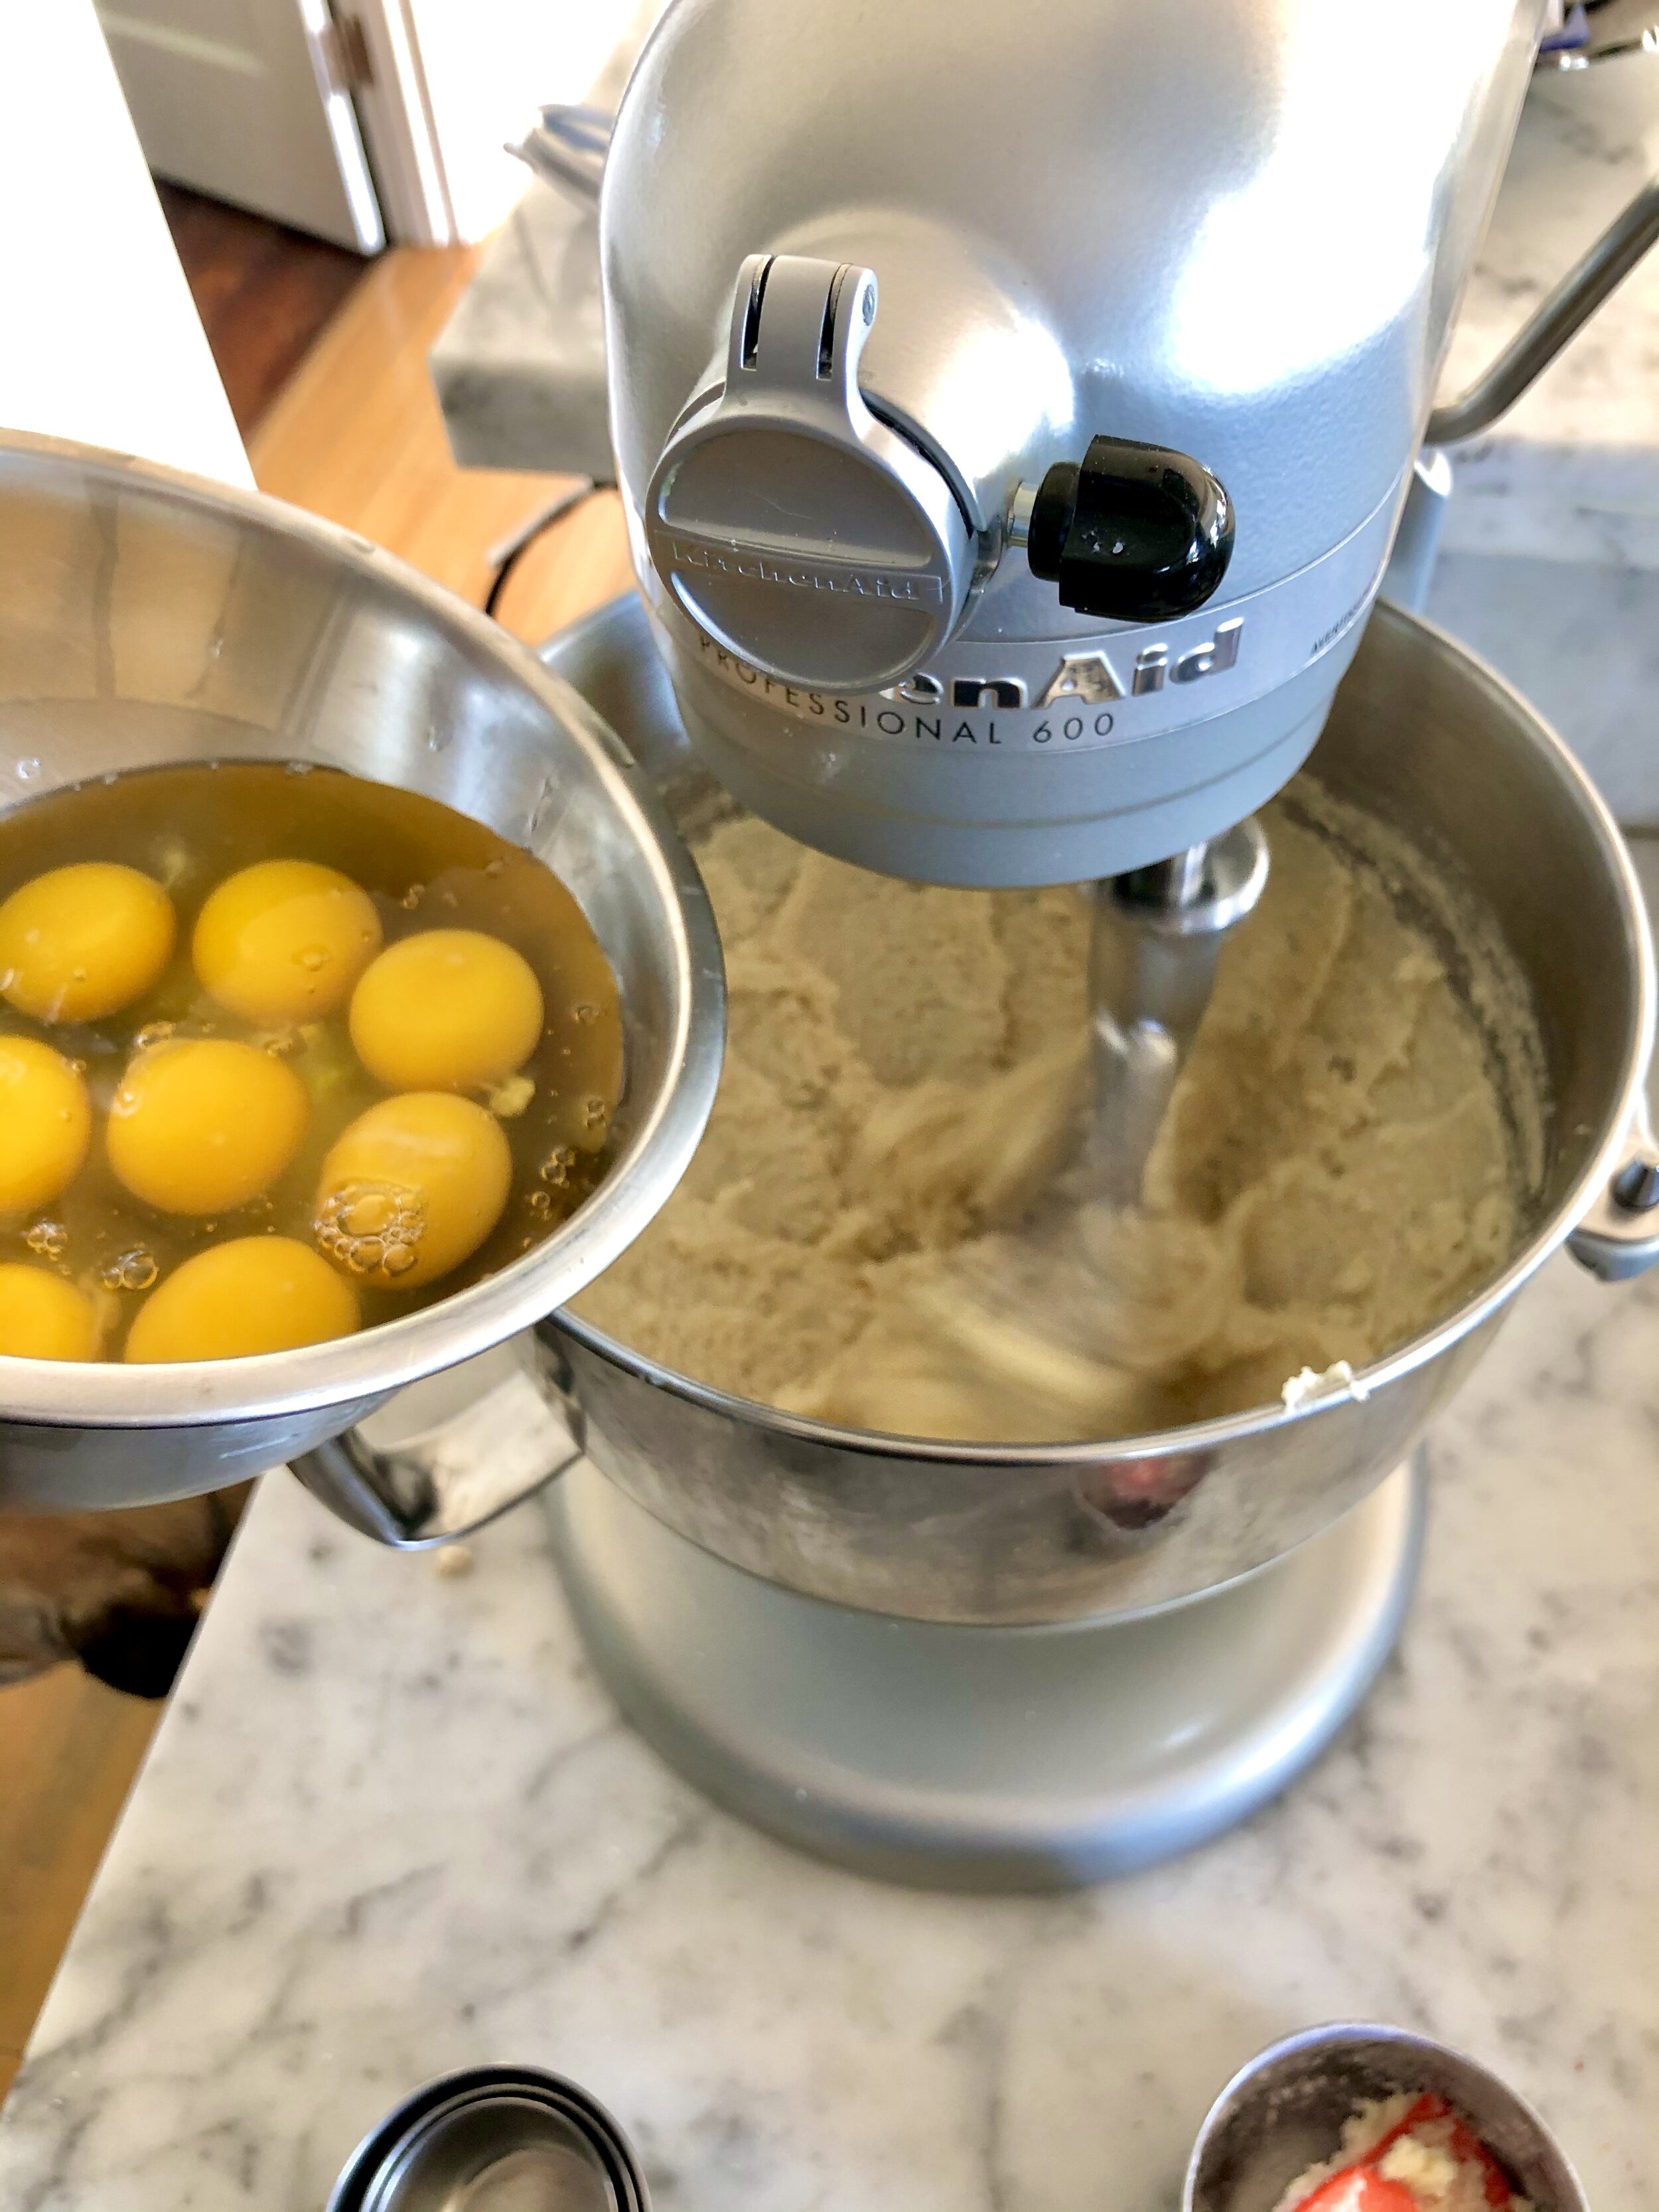
In the base of a stand mixer fitted with a whisk (or use a handheld mixer), add the cream cheese and beat until creamy. then beat in the pumpkin butter, pumpkin puree, brown sugar, eggs, vanilla, cinnamon, ginger, nutmeg, and salt. Beat on medium speed until creamy and combined and no lumps remain. Pour the mixture on top of the graham crust.

Sprinkle the chocolate chips generously over the top. Bake for about 22-24 minutes, then remove the dish and sprinkle the coconut on top. Bake for another 28-30 minutes, until the coconut is golden, and the center of the bars is still just a bit underdone. If your coconut is toasting too quickly and getting brown, you may cover with foil for the last 10 minutes or so.

Let cool for about 15-20 minutes in the pan, and then use the parchment paper to remove the bars, allowing them to cool completely on a cooling rack before cutting so that they can set. These bake up super well ahead of time, and are equally delicious served warm or cold out of the fridge. Either way, top with ice cream, and extra chocolate chips and coconut. Enjoy!

*Adapted from Pumpkin Gooey Bars by How Sweet Eats.

IMG_5438 2.jpg

grain free vanilla cake with pumpkin cream frosting

I love fall. The weather, the colors, the fashion… The flavors and food! It’s oh so comforting and delicious, and this vanilla cake with pumpkin cream is just that. Pumpkin spice and pumpkin pies are everywhere this time of year, but they can be a bit boring, no? I’m more of a cake than pie person anyway, to be honest… This cake goes a bit beyond your typical pumpkin dessert- moist vanilla cake makes up the base, topped with layers of smooth pumpkin frosting (basically a cream cheese & buttercream hybrid!), and finished with plenty of shredded coconut! Plus, since you can mix up the frosting flavor with whatever fruit you fancy, it’s adaptable for all seasons. Win! This cake is actually grain-free as well, so even those with gluten sensitivities can enjoy a piece. The vanilla really comes through thanks to the use of whole vanilla bean pods, as opposed to just vanilla extract, so don’t skip out if you can get your hands on some! But if you can’t find them, just up the vanilla extract to one tablespoon, and you’ll be fine. It’ll be delicious either way. I think this cake is even better the next day, which is great for all your holiday meals when the kitchen gets busy. Just bake it ahead of time and decorate before serving! I hope you enjoy.

Grain-Free Vanilla Cake:

Pumpkin Cream Frosting:

  • 1/2 cup unsalted butter, room temperature

  • 1/2 cup cream cheese, at room temperature

  • 1/2 cup pumpkin puree

  • 1 tsp pure vanilla extract

  • 1/2 tsp ground cinnamon

  • 1/4 tsp ground ginger

  • 1/4 tsp ground nutmeg

  • pinch of salt

  • 4 cups powdered sugar

  • 1-3 tablespoons milk of choice, if needed

Preheat oven to 350F. Line two 9” round cake pans (or three 6” round cake pans) with parchment paper and grease them with butter or nonstick spray, then set aside. In the bowl of a stand mixer (or hand mixer), whip butter, coconut oil and sugar together on high until smooth, then reduce speed and add eggs, one at a time. Reduce speed to low, and add in milk, vanilla bean seeds, and vanilla extract until well mixed. In a separate mixing bowl, combine almond flour, coconut flour, baking powder and sea salt. Use a spatula or fork to get rid of any large lumps. Slowly add flour mixture into wet ingredients in small batches with mixer on low speed until fully incorporated. Careful not to over-mix (it will be thick)! Divide batter into cakes pans, spreading evenly with a spatula. I like to bang the cake pans a couple times on the counter to remove any air bubbles. Bake cakes for about 38-40 minutes, or until a cake tester comes out clean. Allow them to cool for at least 30 minutes in the pans on a cooling rack before flipping them out onto a the rack to cool completely before frosting.

While the cakes cool, make your buttercream frosting. Place softened butter, cream cheese and pumpkin puree in the bowl of a stand mixer with whisk attachment, and whip until creamy. Add vanilla extract, spices, and salt, mixing until combined. Slowly add the powdered sugar and mix on high for a few minutes, until frosting is light and fluffy. If it’s too thick, add milk 1 tbsp at a time, until it gets to desired consistency. You may make this ahead of time, and store in the fridge for a couple days. Just bring to room temperature and re-whip before frosting. To decorate, use a sharp knife to level off the tops of cakes, if needed, then layer on cake stand (or revolving cake stand) and decorate with frosting, as desired. Top with shredded coconut. Slice and enjoy!

*Adapted from Grain Free Vanilla Cake by Everyday Maven.


salty nutty cereal cookies

Who doesn’t love holiday baking? I’m all about a cookie exchange, and these salty & sweet ones are sure to be a crowd pleaser. They don’t necessarily scream holidays, per se, but I think they fit in perfectly with a platter of otherwise festive cookies. And they’re super delicious, so who really cares? My mom has been baking up batch after batch of them this past week, and I have to say, I’m a huge fan. I love a sweet & salty flavor combo, and the almond flour & pecans lend the perfect amount of nutty goodness. Feel free to use a simple flakey cereal of your choice, or mix it up with a crunchy granola! You could even make them gluten-free by subbing in your fave GF flour for the all-purpose. These babies are super versatile, so have fun with it, and enjoy! Happy holidays!

Salty Nutty Cereal Cookies:

  • 3/4 cup coconut oil or unsalted butter

  • 1 1/4 cup dark brown sugar, packed

  • 1/4 cup pure maple syrup

  • 3 large eggs, at room temperature

  • 1 tablespoon pure vanilla extract

  • 2 1/2 cups all-purpose flour

  • 1/2 cup almond flour

  • 1 ½ teaspoon baking soda

  • 1 ½ cup old-fashioned rolled oats, toasted

  • 2 cups flakey or crispy cereal (your choice!)

  • 1/2 tsp flaky sea salt, plus more for topping

  • pecan halves, for topping

Preheat oven to 350° F. Spread oats on a cookie sheet and toast for 10 minutes. Set aside to cool. Beat coconut oil, brown sugar & maple syrup together on a medium speed until well incorporated. Add eggs and vanilla, mixing until fluffy, about 5 minutes. In a separate bowl, stir together flours, oats, baking soda & salt. Slowly add to the butter egg mixture. Add cereal and mix until combined. Refrigerate dough for at least 4 hours (overnight is better, but feel free to bake off a few right away too!). Line cookie sheet with parchment paper or nonstick baking mat. Measure out heaping tablespoon-sized balls and spread evenly on cookie sheet. Flatten the cookies a bit with your fingers, top with a pecan half and sprinkle with flaky sea salt. Bake for 8-12 minutes, or until lightly golden brown. They will continue to harden a bit post-baking, so it’s okay if they look a tad underdone. Cool on cooling rack and enjoy!

*Adapted from Salted Oatmeal Corn Flake Cookies by sweetish.co.

Useful Tools: