m.georgina

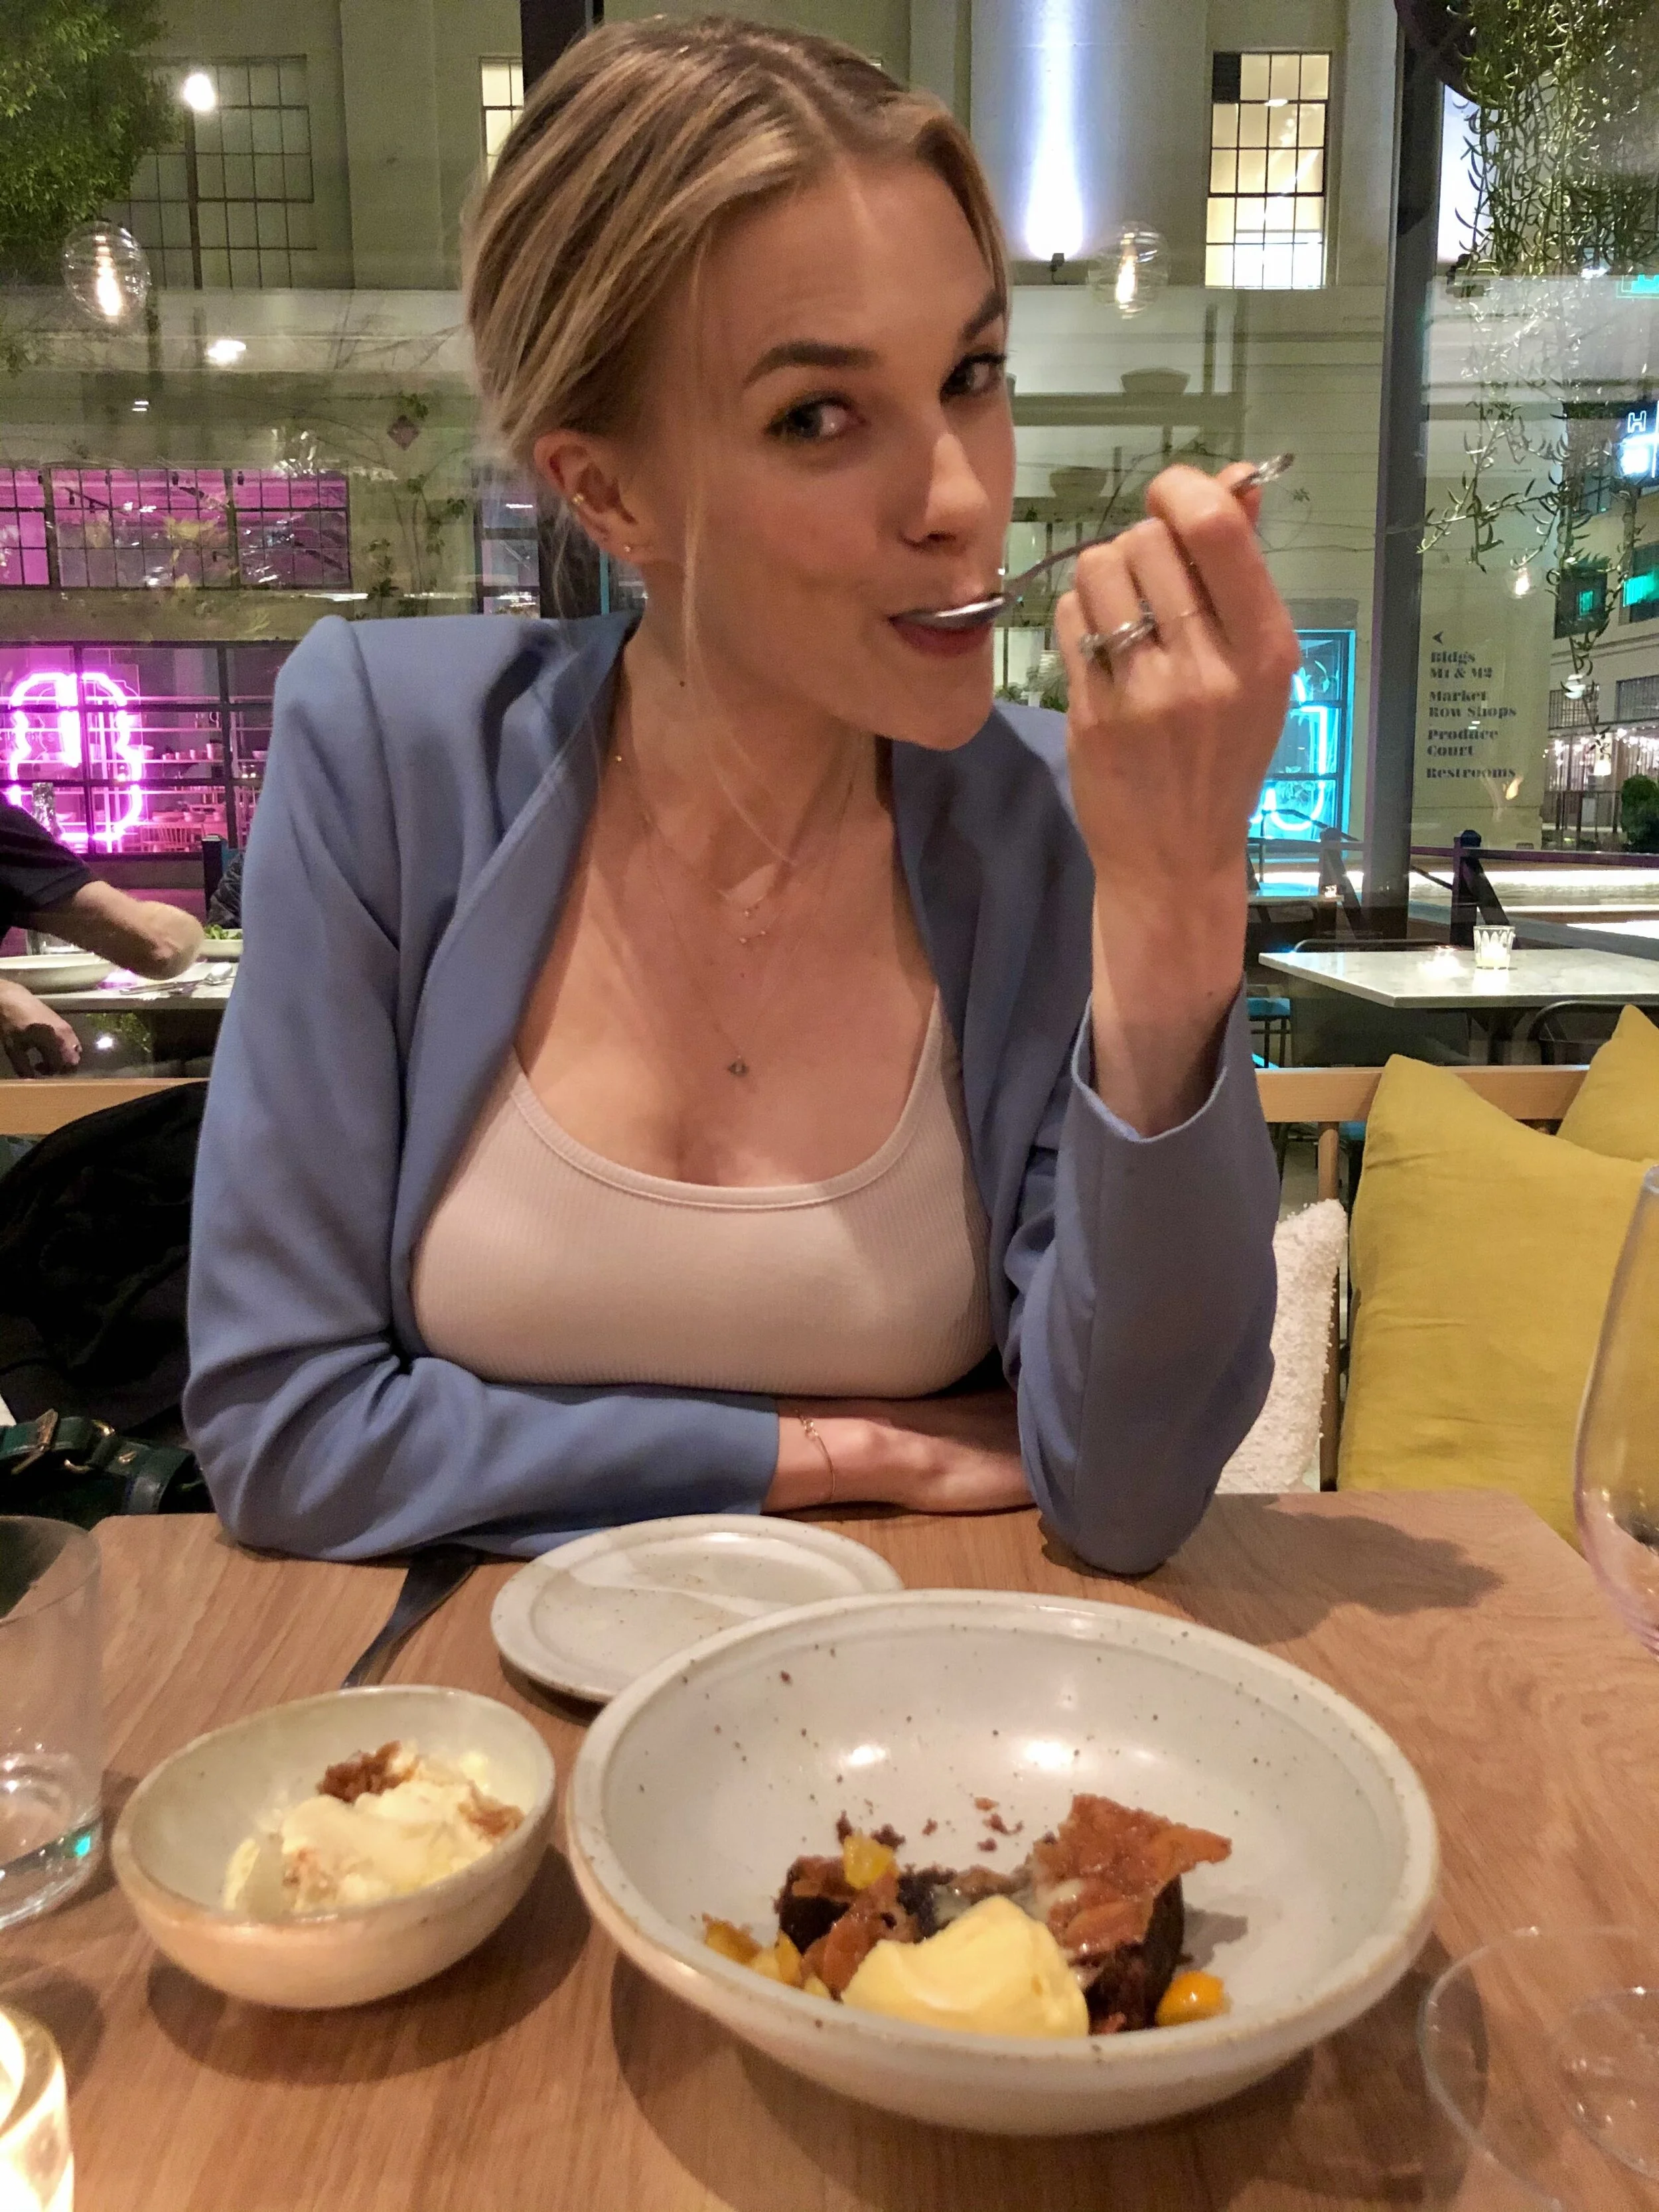
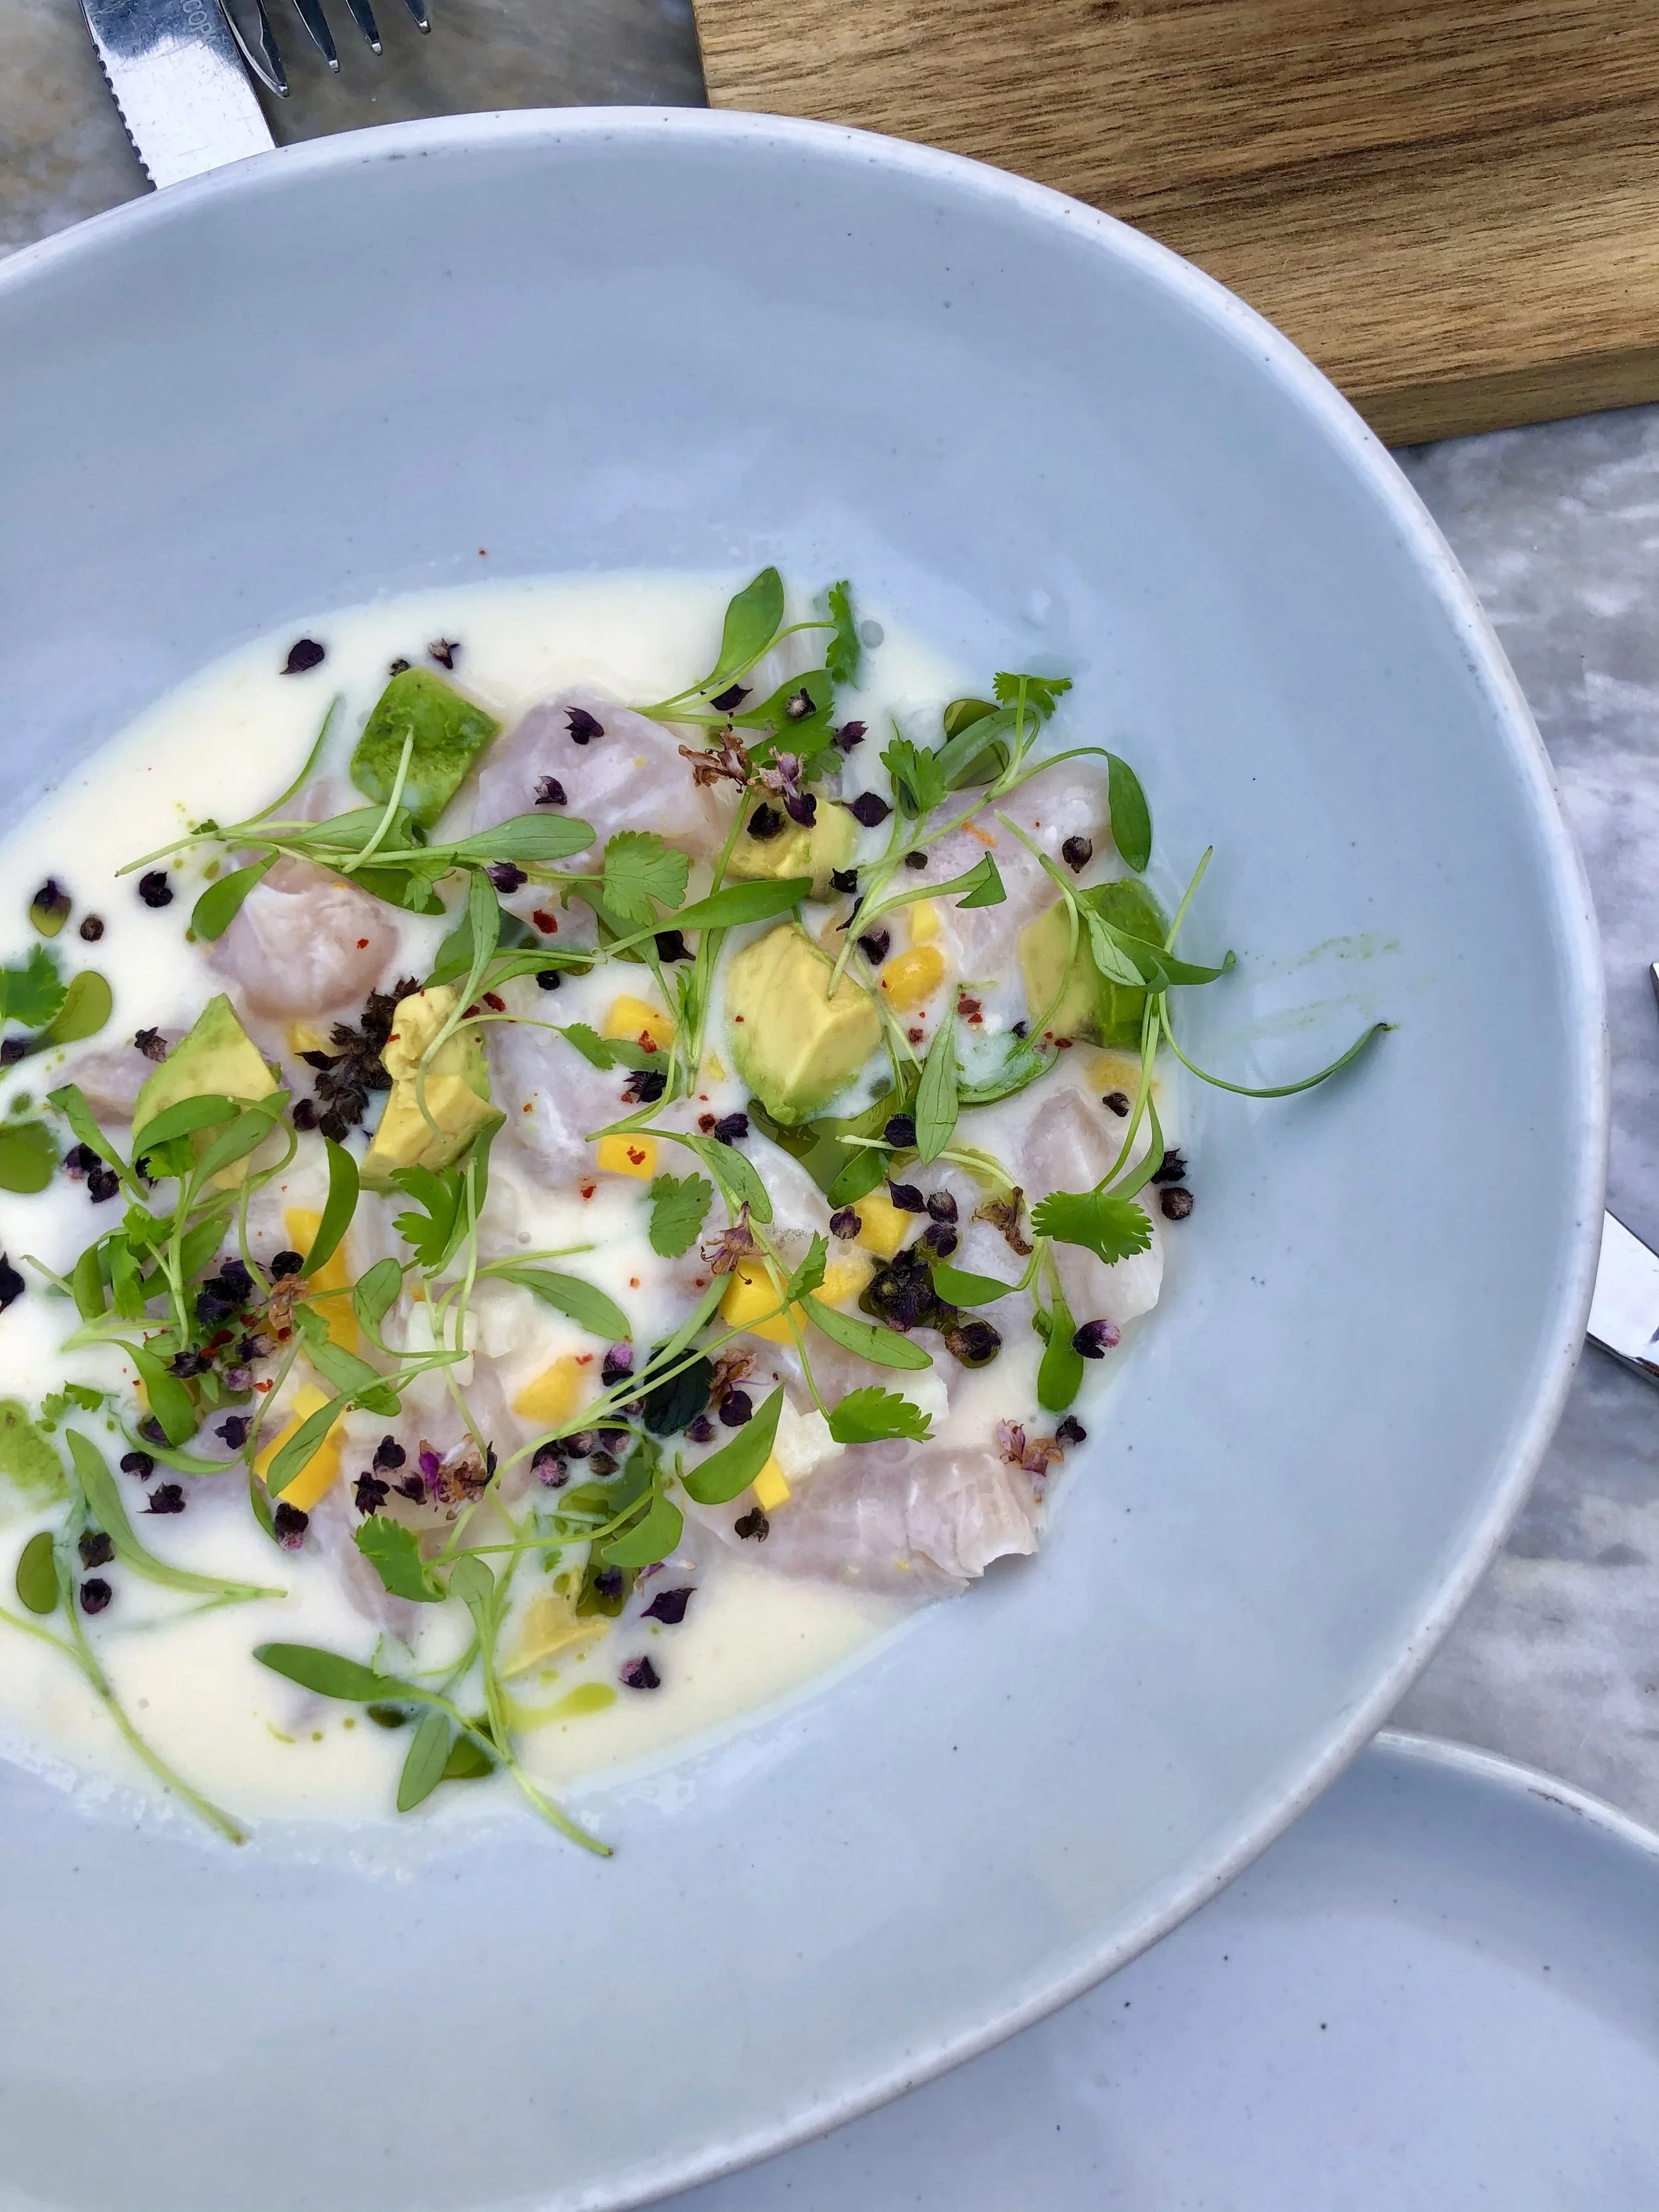
I’m so excited that the days of dining out are slowly but surely returning to us. My reviews of tasty spots became far less frequent over the last year, and it was honestly such a bummer. While drooling over the endless foodie photos on my phone, I came across our last dining out experience right before the pandemic hit. My husband and I hit up M.Georgina for a date night, and I have to say it’s almost as if we knew we weren’t going to be able to dine out for quite a long while after that. We really did it up big, and everything was super delicious! M.Georgina serves up seasonal Cali fare using fresh produce, grains, fish, and meat from local farms, and even bakes sourdough bread on site! The atmosphere is great here as well- I love the open kitchen, and getting to watch all the chefs in action creating magic on the plate.

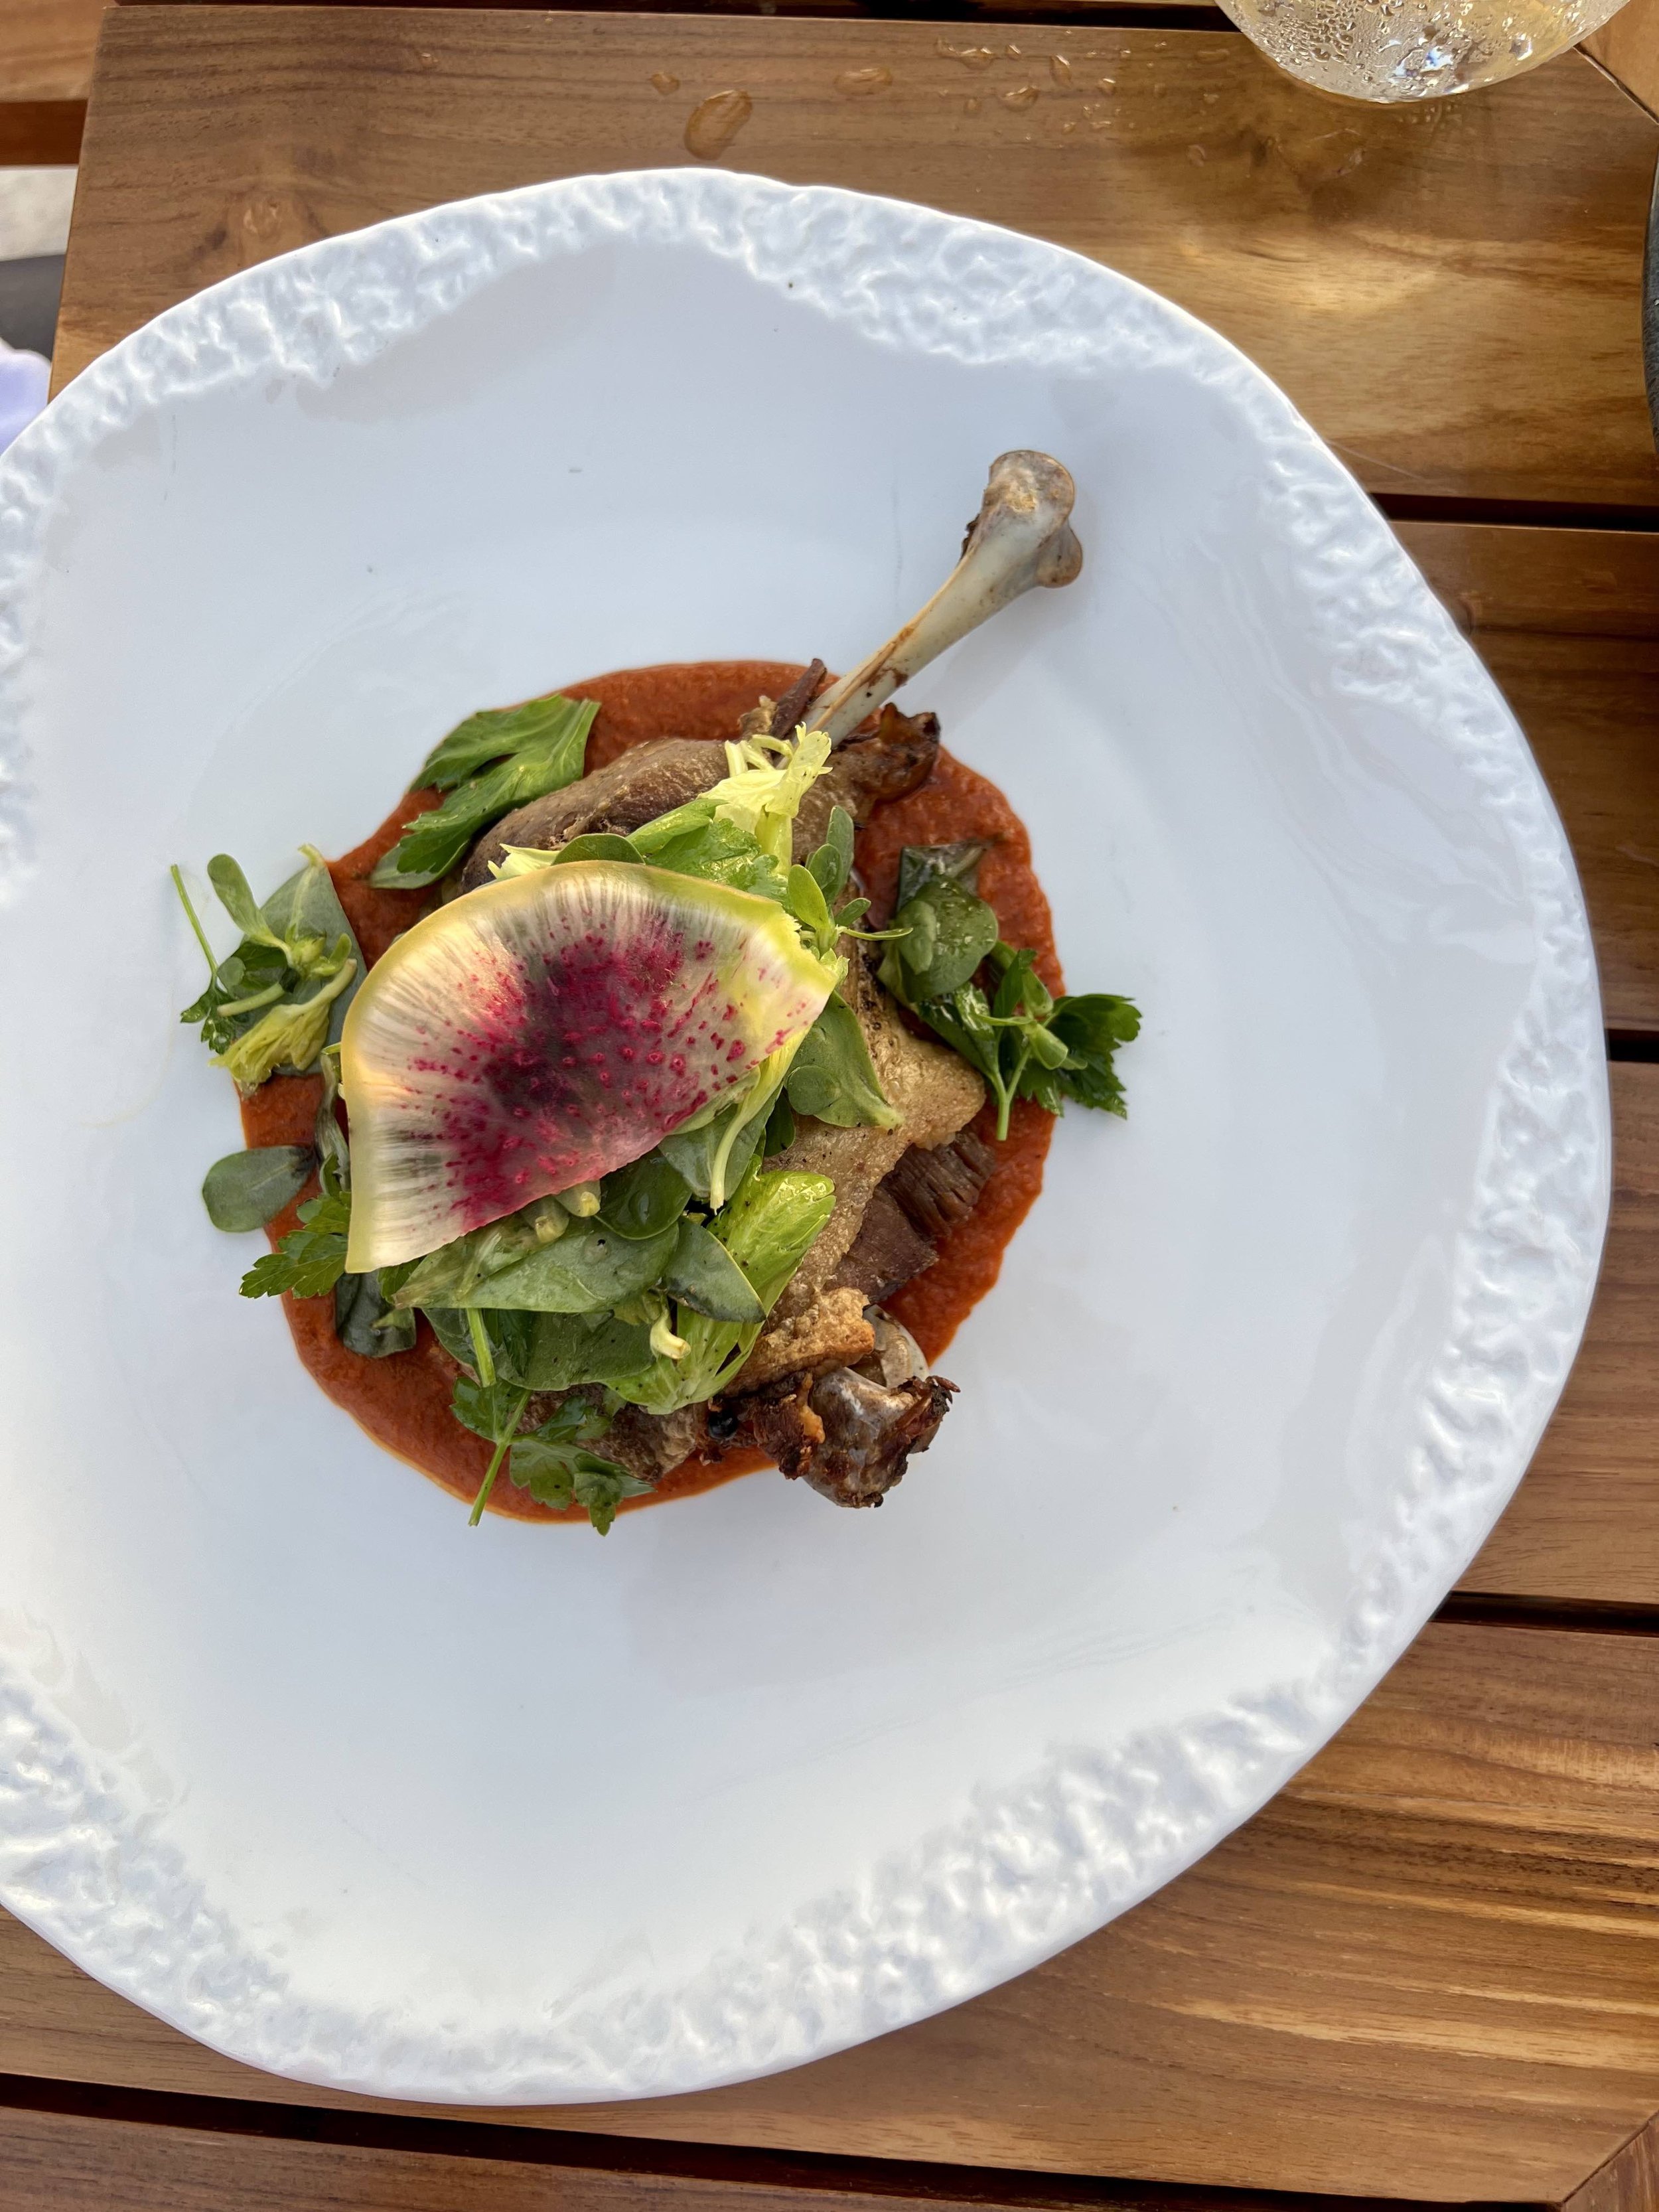
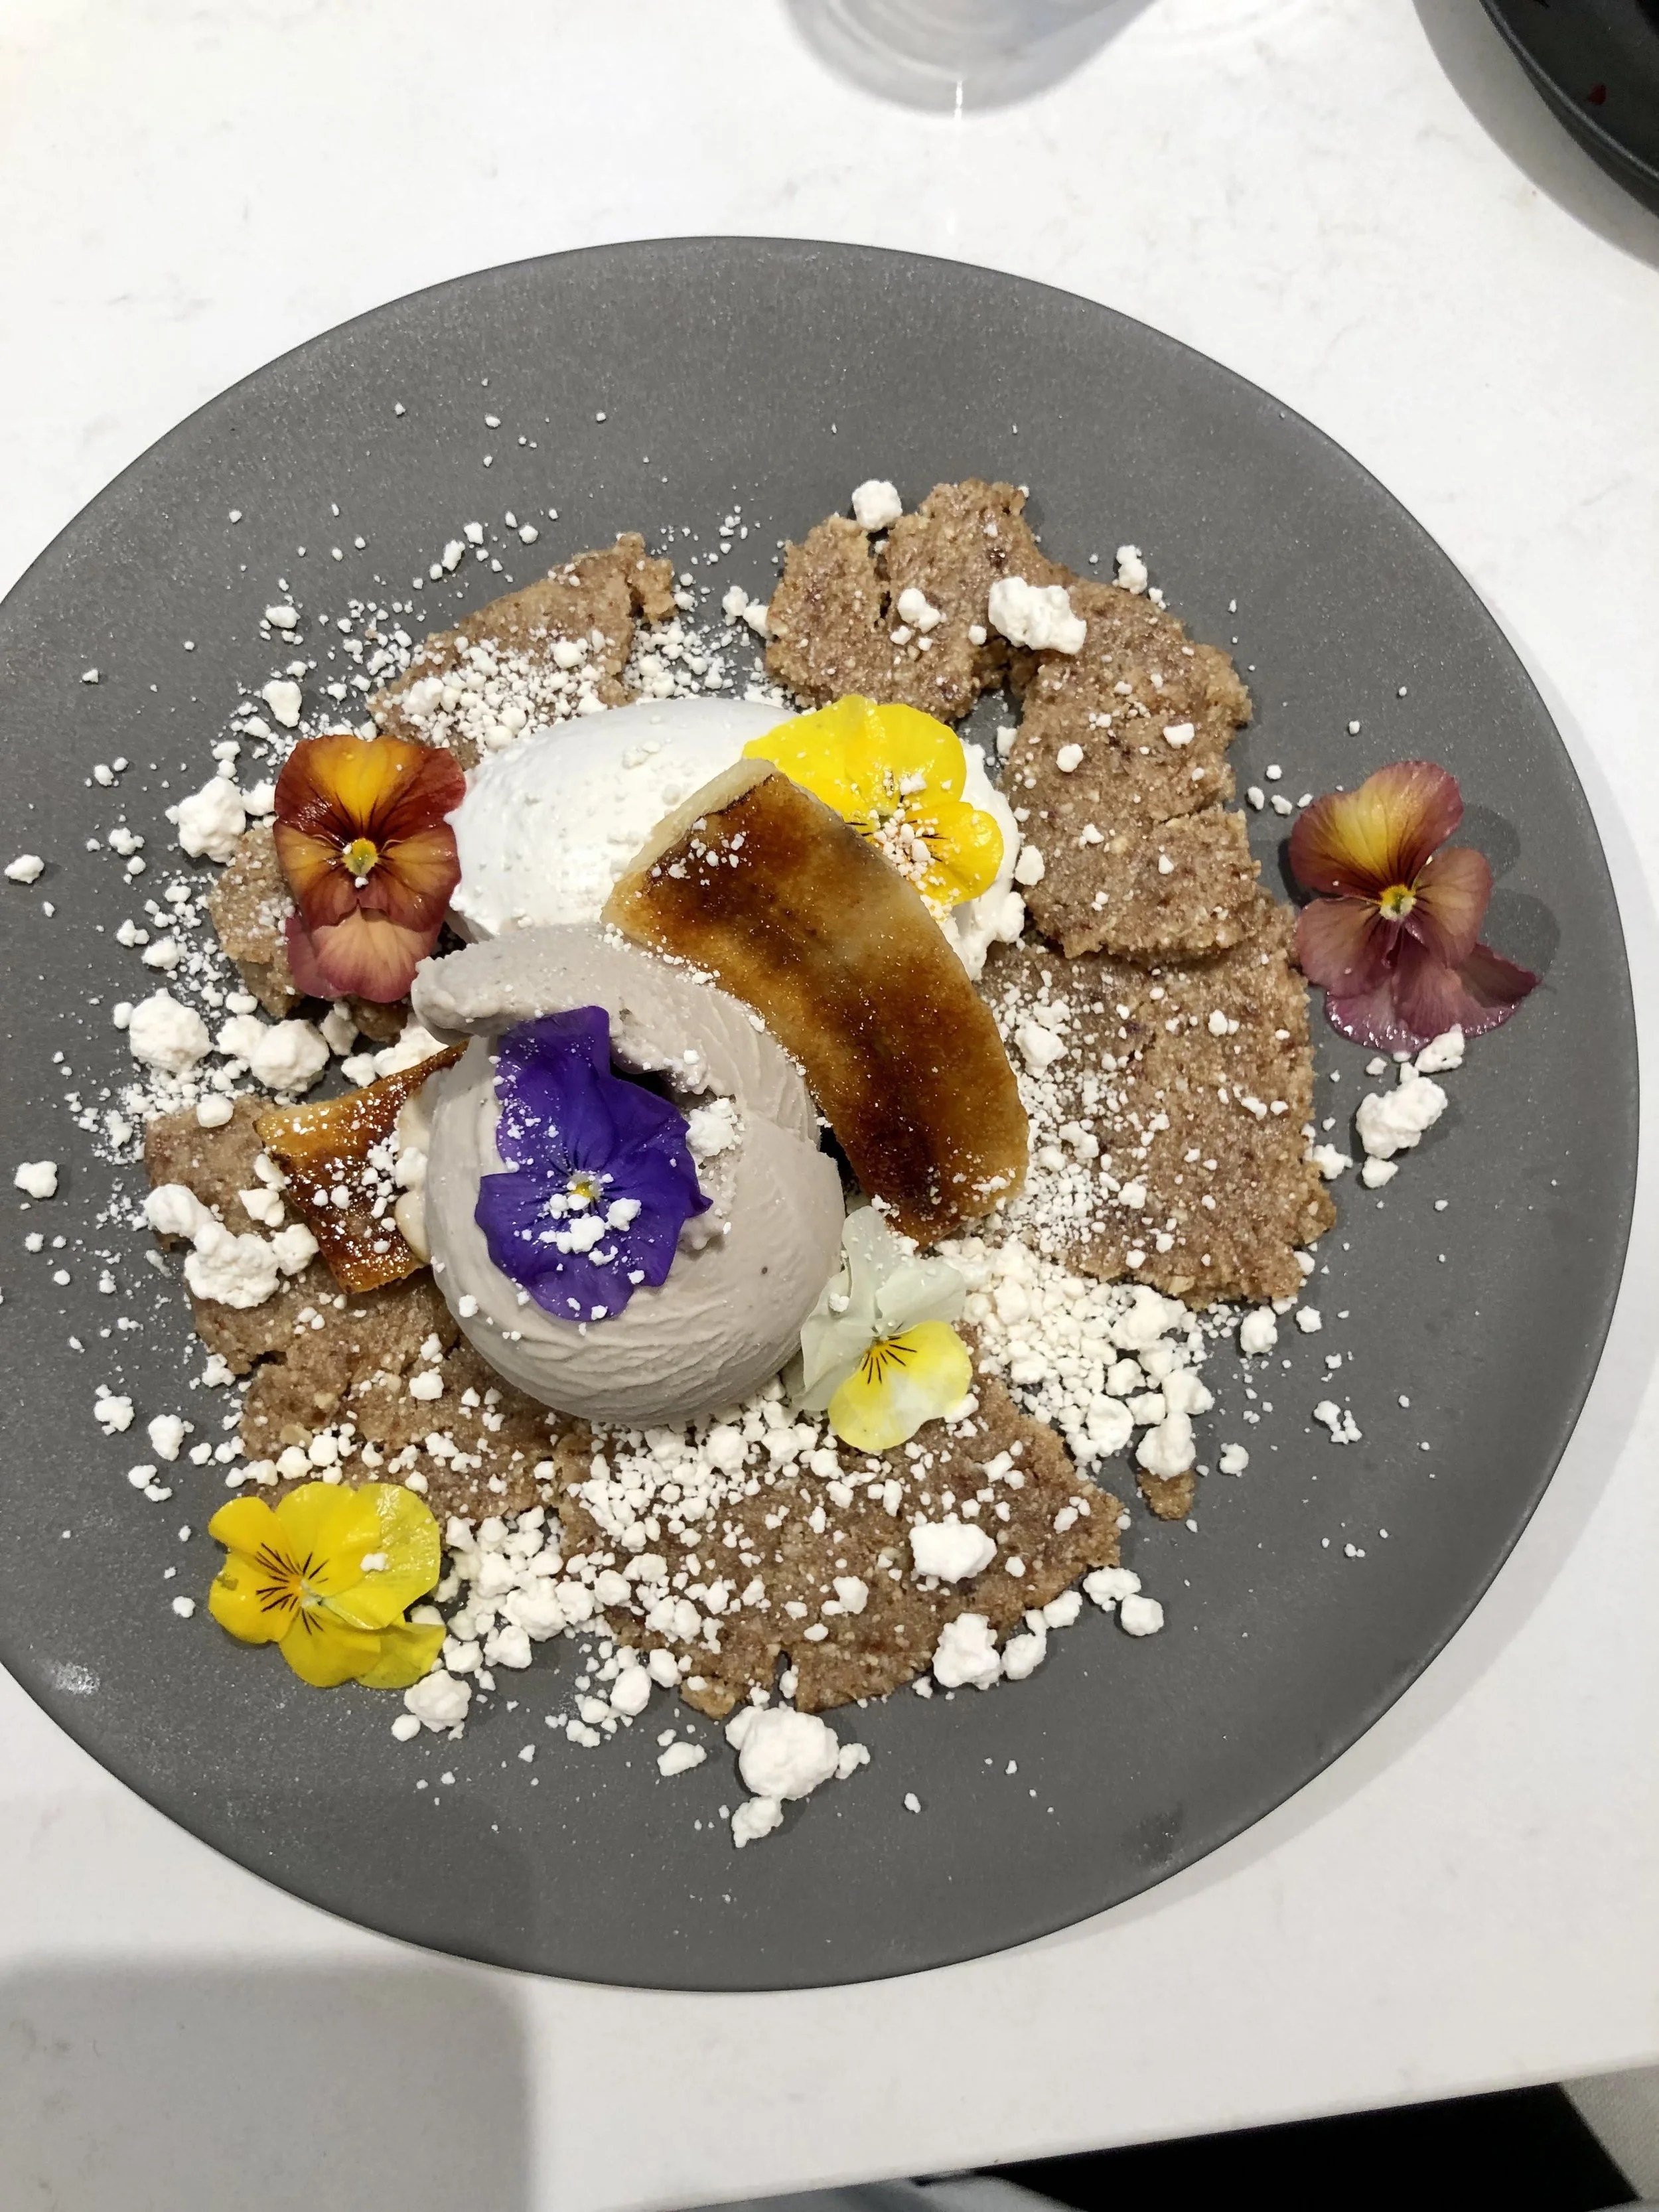
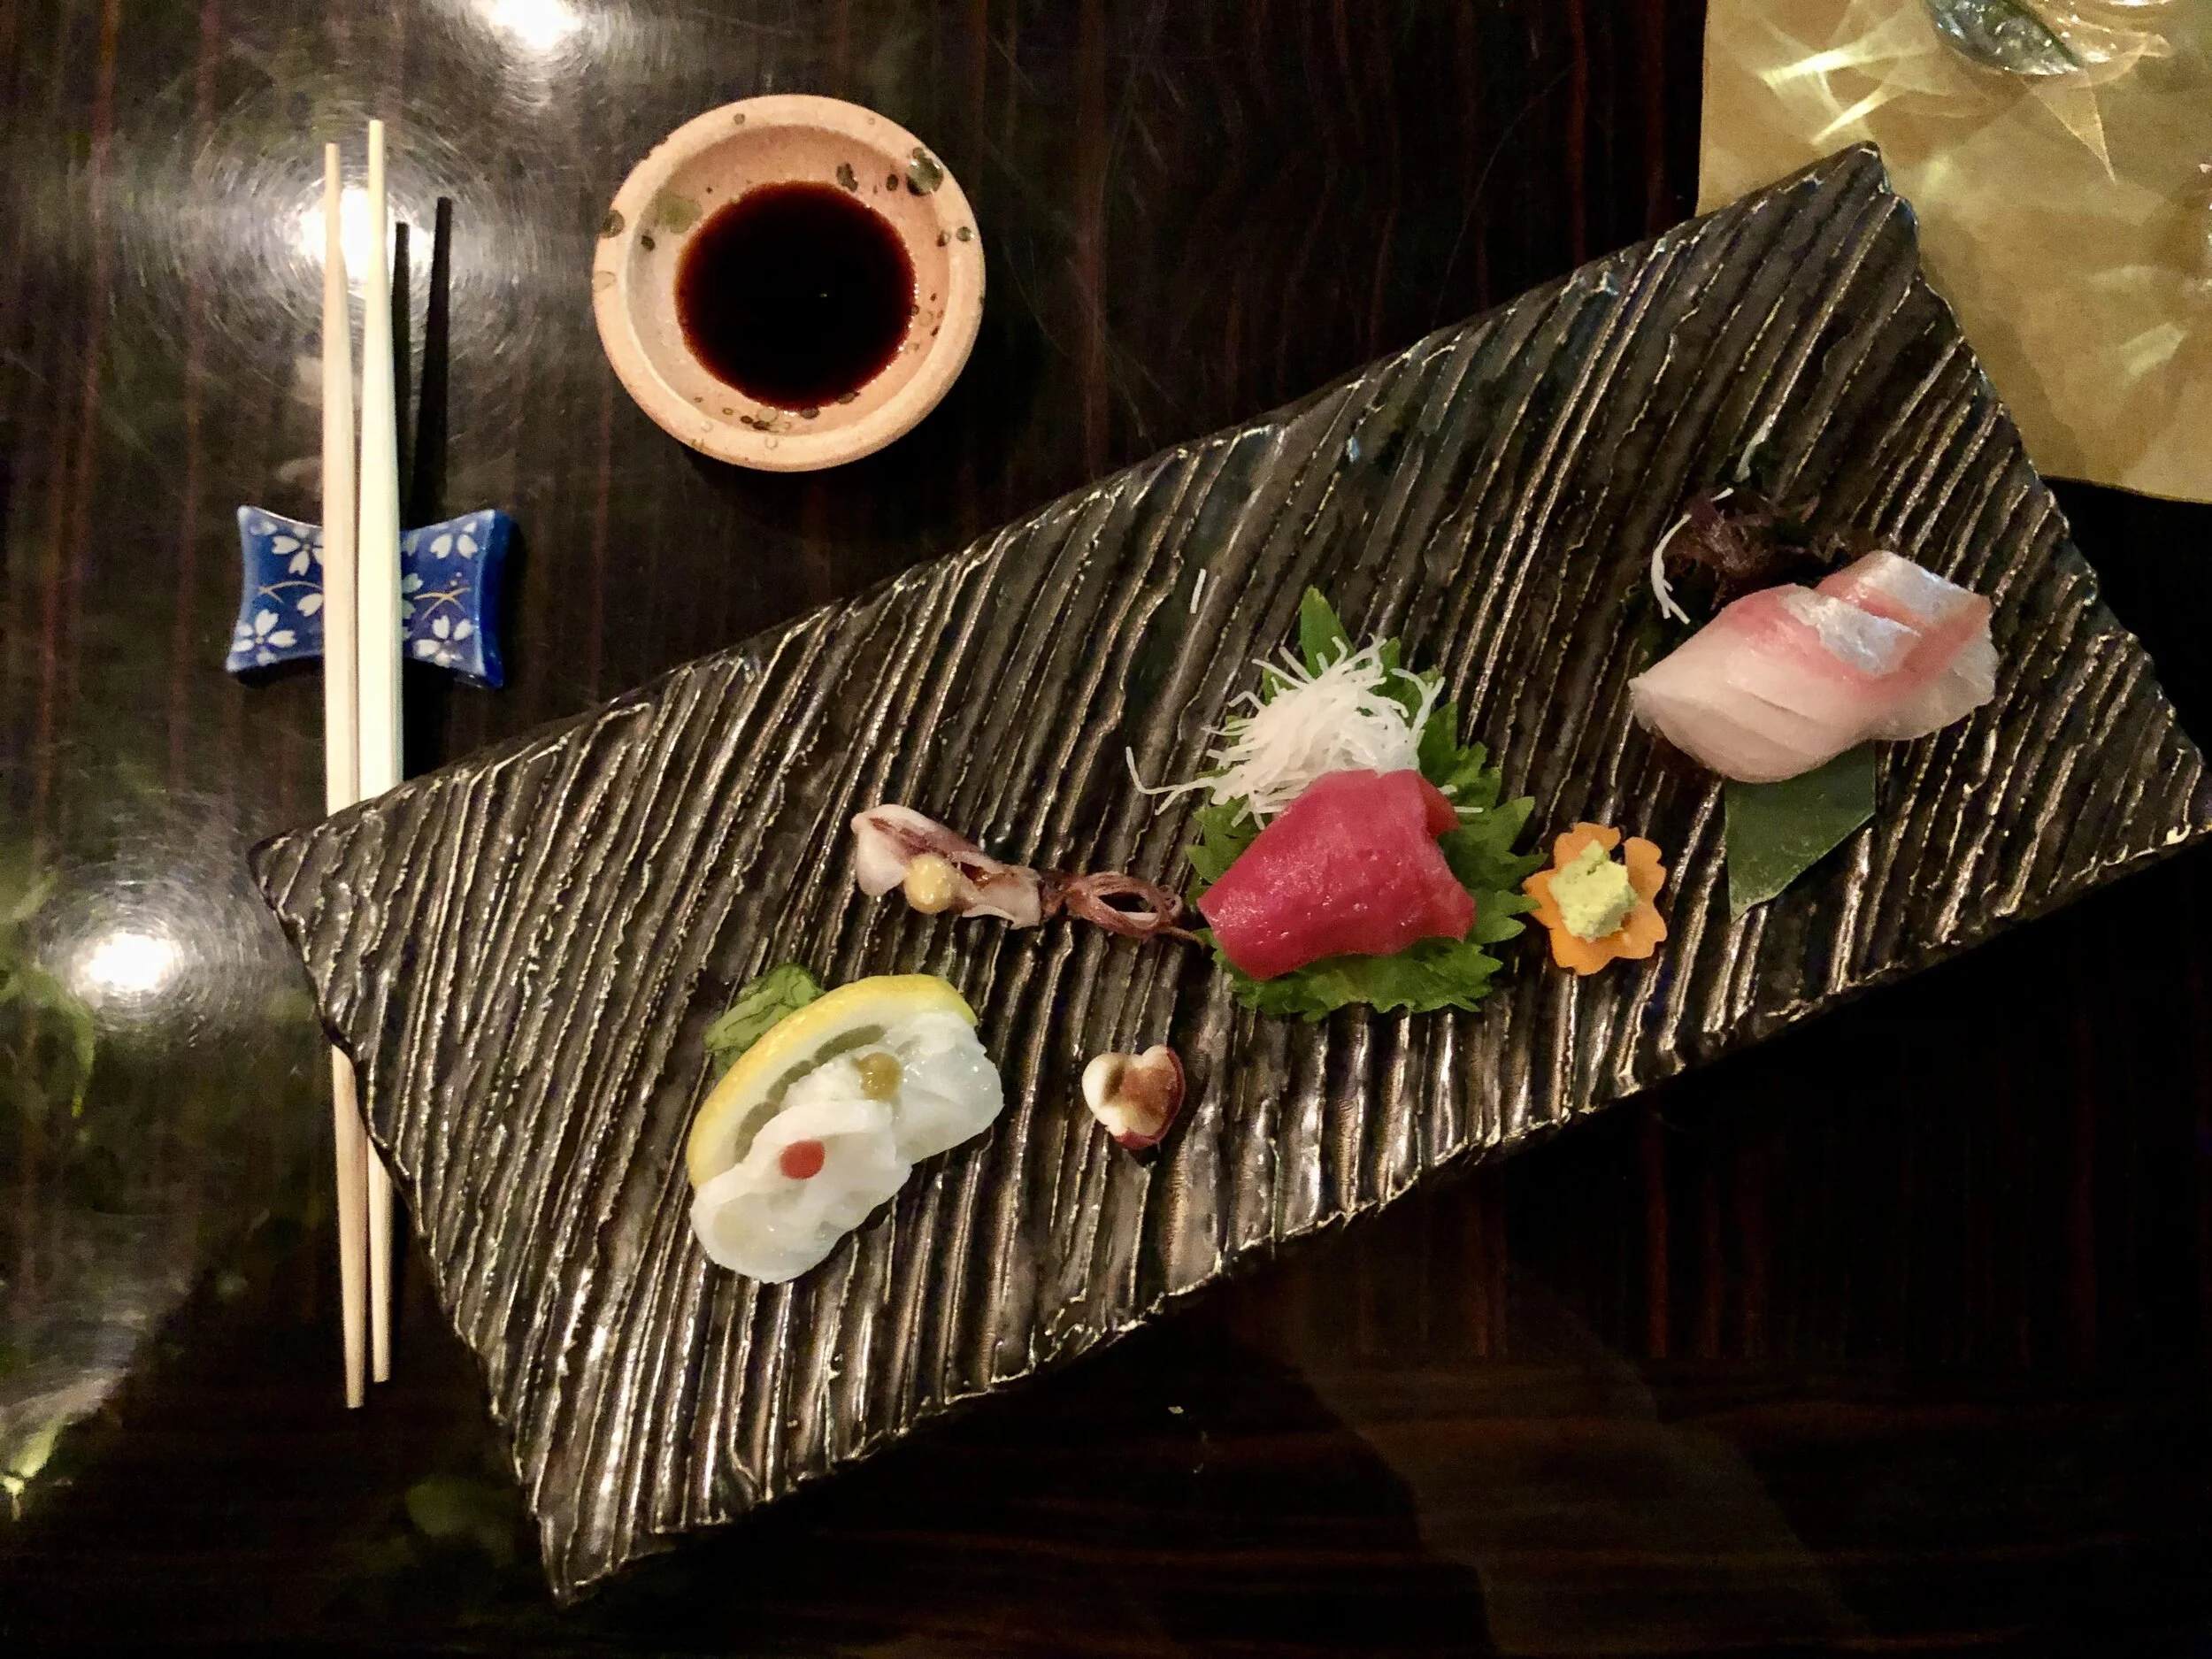
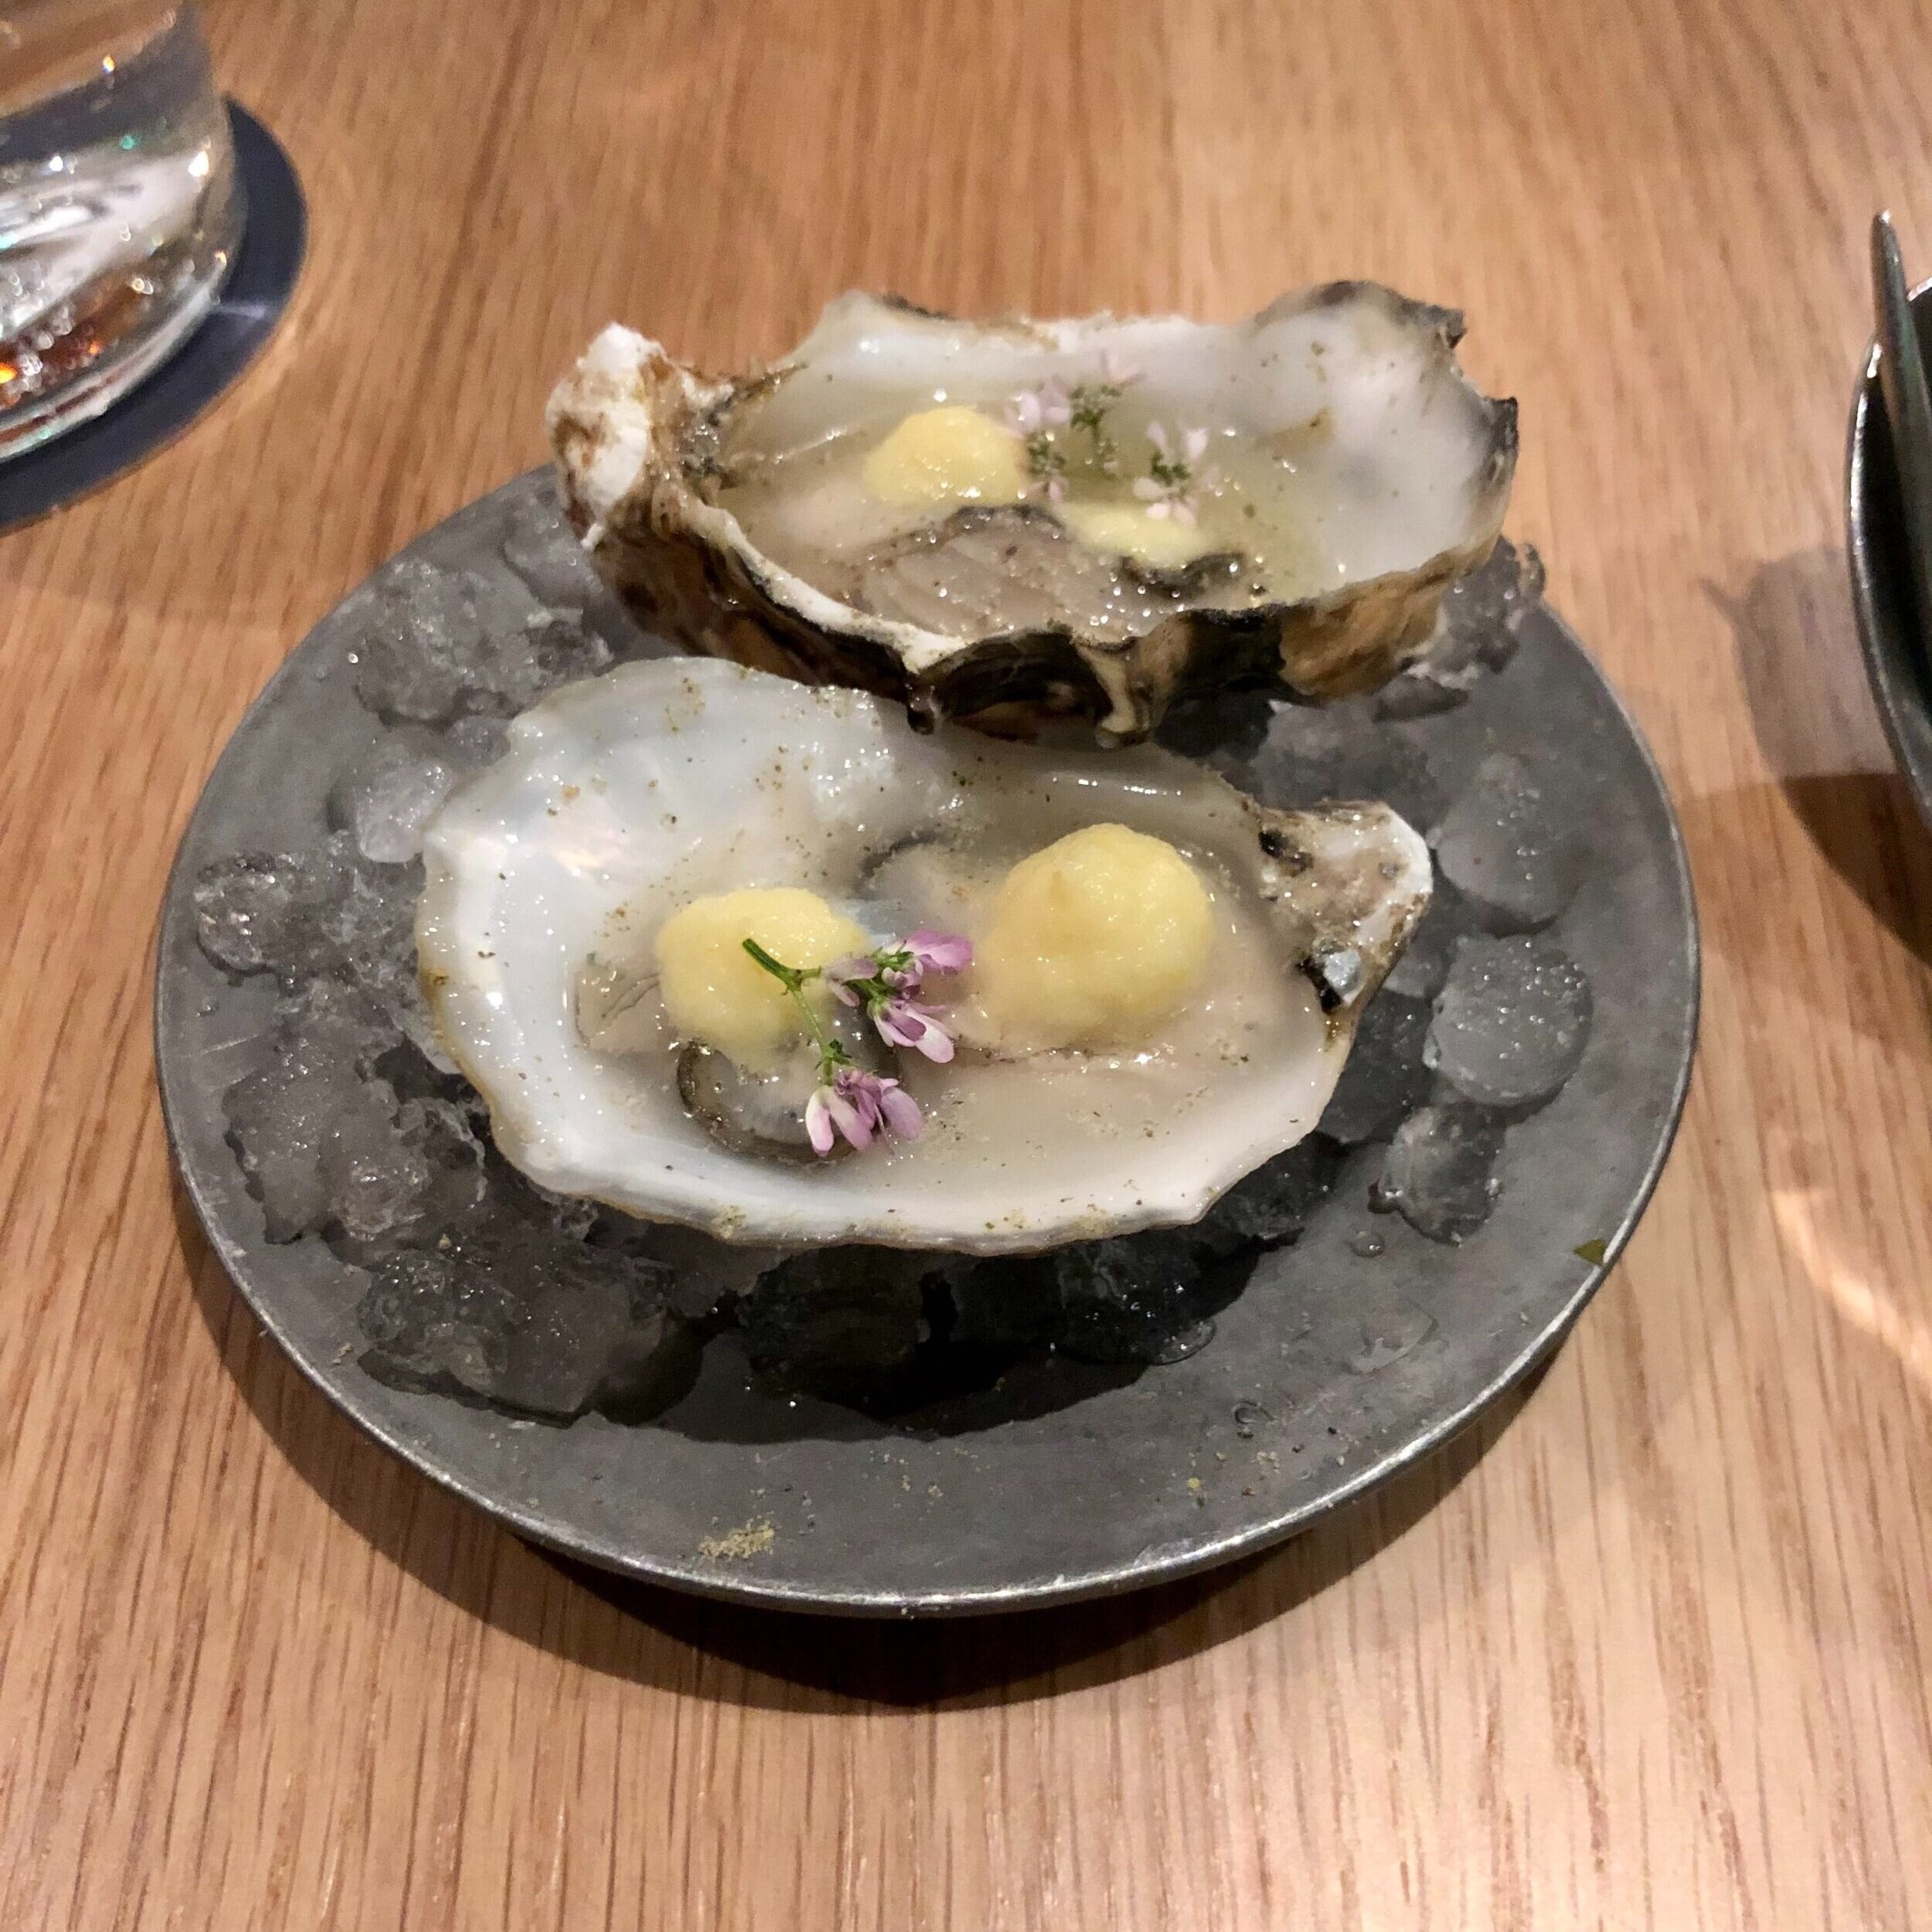
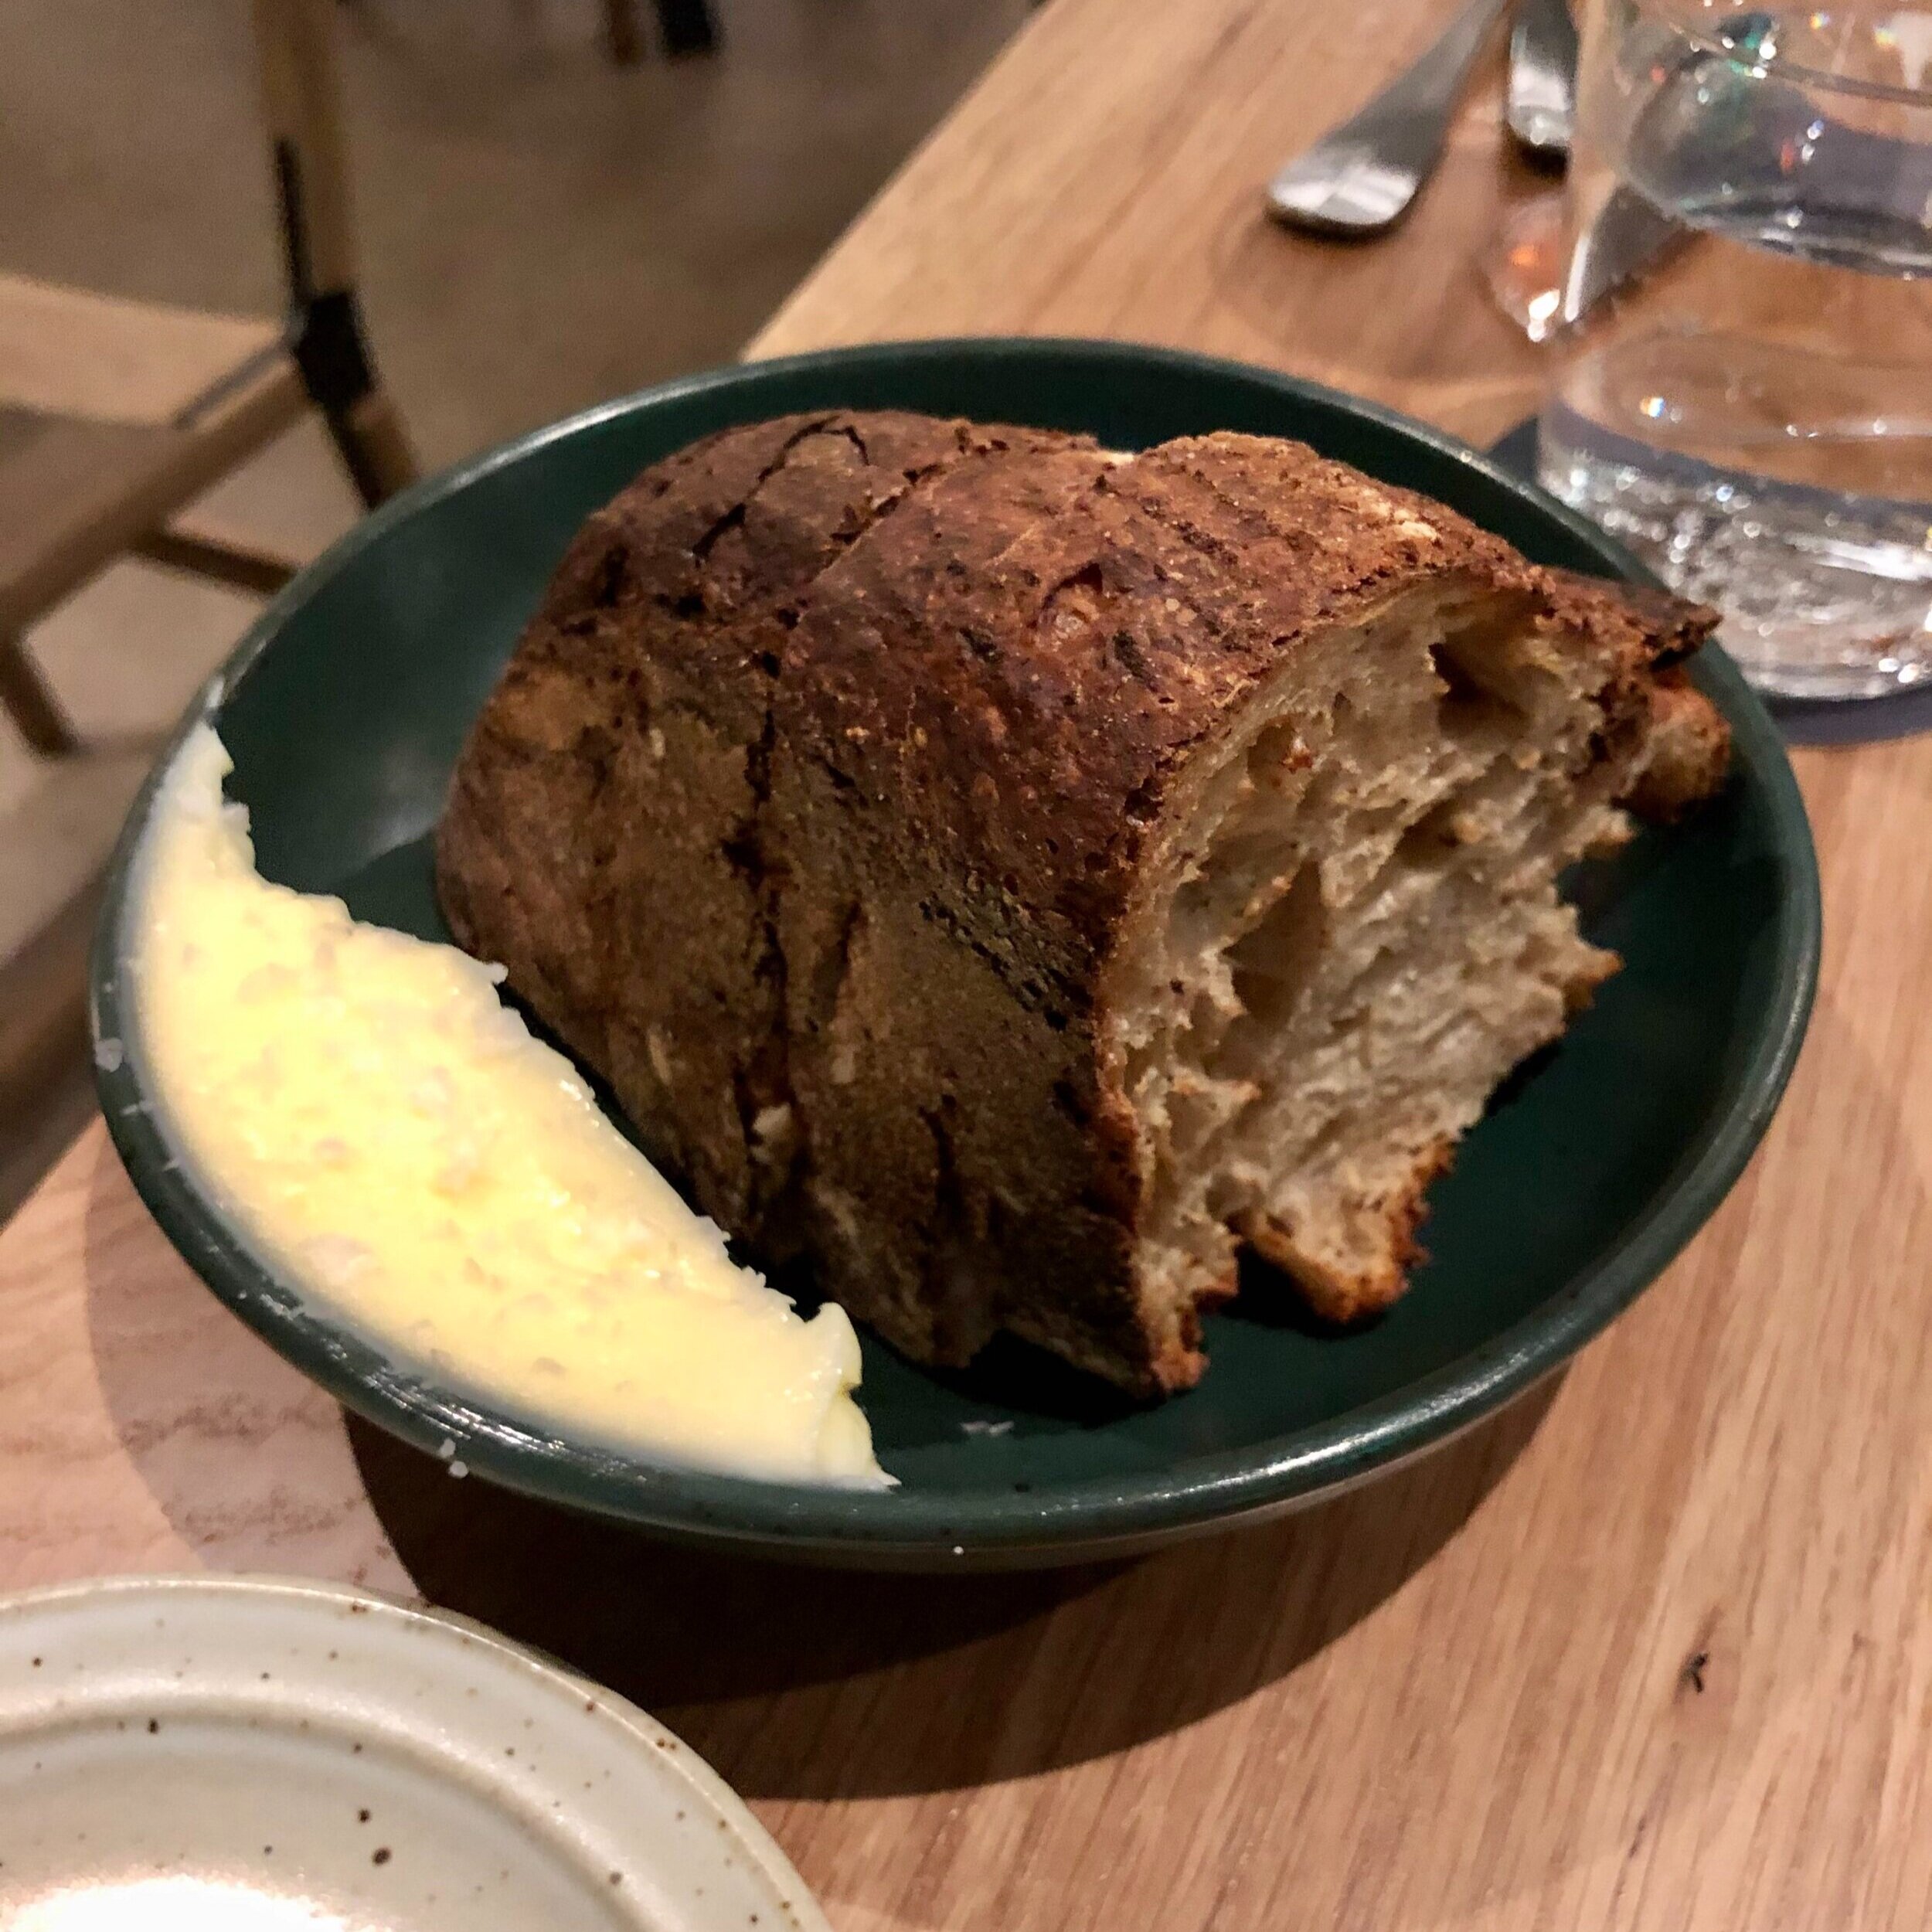
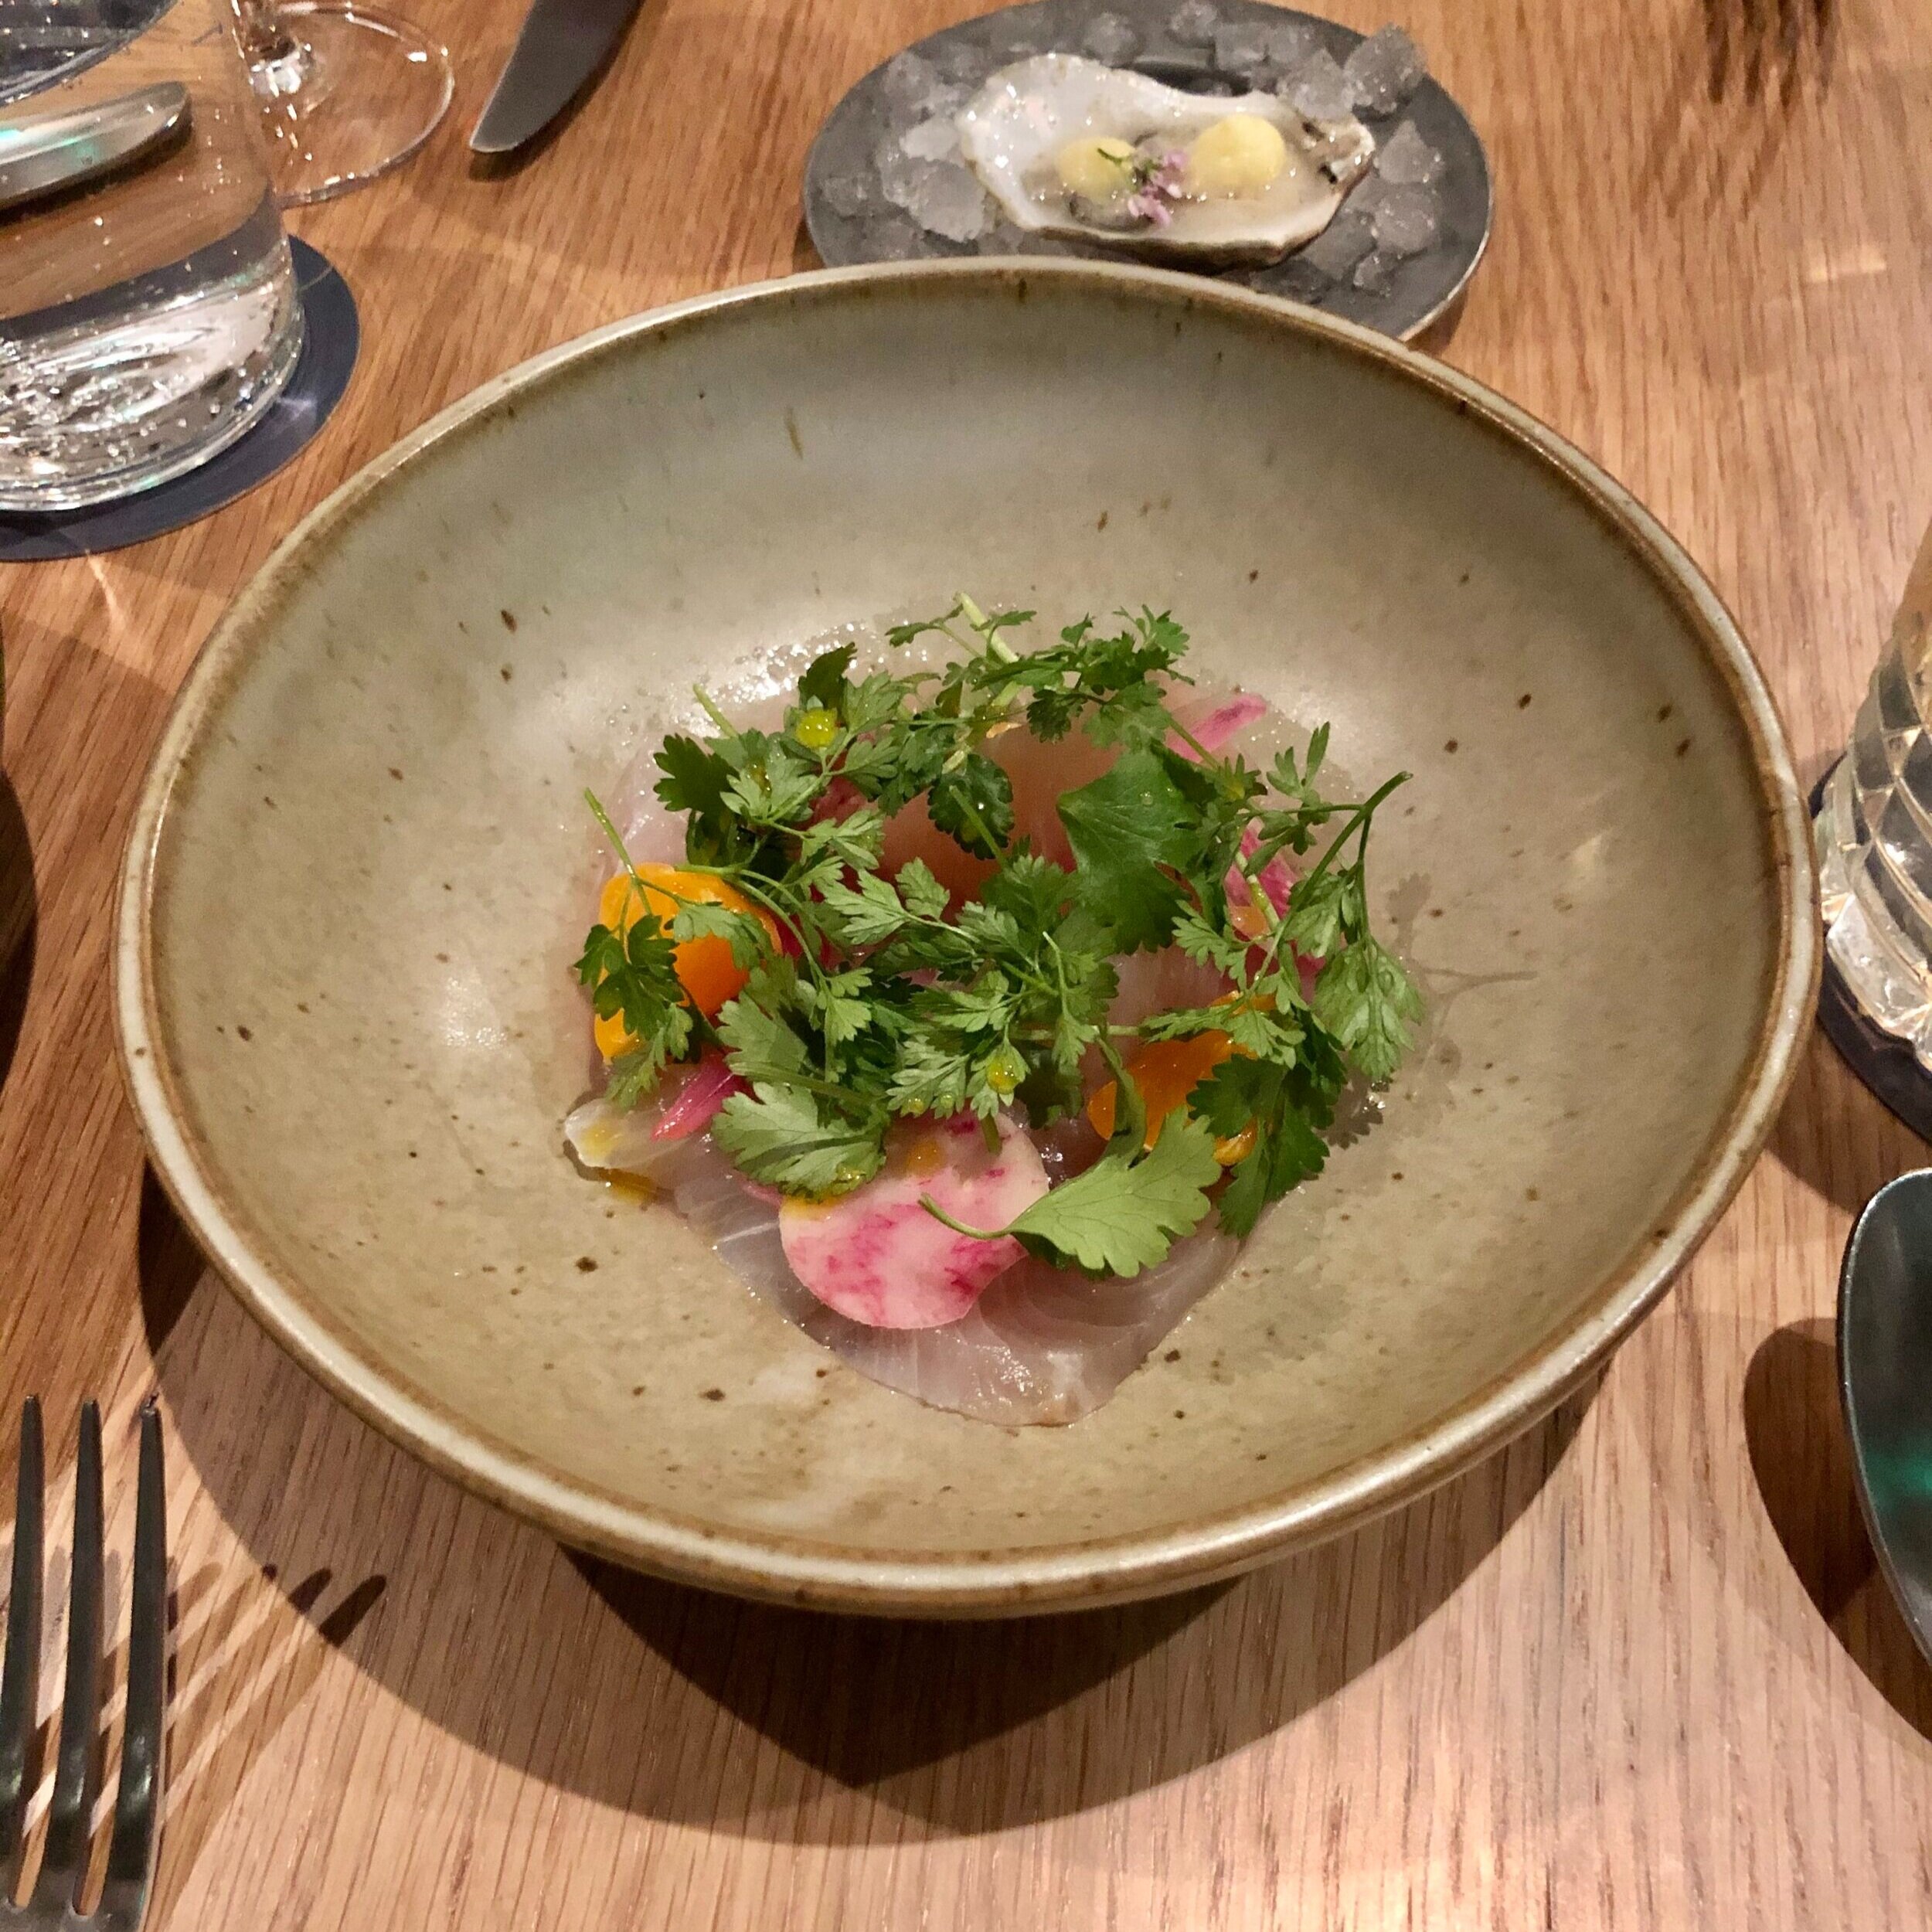
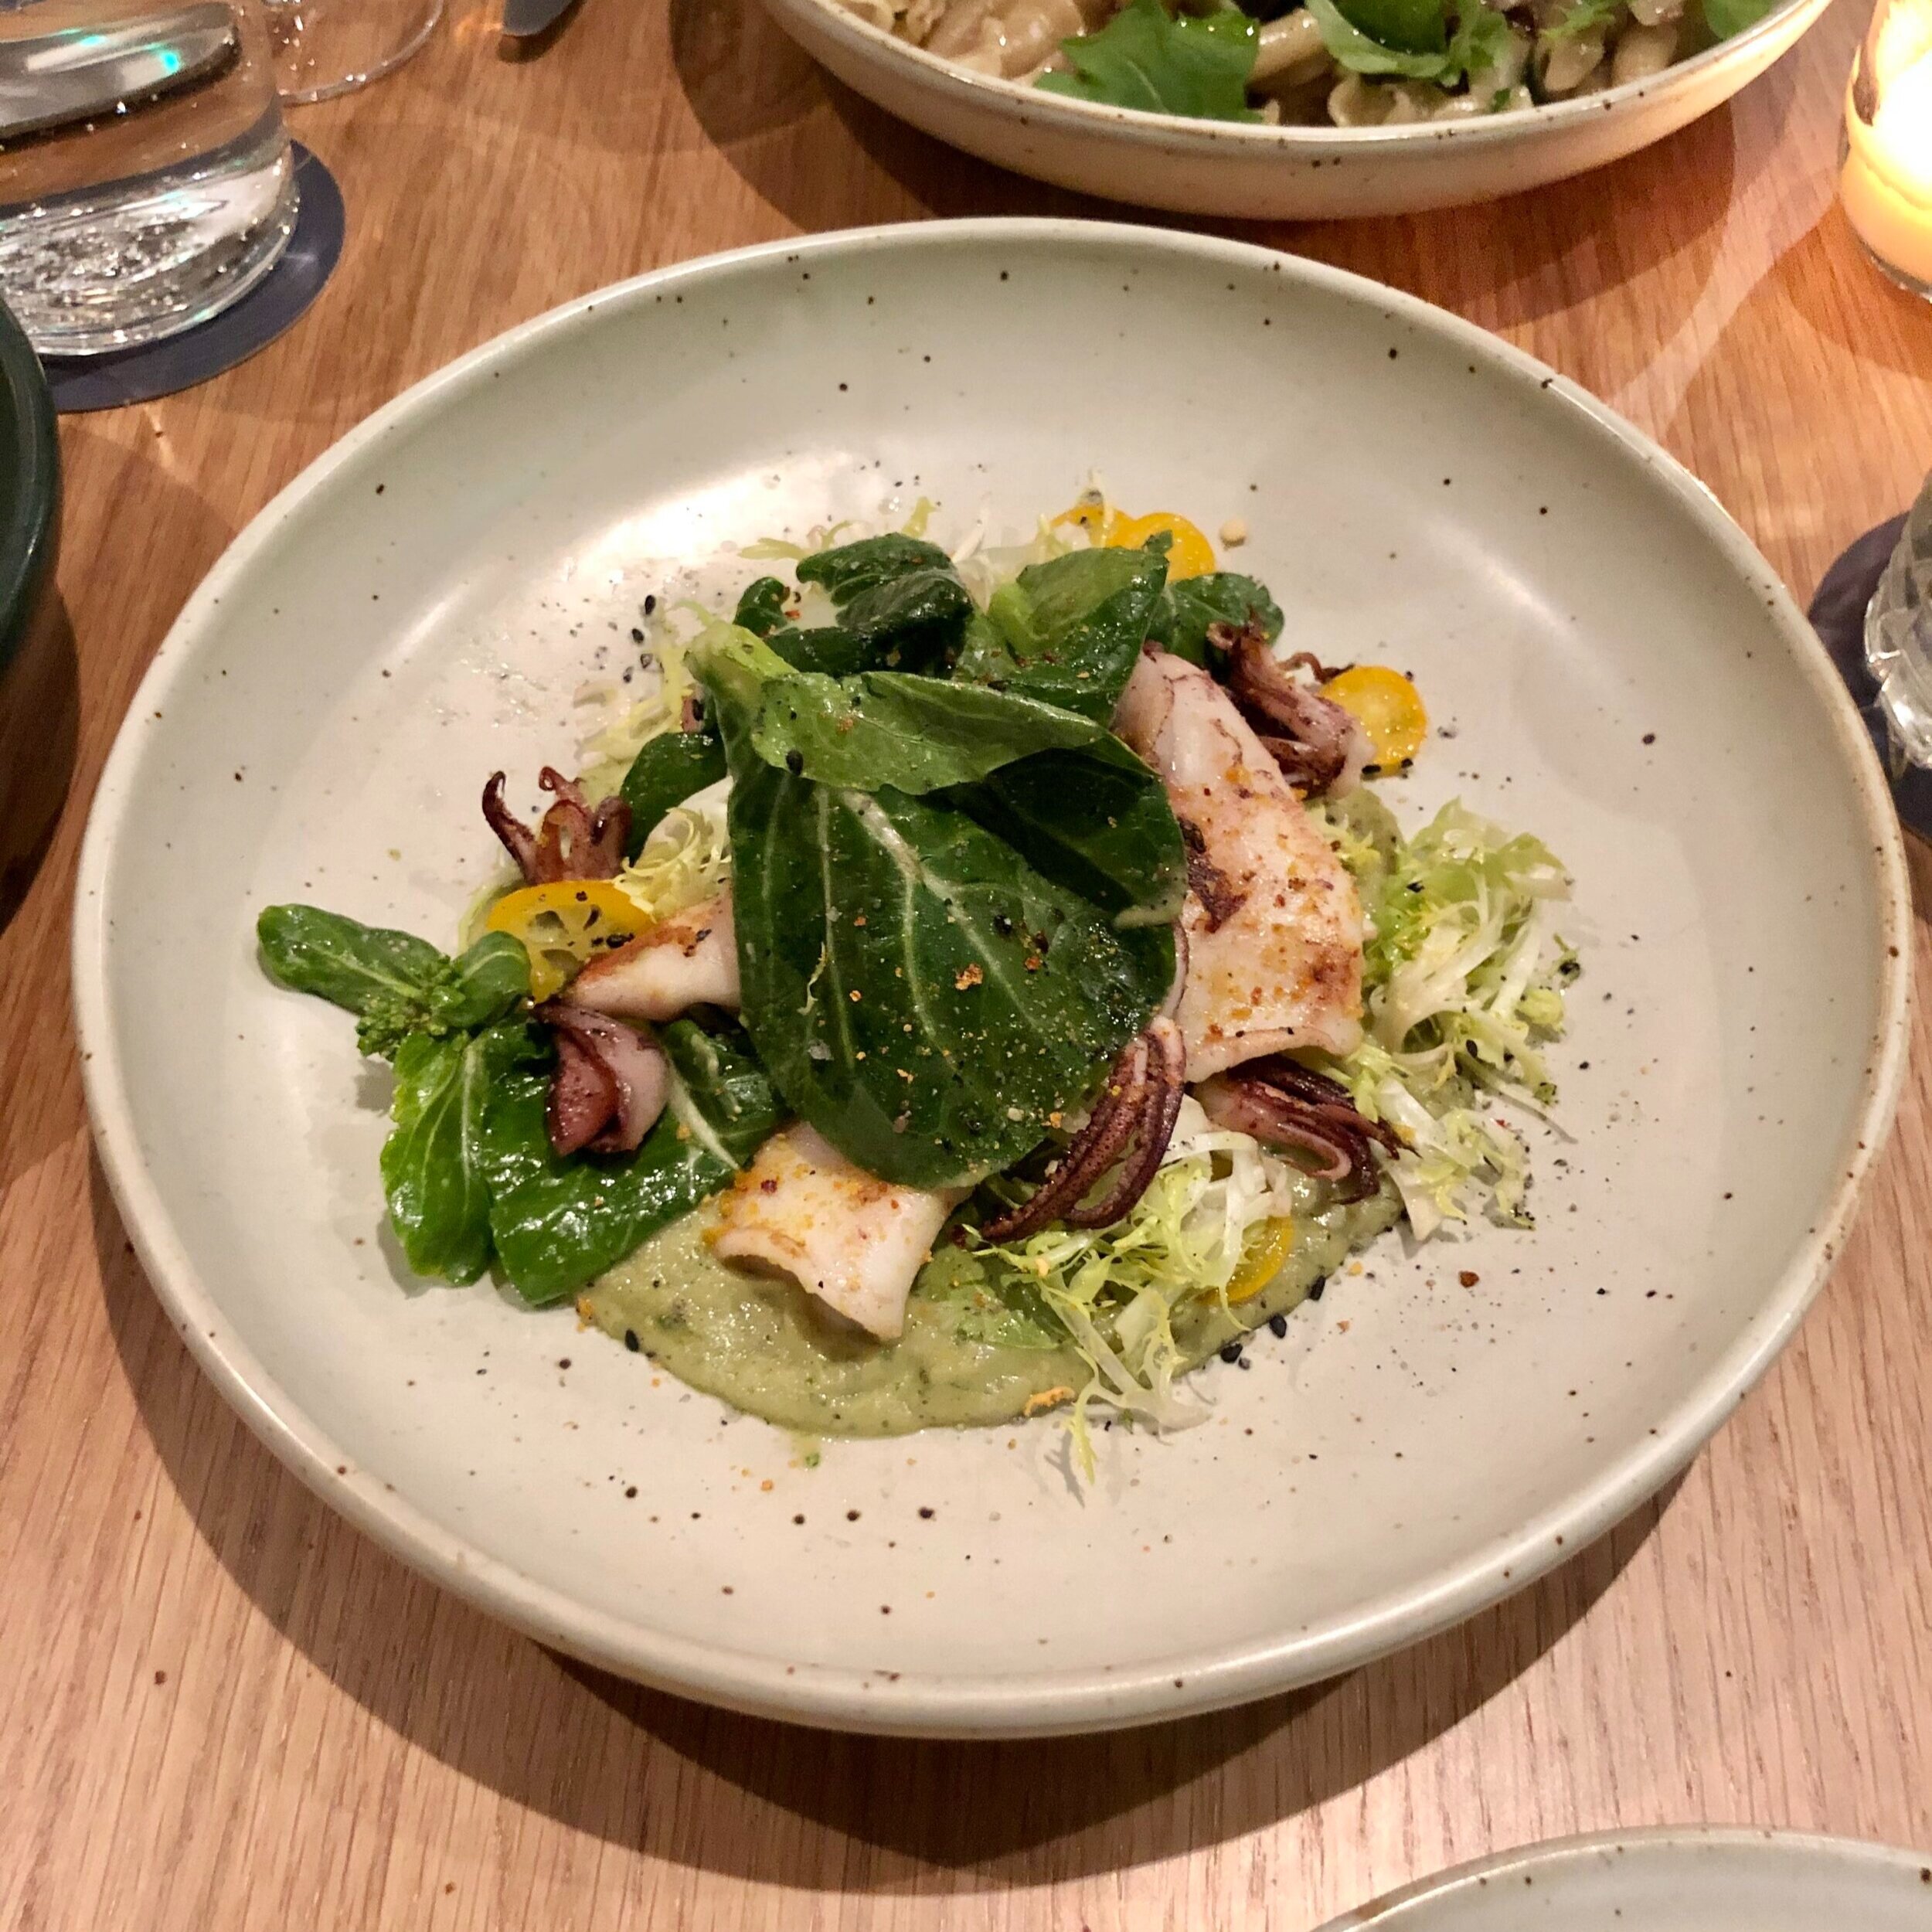
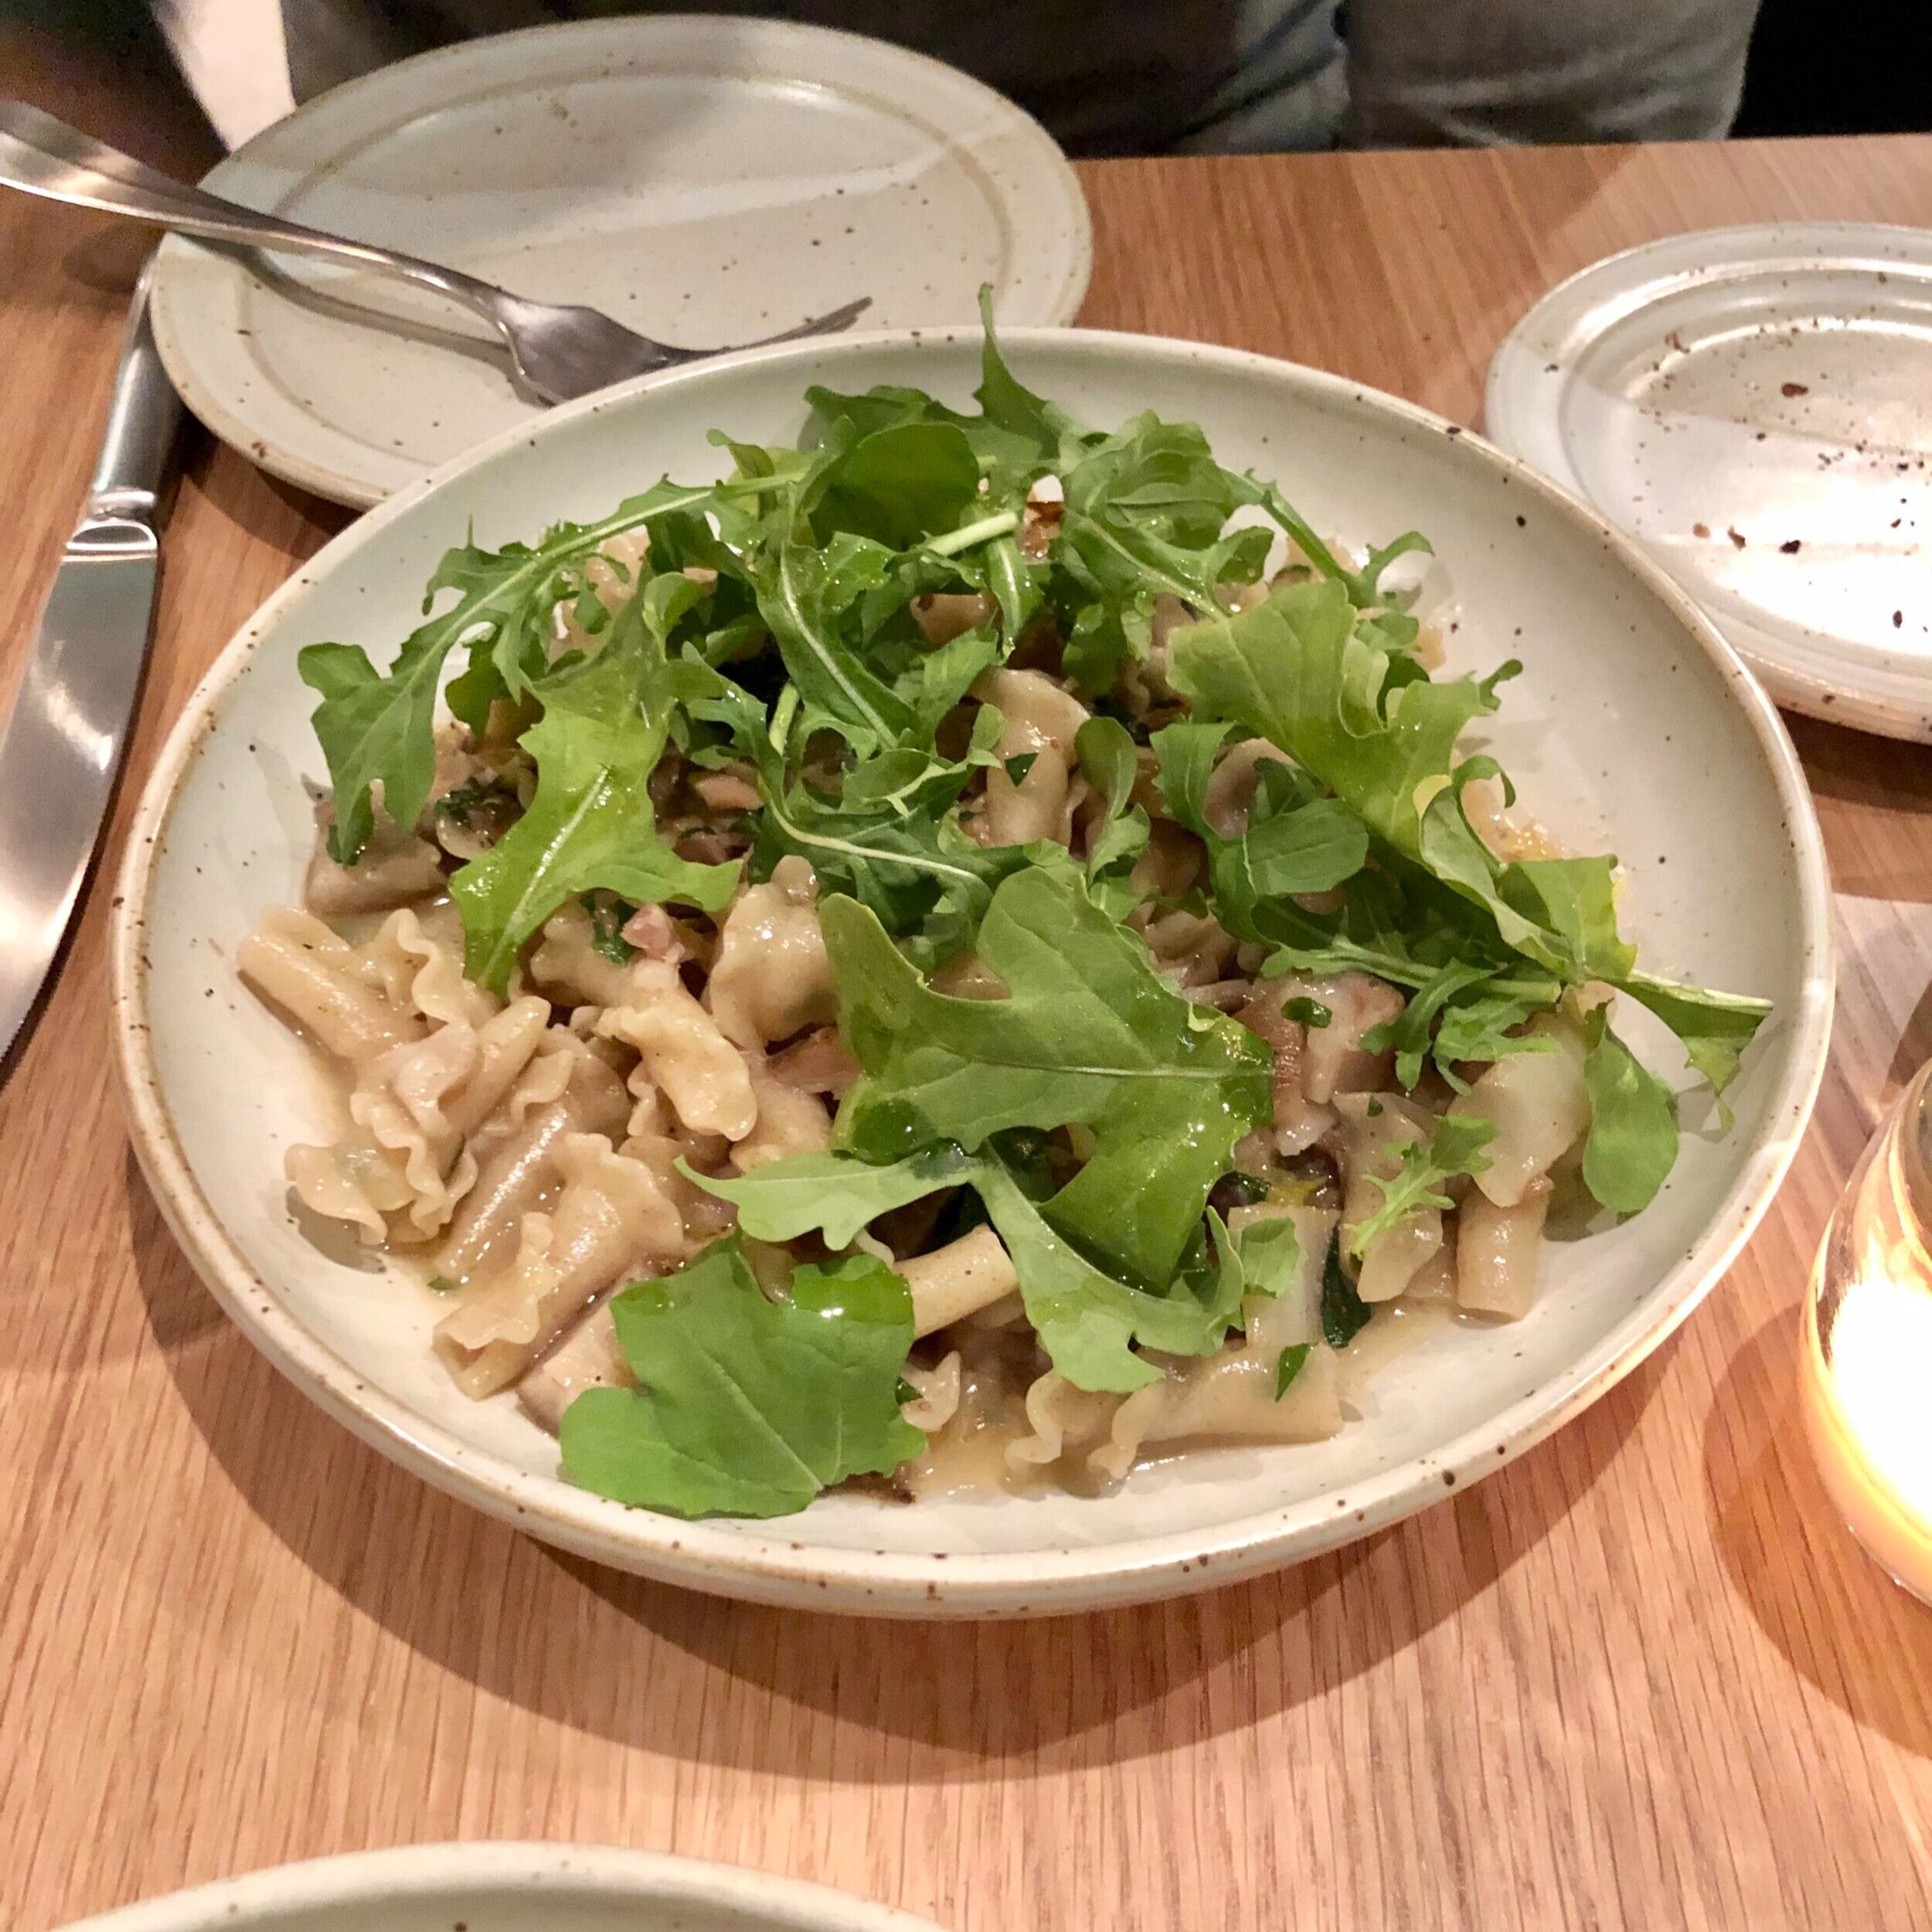
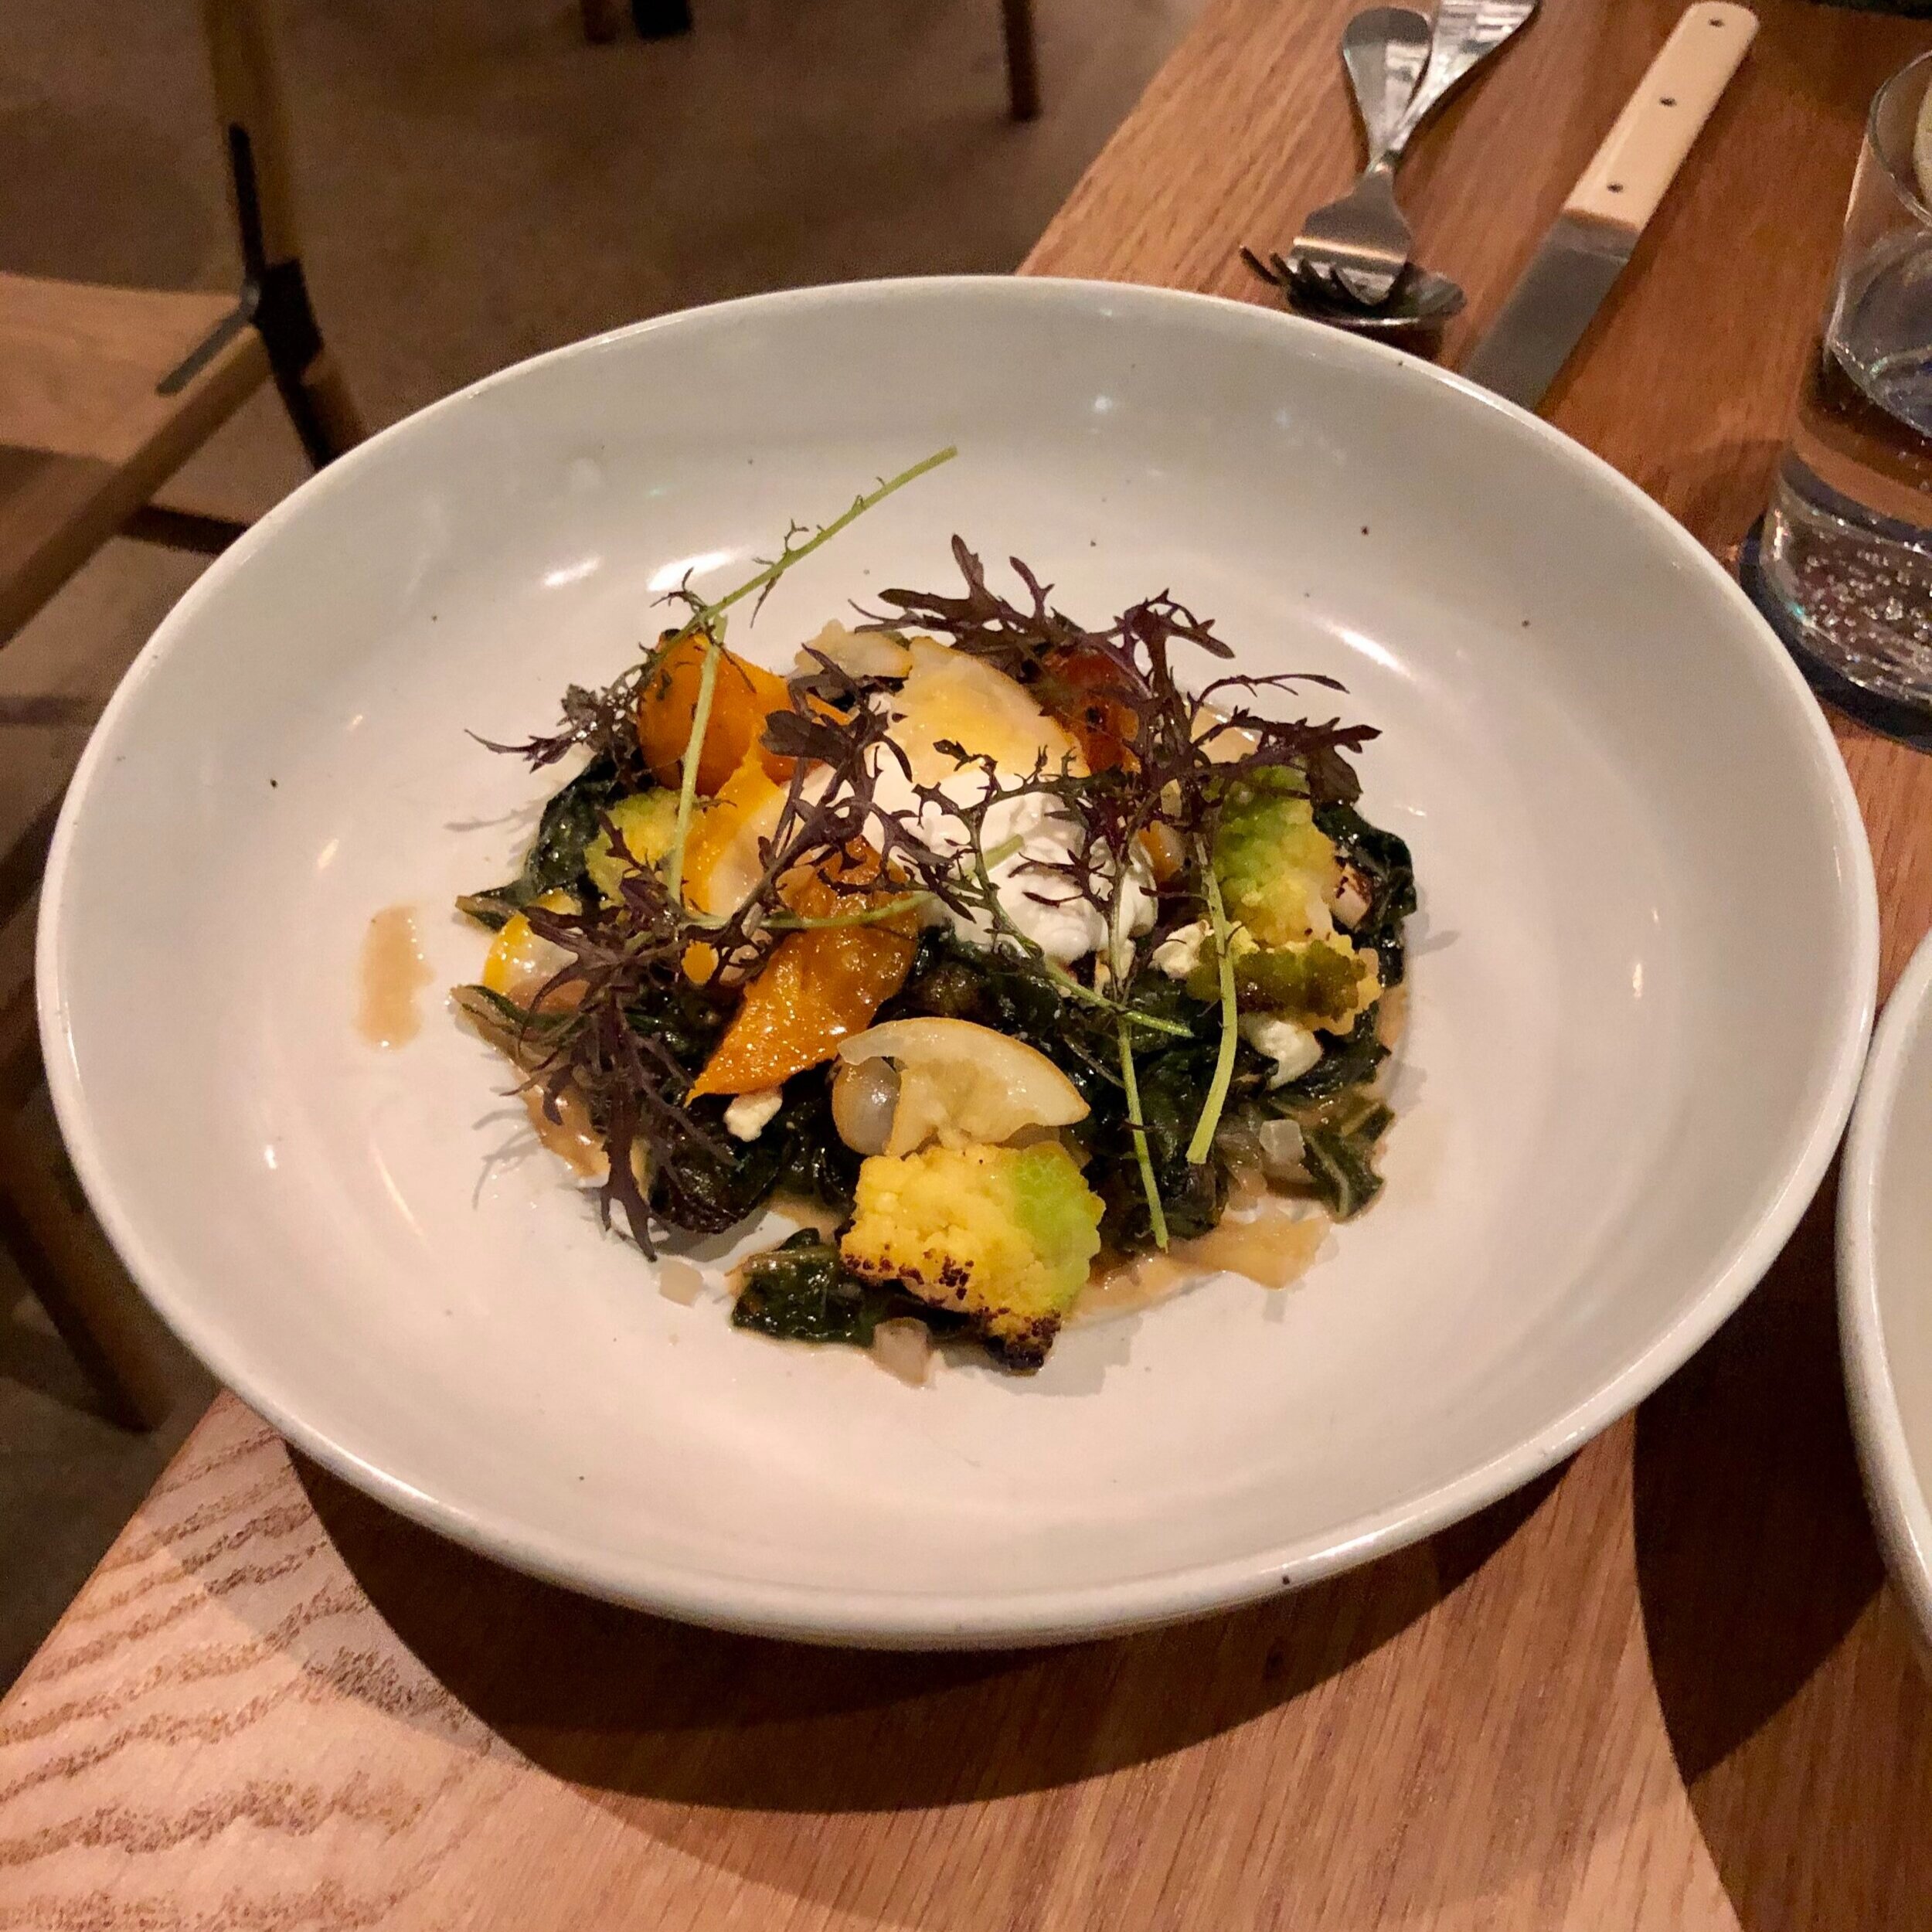
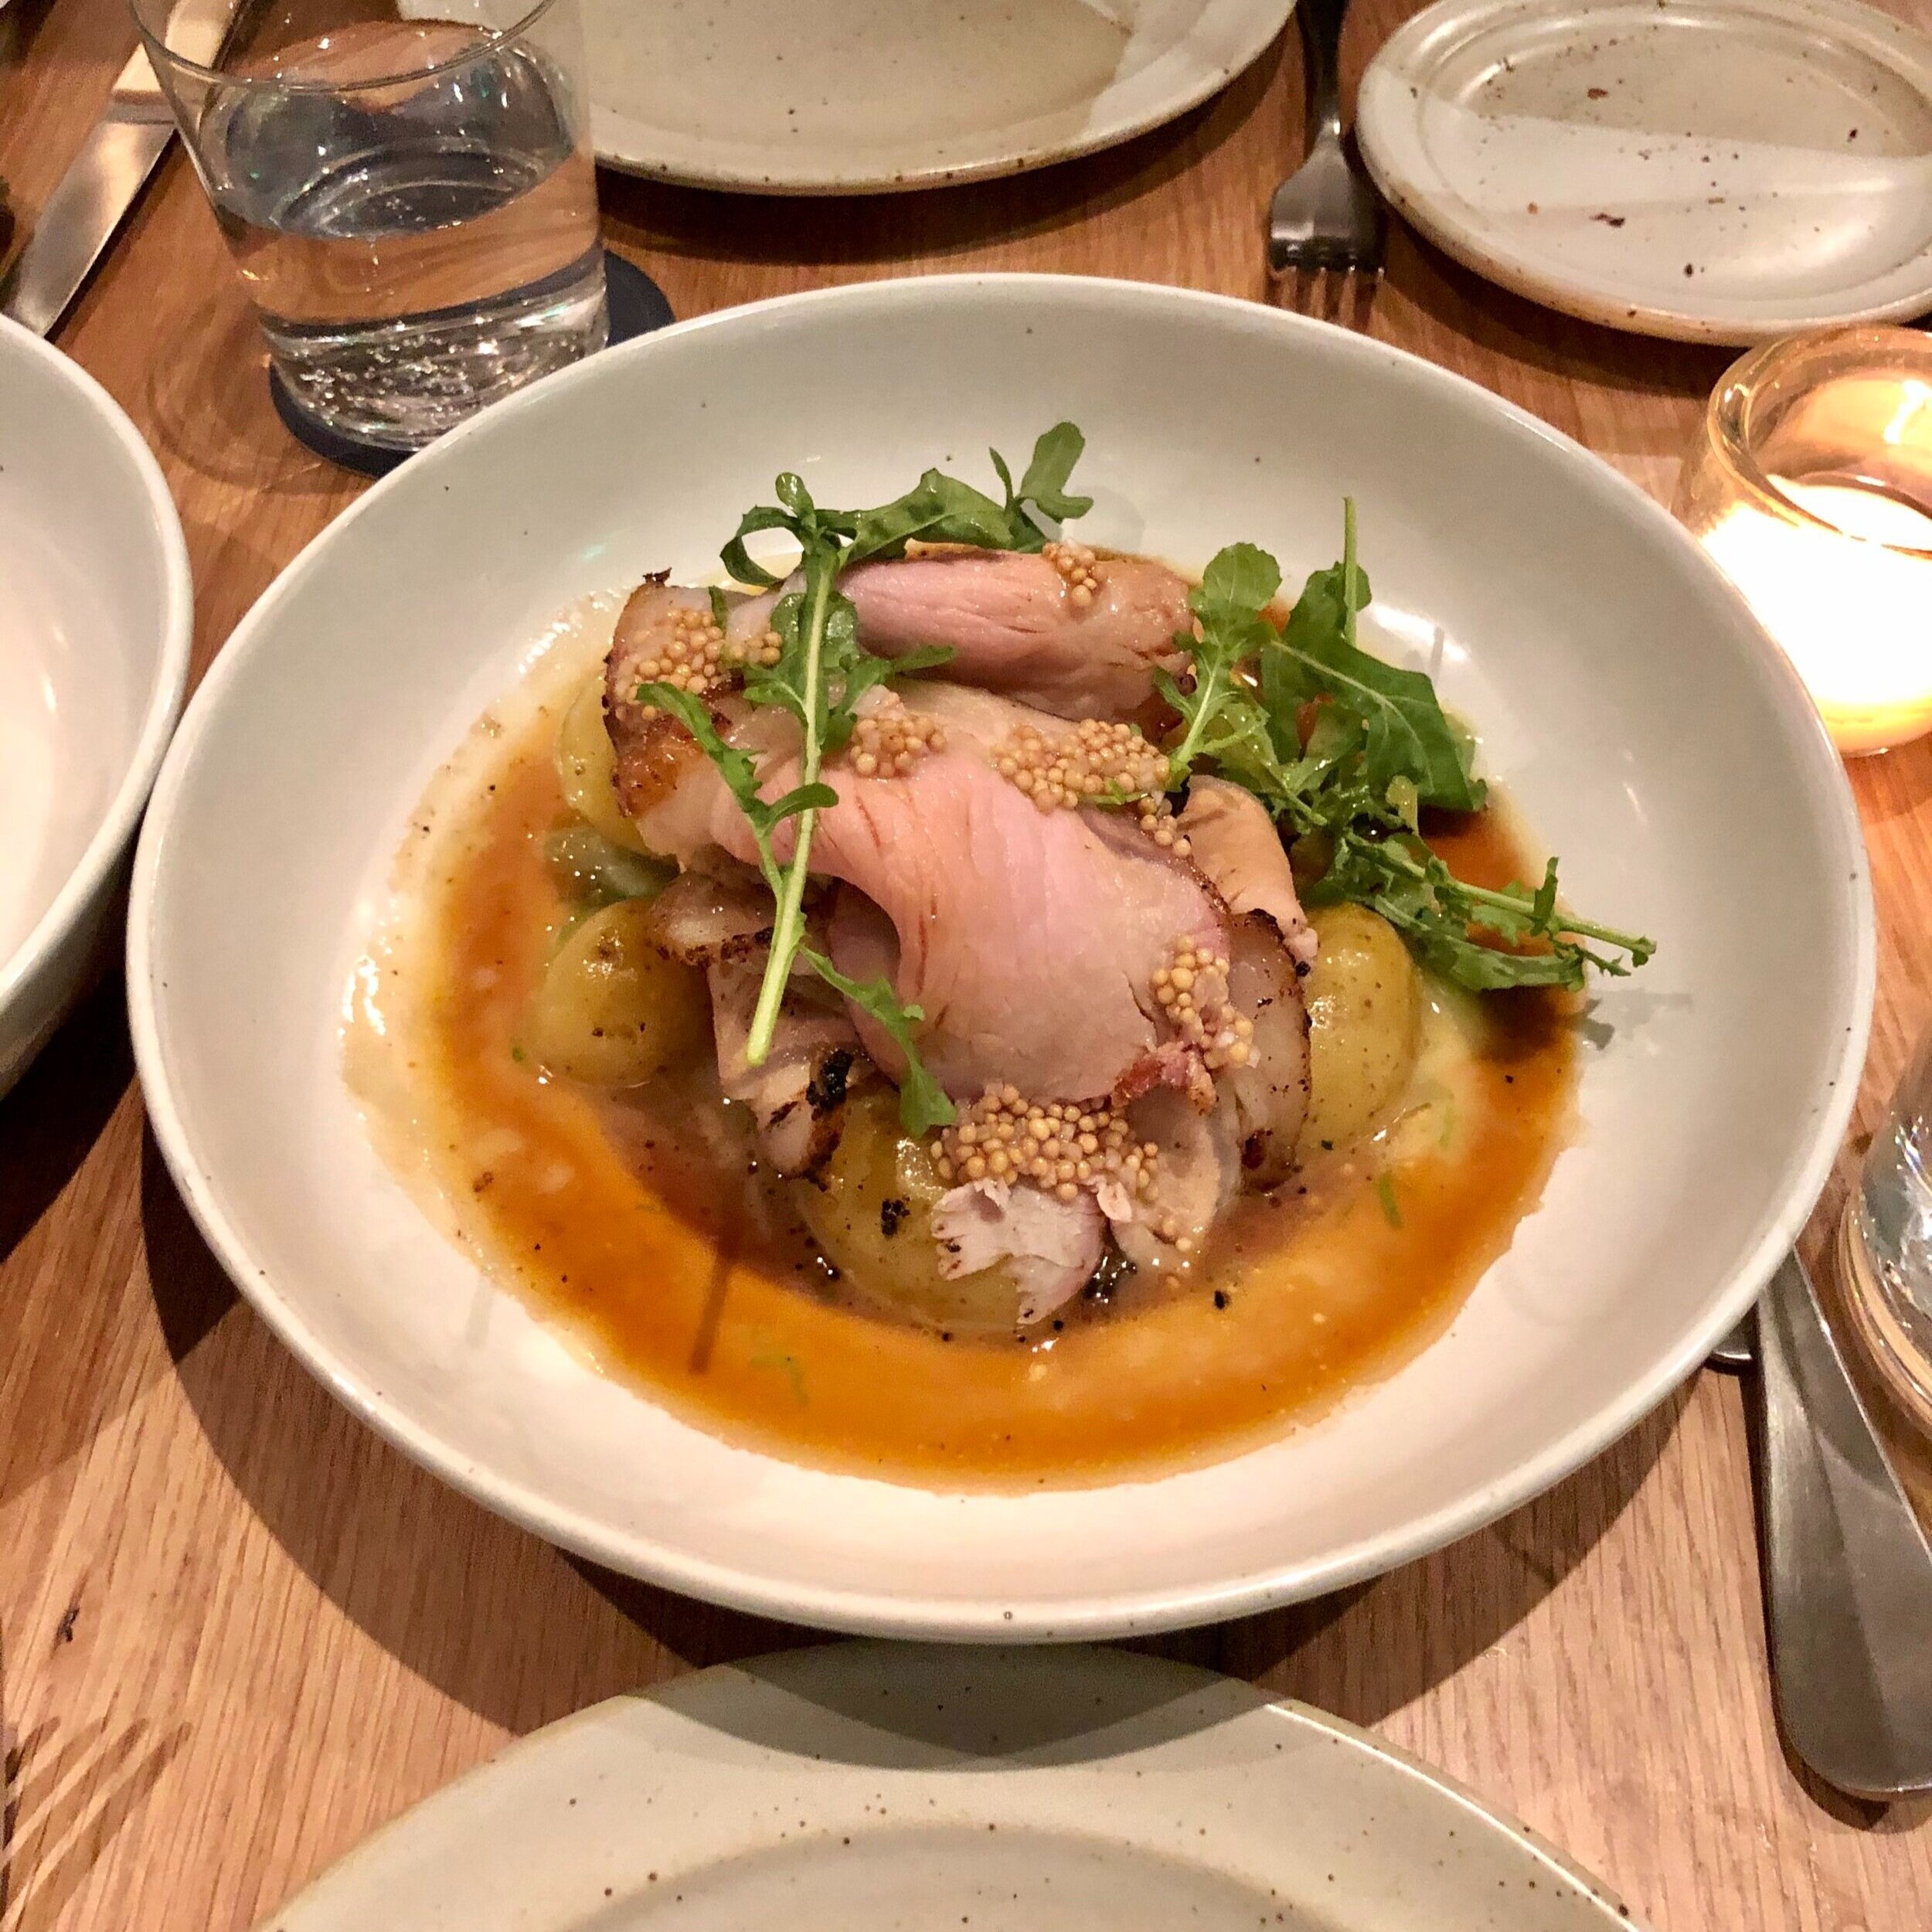
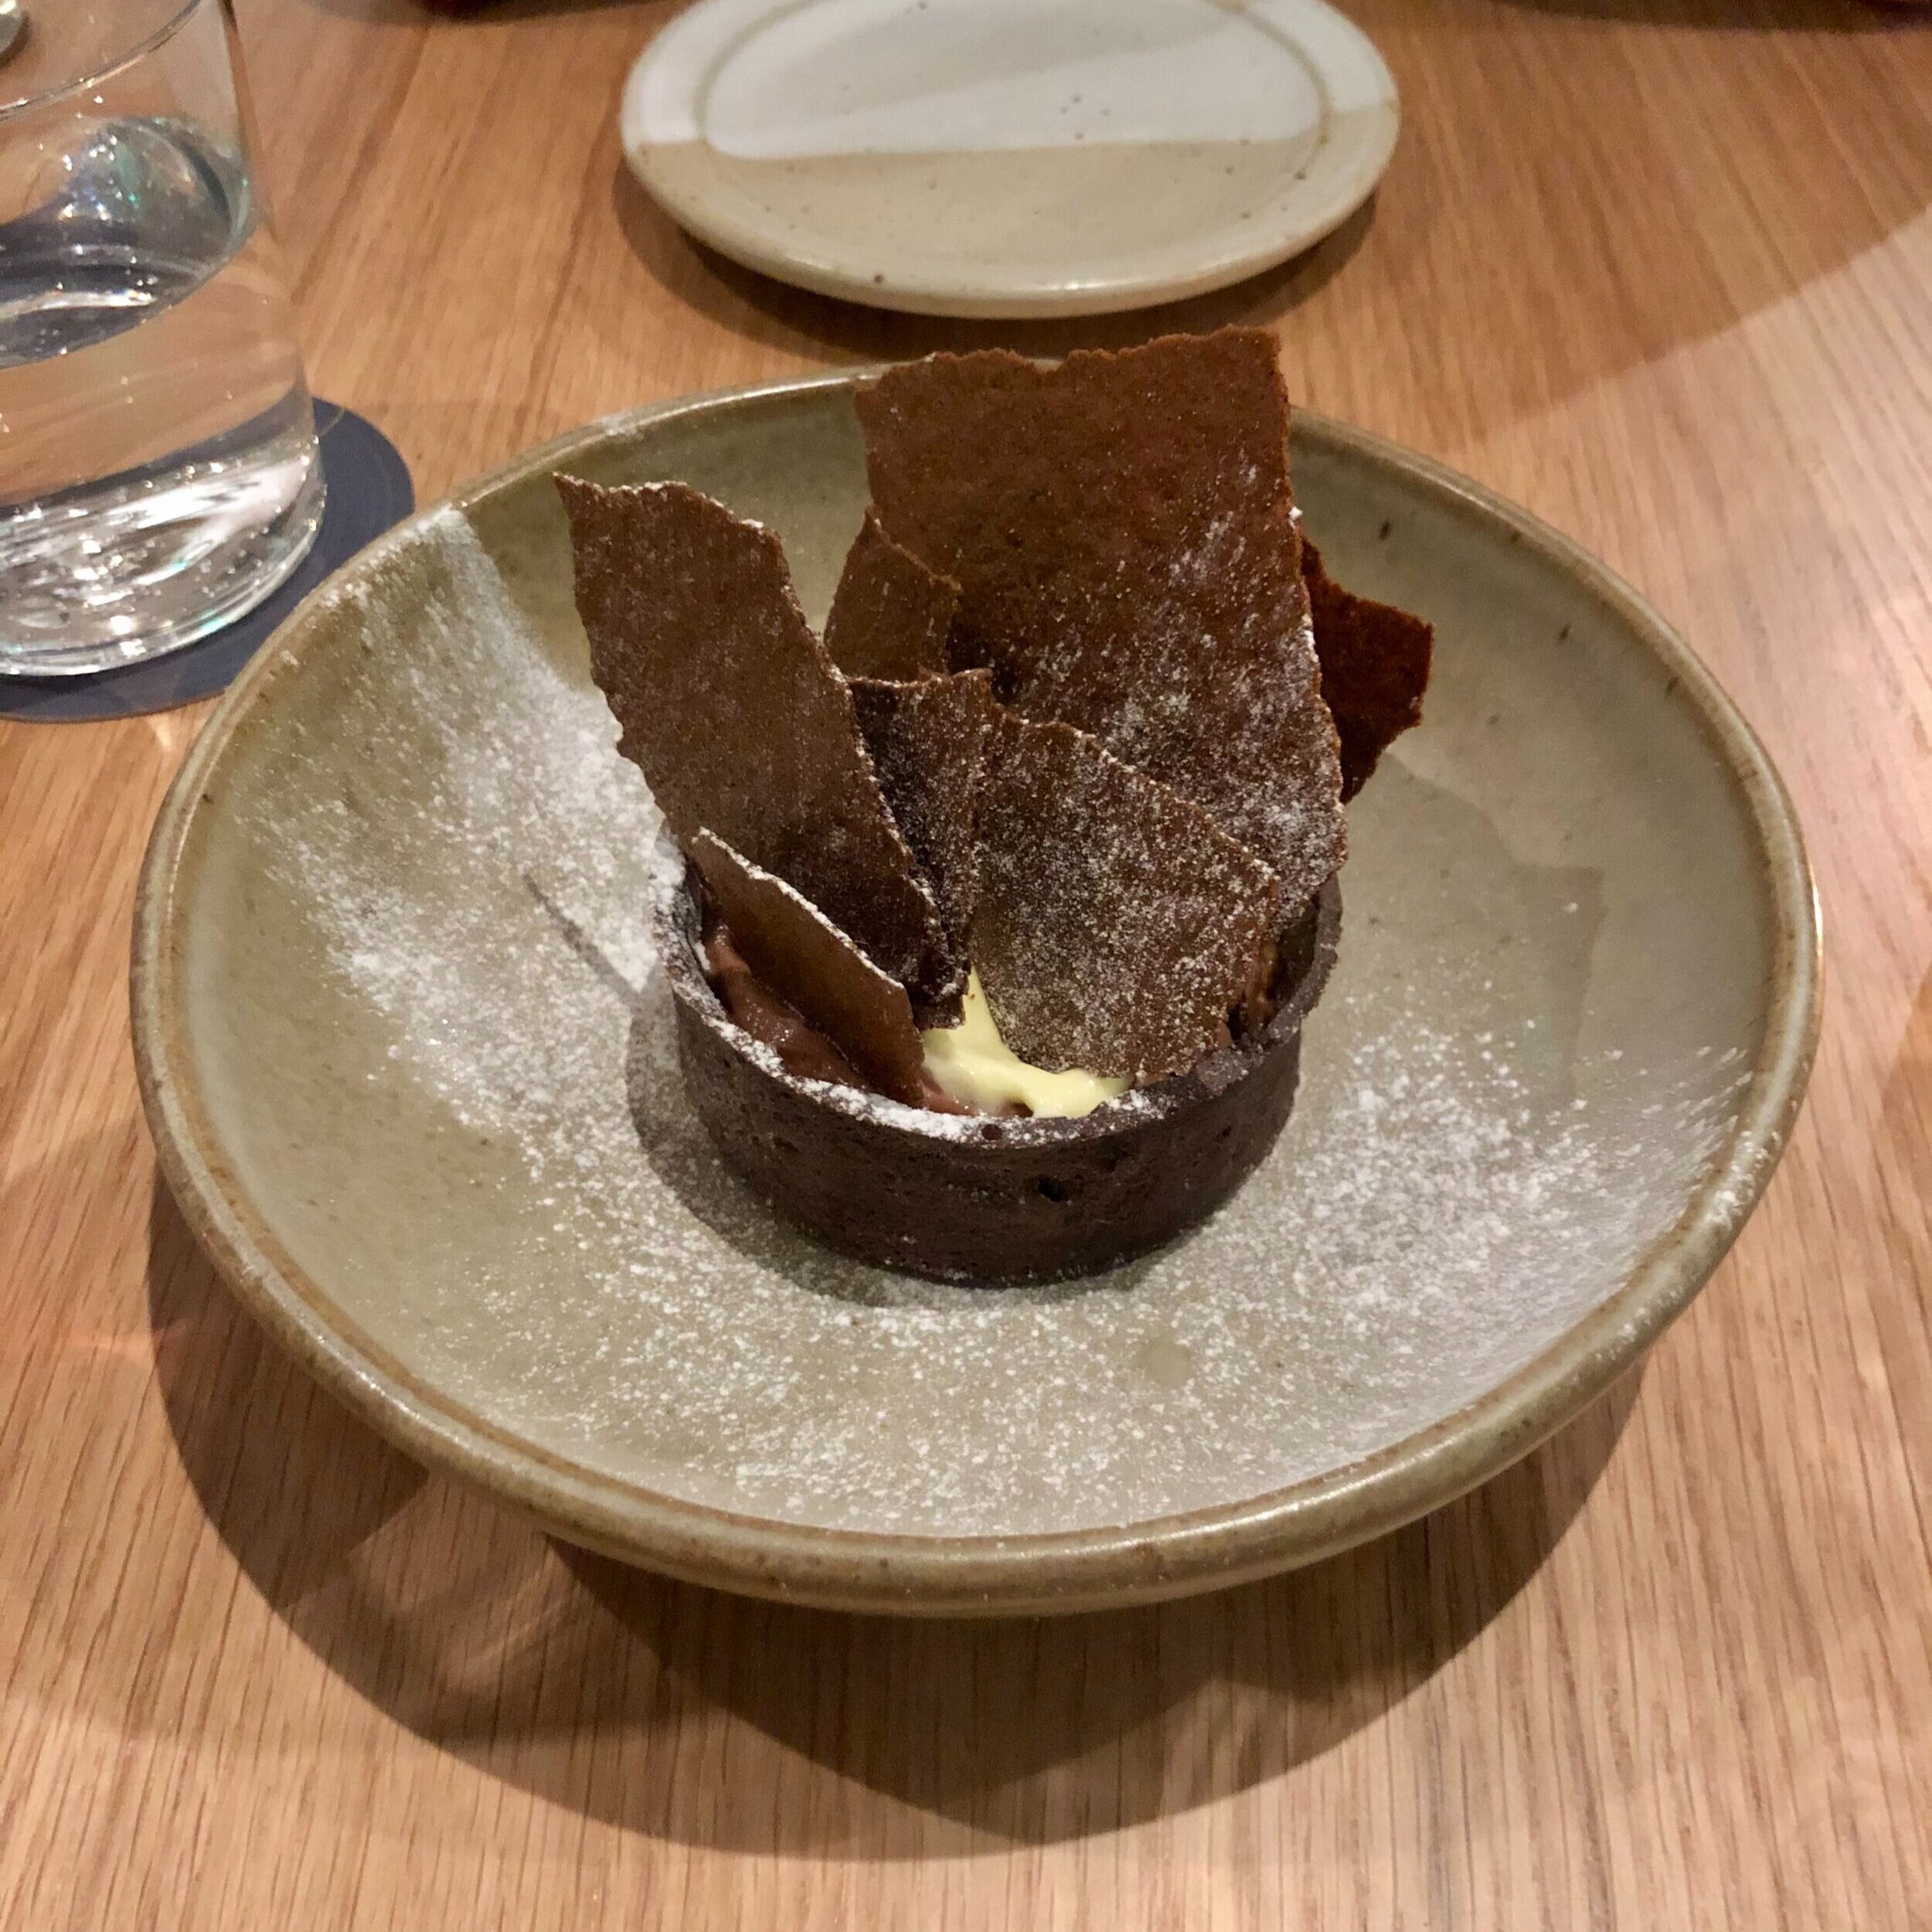
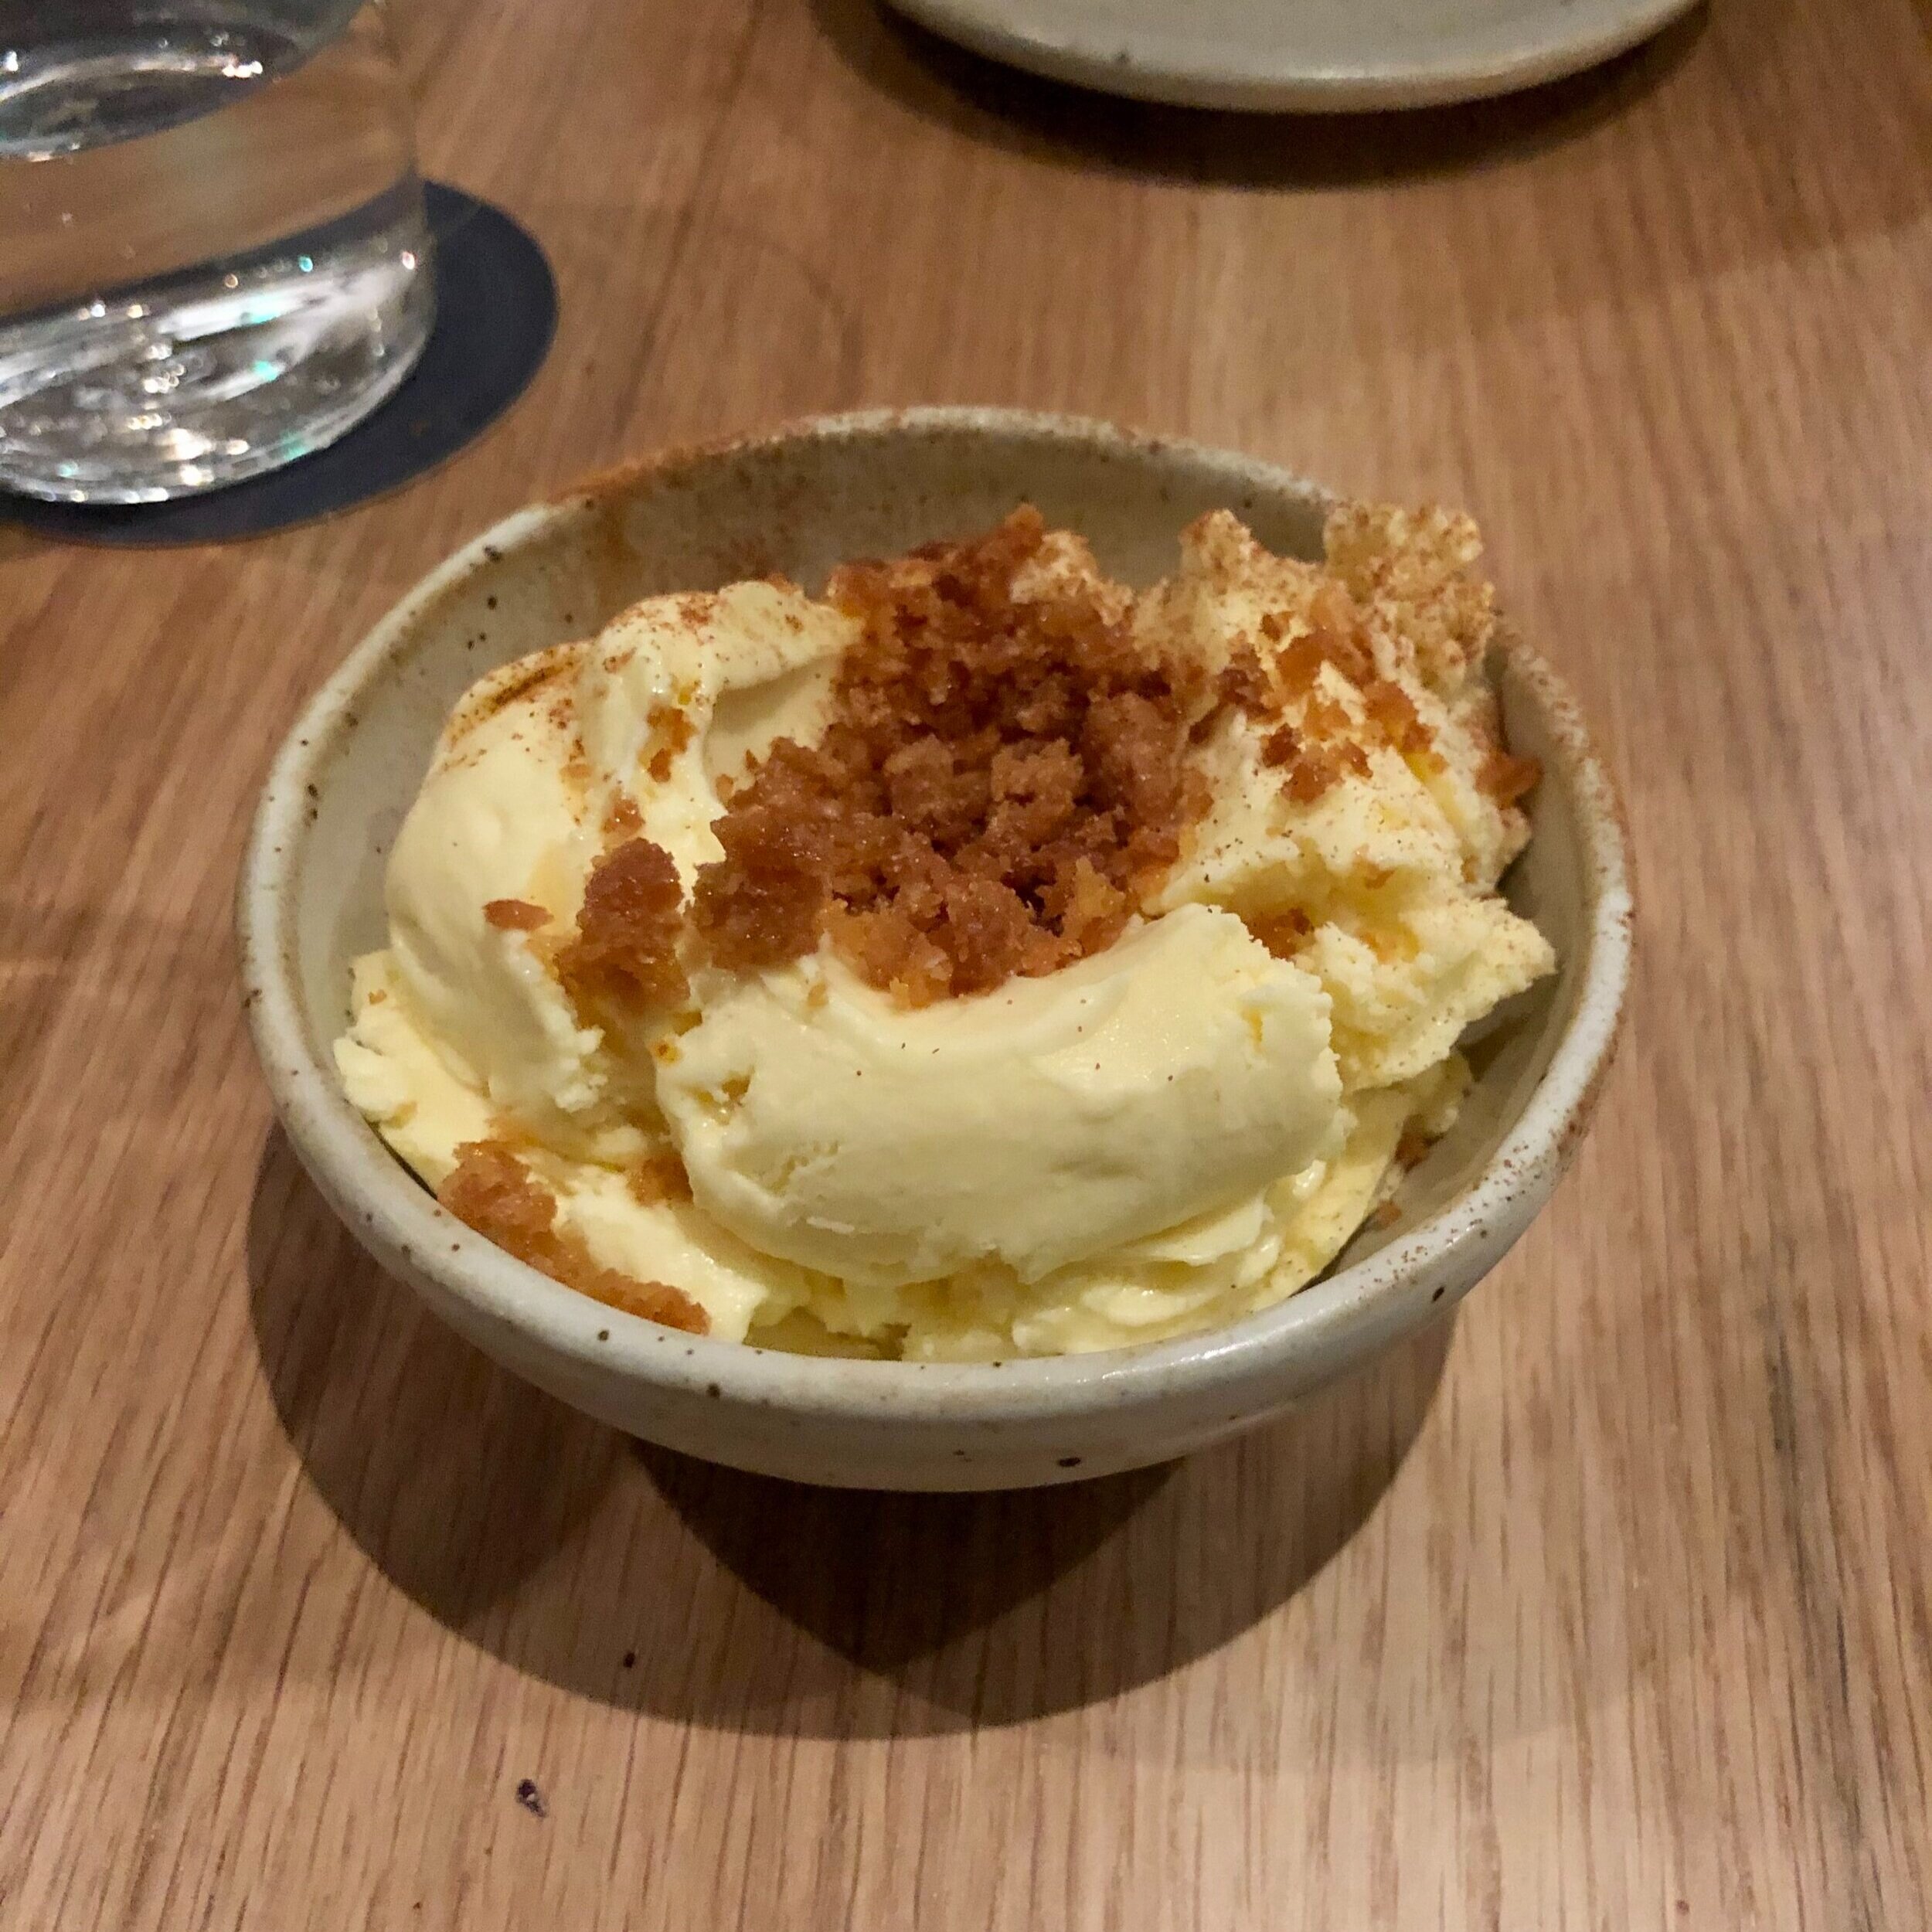
The oysters and kampachi crudo were super fresh, and the perfect light start... along with freshly baked house levain and cultured butter, that is. I was also a fan of the Monterey squid with house togarashi- so flavorful! The chefs incorporate red fife (an ancient grain) into their campanelle pasta with cotechino ragout, and I loved the little something extra it gave to the dish. We went veggie and meat heavy with entrees, ordering the chard saag with romancesco and the Liberty Farms duck for two! As if that wasn’t enough food, we finished with three desserts, because why not finish on a (sugar) high note, am I right?! I love how M.Georgina celebrates the farms and seasonality of Los Angeles in their approach to cooking. You really can taste the quality difference in each and every bite. Check out the rest of our meal in the slideshow above, and get ready to drool! Out of an abundance of caution and to keep guests and employees safe, M.Georgina has temporarily closed during the pandemic, but I look forward to the day they open their doors again soon!


seed + mill

This should come as no surprise to anyone by this point, but I have an obsession with tahini. The smooth and creamy paste (akin to nut butter) made from ground sesame seeds is truly one of my favorite things! I love baking with it and eating it in all the ways, any time of day- whether it’s in my tahini chocolate chip blondies or made into a simple salad dressing or spooned into medjool dates with chocolate, I am here for it!

No surprise then that I am a huge fan of Seed + Mill, a cute tahini and halva focused shop in New York City’s Chelsea Market. They make some of the best, smoothest, and creamiest tahini around (luckily you can order this online), and not to mention delicious halva as well! For those of you who don’t know, halva is a traditional Middle Eastern fudge-like confection made with tahini (sesame seed paste), sugar, spices and nuts. In fact, the Arabic word halva translates to “sweetness.” It’s sweet, but not obnoxiously so, and delightfully nutty, fluffy, and crumbly. Seed + Mill whips up some seriously delicious halva flavors at their store- Toasted coconut dark chocolate? Pistachio? Date walnut? Ginger? Yes please, my mouth is watering already! These are sold by the slab, so pick a few to take home and try out. You won’t be disappointed.

Perhaps even more exciting for me was the tahini soft serve ice cream that Seed + Mill churns out. It’s made with goat milk, so perhaps less irritating for those with lactose sensitivities, and oh so creamy and delicious! It’s finished with crumbles of halva and a generous drizzle of tahini – so heavenly I can hardly stand it! Now that I’m back in New York next week, I cannot wait to return soon to get my fix.


healthy nut & seed granola

Granola makes for a delicious breakfast or snack anytime of day, am I right? I’ve been known to enjoy it dry on its own, in a bowl with almond milk or Greek yogurt & fresh fruit, and even sprinkled on top of chia pudding or açaí bowls! And I have to say, it always hits the spot! Although it’s easy to buy granola pre-made, many store-bought versions are loaded with sugar and other unhealthy and unnecessary ingredients. At our house we tend to go through Costco-size bags of grain-free granola at a pretty rapid pace (it’s so addicting), and as I was finishing one off the other day, I decided to make some myself for a change! 

This recipe is super adaptable, so feel free to swap out other nuts and seeds if you prefer, or use what you have on hand. But do make sure to use plenty of them since they are the star- and super important for that tasty crunch! No one in my household avoids grains, so I did include rolled oats as well, since they make such a good base for granola. If you’d like to keep things gluten free, just make sure your oats are certified GF! My healthy nut & seed granola boasts a pretty impressive nutritional profile thanks to superfoods like chia & flax seeds, fiber-rich oats, and an extra dose of healthy fats from coconut oil. Plus, it’s lightly sweetened with pure maple syrup, which is much lower on the glycemic index than regular sugar and corn syrup, so it won’t spike your blood sugar! I definitely recommend adding pure vanilla extract and ground cinnamon for some added depth of flavor, but feel free to skip these if you prefer. You can also toss in some dried or freeze dried fruit after baking, if that’s your jam, as well. The options are endless! Homemade granola is so easy y’all- I don’t know why I haven’t done this more often, but I definitely will going forward! Not to mention it leaves your house smelling oh so delicious and fragrant! Enjoy!

Healthy Nut & Seed Granola:

healthy nut & seed granola

Preheat the oven to 300 degrees F. Line a half sheet pan or large cookie sheet with parchment paper. In a large bowl, stir together oats, nuts, seeds, cinnamon and salt (keep coconut separate for now). Set aside. In a separate bowl, heat the coconut oil and maple syrup until melted. Stir in vanilla extract. Pour over dry ingredients and mix well until oat mixture is completely coated.

Spread the granola on the baking sheet in an even layer and press down evenly with a spatula. Bake for about 35 minutes, until golden brown. Sprinkle coconut flakes on top, and return to oven for a few more minutes, until just toasted. Granola should be nice and fragrant. Remove from the oven and allow the granola to cool on the baking sheet for 10-15 minutes to set. Feel free to break it into clumps or clusters if you prefer. Transfer to an airtight container or large mason jar.

Useful Tools:

Disable your ad blocking software to view this content.

tahini chocolate chip blondies

tahini chocolate chip blondies (gluten free, paleo, refined sugar free)

I’m obsessed with any and all things tahini. I eat it multiple times a day, whether it’s drizzled over roasted veggies and lamb meatballs for dinner or spooned into Medjool dates with chocolate chips for a sweet treat, tahini is the jam. It also makes for a delicious baking ingredient! Its creamy, fatty, smooth texture makes it a wonderful butter, oil, and/or nut butter alternative in many recipes. Plus, tahini and chocolate is such a tasty combo. This recipe uses wholesome, nutrient-dense ingredients, but still tastes oh so rich and decadent. Tahini chocolate chip blondies that are gluten & grain free, paleo, and refined sugar free as well? Sign me up!

Tahini Chocolate Chip Blondies:

Preheat oven to 350 degrees Fahrenheit. Line an 8x8 inch square baking pan (double recipe for 13x9 inch pan) with parchment paper and grease with coconut oil or nonstick cooking spray. In a large bowl or base of a stand mixer, whisk together eggs, maple syrup, tahini, and vanilla extract until smooth. In a separate bowl, mix together almond flour, coconut flour, baking soda and salt. Slowly stir dry ingredients into wet ingredients until just incorporated, careful not to over mix (it will be thick!). Fold in the chocolate chips. Add batter to the prepared pan and spread evenly. Bake for about 25-26 minutes until edges are just slightly golden, but center may seem slightly underdone. Check using a cake tester- if it comes out mostly clean, they should be ready. Don’t overbake as grain-free baked goods will continue to set in the pan. Let blondies cool in pan for about five minutes before removing and allowing them to cool completely on a cooling rack. Sprinkle with flakey sea salt and drizzle with tahini, if desired. Cut into bars and enjoy!

*Adapted from Paleo Chocolate Chip Tahini Blondies by Ambitious Kitchen.

Disable your ad blocking software to view this content.

ooey gooey pumpkin dream bars

I love baking seasonal desserts. This time of year, warmly spiced baked goods packed with pumpkin really just hit the spot, am I right? And yes- I know it’s now December, but fall weather is still upon us here in Cali, so I’m keeping that fall baking spirit alive! Just like my grain-free vanilla cake with pumpkin cream frosting, this tasty treat goes a bit beyond your regular ol’ pumpkin pie, and adds ingredients like cream cheese, chocolate, and coconut to the mix! Let’s just say it takes things to a whole other level ;) These ooey gooey pumpkin dream bars are reminiscent of those decadent seven layer bars everyone loves, but with a festive twist! A buttery graham cracker crust, layered with a rich, cinnamon-spiced pumpkin cheesecake filling, and topped with a generous amount of chocolate chips and toasted coconut? Yes please! Crumbly graham crackers, creamy pumpkin, and melty chocolate are quite the addicting combo, if I do say so myself. 

Pumpkin butter is easy to find in stores these days, but it’s also easy to make if you have an extra can of pumpkin purée lying around. Some toasted nuts would be great in these as well- perhaps crushed up into the crust or sprinkled on top? Pumpkin dream bars are delish served warm or cold, topped with ice cream of course! Happy baking, y’all :)

Ooey Gooey Pumpkin Dream Bars:

Preheat the oven to 350 degrees F. Line a 9x13 inch baking dish with parchment paper and grease with nonstick spray. Pulverize graham crackers in a food processor, or crush in a bag with a rolling pin, until you have a fine crumb mixture. In a large bowl, stir together the graham cracker crumbs and melted butter until well combined. Press the mixture into the bottom of the baking dish to create a crust, using the back of a measuring cup to flatten if needed.

In the base of a stand mixer fitted with a whisk (or use a handheld mixer), add the cream cheese and beat until creamy. then beat in the pumpkin butter, pumpkin puree, brown sugar, eggs, vanilla, cinnamon, ginger, nutmeg, and salt. Beat on medium speed until creamy and combined and no lumps remain. Pour the mixture on top of the graham crust.

Sprinkle the chocolate chips generously over the top. Bake for about 22-24 minutes, then remove the dish and sprinkle the coconut on top. Bake for another 28-30 minutes, until the coconut is golden, and the center of the bars is still just a bit underdone. If your coconut is toasting too quickly and getting brown, you may cover with foil for the last 10 minutes or so.

Let cool for about 15-20 minutes in the pan, and then use the parchment paper to remove the bars, allowing them to cool completely on a cooling rack before cutting so that they can set. These bake up super well ahead of time, and are equally delicious served warm or cold out of the fridge. Either way, top with ice cream, and extra chocolate chips and coconut. Enjoy!

*Adapted from Pumpkin Gooey Bars by How Sweet Eats.

IMG_5438 2.jpg
Disable your ad blocking software to view this content.

grain free vanilla cake with pumpkin cream frosting

I love fall. The weather, the colors, the fashion… The flavors and food! It’s oh so comforting and delicious, and this vanilla cake with pumpkin cream is just that. Pumpkin spice and pumpkin pies are everywhere this time of year, but they can be a bit boring, no? I’m more of a cake than pie person anyway, to be honest… This cake goes a bit beyond your typical pumpkin dessert- moist vanilla cake makes up the base, topped with layers of smooth pumpkin frosting (basically a cream cheese & buttercream hybrid!), and finished with plenty of shredded coconut! Plus, since you can mix up the frosting flavor with whatever fruit you fancy, it’s adaptable for all seasons. Win! This cake is actually grain-free as well, so even those with gluten sensitivities can enjoy a piece. The vanilla really comes through thanks to the use of whole vanilla bean pods, as opposed to just vanilla extract, so don’t skip out if you can get your hands on some! But if you can’t find them, just up the vanilla extract to one tablespoon, and you’ll be fine. It’ll be delicious either way. I think this cake is even better the next day, which is great for all your holiday meals when the kitchen gets busy. Just bake it ahead of time and decorate before serving! I hope you enjoy.

Grain-Free Vanilla Cake:

Pumpkin Cream Frosting:

  • 1/2 cup unsalted butter, room temperature

  • 1/2 cup cream cheese, at room temperature

  • 1/2 cup pumpkin puree

  • 1 tsp pure vanilla extract

  • 1/2 tsp ground cinnamon

  • 1/4 tsp ground ginger

  • 1/4 tsp ground nutmeg

  • pinch of salt

  • 4 cups powdered sugar

  • 1-3 tablespoons milk of choice, if needed

Preheat oven to 350F. Line two 9” round cake pans (or three 6” round cake pans) with parchment paper and grease them with butter or nonstick spray, then set aside. In the bowl of a stand mixer (or hand mixer), whip butter, coconut oil and sugar together on high until smooth, then reduce speed and add eggs, one at a time. Reduce speed to low, and add in milk, vanilla bean seeds, and vanilla extract until well mixed. In a separate mixing bowl, combine almond flour, coconut flour, baking powder and sea salt. Use a spatula or fork to get rid of any large lumps. Slowly add flour mixture into wet ingredients in small batches with mixer on low speed until fully incorporated. Careful not to over-mix (it will be thick)! Divide batter into cakes pans, spreading evenly with a spatula. I like to bang the cake pans a couple times on the counter to remove any air bubbles. Bake cakes for about 38-40 minutes, or until a cake tester comes out clean. Allow them to cool for at least 30 minutes in the pans on a cooling rack before flipping them out onto a the rack to cool completely before frosting.

While the cakes cool, make your buttercream frosting. Place softened butter, cream cheese and pumpkin puree in the bowl of a stand mixer with whisk attachment, and whip until creamy. Add vanilla extract, spices, and salt, mixing until combined. Slowly add the powdered sugar and mix on high for a few minutes, until frosting is light and fluffy. If it’s too thick, add milk 1 tbsp at a time, until it gets to desired consistency. You may make this ahead of time, and store in the fridge for a couple days. Just bring to room temperature and re-whip before frosting. To decorate, use a sharp knife to level off the tops of cakes, if needed, then layer on cake stand (or revolving cake stand) and decorate with frosting, as desired. Top with shredded coconut. Slice and enjoy!

*Adapted from Grain Free Vanilla Cake by Everyday Maven.

Disable your ad blocking software to view this content.