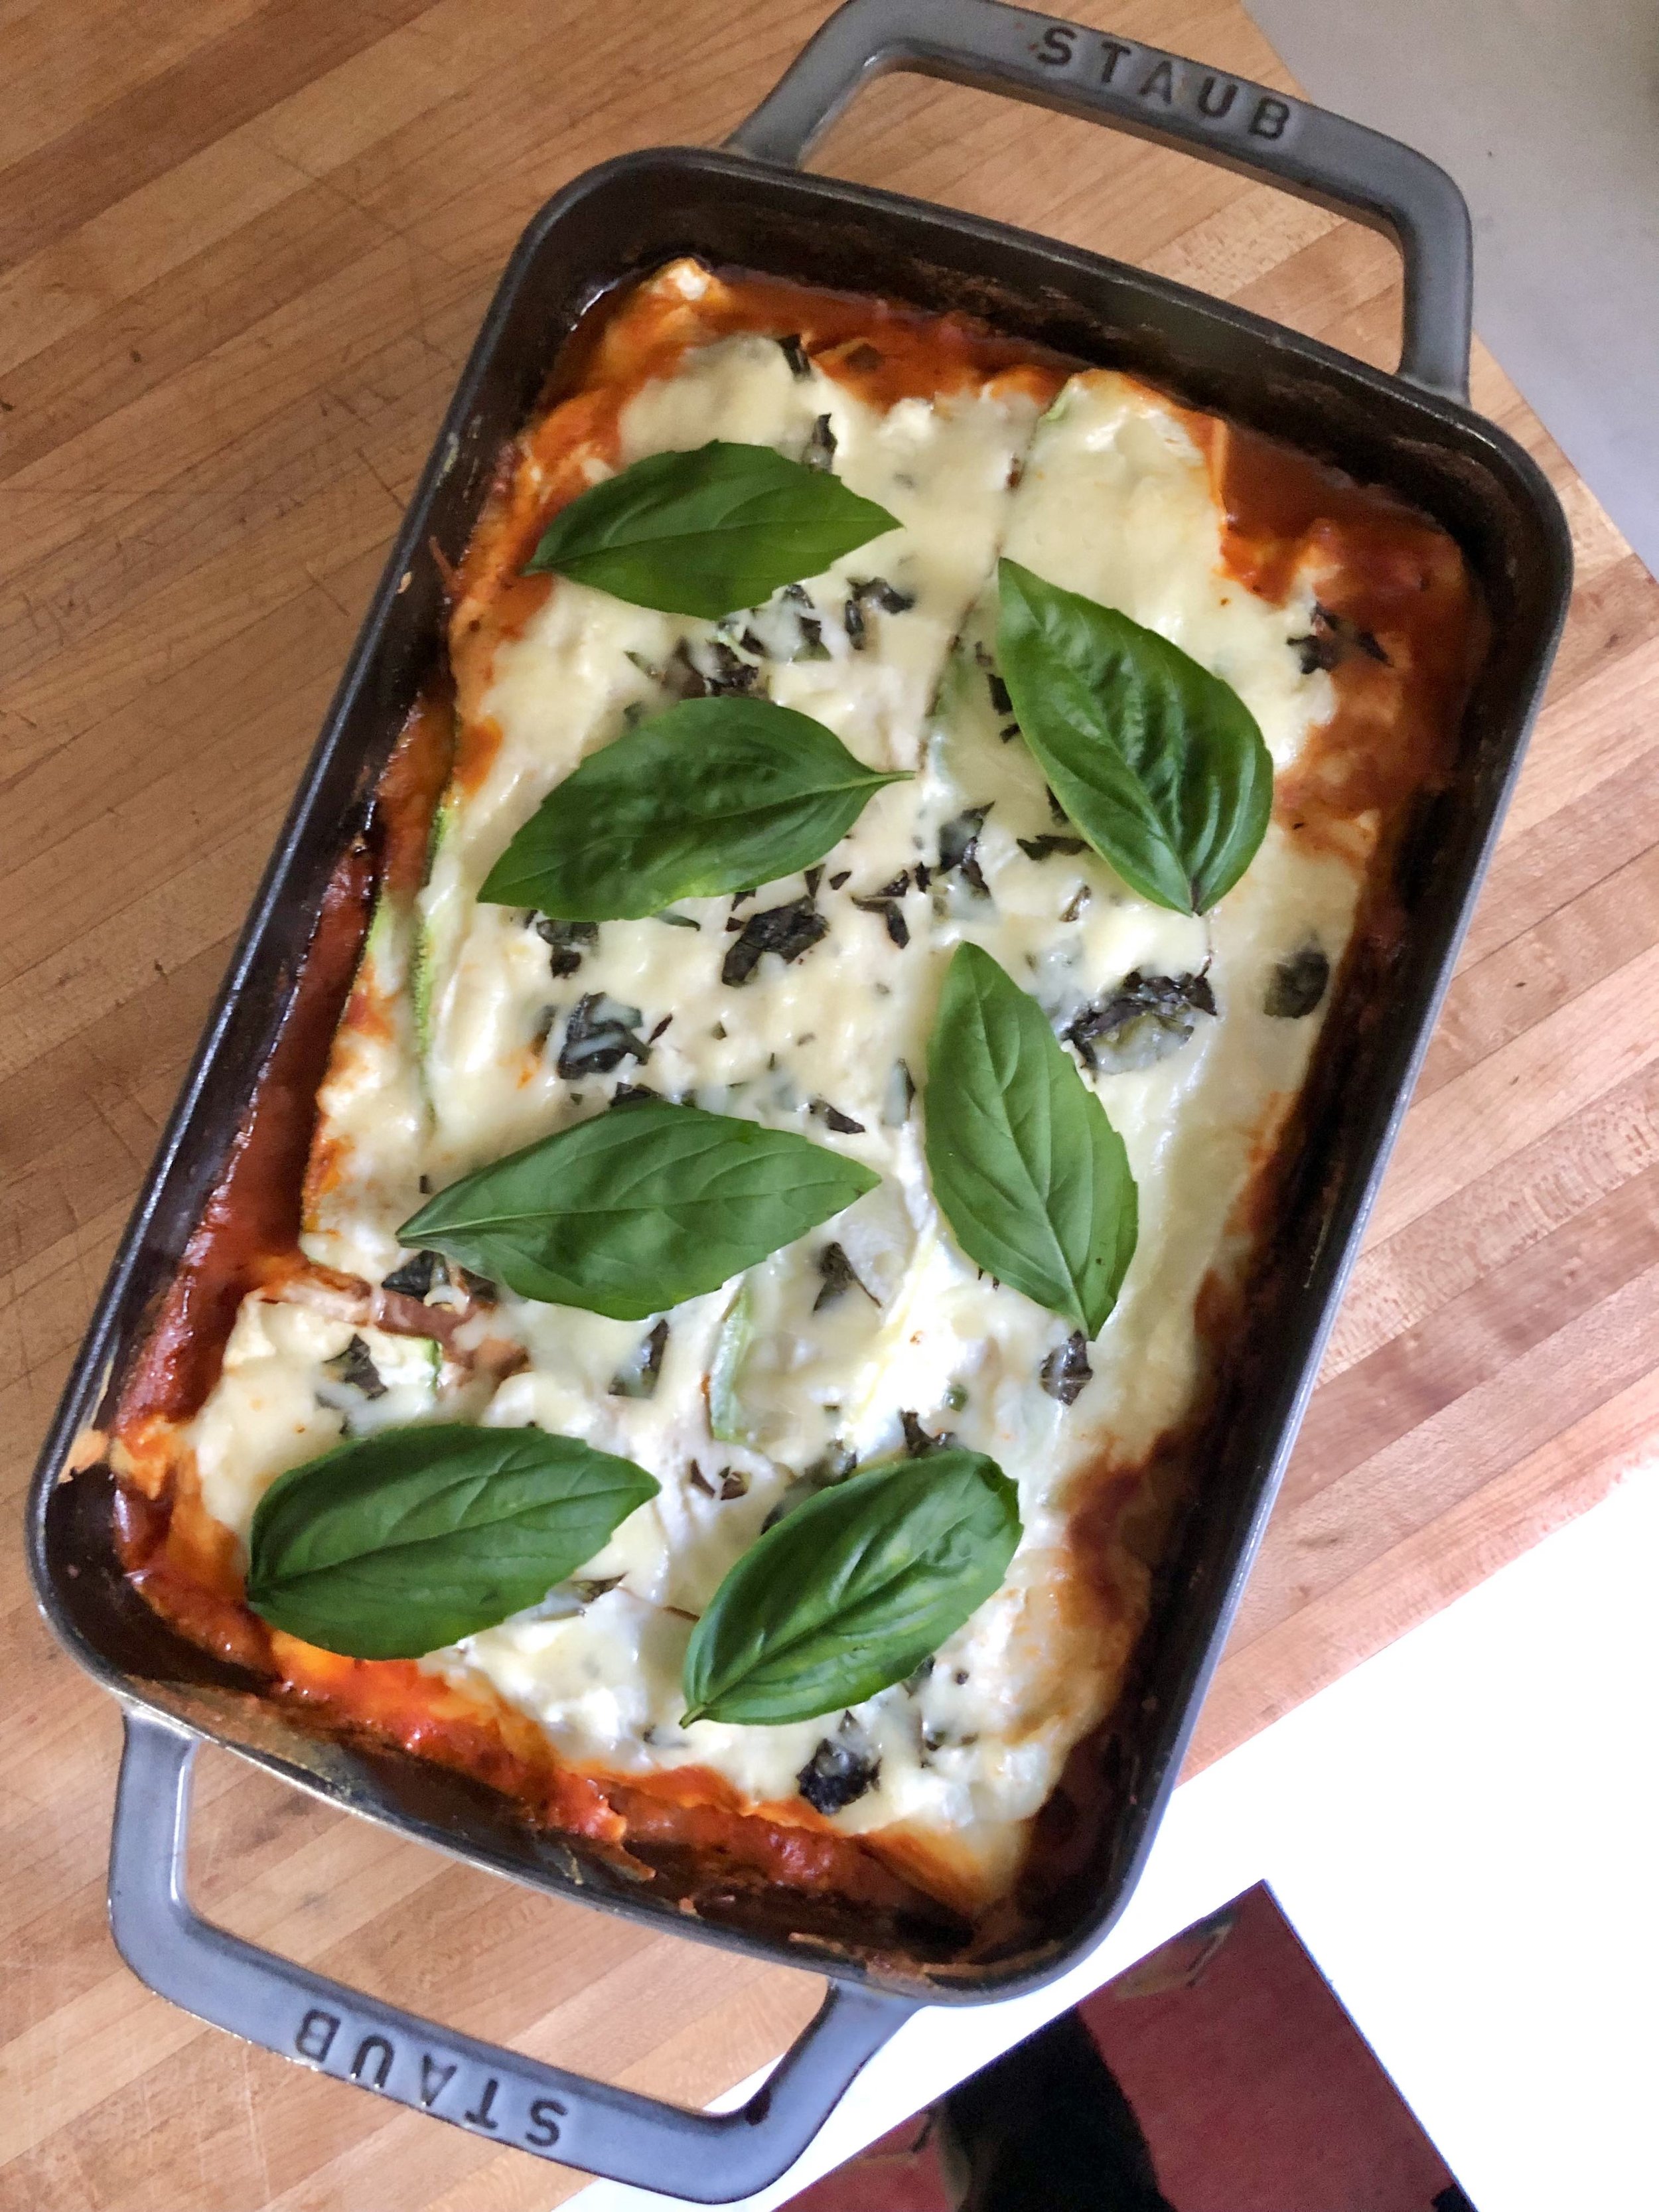
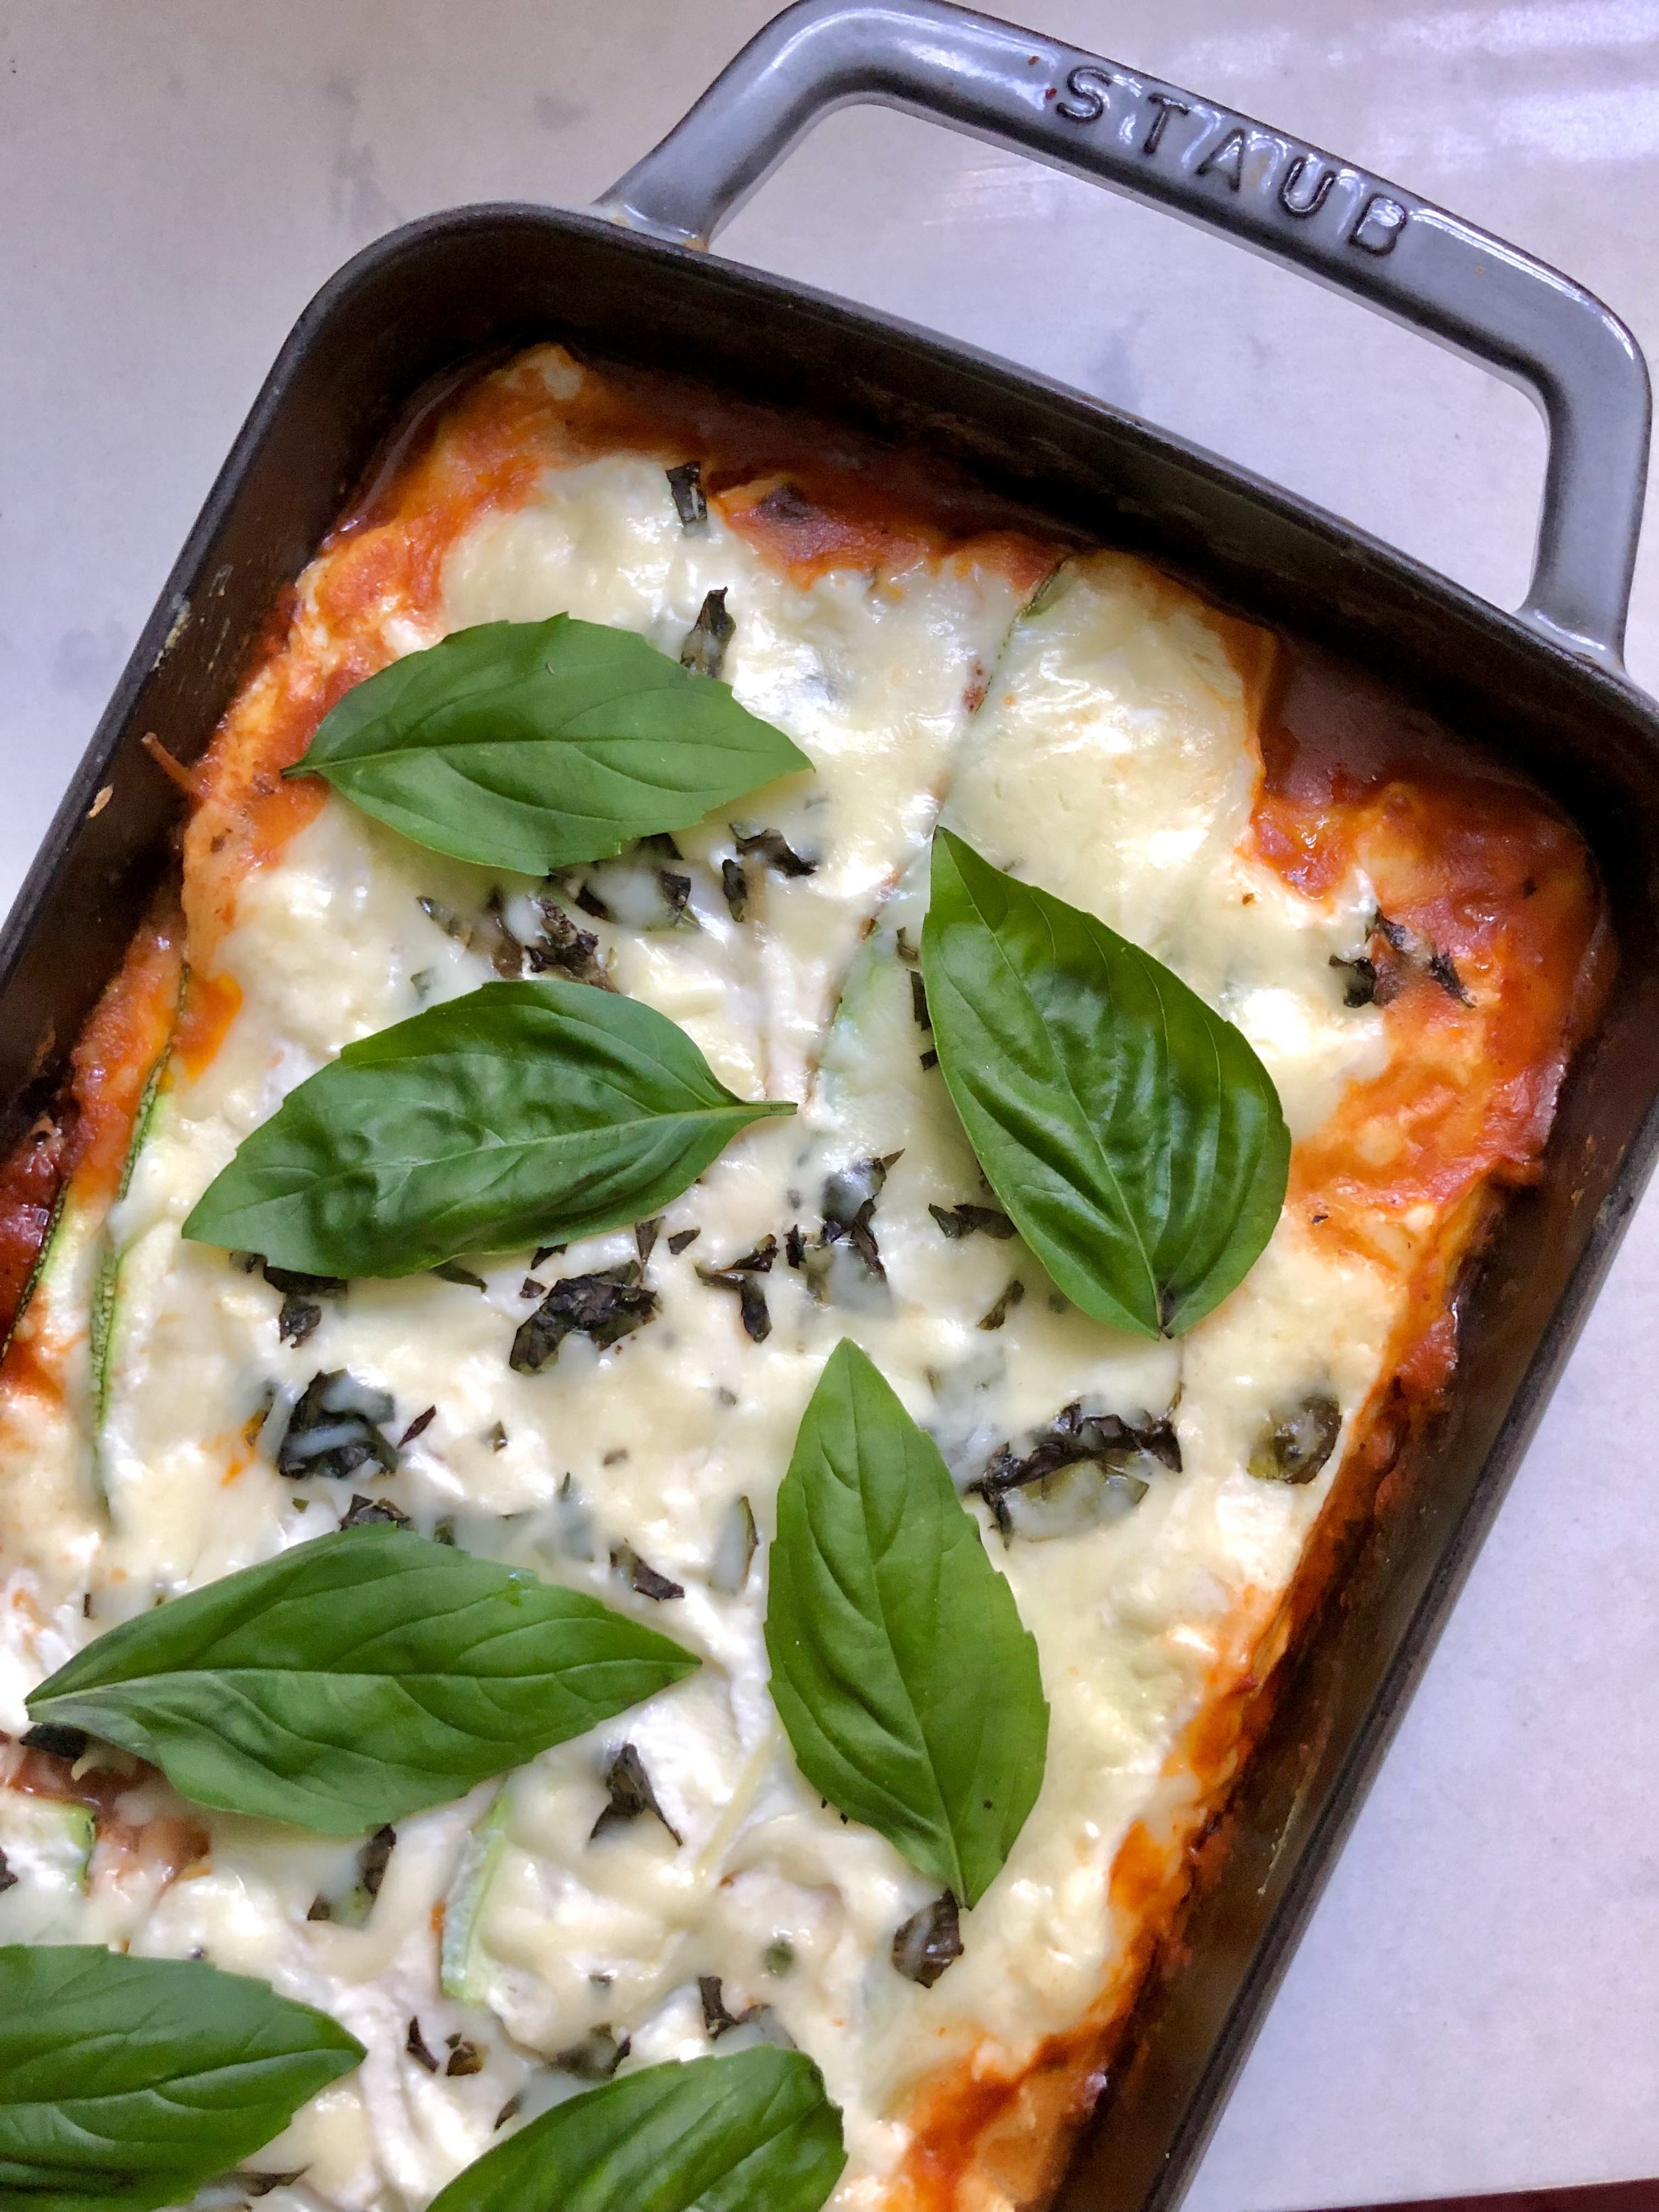
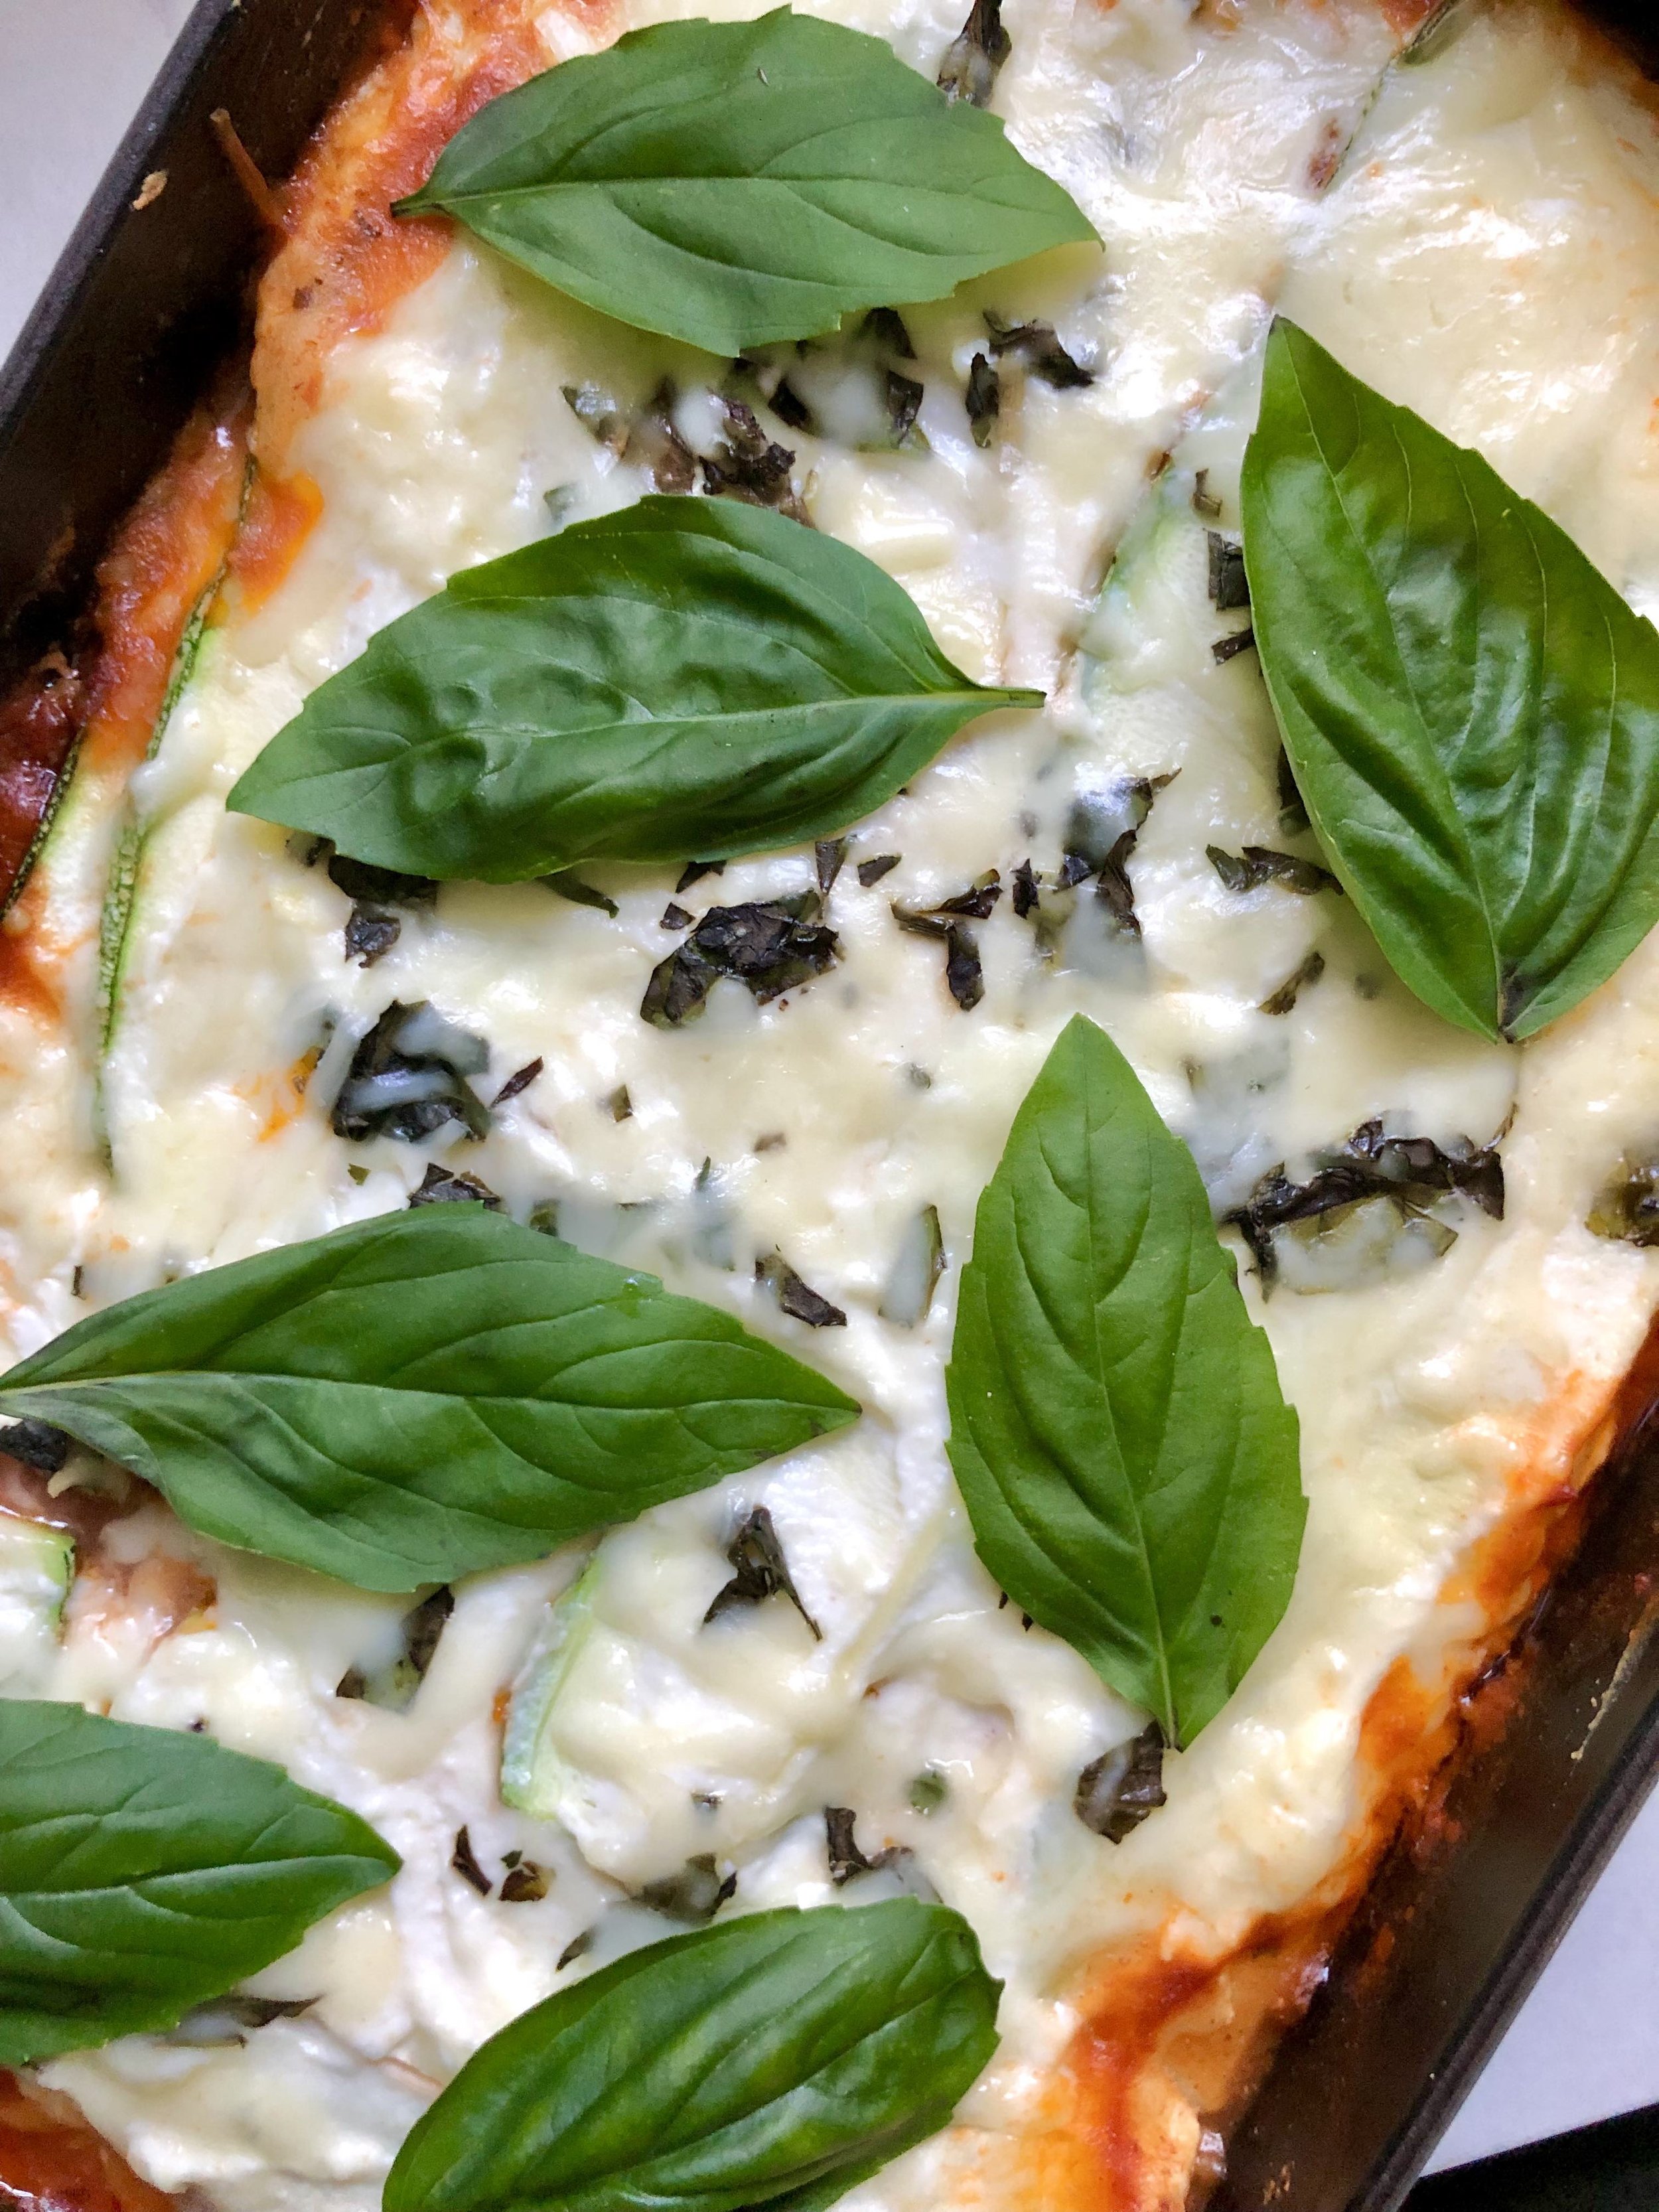
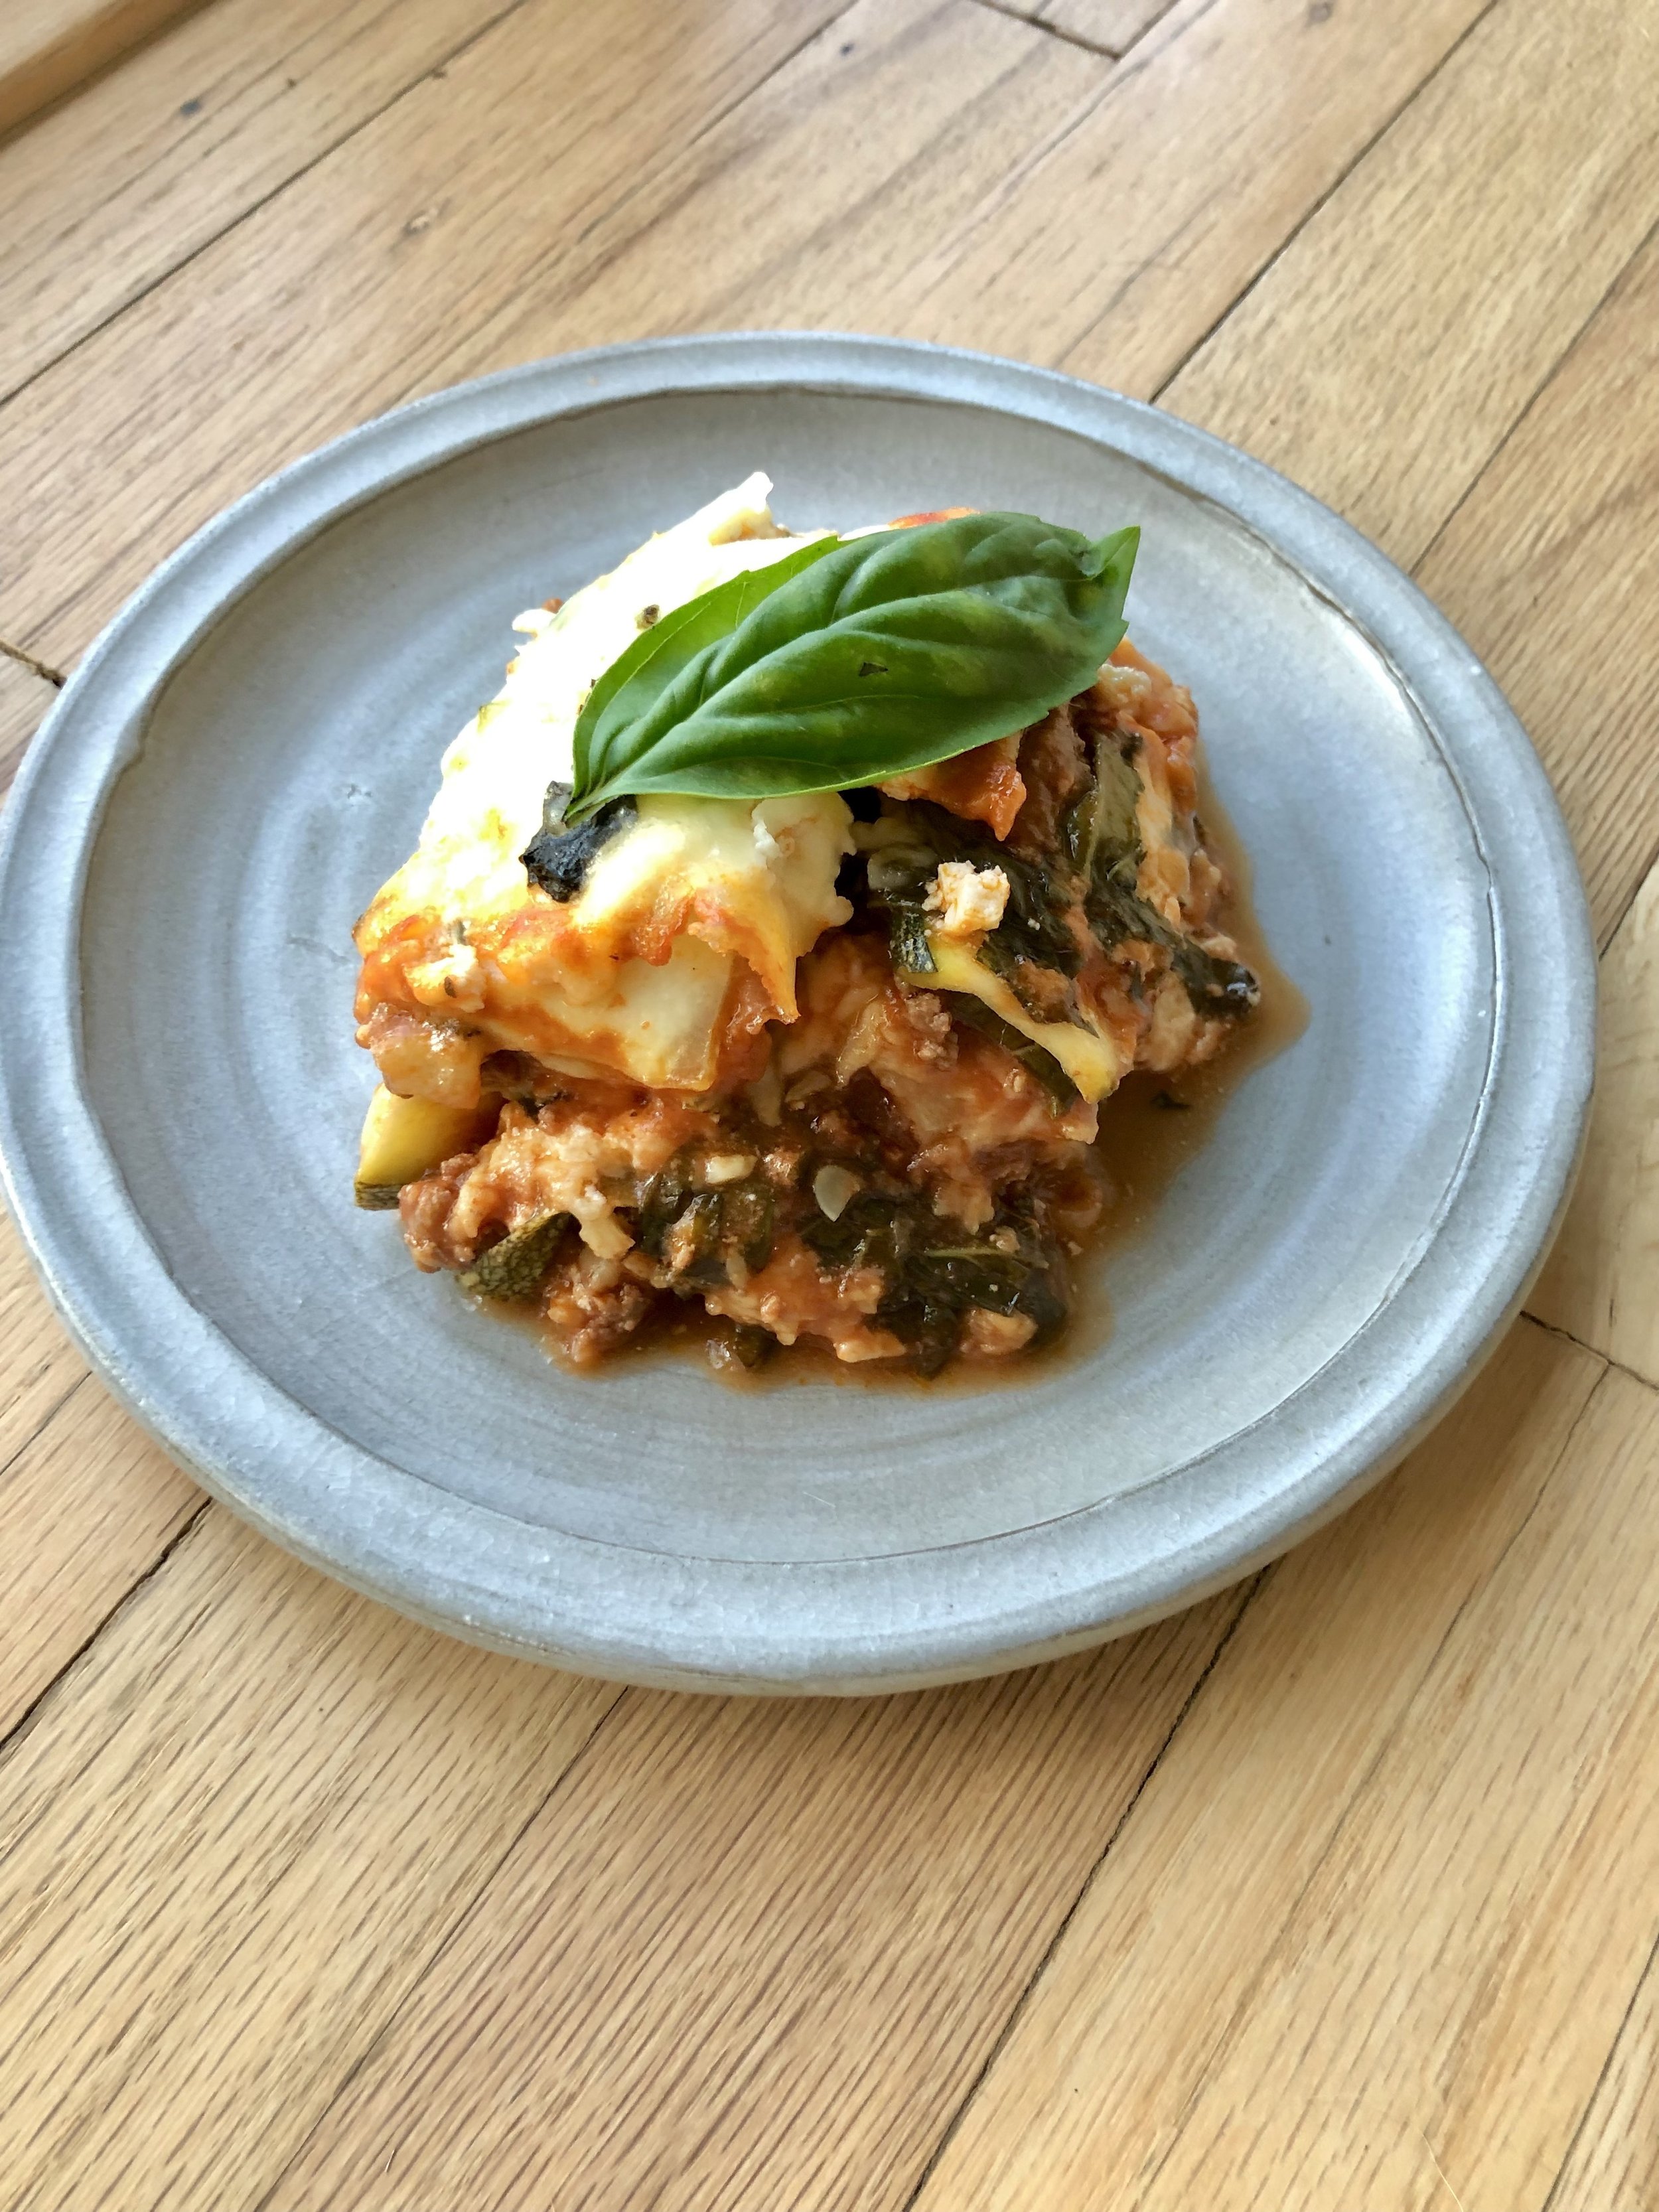
zucchini lasagna

Before zucchini season was over, I just had to share a dish I’ve been making that’s both comforting and healthy. Zucchini lasagna has been pretty popular lately, and the idea is that you use thin slices of zucchini as opposed to pasta noodles. We have nothing against good ol’ pasta in this house- it’s very likely my husband’s favorite thing to cook- but I also love sneaking in extra veggies to our diets whenever I get the chance ;) This lasagna is still packed with homemade or store bought tomato sauce, lots of tasty cheeses, and fresh basil, so it’s super flavorful and delish! One important tip- make sure to salt your zucchini strips and let them set about 15 minutes to draw out moisture. Blot them dry before layering them into your dish as this will ensure you don’t end up with a soggy lasagna mess, but rather nicely cooked zucchini “noodles”! Enjoy!

Zucchini Lasagna:

  • 4 large zucchini, sliced thin lengthwise

  • 1 pound ground beef or pork (omit for vegetarian option)

  • 1 yellow onion, diced

  • 2 cloves garlic, minced

  • 2 28 oz cans San Marzano tomatoes (alternatively use store-bought pasta sauce)

  • 1 6oz can tomato paste

  • 1 tsp dried oregano

  • 1/2 cup red wine, optional

  • 15 oz ricotta cheese, whole milk or part skim

  • 1 large egg

  • 2 cups grated mozzarella cheese

  • 1-2 bunches fresh basil, chopped (leave some whole leaves for garnish)

Make your tomato/meat sauce- this can be done ahead of time, to allow it to simmer and develop flavor). Add the ground beef to a large pan over medium high heat, and season with salt & pepper. Brown the meat until no longer pink, and then remove it from the pan. Add a bit of olive oil to the pan if needed, and saute the onion for a few minutes. Then add garlic and cook for a few more minutes, making sure to season with salt & pepper at each step along the way. Add the stewed tomatoes, breaking them up a bit, along with the tomato paste, dried oregano and red wine (if using), and bring your sauce to a simmer. Return the ground beef to the sauce, and reduce the heat to low, allowing it to cook for a couple of hours if possible. Be sure to not let it reduce too much!

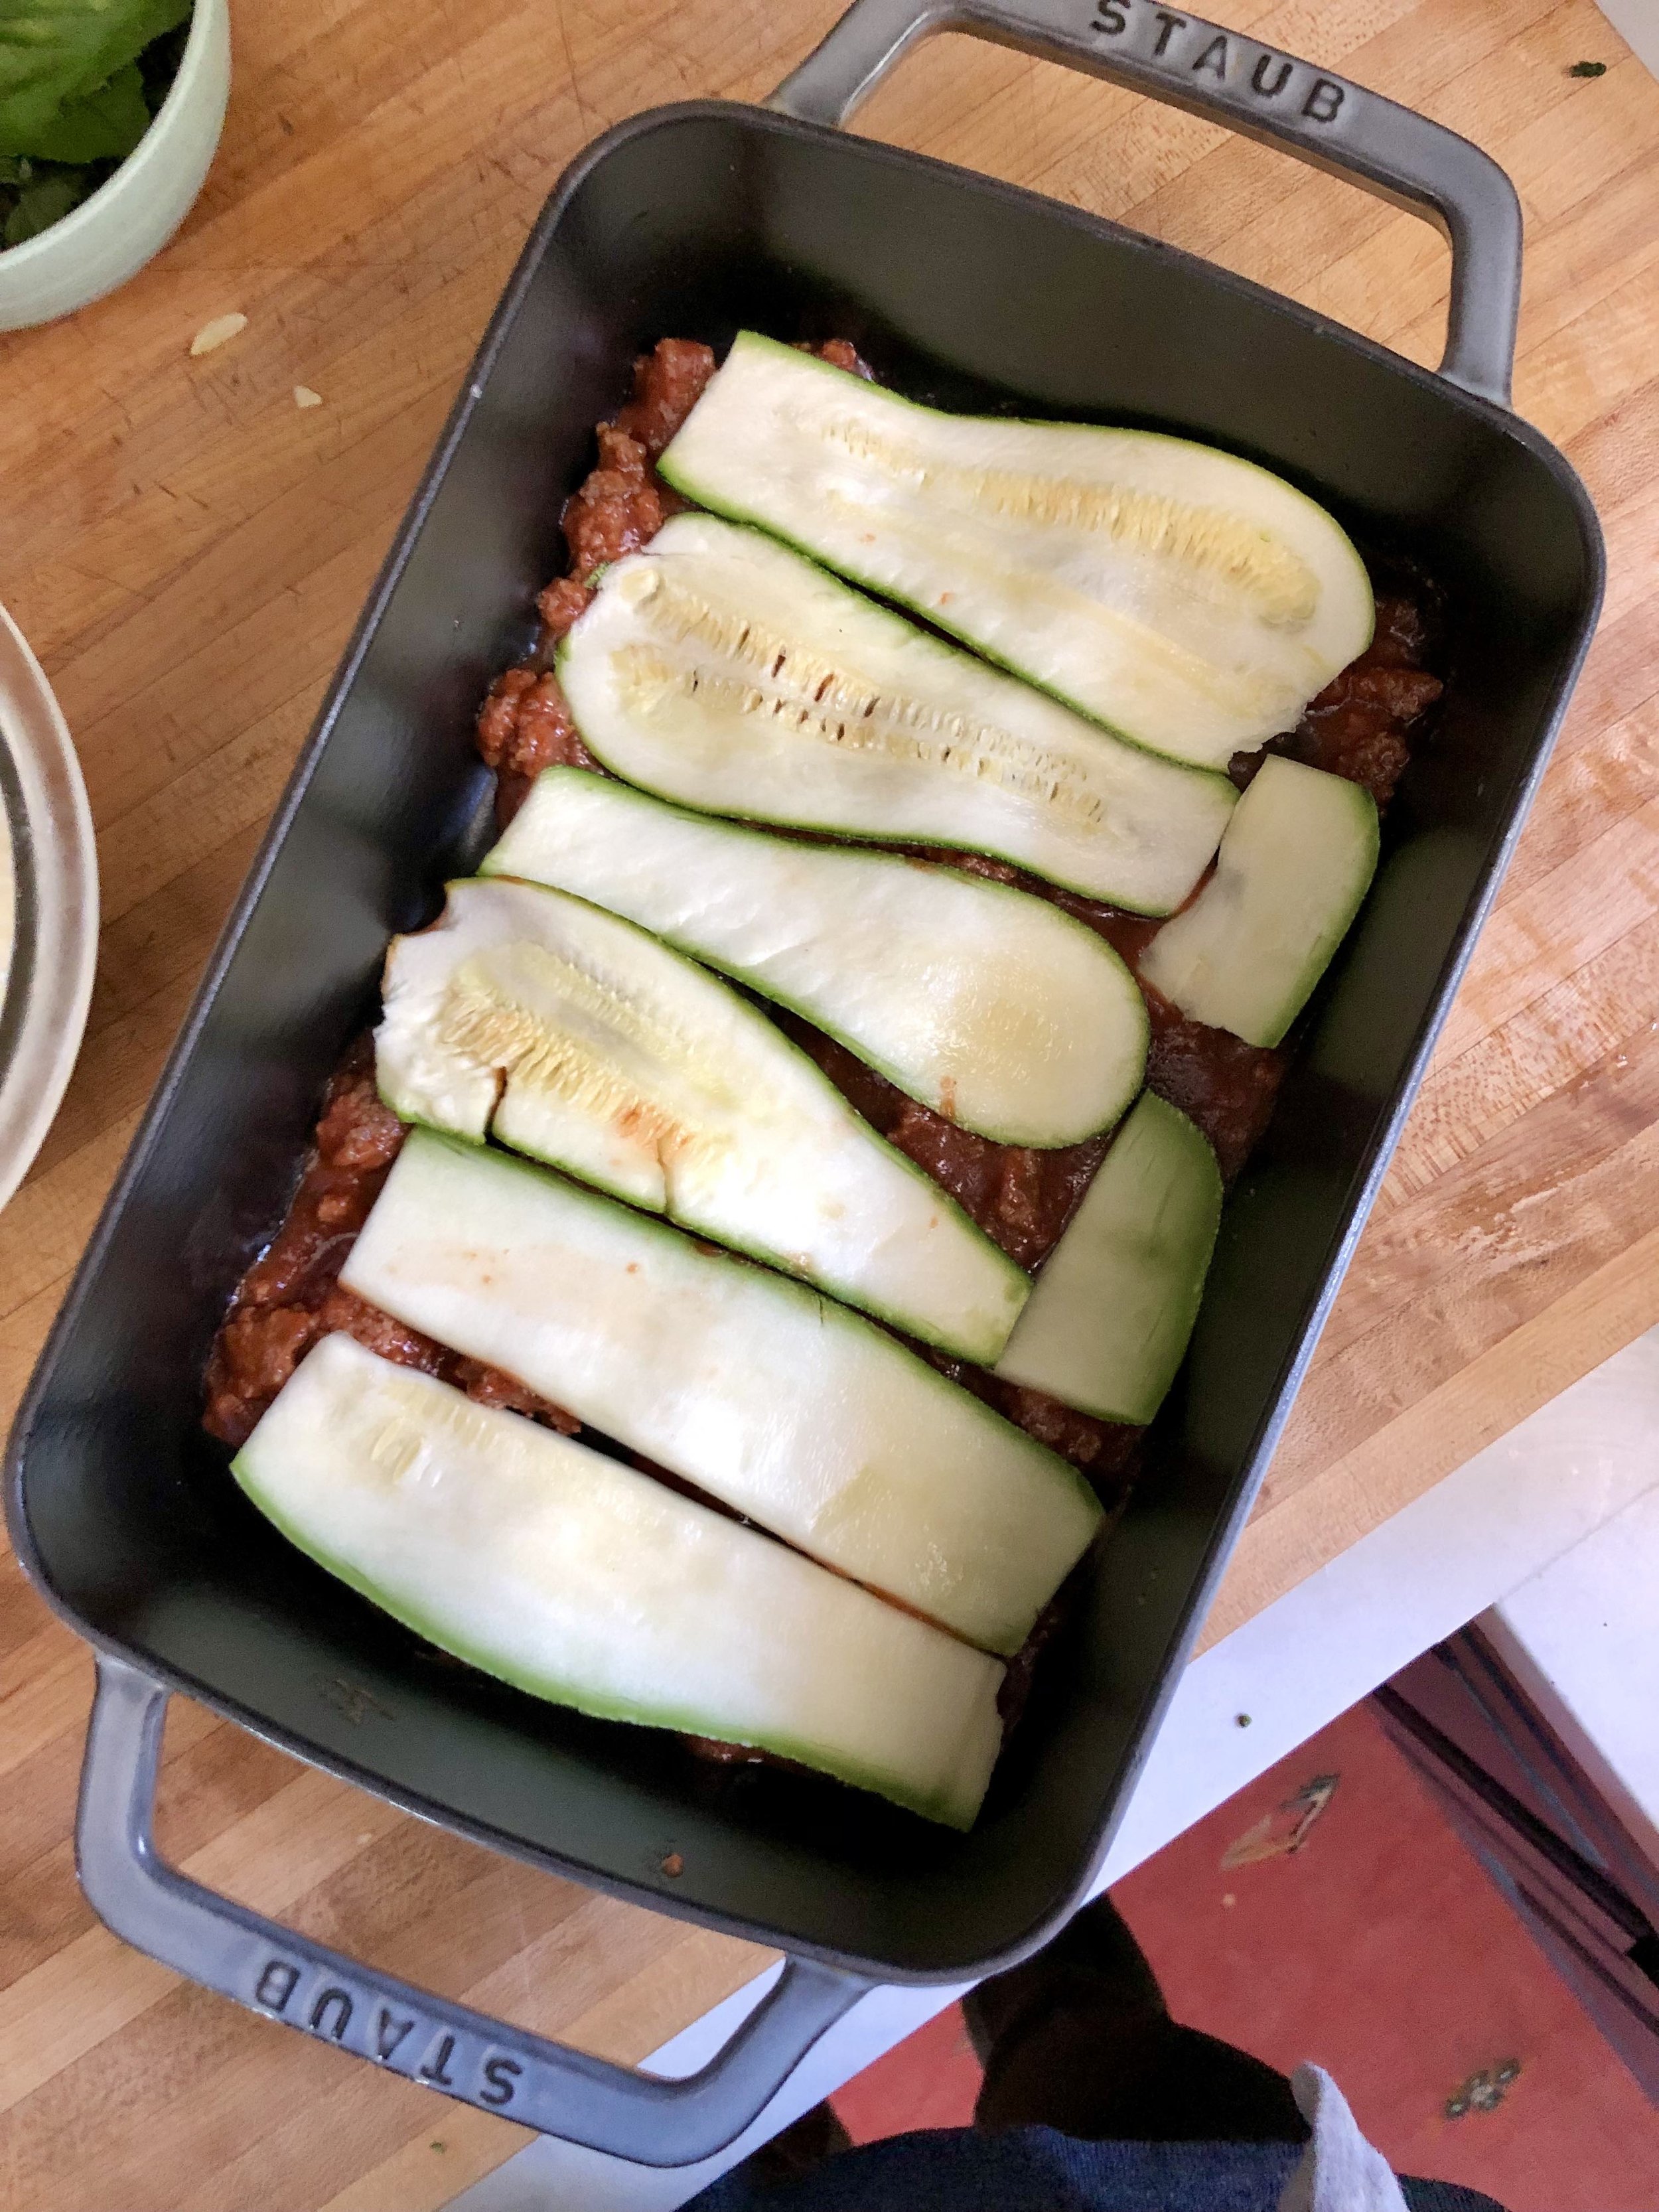
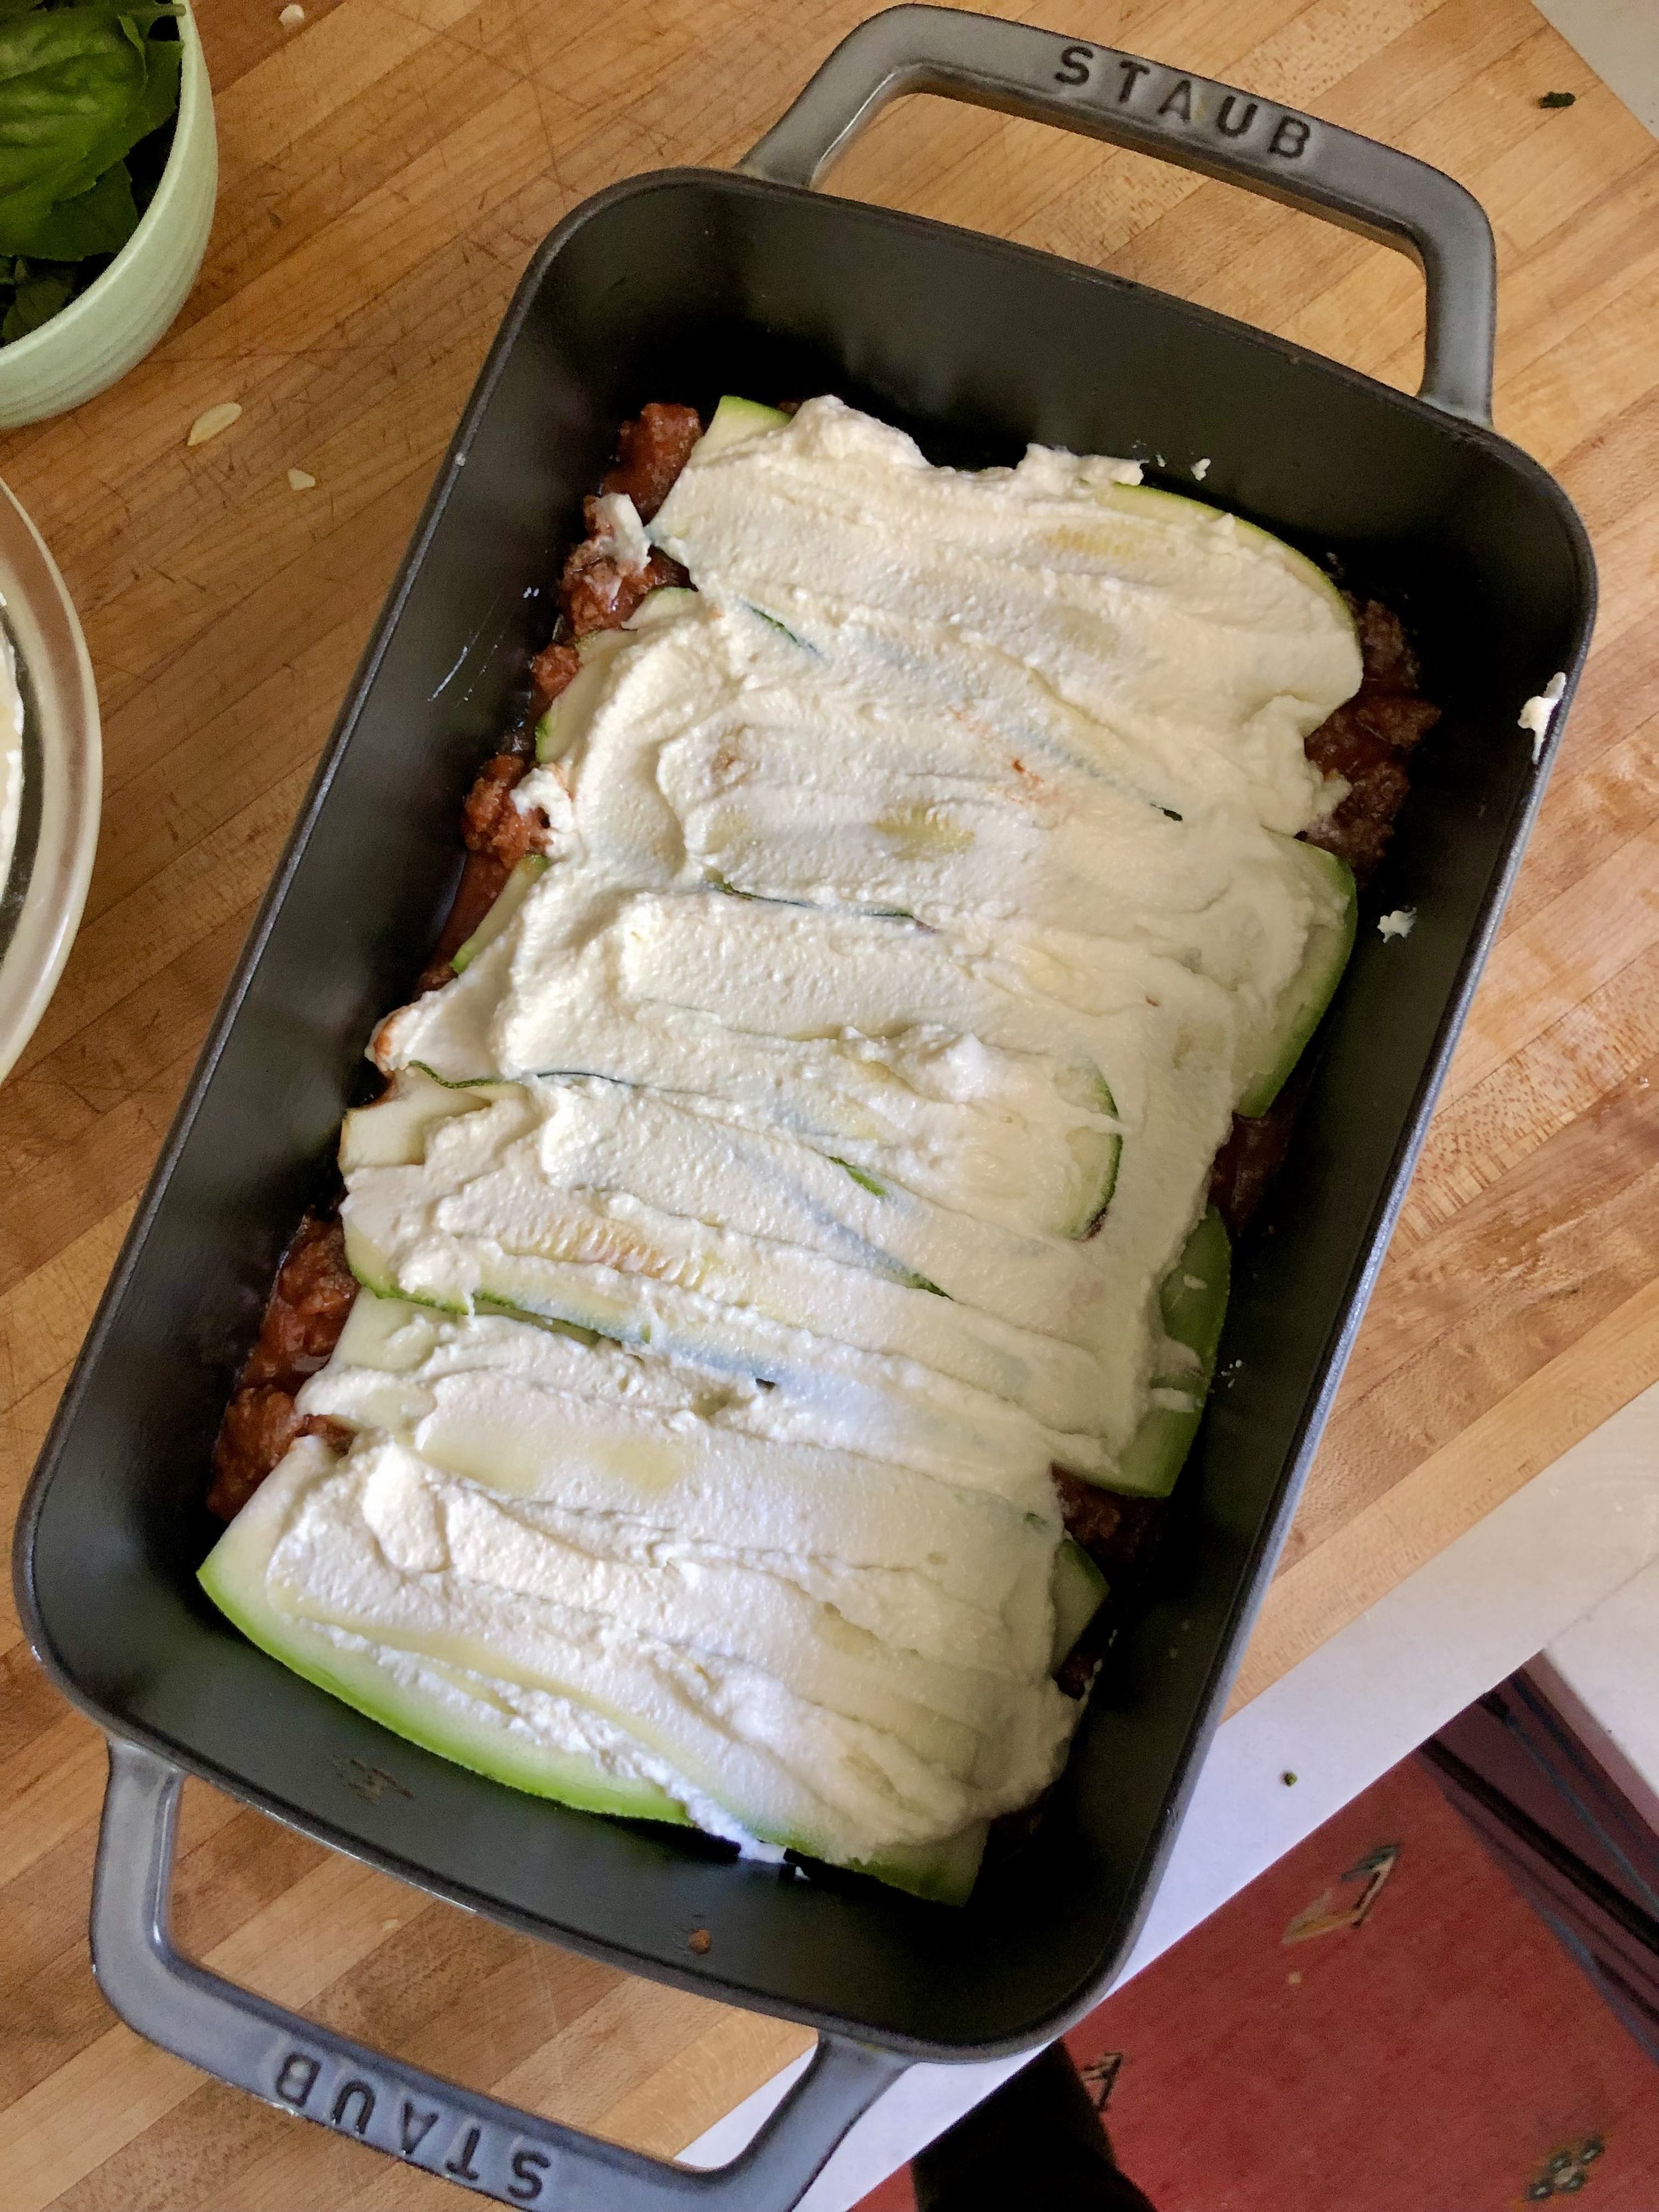
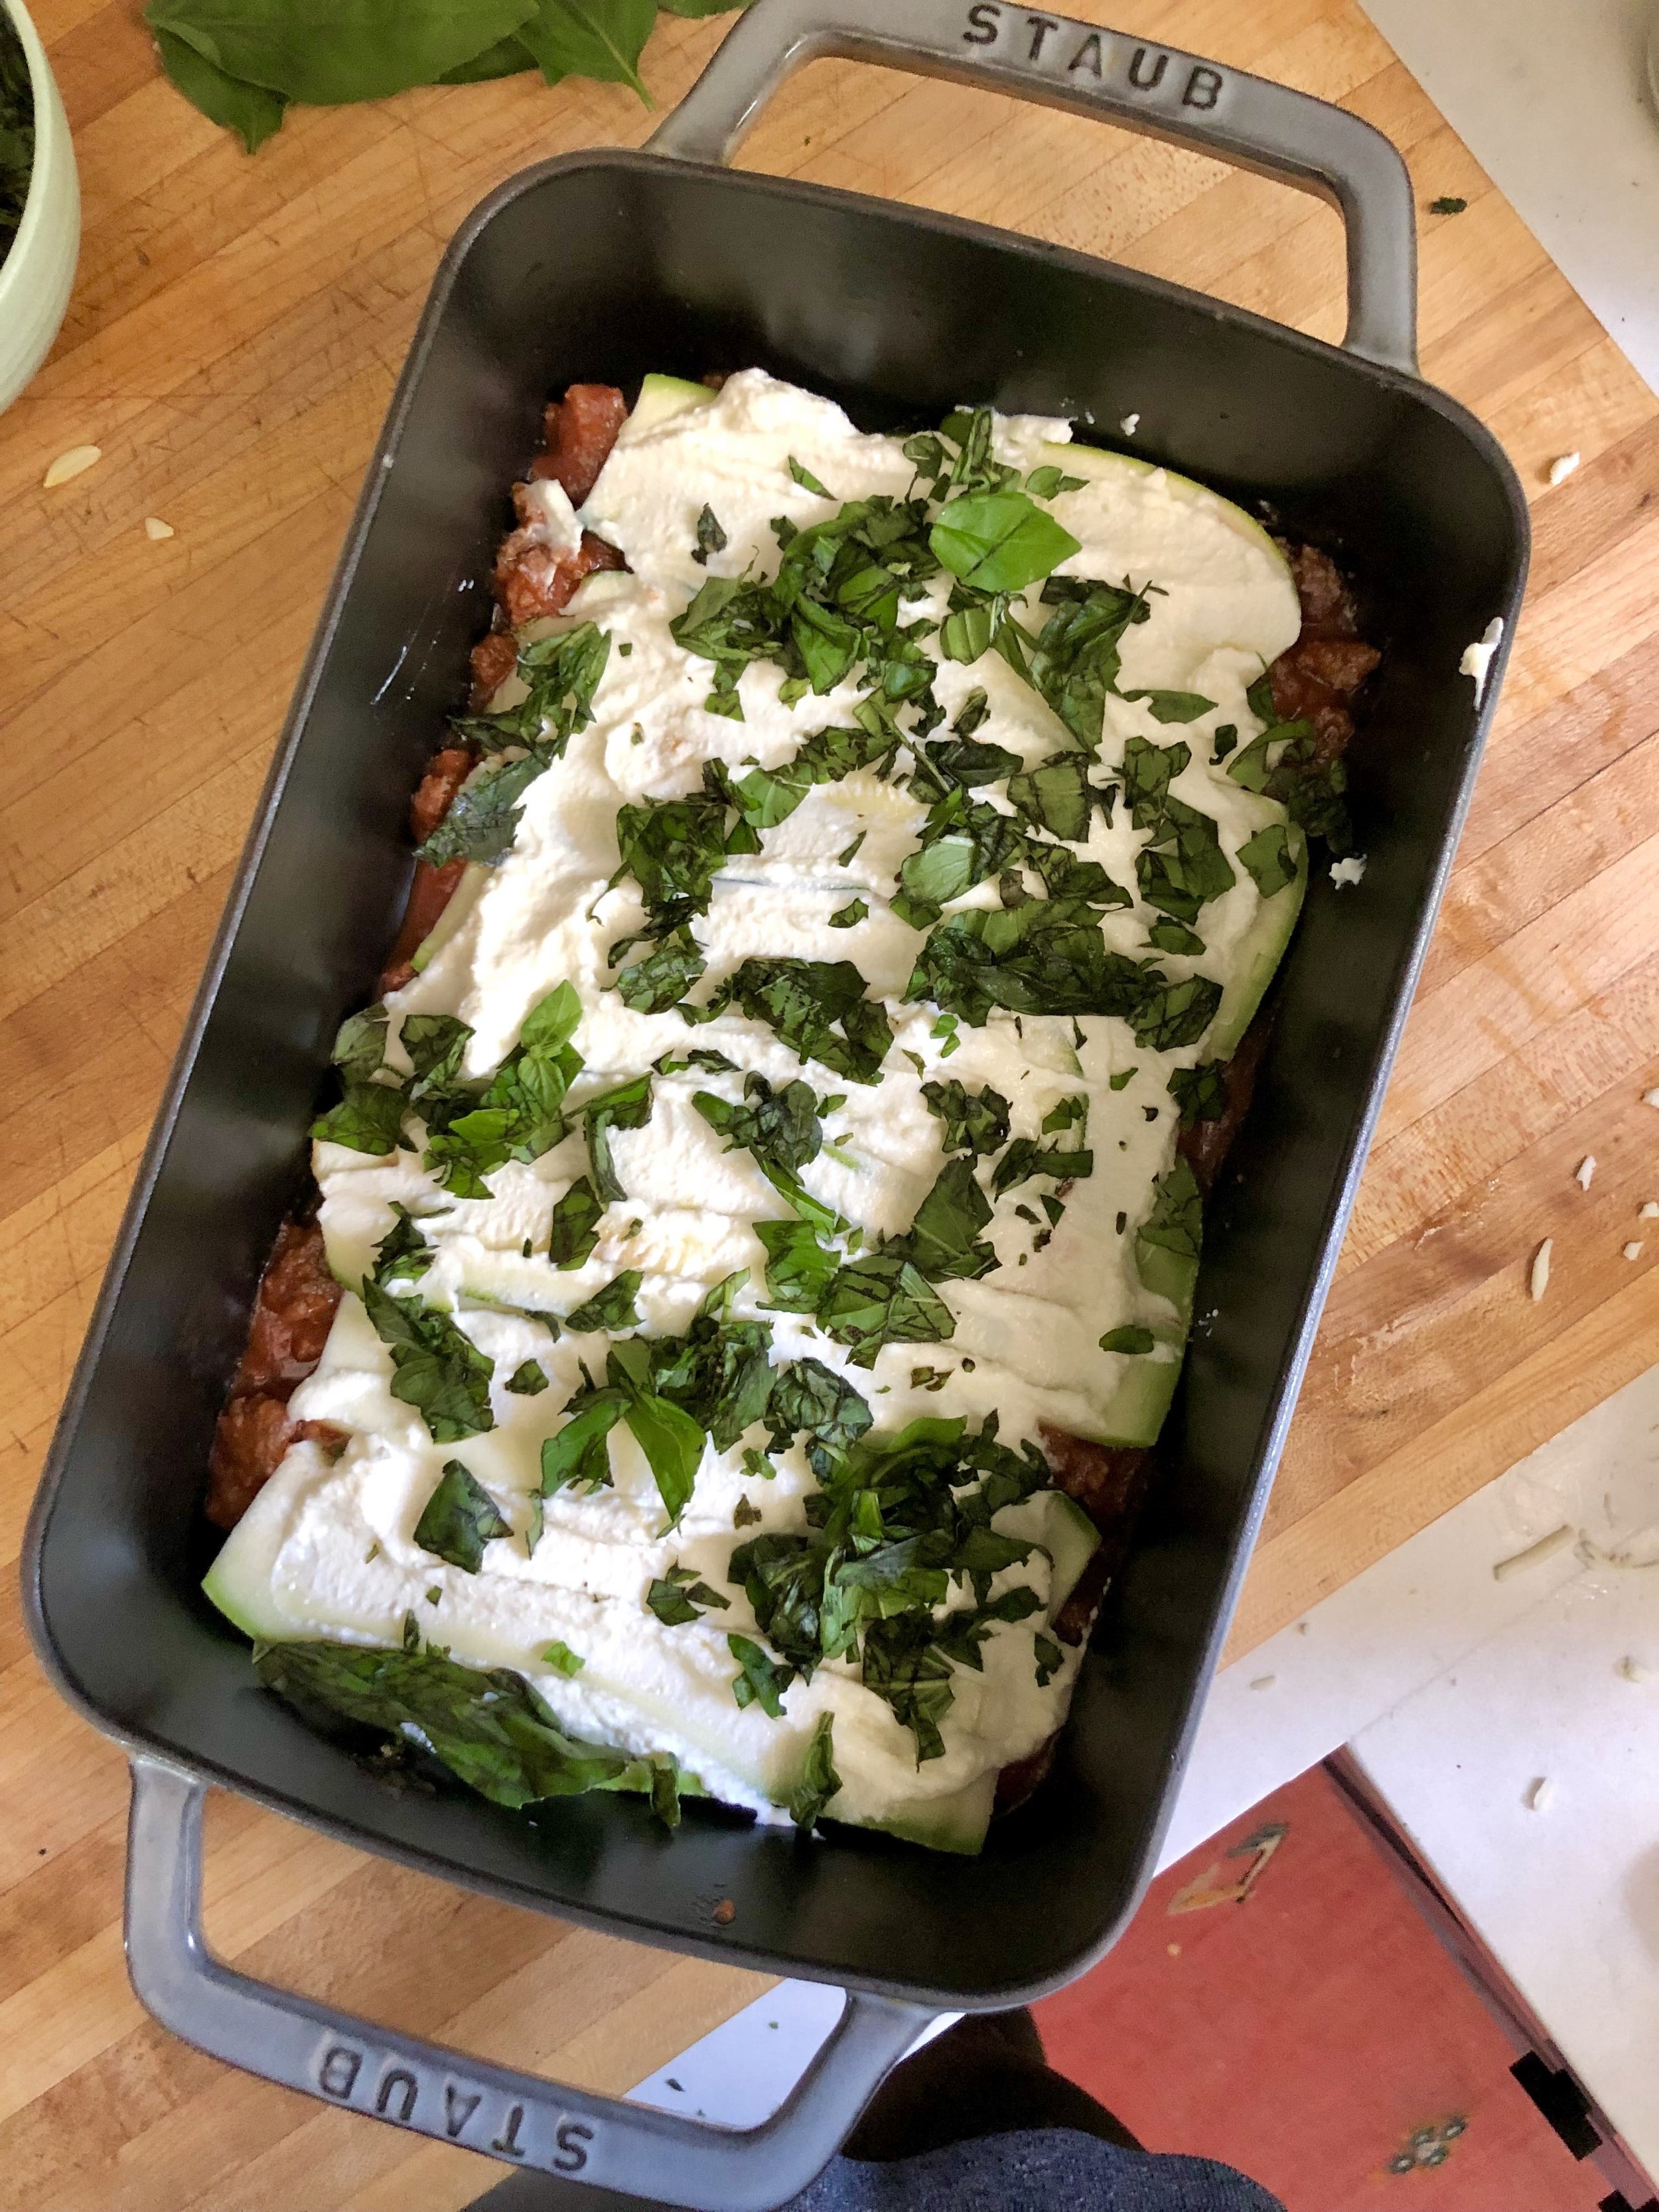
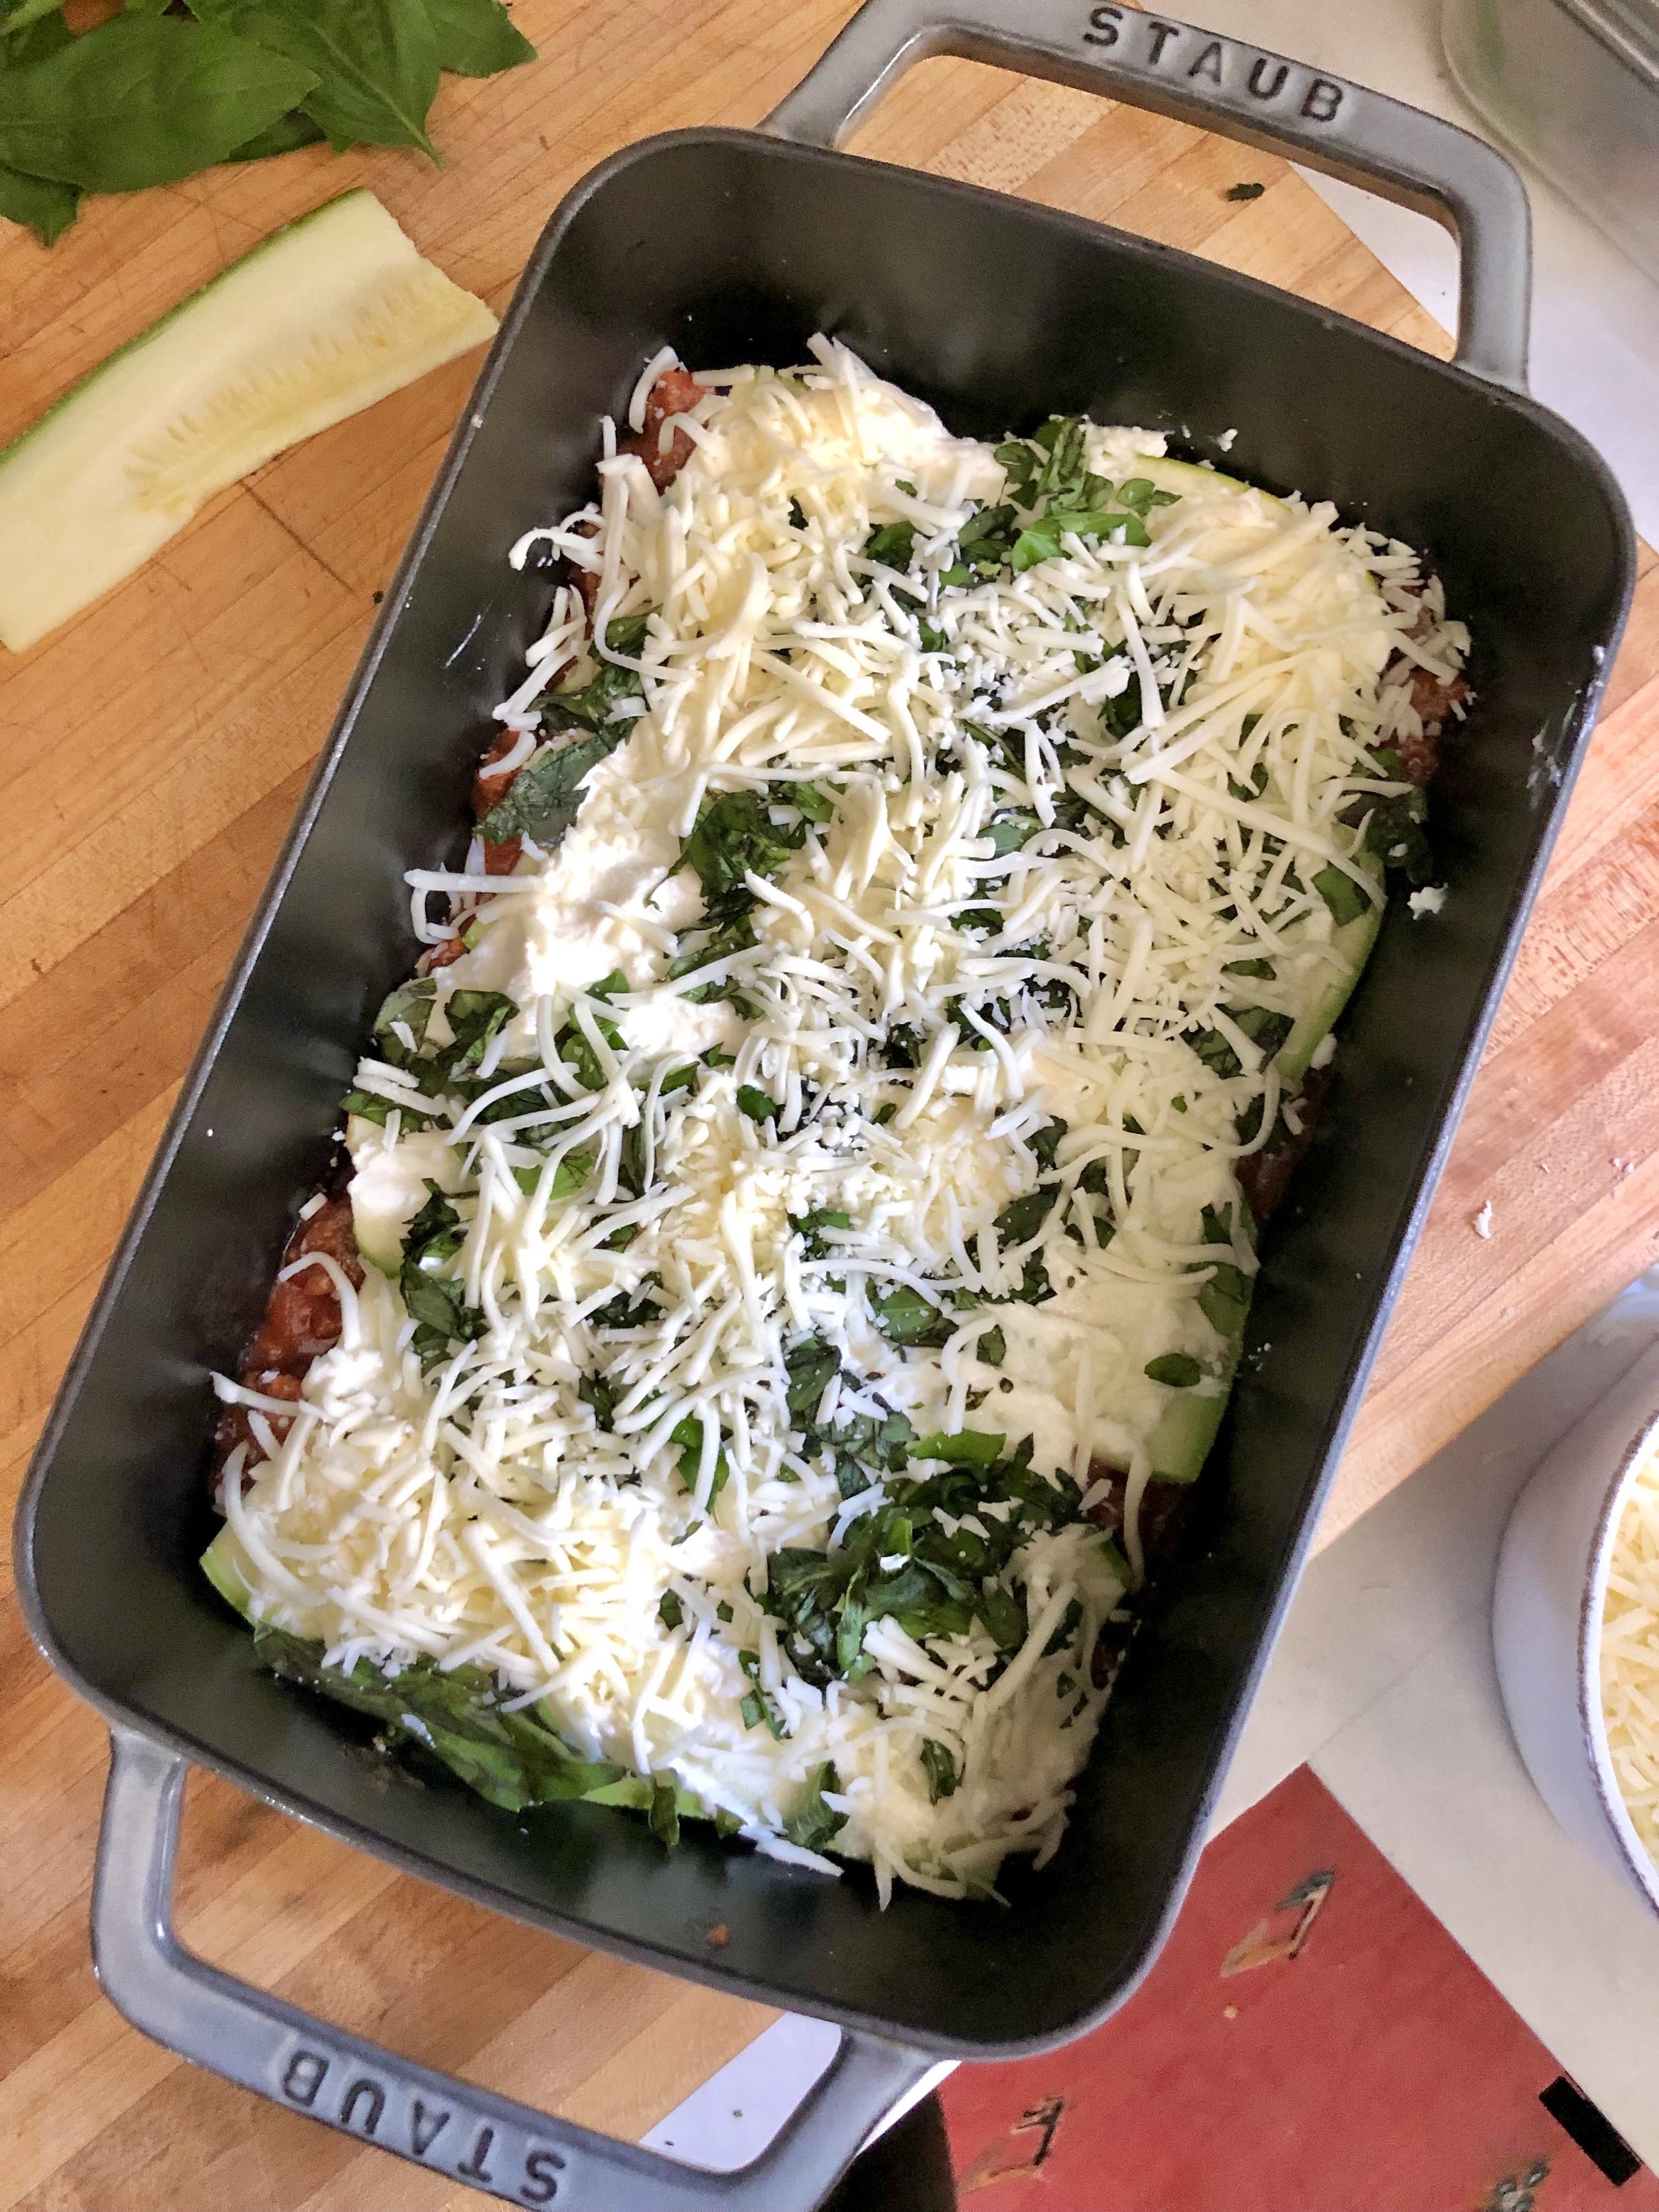
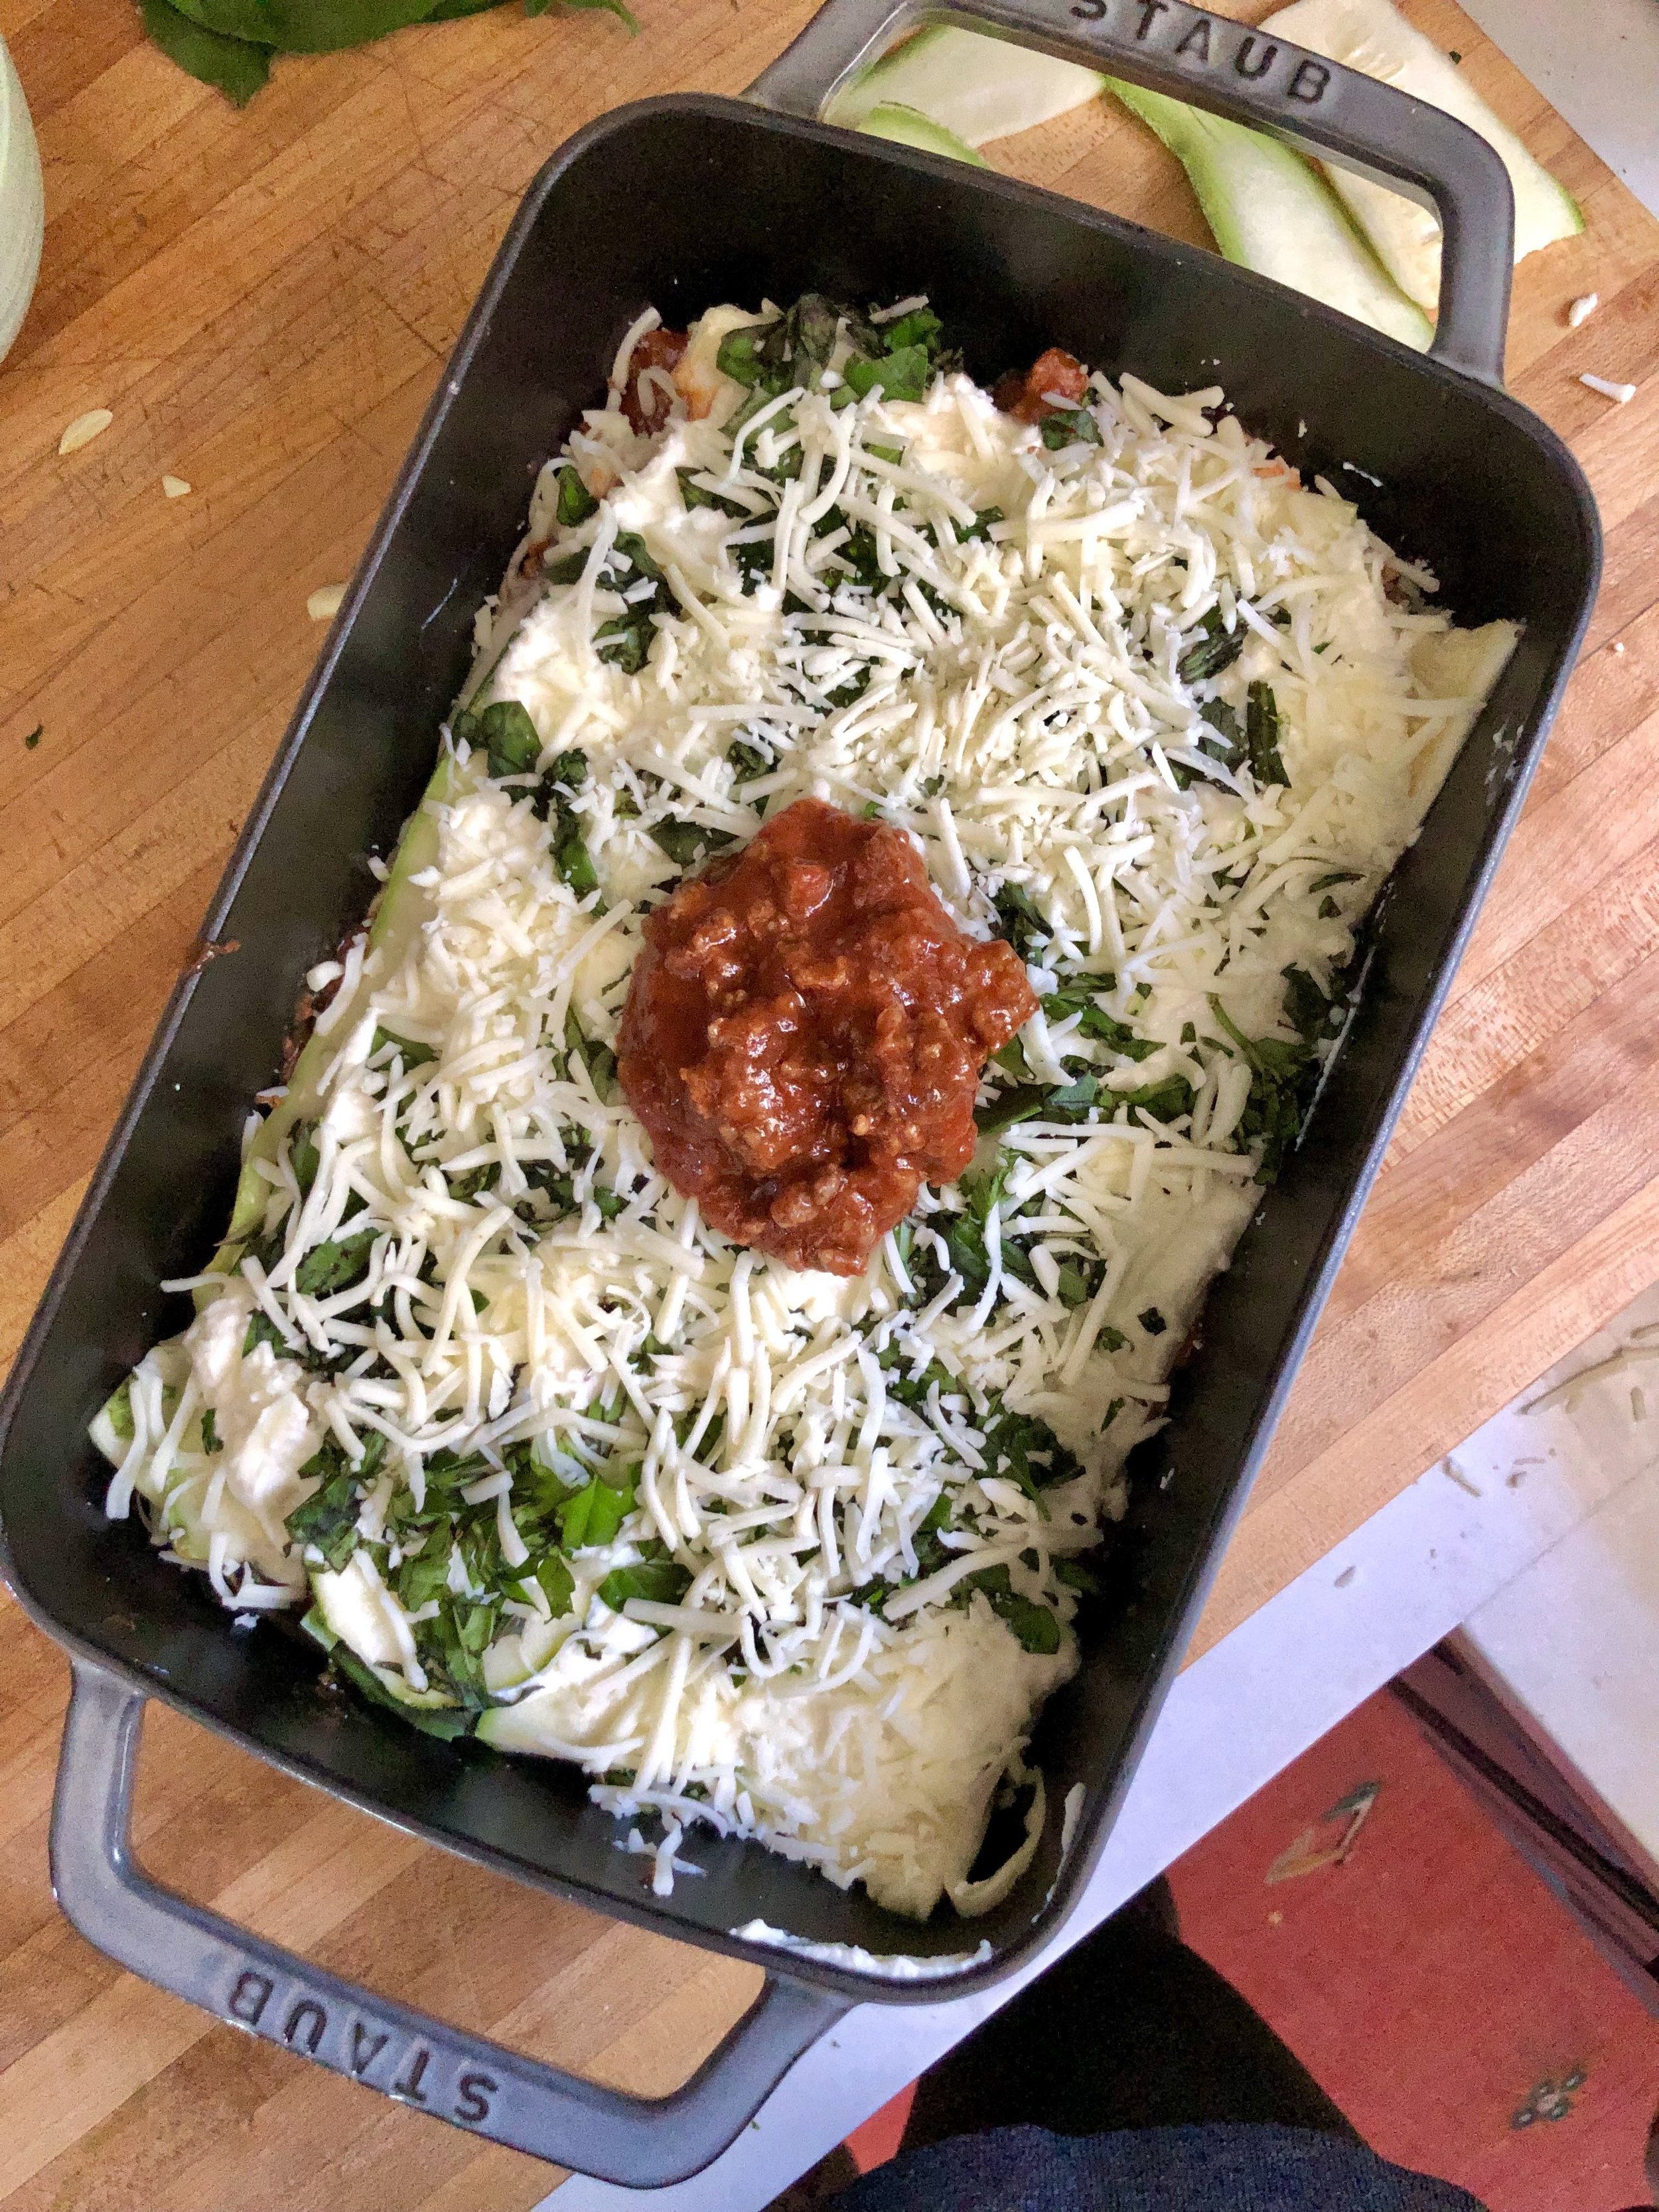
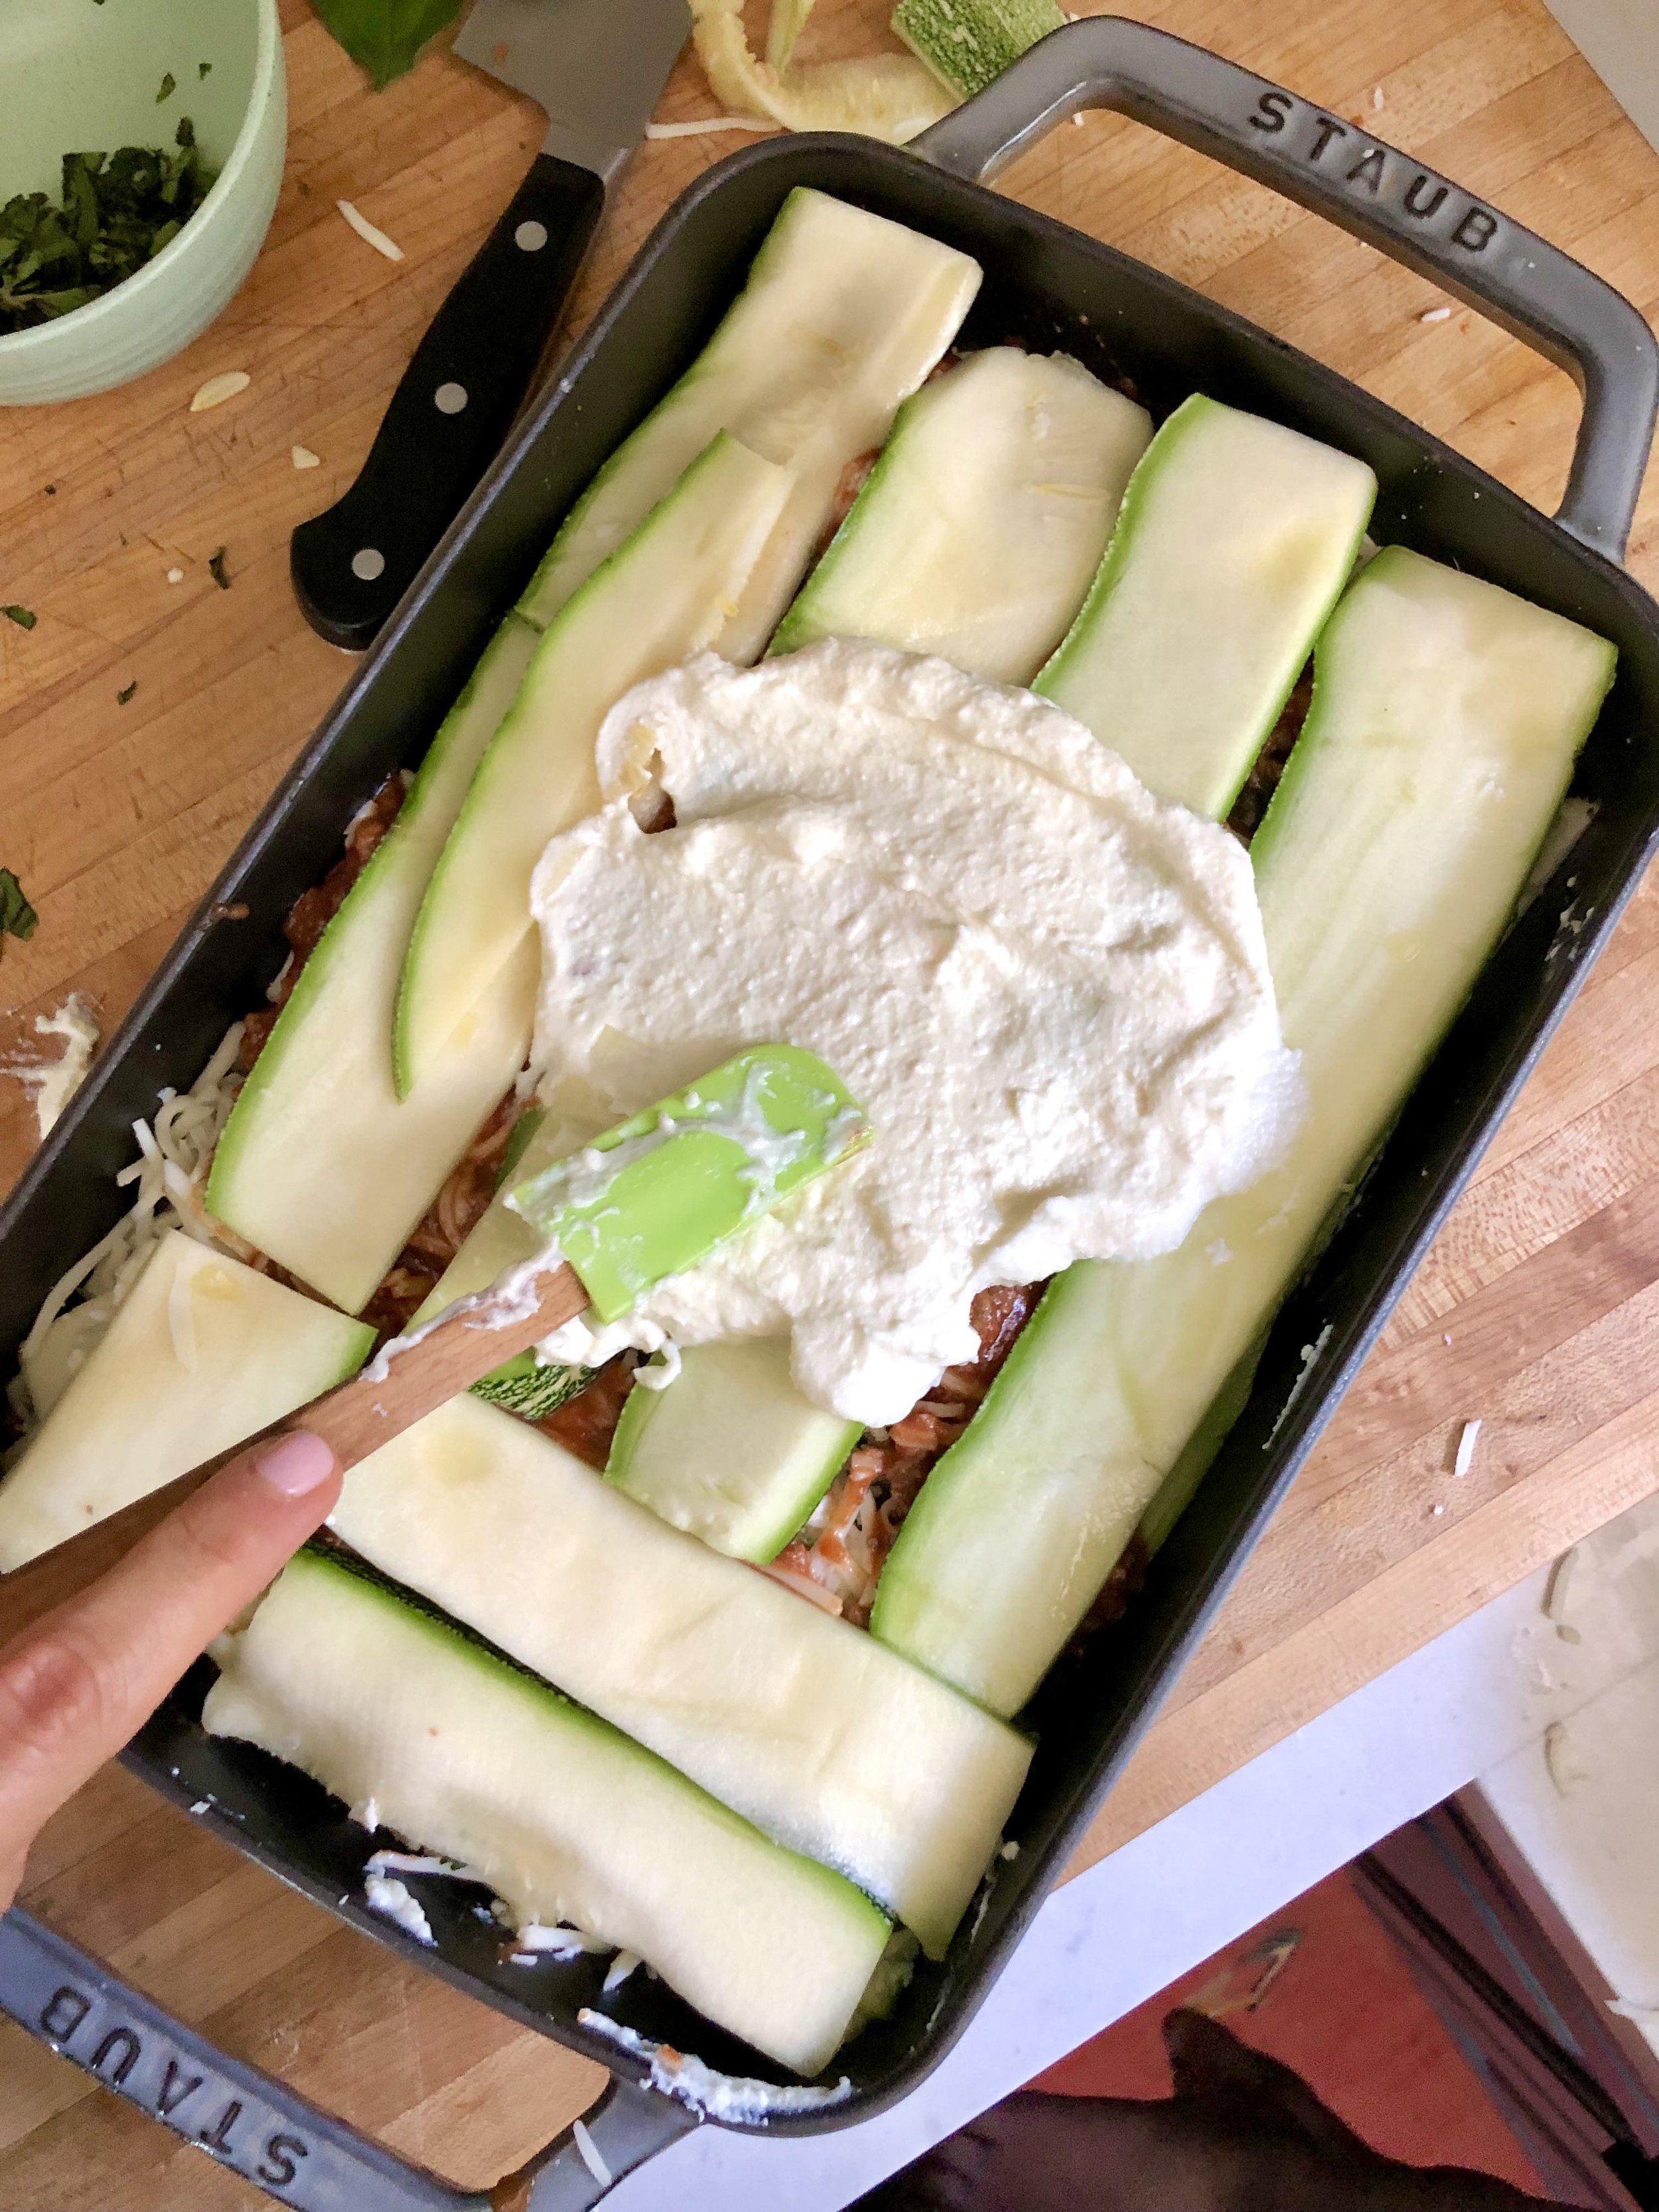
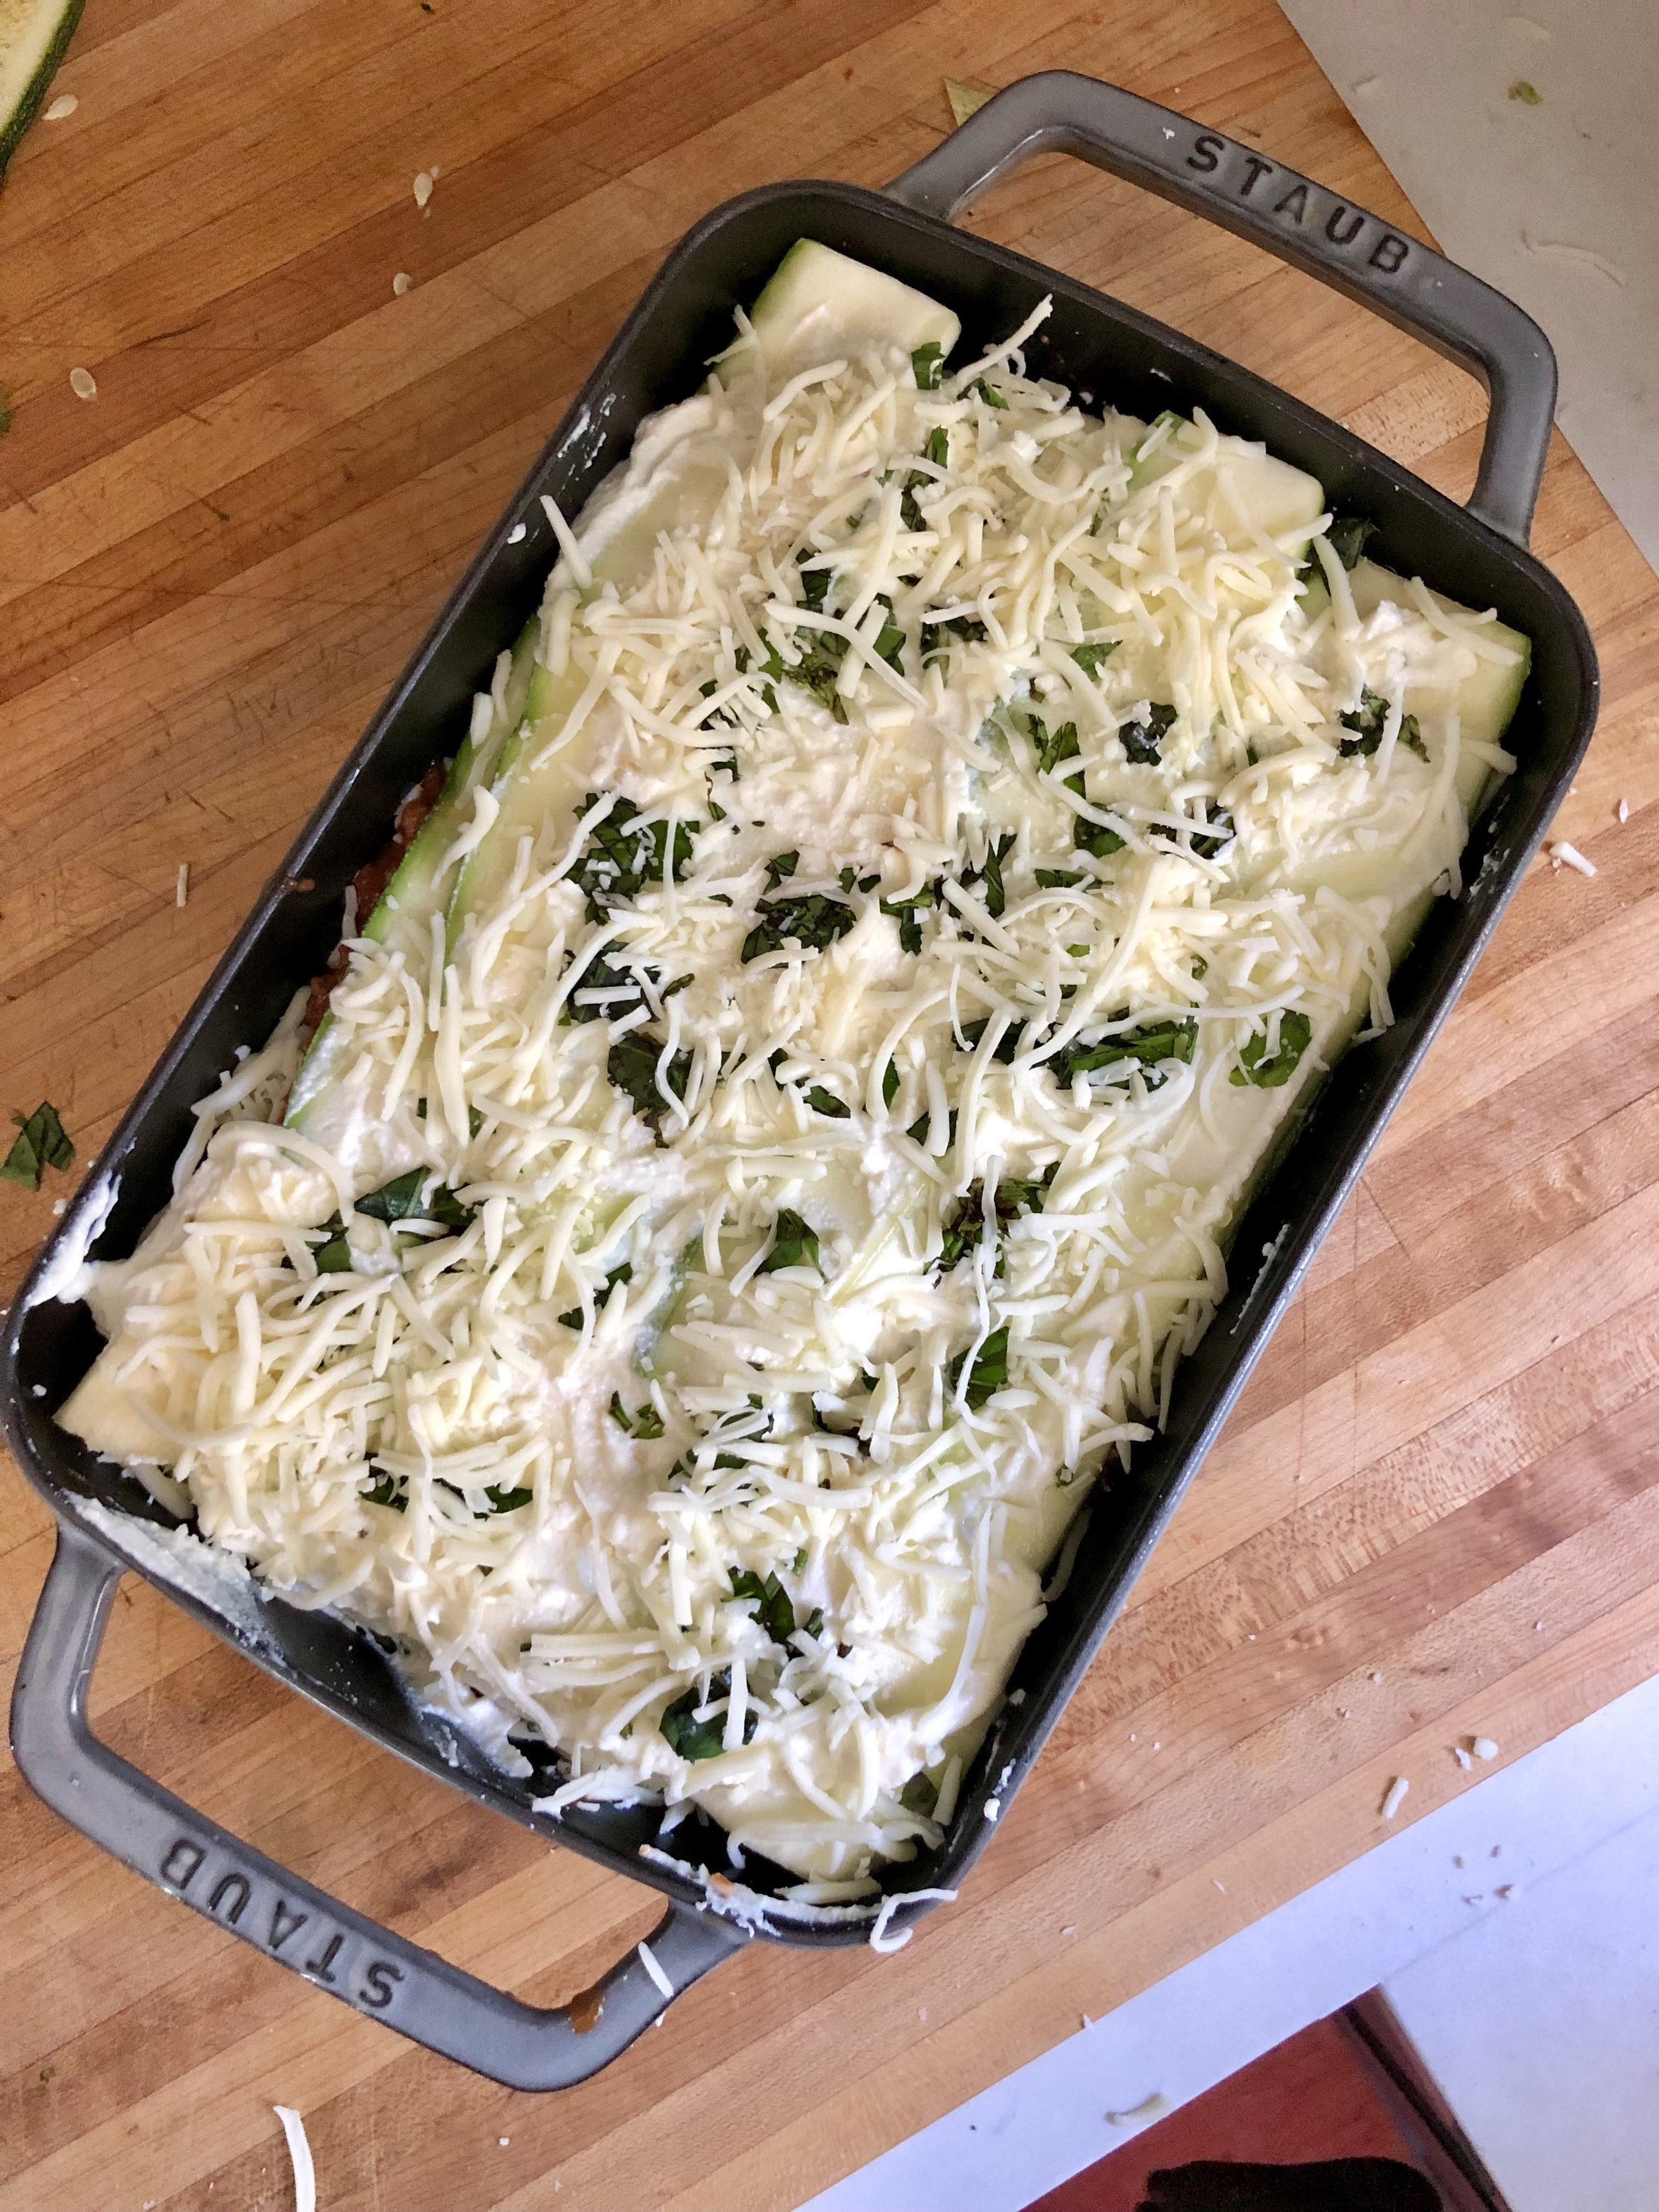
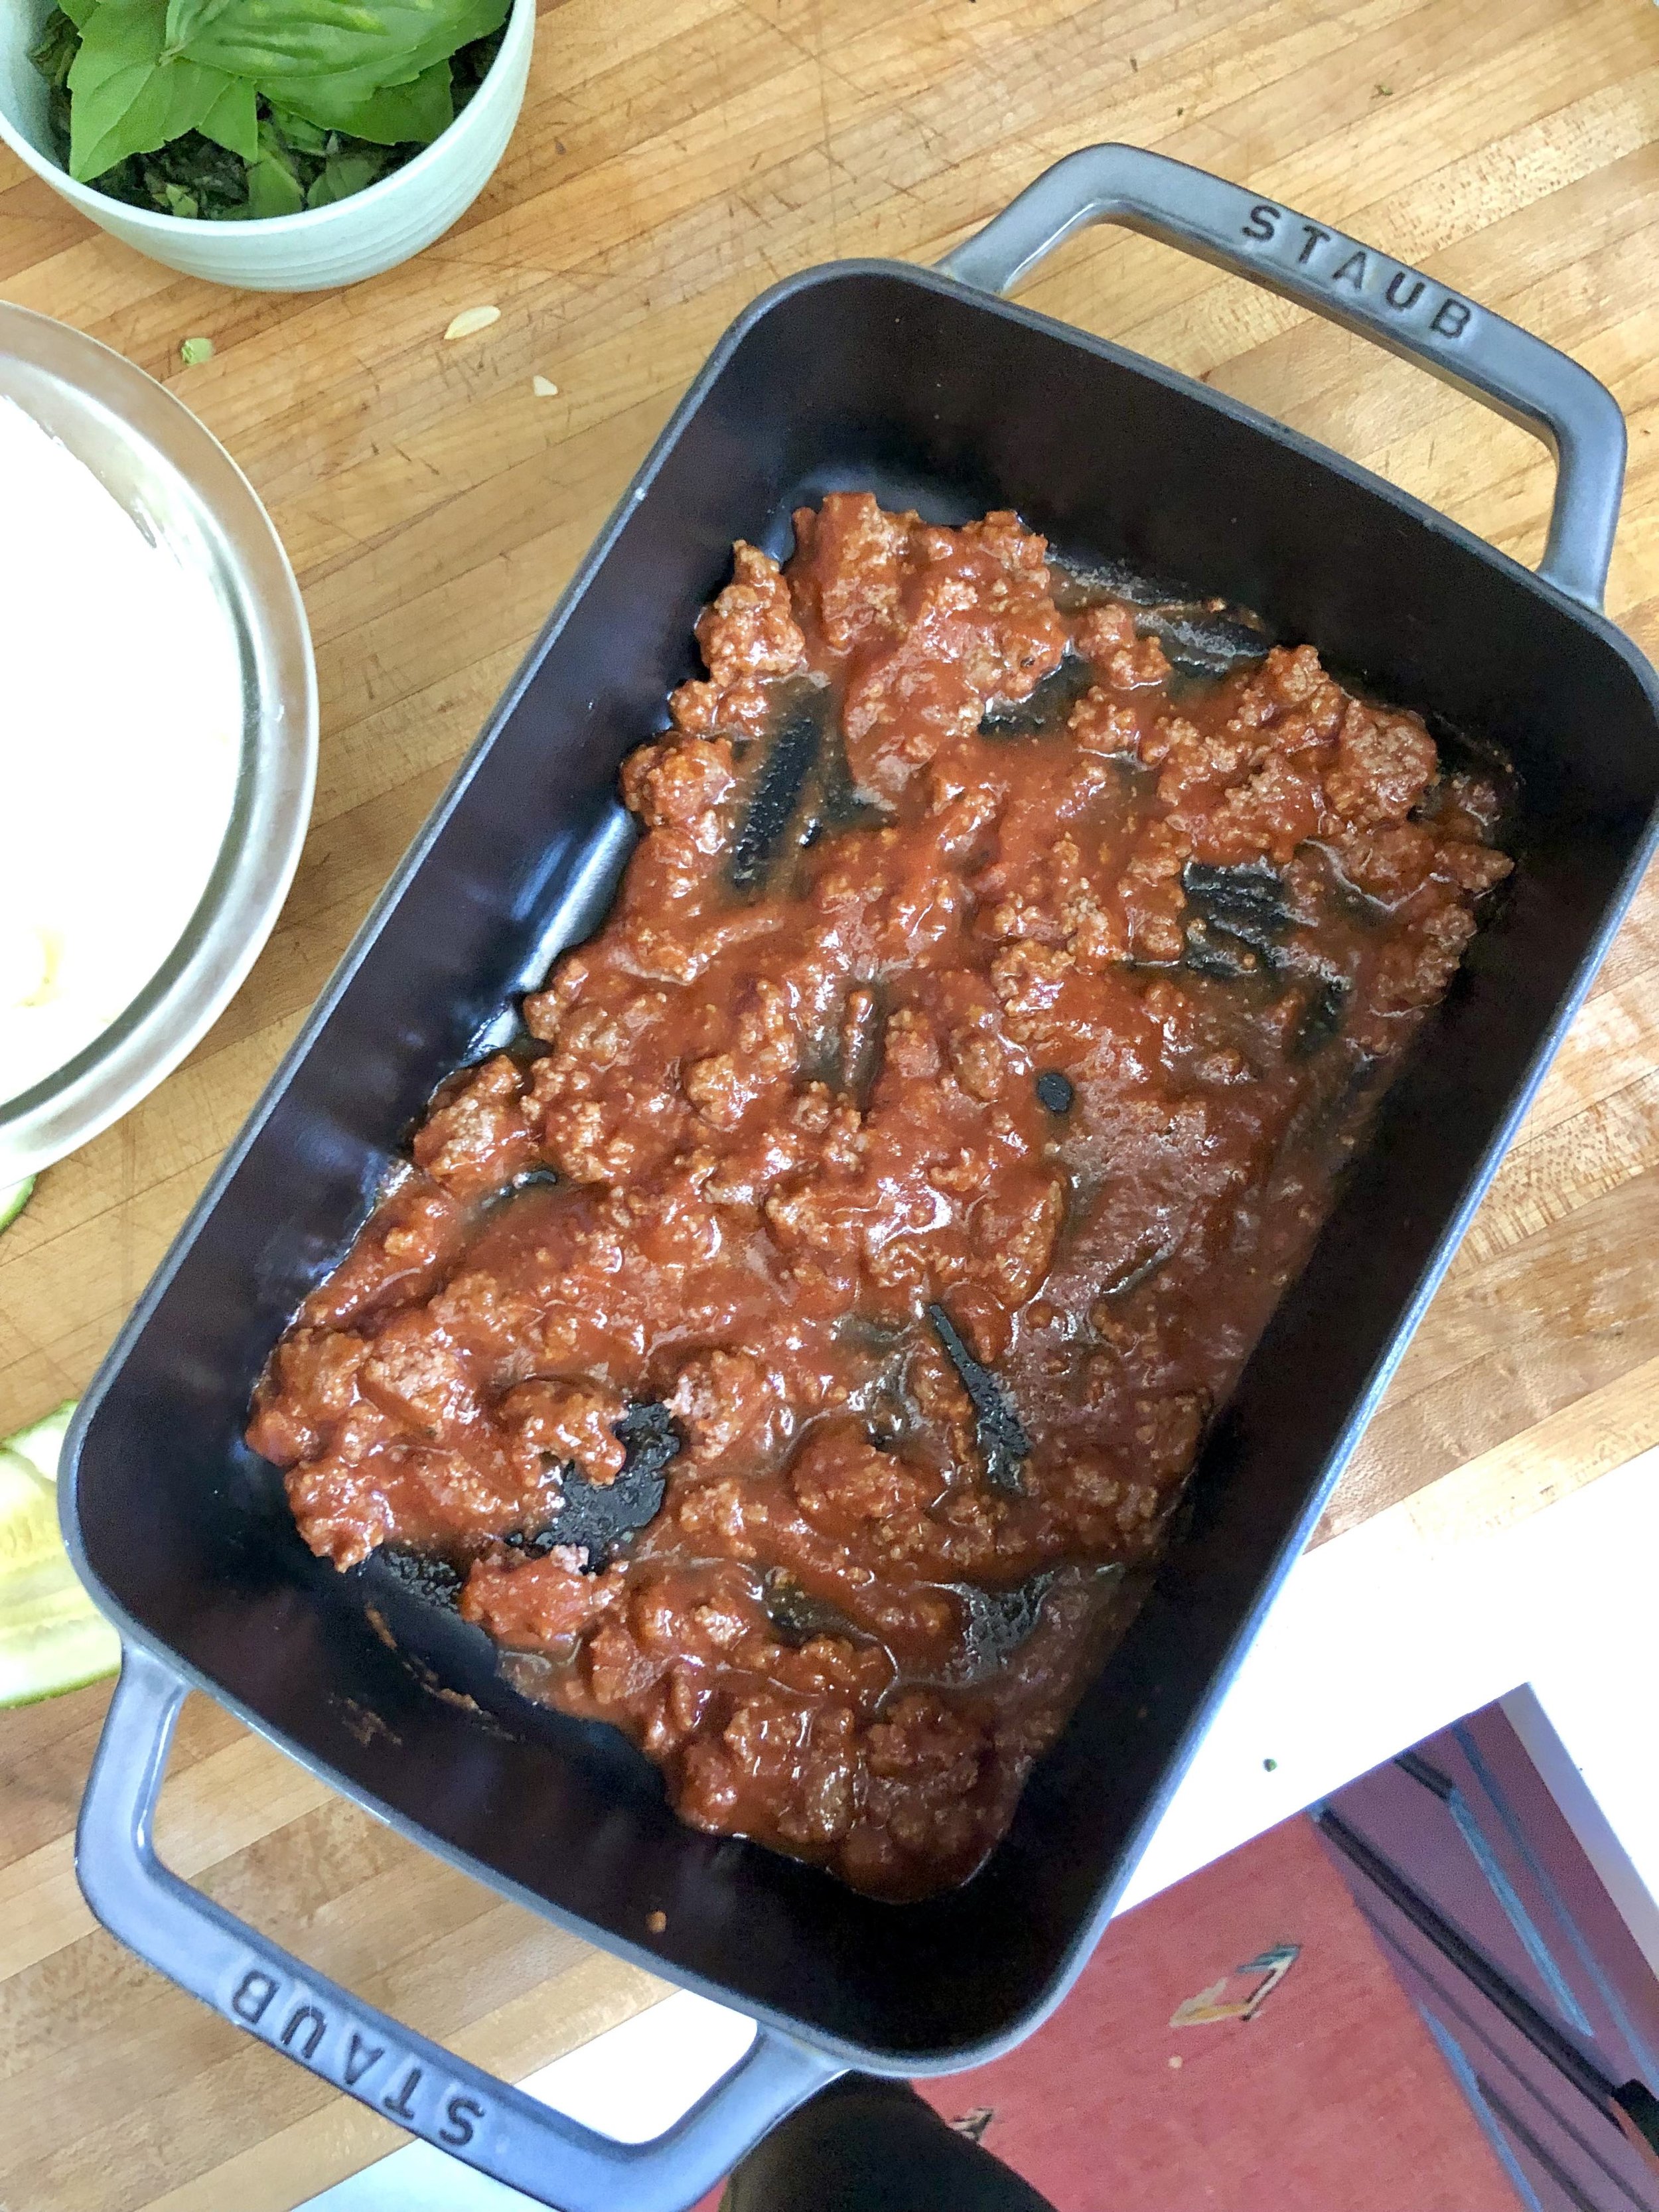
Preheat oven to 400 F. Slice your zucchini into thin slices lengthwise using a knife or mandolin, and lay them out on a paper towel. Sprinkle with salt and allow to sit for approximately 15 minutes to draw out the moisture. Blot them dry to absorb any excess moisture. Mix the ricotta cheese with an egg in a bowl. Start assembling your lasagna: ladle sauce in the bottom of the pan, add zucchini slices to cover it, spread ricotta & egg mixture evenly on top, sprinkle with fresh basil, and then top with shredded mozzarella. Repeat this process with all remaining ingredients (you may have extra meat sauce to freeze or use elsewhere!), reserving some fresh basil for garnish. Place the lasagna in the oven and cook for 40-45 minutes, broiling for a couple of minutes at the end to get a nice golden, bubbly top. Garnish with whole basil leave, pour yourself a glass of wine, and serve!


baked rigatoni with ground turkey, pumpkin & ricotta

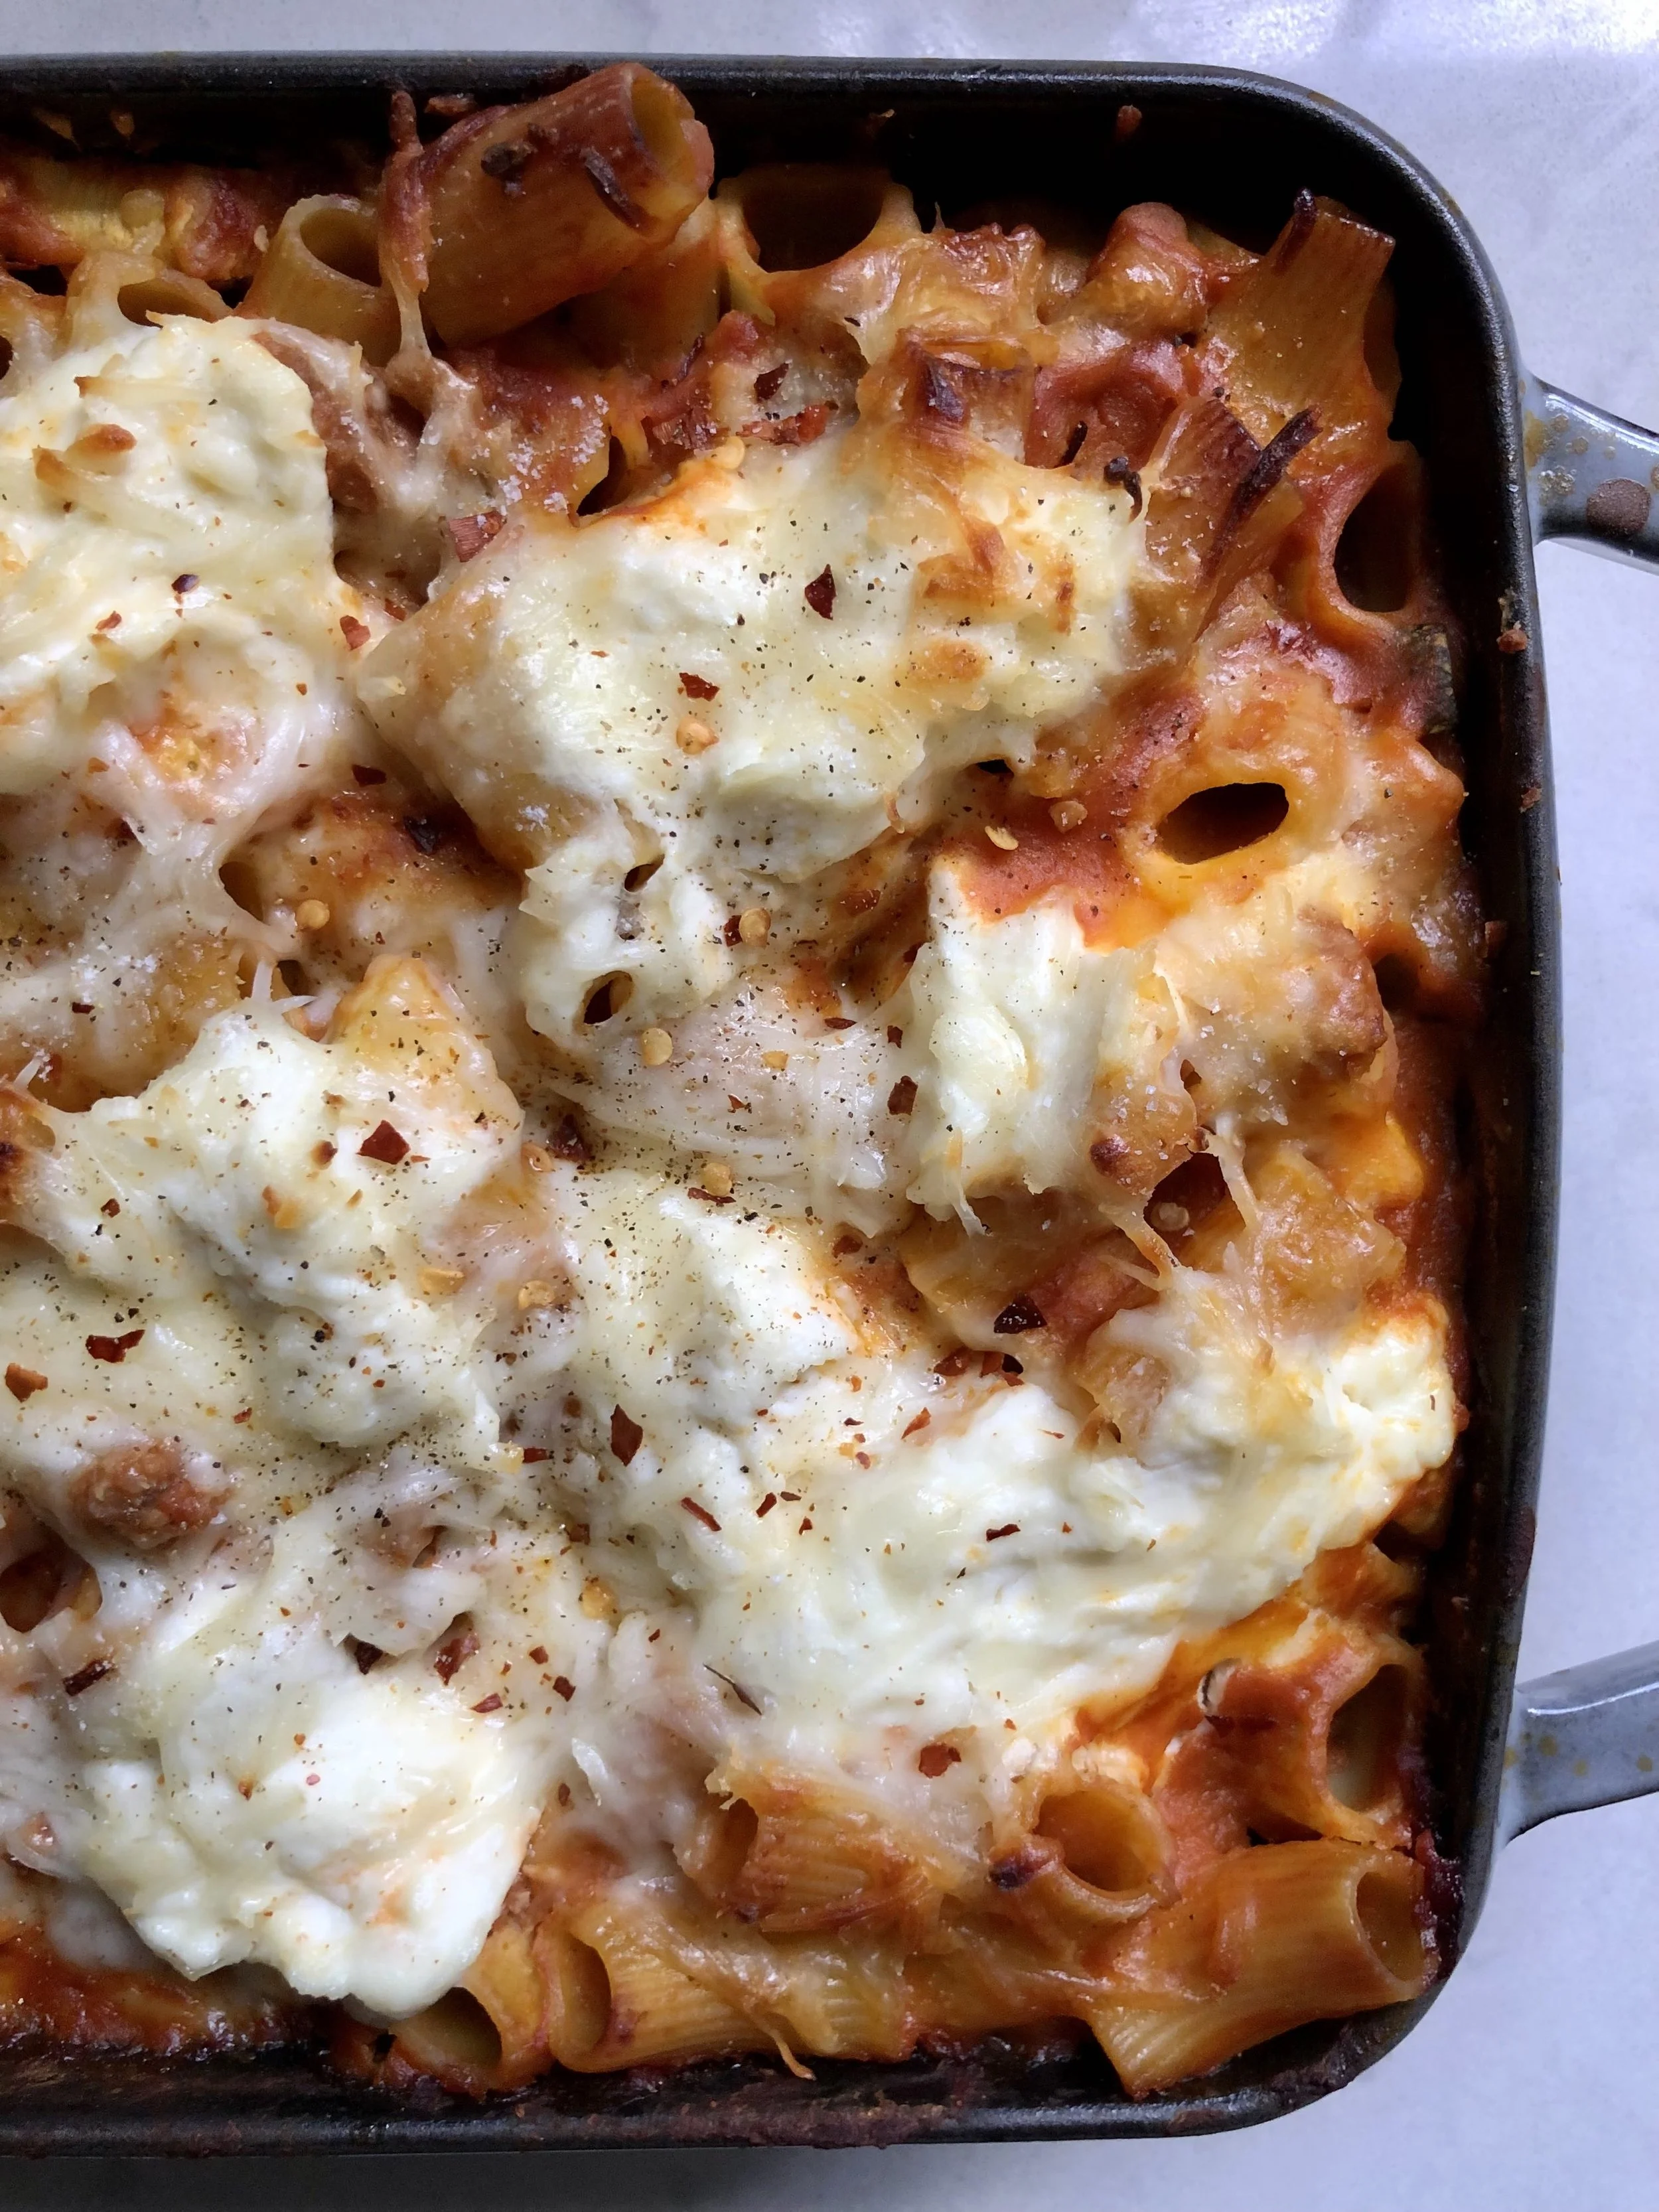
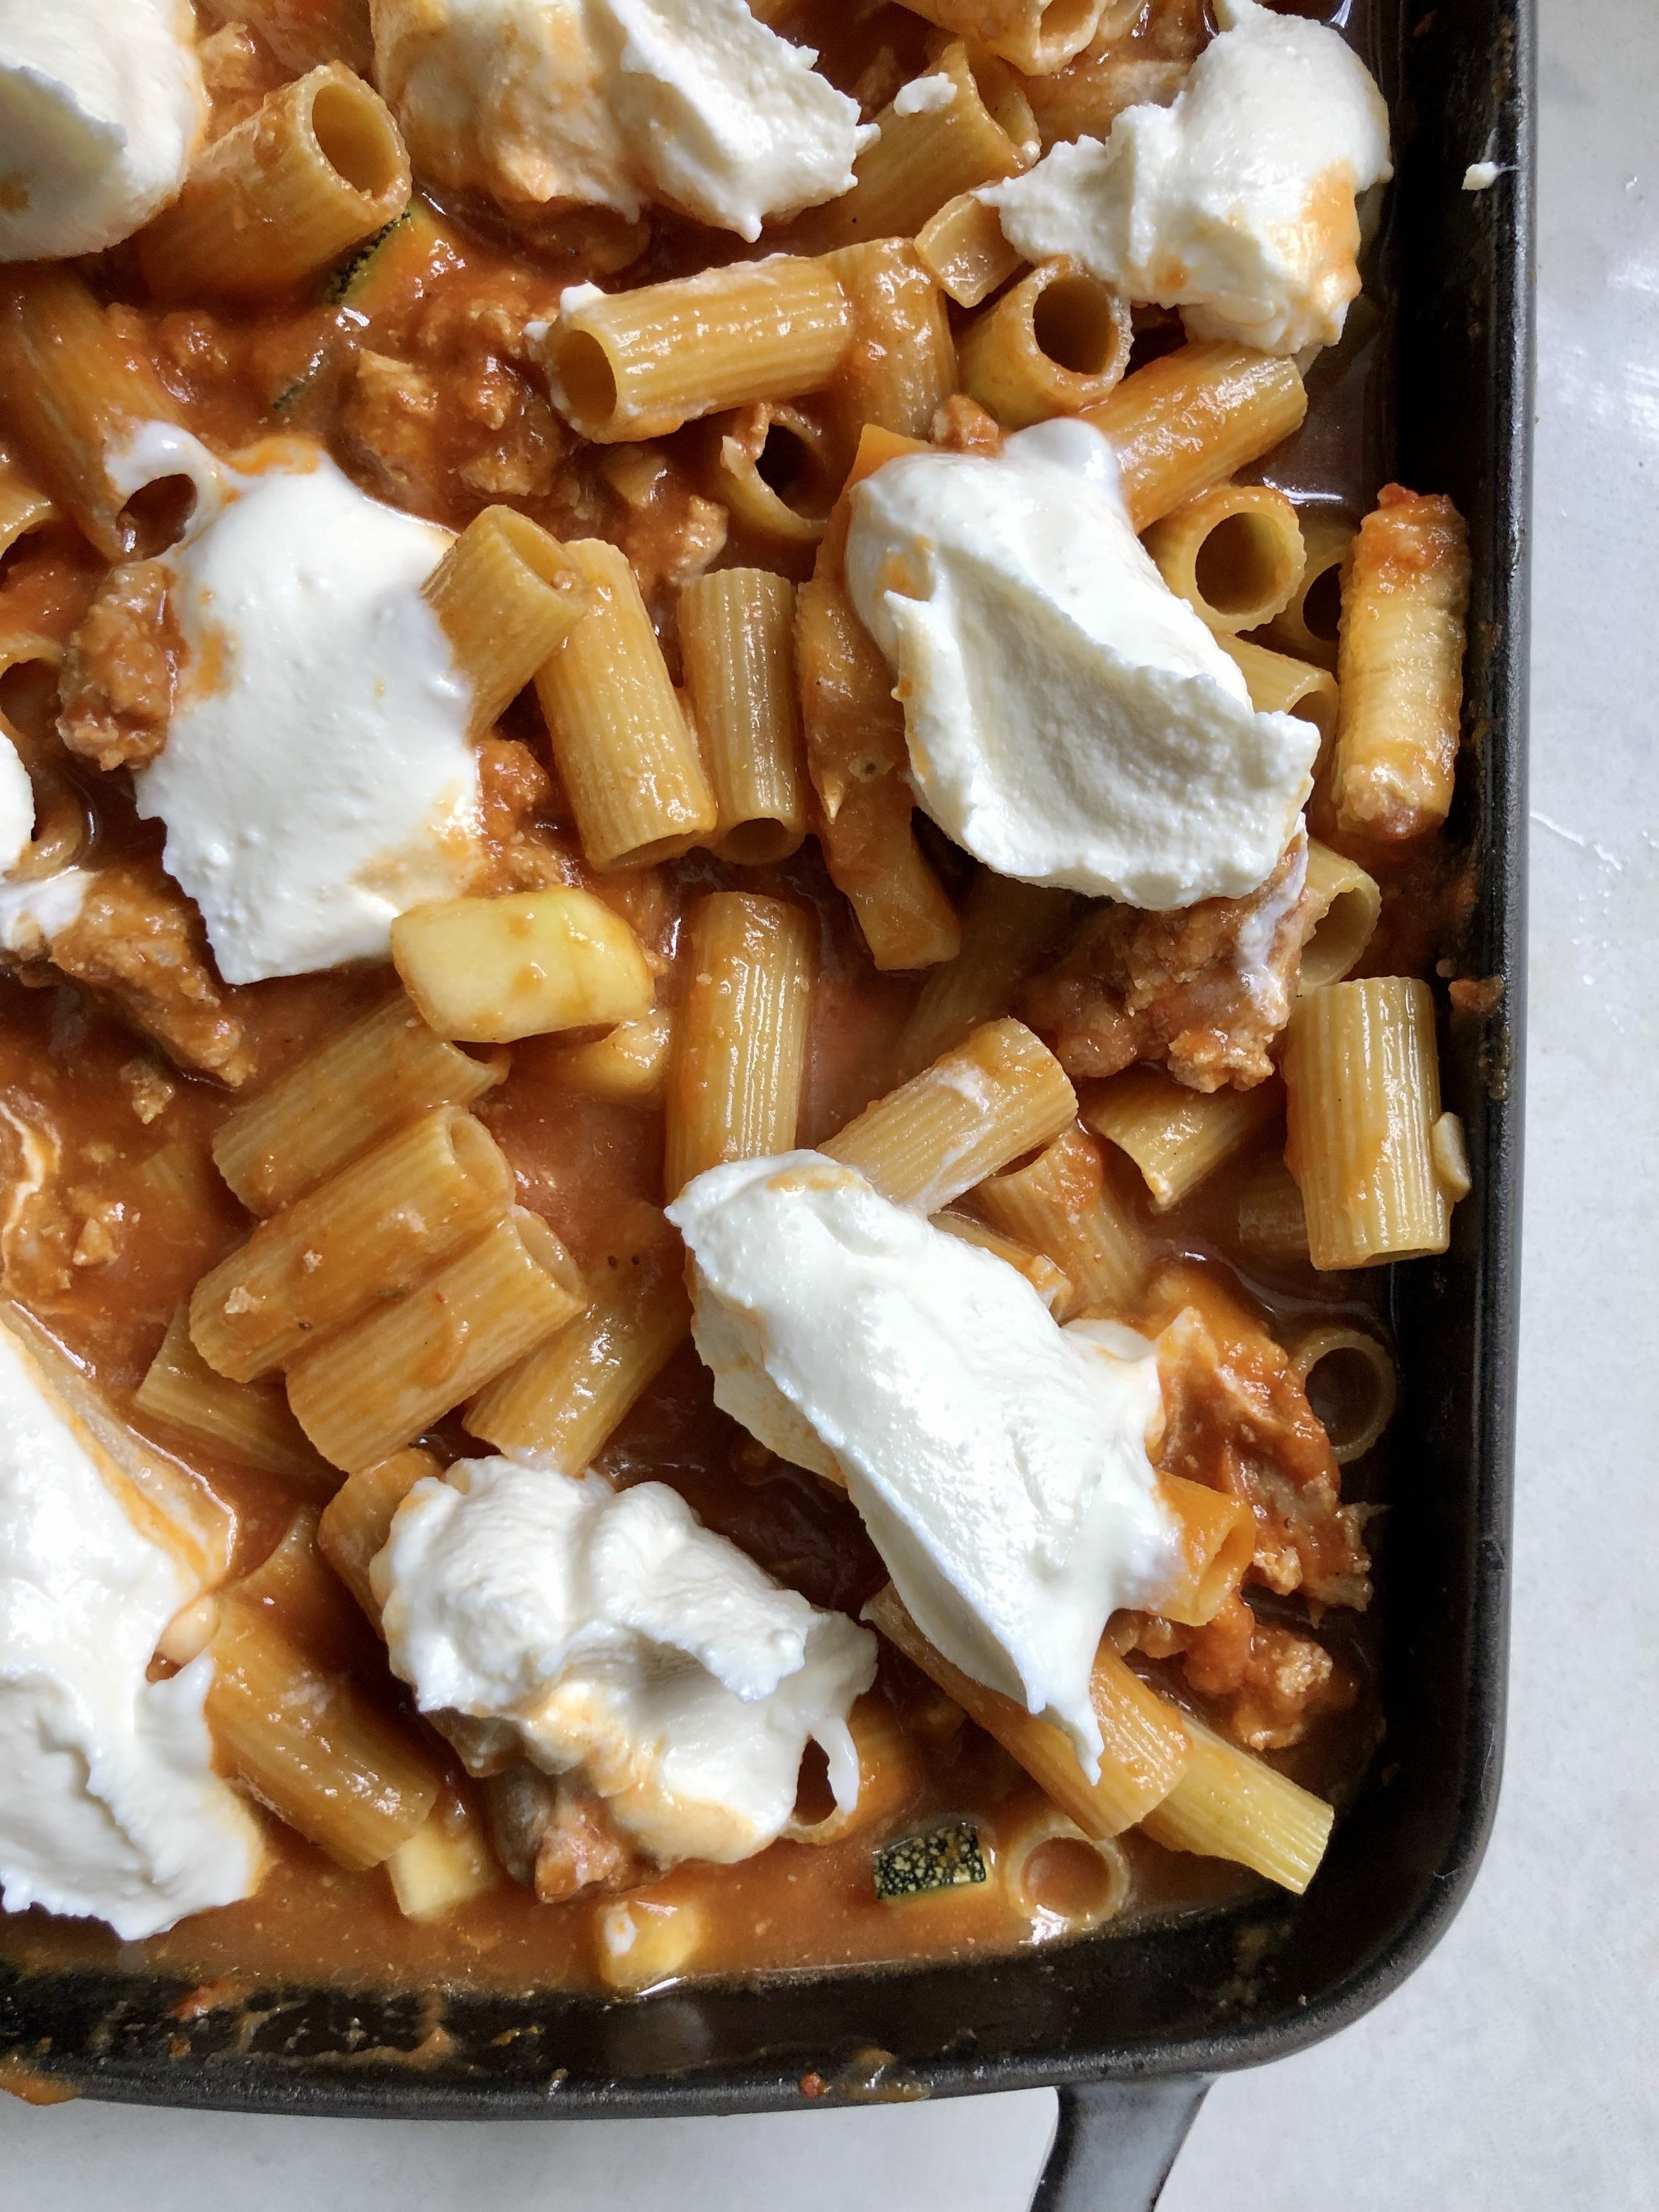
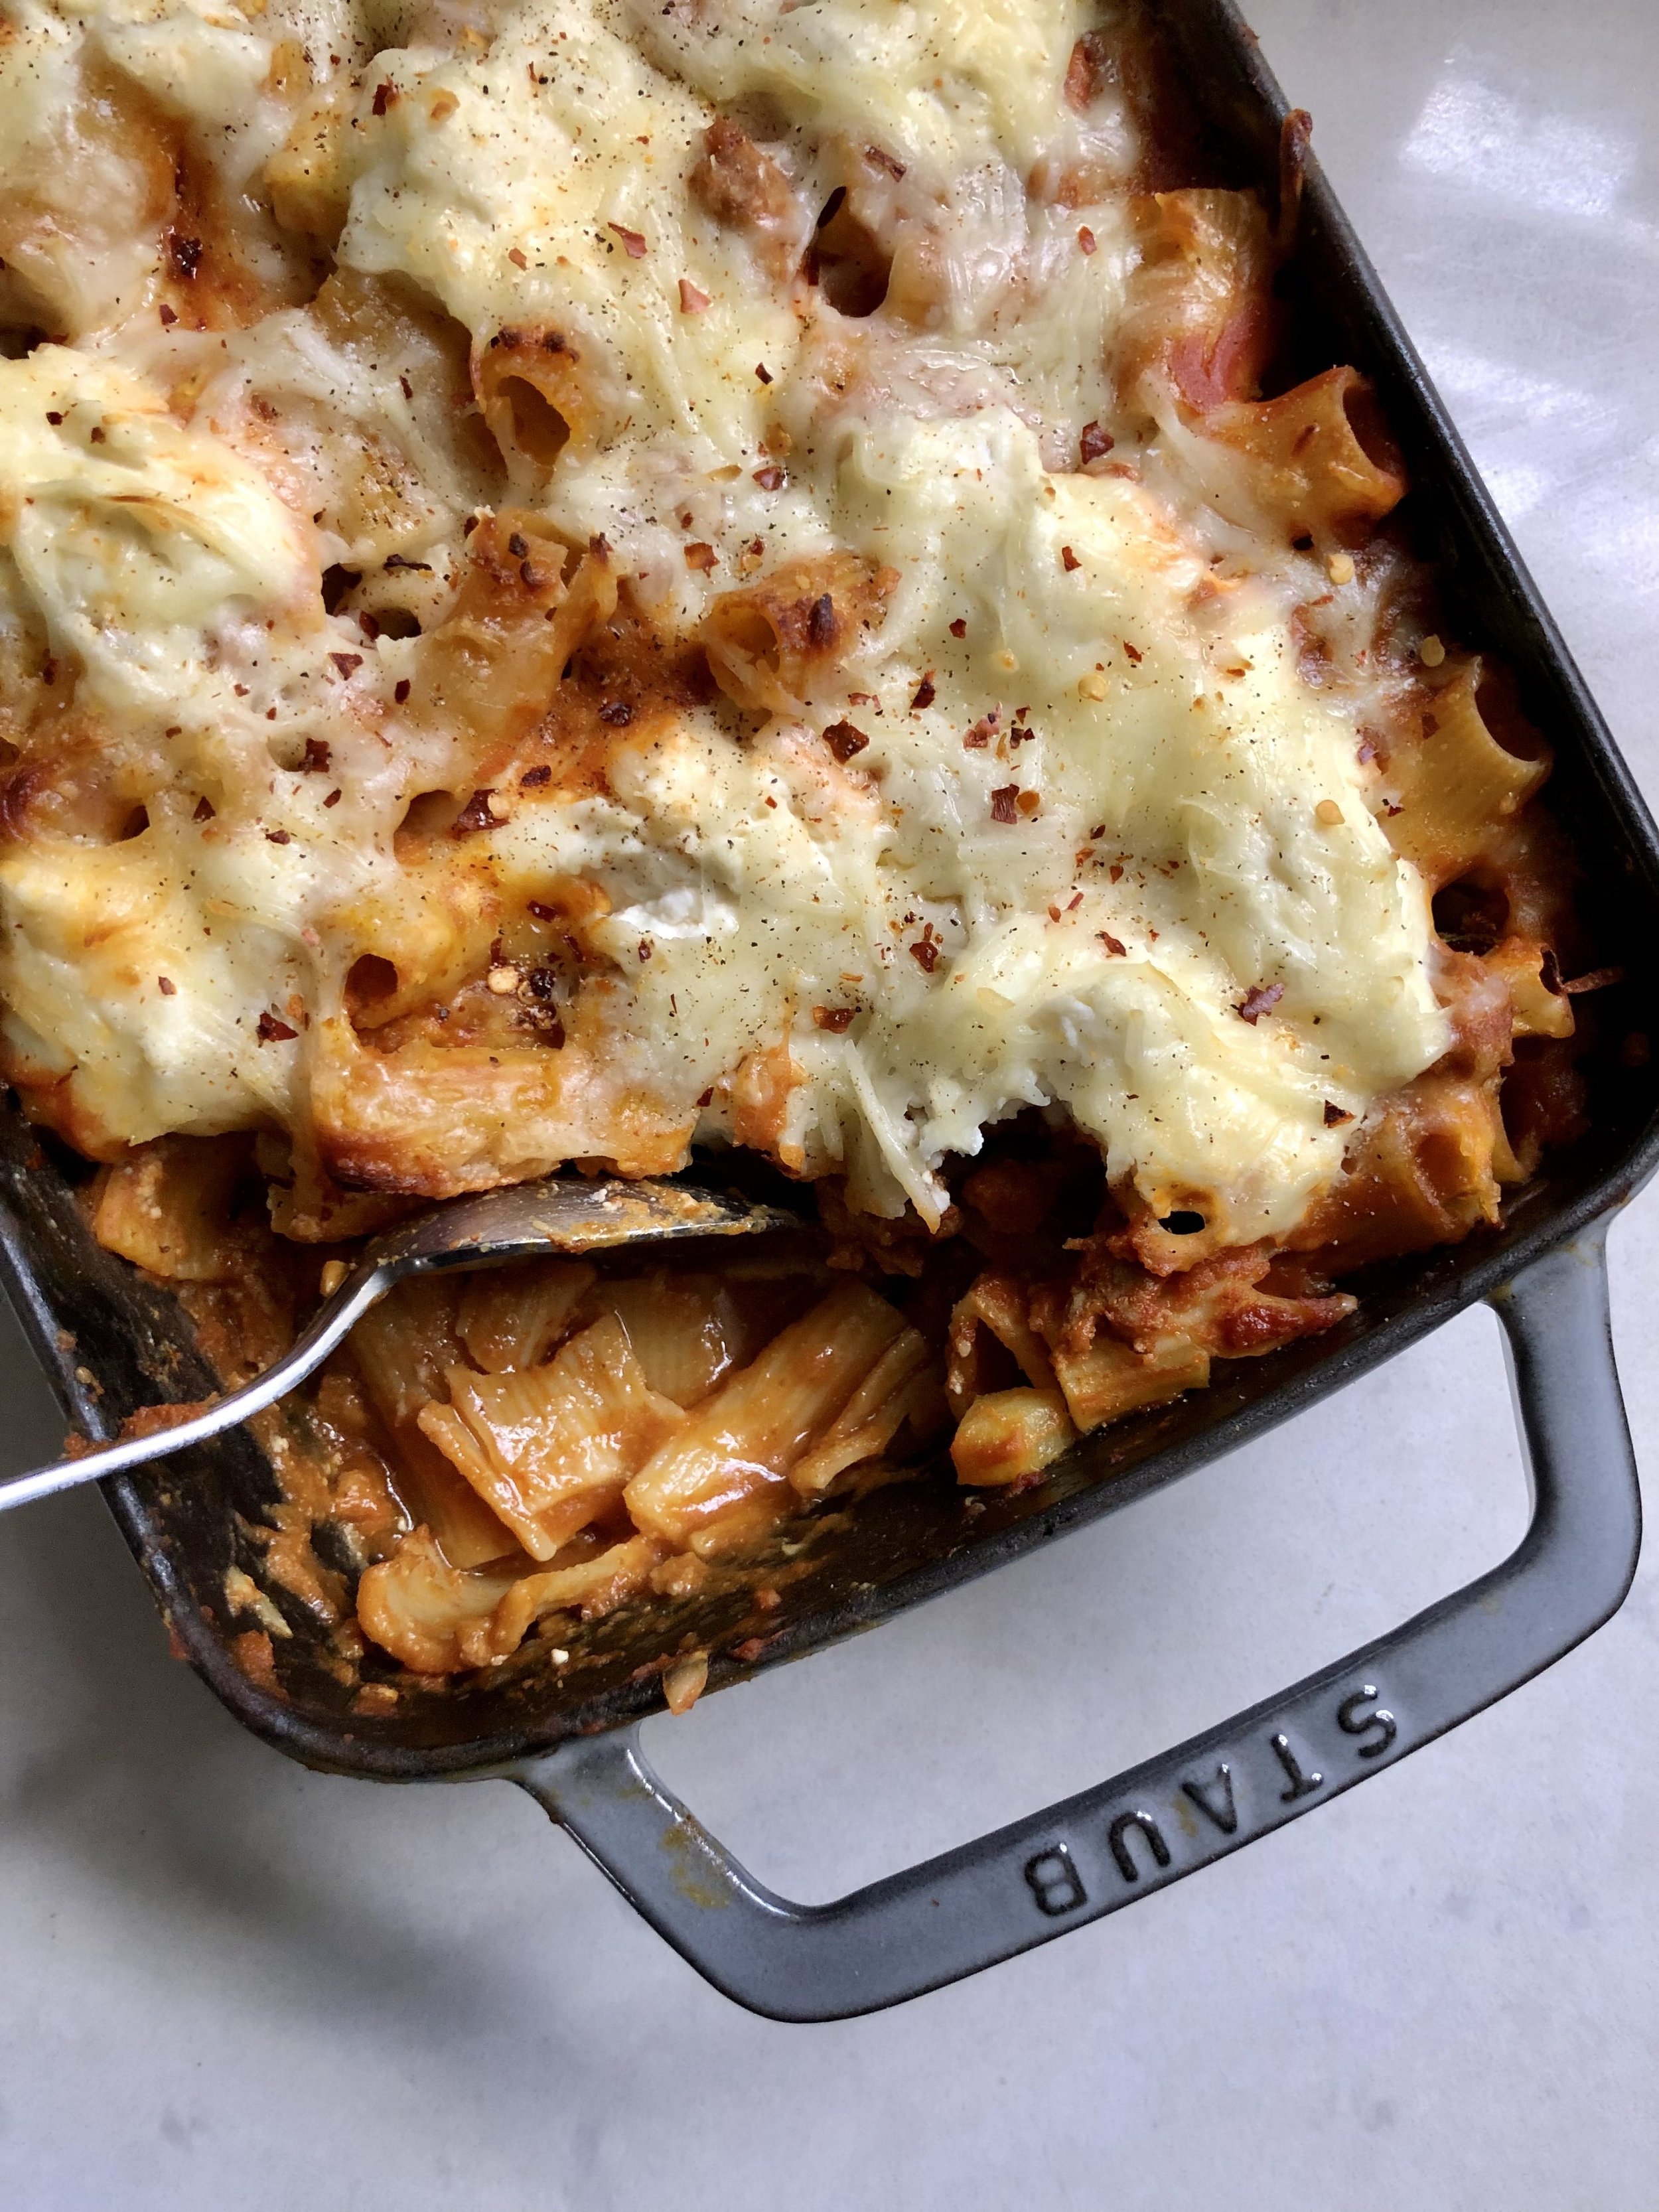
As the weather gets cooler, I find myself craving warm, comforting meals. Even better if they come together and bake up in one pan! This baked rigatoni with ground turkey, pumpkin and ricotta makes for a delicious dinner this time of year, and is enjoyed by kids and adults alike! I use ground turkey, but feel free to use beef if you prefer. It can also easily be made vegetarian by omitting the meat entirely! I love the added dose of veggies from the (entire can of) pumpkin, as well as some sneaky zucchini we had from our garden. Just a pinch of ground nutmeg imparts a wonderful depth of flavor- I highly recommend it! And don’t skimp on the cheese, either. We use a mix of whole milk ricotta and shredded mozzarella while baking, and freshly grated parmesan to serve! Top with red pepper flakes for a spicy kick! This can also be made ahead, and is great reheated, or even frozen and defrosted! Did I mention you don’t even have to boil the pasta before cooking? Talk about an easy, satisfying dinner!

Baked Rigatoni with Ground Turkey, Pumpkin & Ricotta:

  • 1 pound ground turkey (or beef)

  • 1 yellow onion, finely chopped

  • 2 garlic cloves, finely chopped

  • 6oz. can tomato paste

  • 15oz. can pumpkin puree

  • 1/4 tsp ground nutmeg

  • 1/2 tsp dried herbs (I like sage, oregano & thyme)

  • 1 large zucchini, cubed or shredded

  • 3 cups vegetable (or beef/chicken) broth

  • 16oz box rigatoni pasta

  • 1 cup ricotta cheese

  • 1 1/2 cups shredded mozzarella cheese

  • red pepper flakes, fresh parmesan cheese, fried sage leaves- optional garnish

Preheat the oven to 400 degrees. In a wide, oven-safe skillet (or casserole dish), brown the ground turkey for a several minutes until no pink remains, seasoning with salt & pepper as it cooks. Remove from pan, and saute the onion and garlic for a few minutes until they start to caramelize, careful not to burn the garlic. Add the turkey back to the pan, as well as the tomato paste, pumpkin puree, ground nutmeg and dried herbs, stirring to combine. Remember to season with salt & pepper at each step, and let the sauce simmer/cook together for a few minutes so that the flavors can develop. Add zucchini or other veggies, if using, until fully mixed together. Then, add the broth and pasta, and stir to combine. Add dollops of the ricotta throughout the pasta, by the large spoonful. Mix some salt & pepper and lemon zest into the ricotta before adding to the pasta if you want to elevate the flavor even more. Sprinkle shredded mozzarella cheese over the top. Cover and cook for about 40 minutes. Then uncover and cook for about 5 more minutes until cheese is bubbly. Let cool, and sprinkle with red pepper flakes. Serve with freshly grated parmesan cheese. Enjoy!

*Adapted from No Boil Pumpkin & Sausage Baked Ziti by Inspiralized.


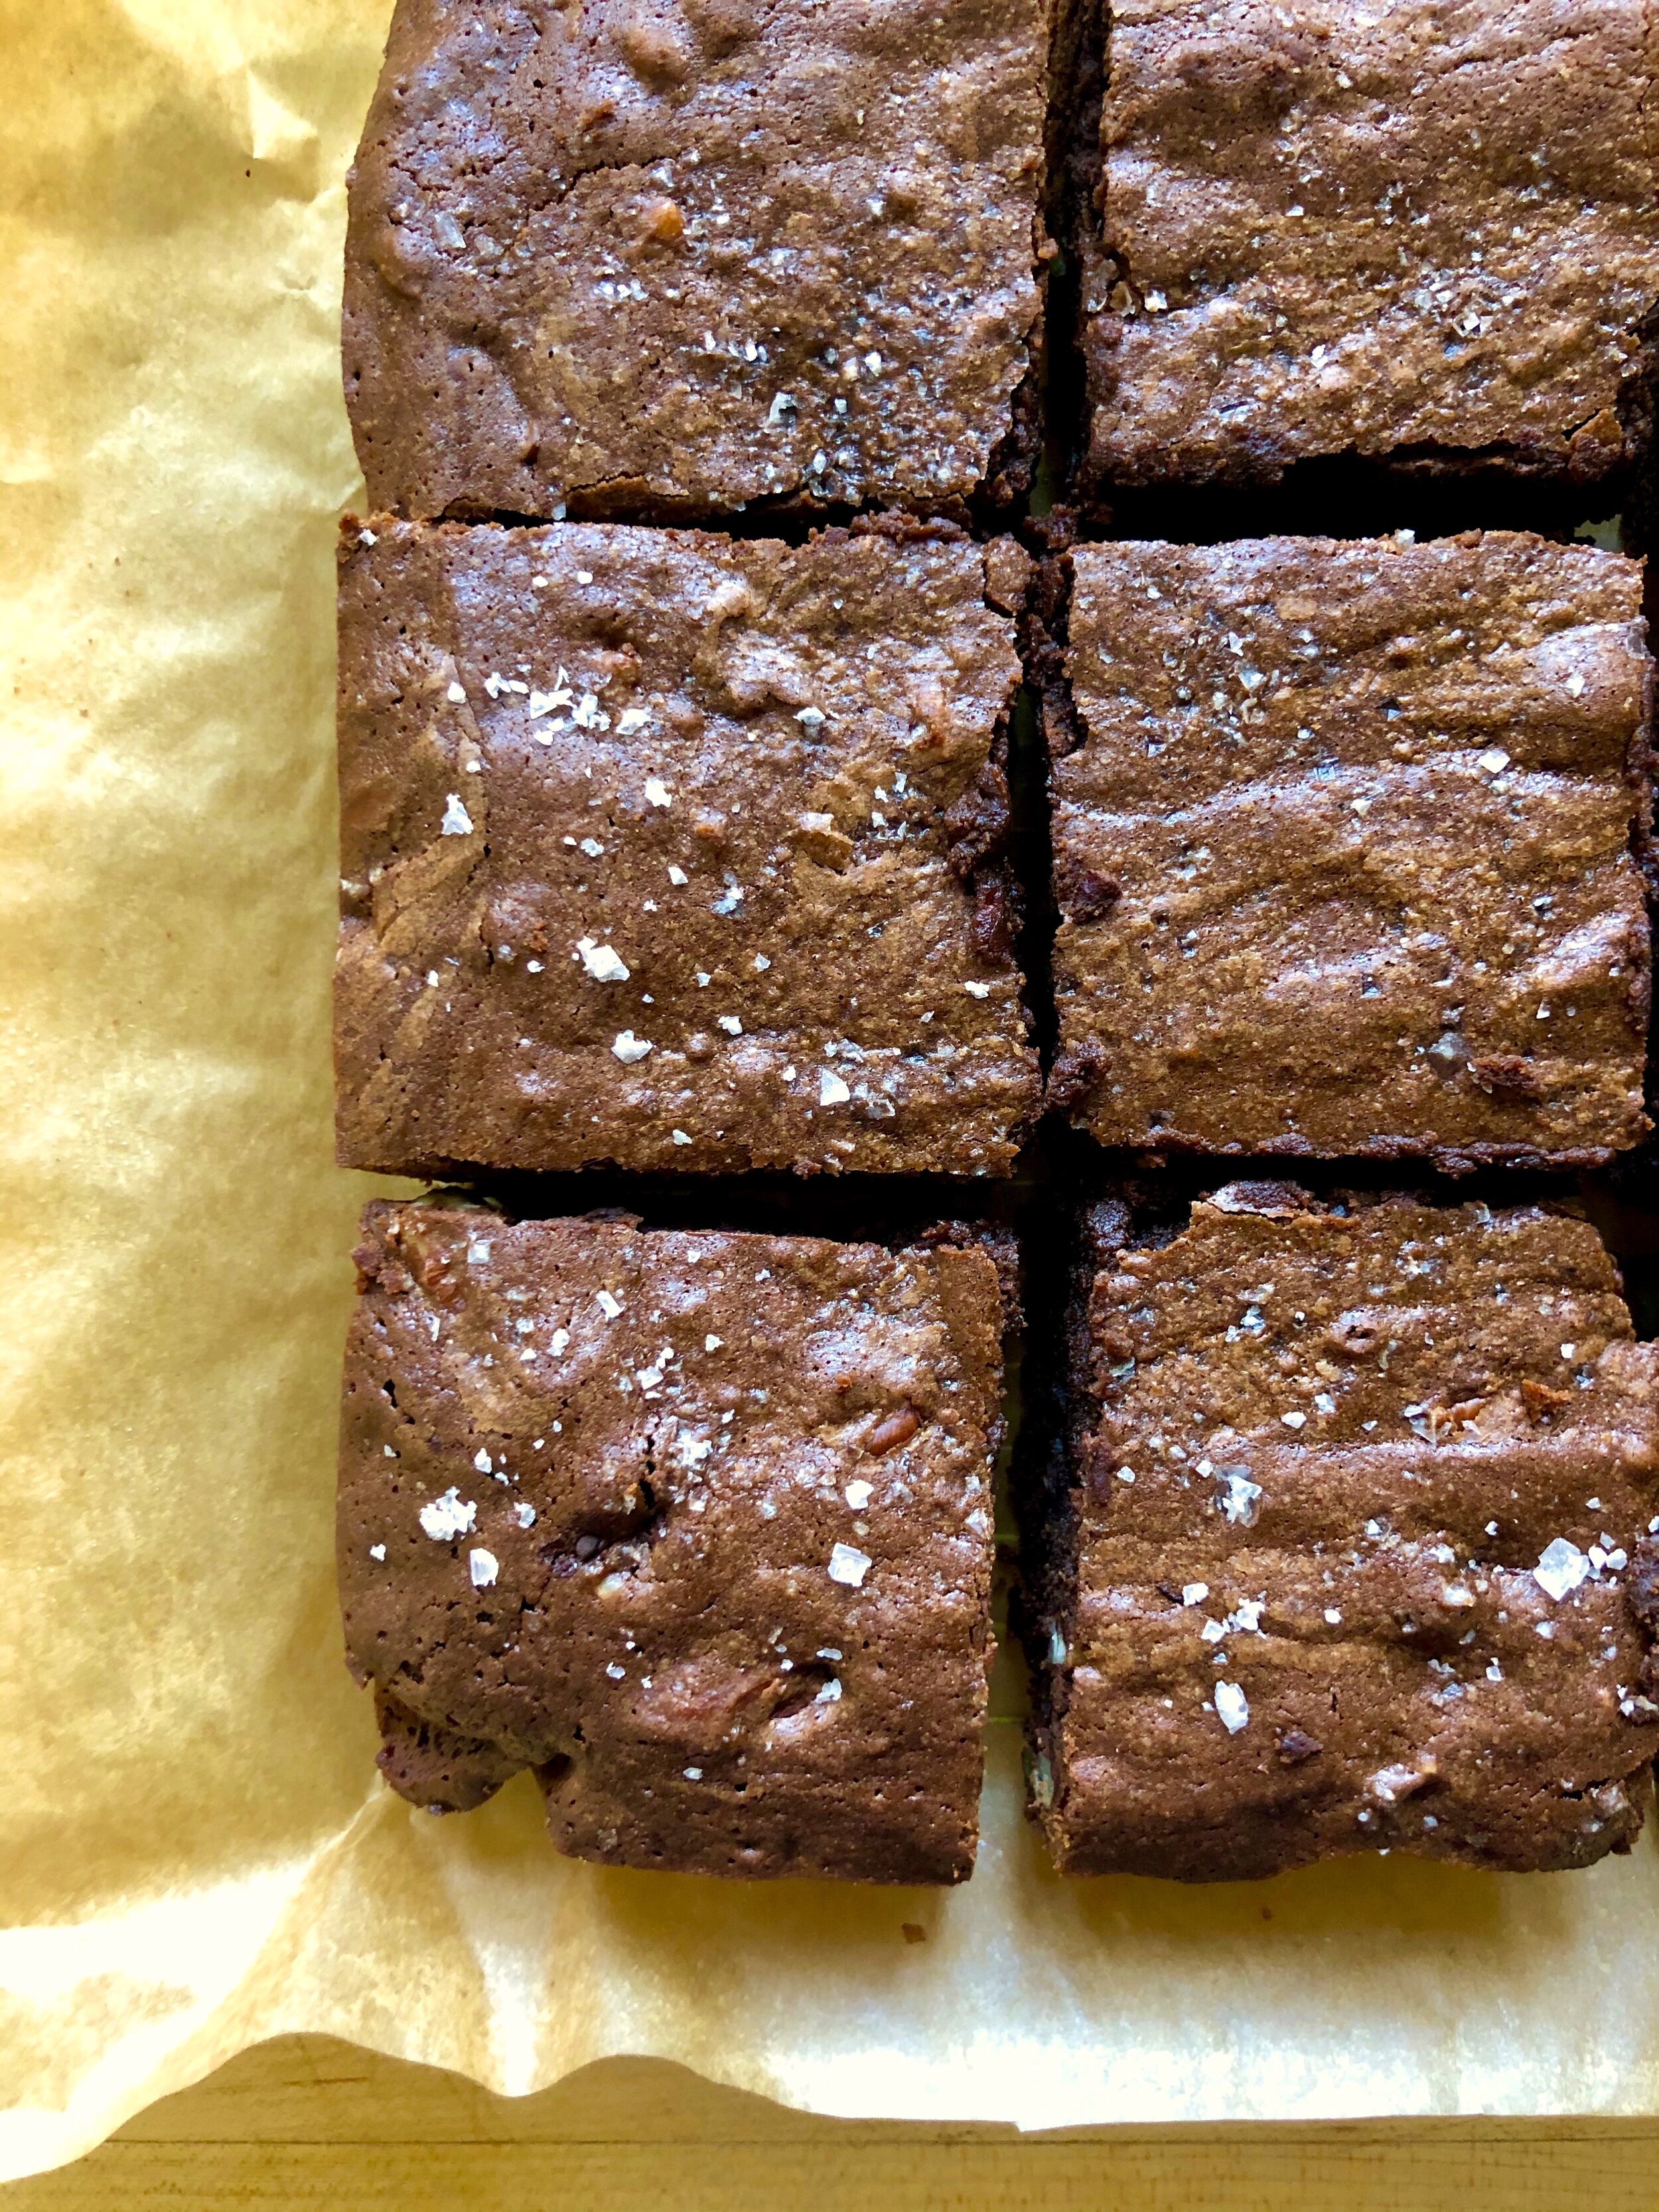
classic fudge brownies

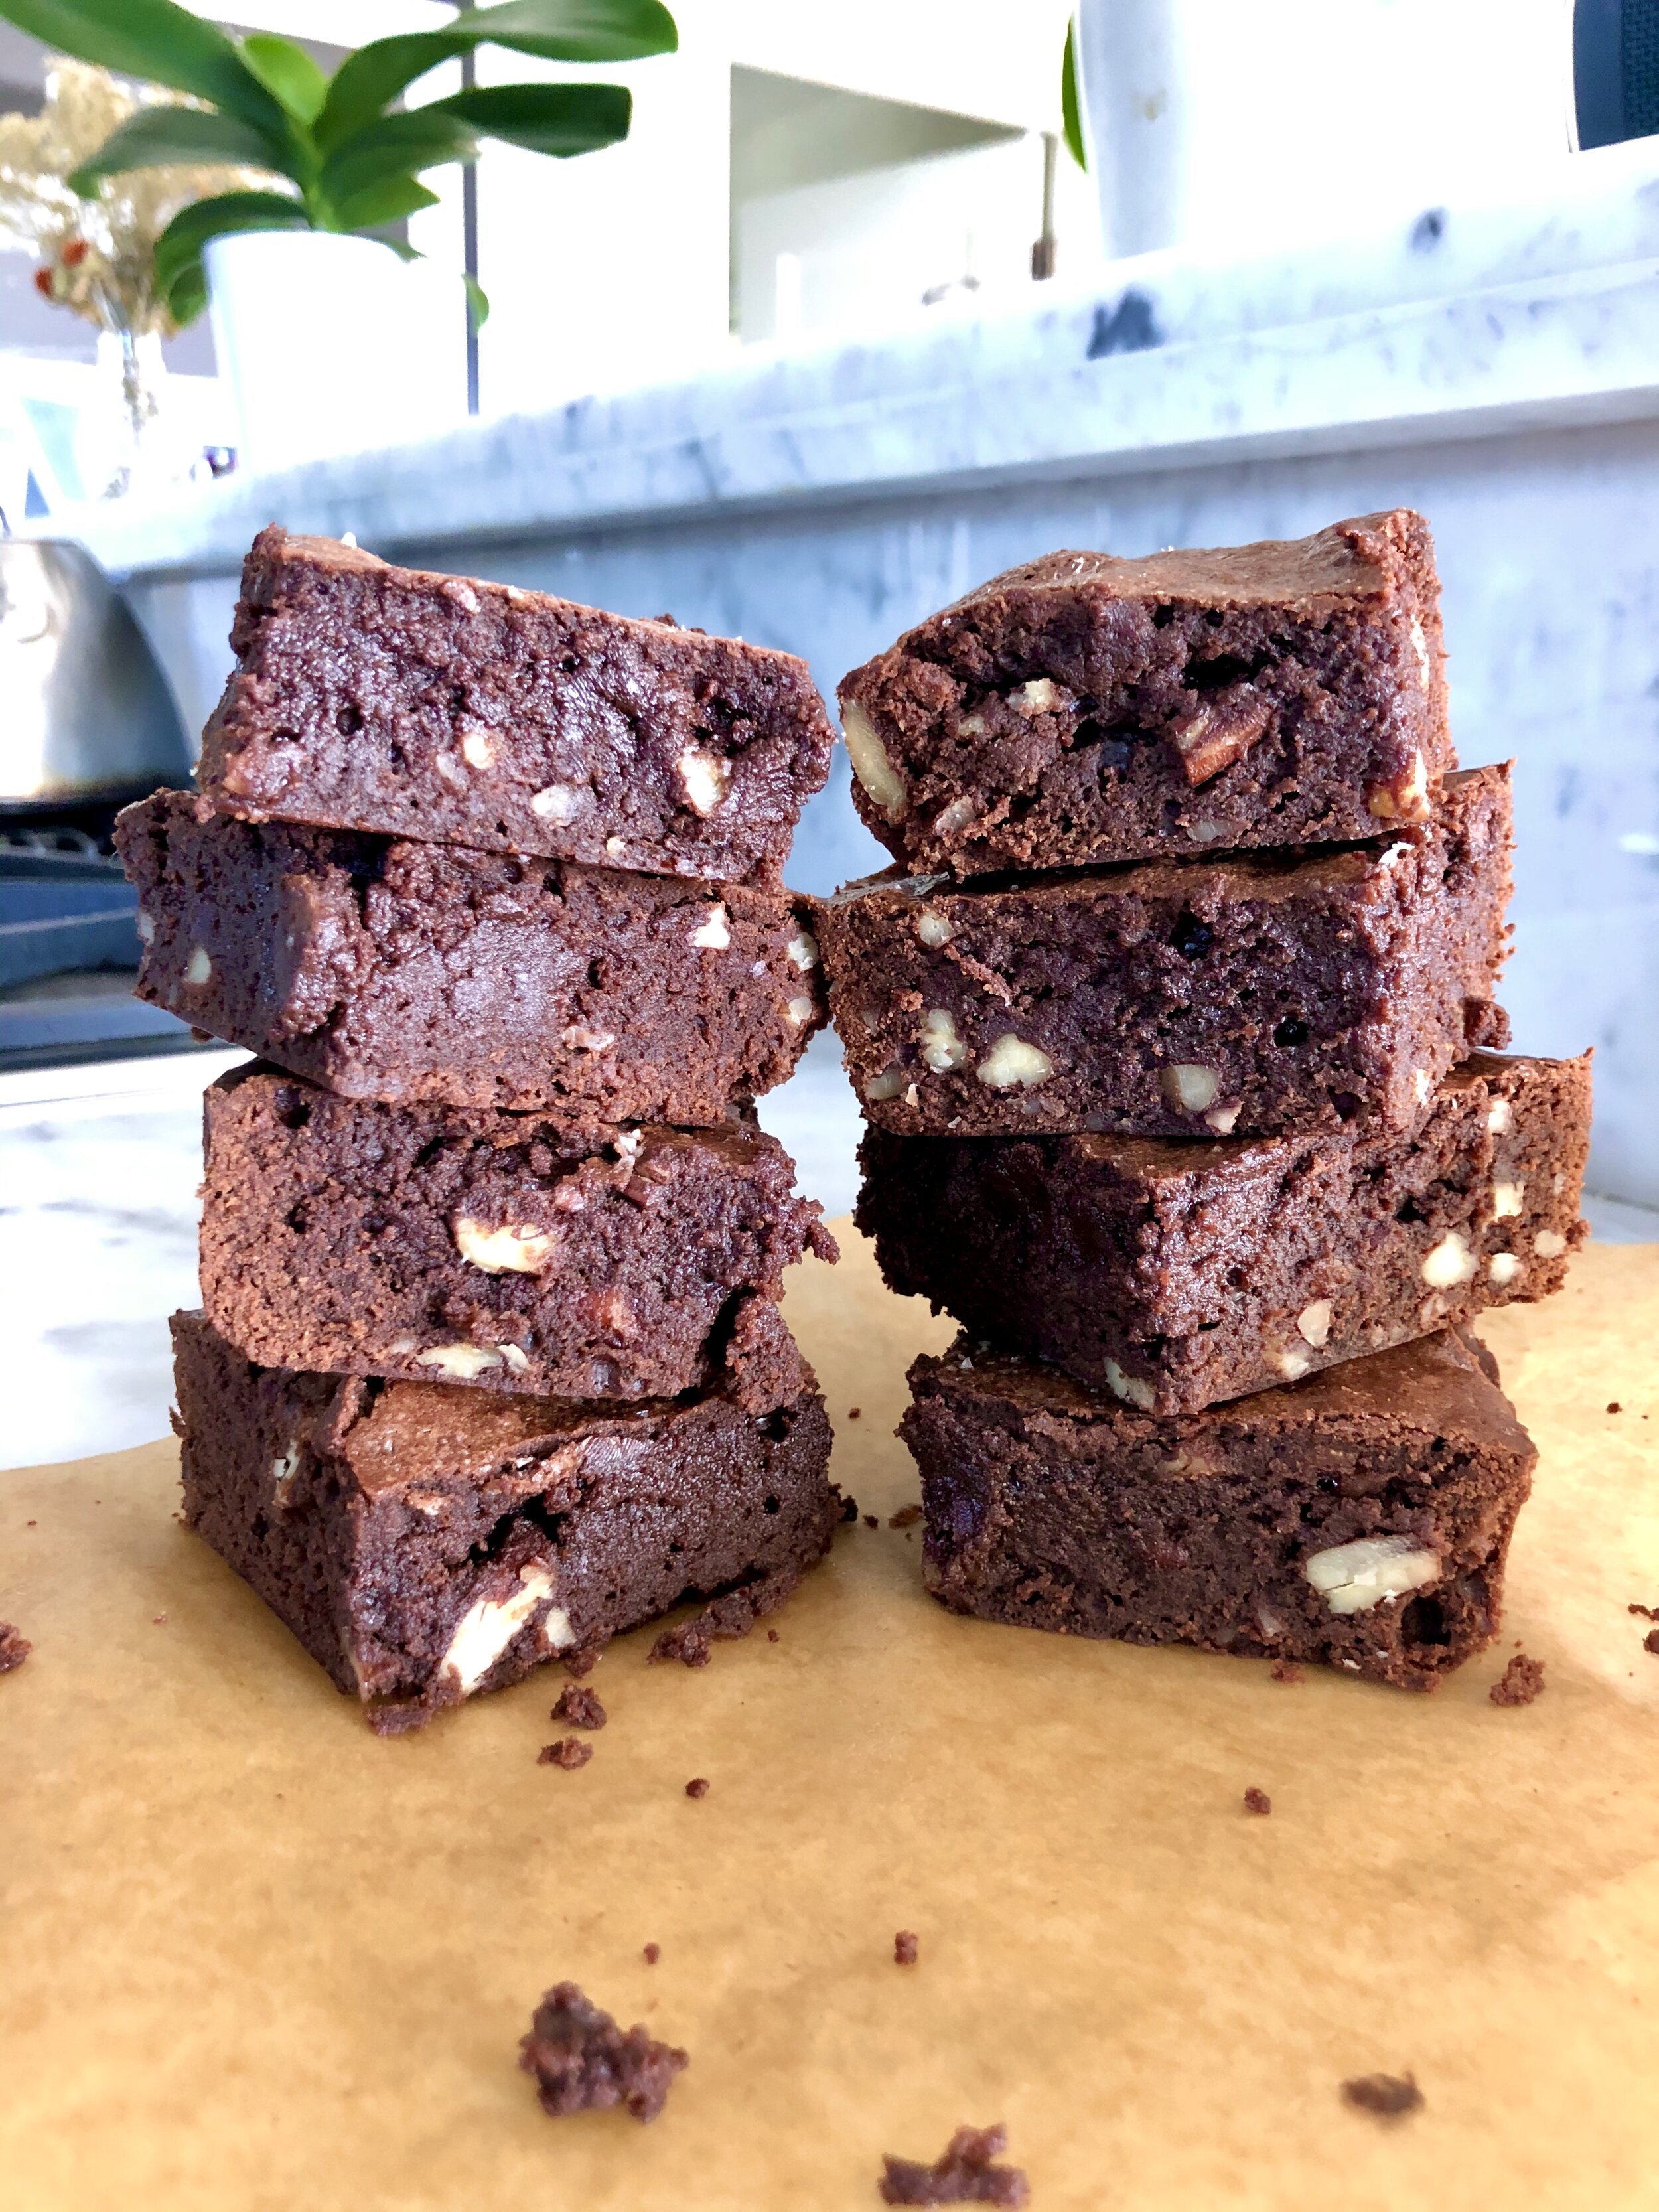
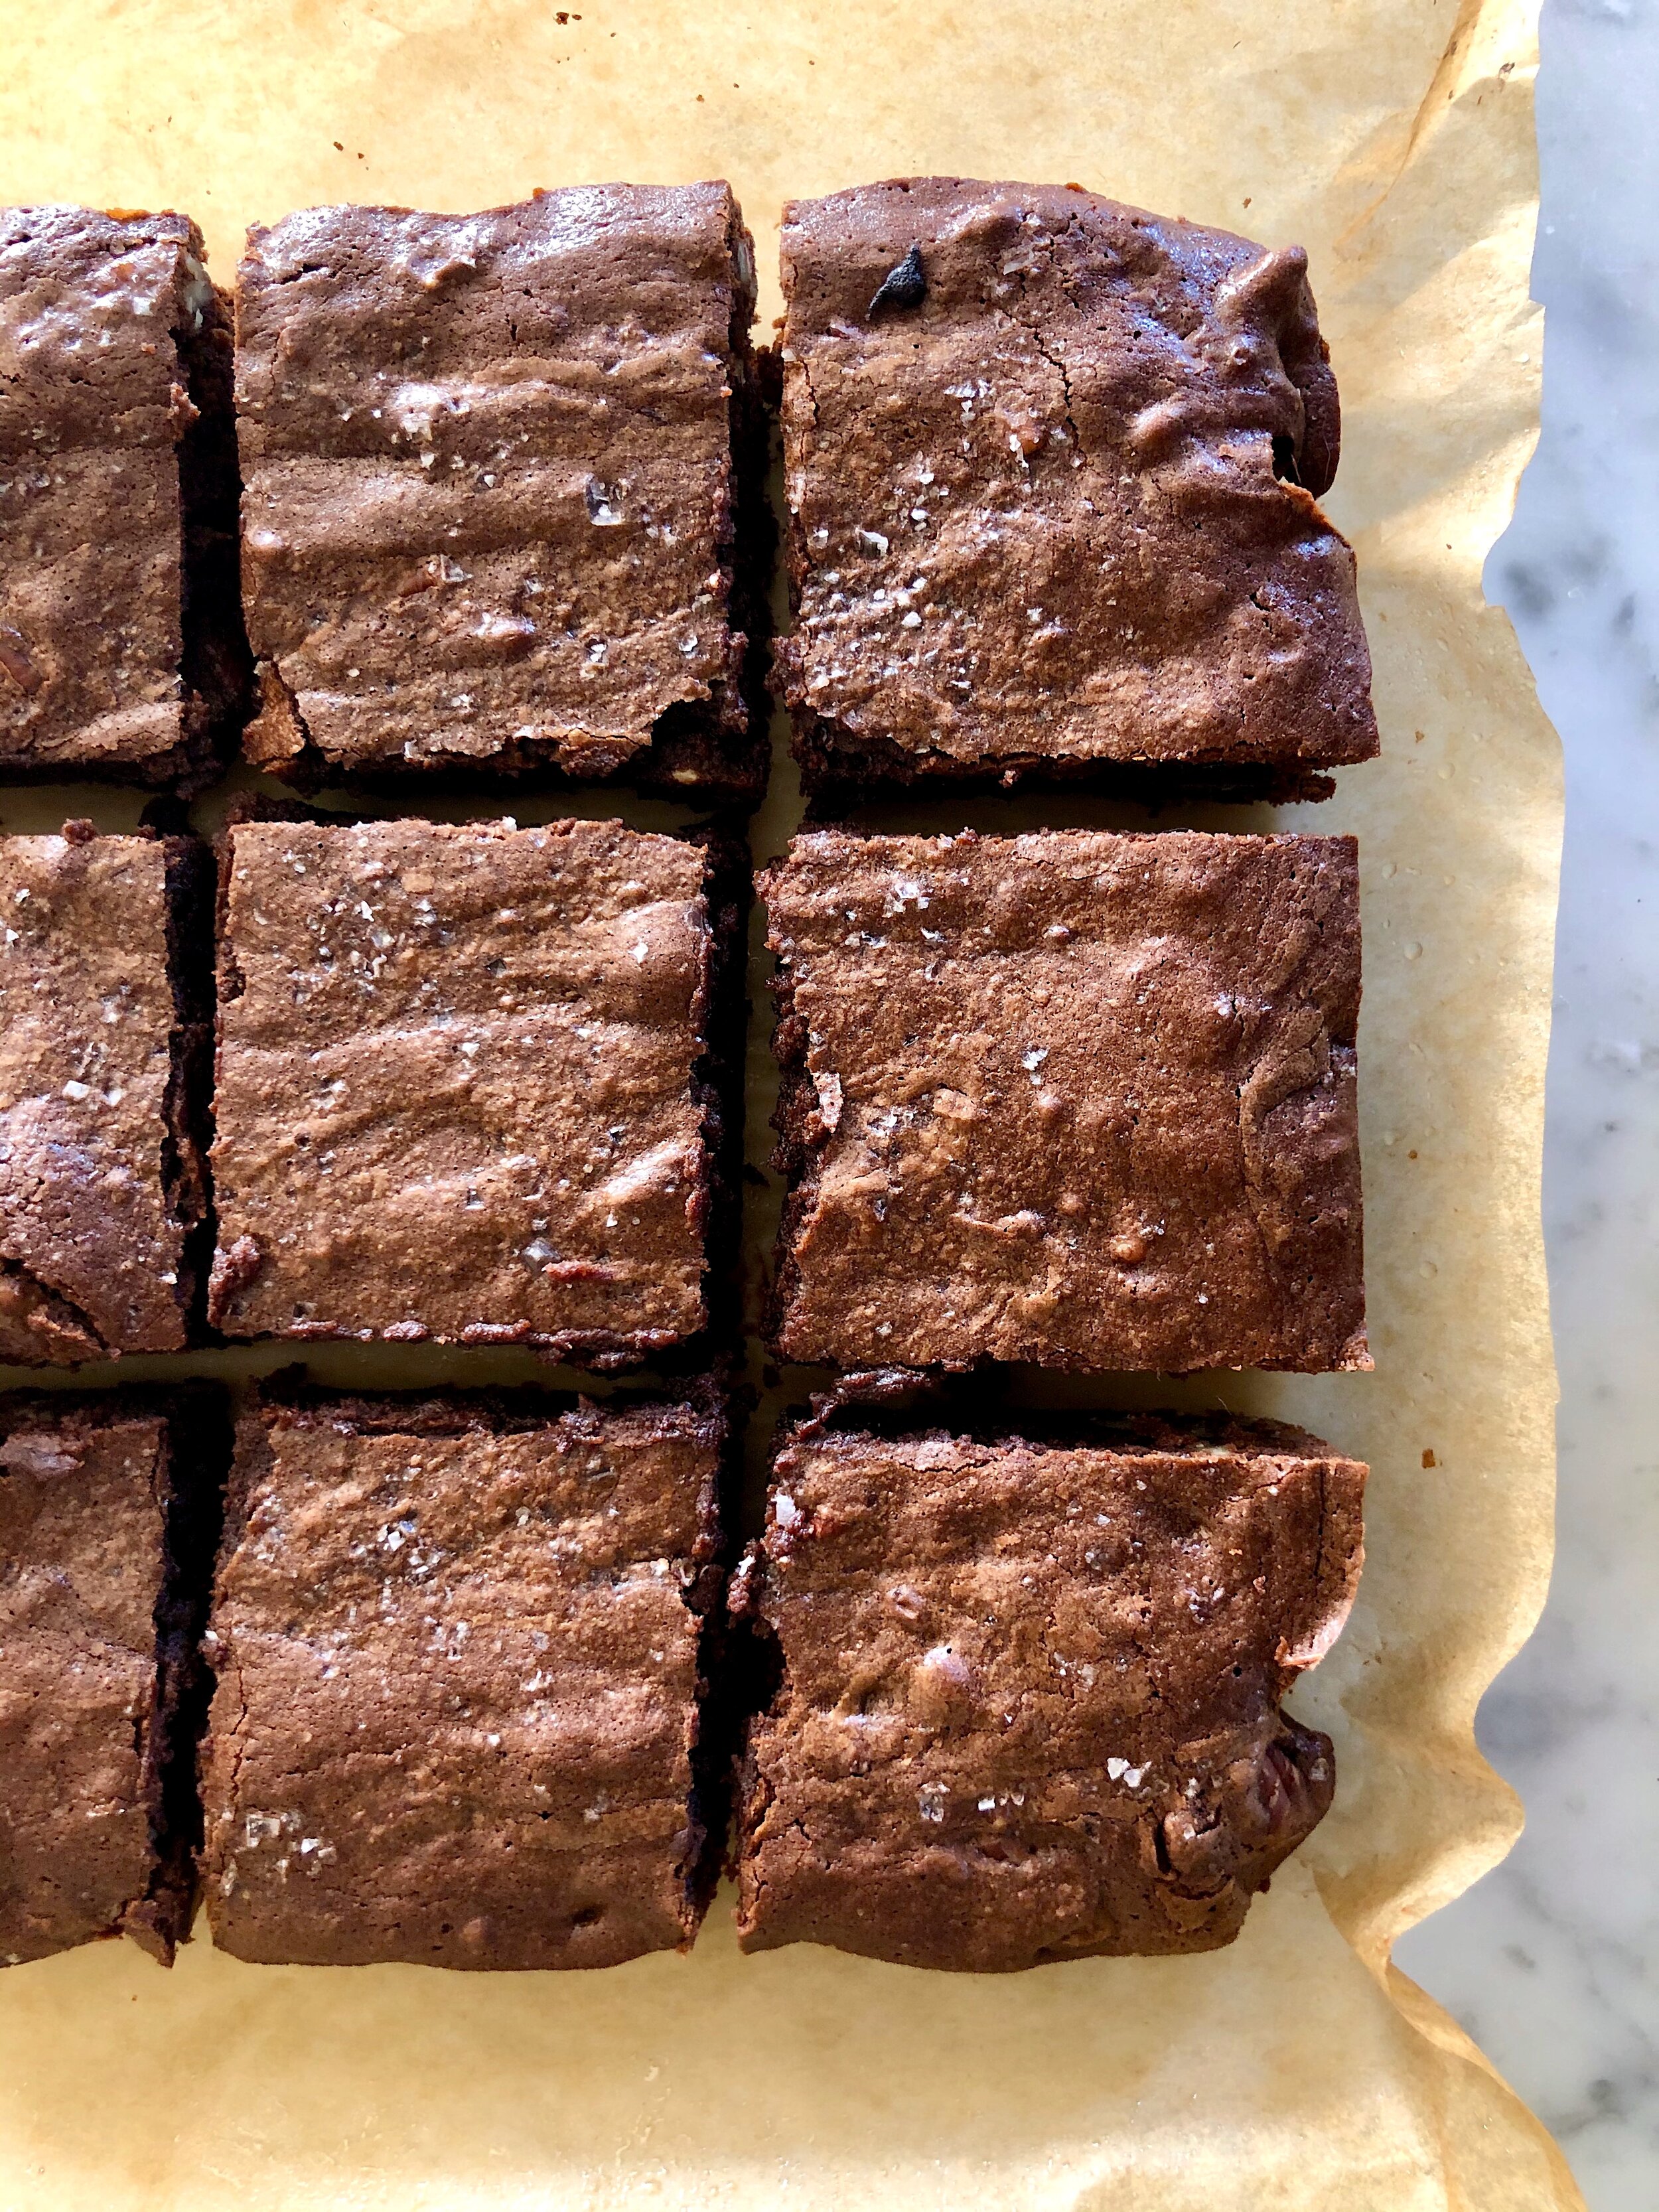
There is not much better than a super rich and decadent brownie. I prefer mine with a chewy, fudgy, almost-raw batter consistency as opposed to one that is cake-like, and I’m happy to say these fit the bill perfectly. Use high quality chocolate, like Guittard, Valrhona, or Ghirardelli, if possible. One tip for making sure your brownies get that beautiful, shiny, and crackly top- whisk the sugars into the warm, melted chocolate mixture. This allows the sugar to rise to the top while baking, and creates the perfect crackly top over a deliciously fudgy interior. Also, you’ll notice I use no leavener (baking soda or powder) in this recipe. Most fudgy brownies don’t need it, but if you prefer a slightly airier, cakey brownie, then you can add 1/4 tsp of baking soda. These are a classic staple in my household, and I love whipping up a batch whenever the chocolate craving hits!

Classic Fudge Brownies:

Preheat the oven to 350° F. Line a 9-inch square pan with parchment paper, allowing for extra to come up over the sides. Nonstick spray (or butter) both the pan and the parchment paper.

In a saucepan, melt the butter with both chocolates over low heat, stirring occasionally. Remove from the heat, whisk in both sugars until dissolved and mixture is grainy. Add in eggs, vanilla and coffee (if using), whisking until frothy. Fold in flour, cocoa powder, and salt until just combined. Lastly, add any mix-ins, if desired. 

Pour the batter into the prepared pan and smooth the surface. Sprinkle extra salt over the batter. Bake for about 30 minutes, until the edges are set but the center is still a bit soft. You may test with a cake tester, and be careful not to overbake! Lift the brownies from the pan using the loose ends of parchment paper, and allow to cool completely. Cut the brownies into squares and enjoy! Store in an air-tight container at room temperature or in the refrigerator. Makes 9 large brownies.

*Adapted from Chewy Fudge Brownies by NYT CookingExtra Nutty Dark Chocolate Fudge Brownies by Joy the Baker, and Ultimate Brownies by Handle the Heat.

Useful Tools:

 * This post may contain affiliate links. If you buy something through one of these links, it won’t cost you a penny more, but I’ll earn a small commission. This allows me to continue to generate content for you, and helps keep the site up and running. Thanks for your support!