first birthday smash cake

I’m sure it’s no surprise to anyone that I was super excited to bake my son Dylan’s first birthday cake. Typically called “smash cake”, it’s a birthday cake for a one year old that they can essentially smash, play around with, eat, dig in, throw, whatever. Anything goes! And extra cake for me to eat? Yes please! While researching recipes, I knew I wanted something on the healthier side- not too much added sugar for sure. Fresh fruit like bananas are a great way to add a natural sweetness to your cakes without having to add a bunch of cane sugar. I also used a combination of coconut oil (healthy fats!) and applesauce, which keeps the cake nice and moist. Oat flour is a healthy alternative to all-purpose, and I made mine by grinding up rolled oats in a food processor. Super easy! If I’m honest, I didn’t even pulverize the oats into total flour consistency, and left it a bit coarser to give the cake some texture. Whatever you prefer! Plus, if you use certified gluten-free oats, this cake is completely gluten-free as well. In terms of frosting, which can all too often be a huge sugar bomb, I went the Greek yogurt route, with just a touch of maple syrup for sweetness! Make sure you strain it so it’s extra thick for frosting purposes. Feel free to decorate however you desire- a more “naked” frosted cake or spread all-over, and top with berries or natural sprinkles. I was assembling this away from home, without my usual tools and decorating accessories, so it didn’t end up being the prettiest cake out there (I essentially threw sprinkles at it to cover up a messy frosting job), but it was still super fun to make! Just don’t forget the first birthday candles! I’m happy to report Dylan dug right in and ate quite a few handfuls (mostly frosting). Thankfully, he even shared with his mama ;) Happy baking!

First Birthday Smash Cake:

  • 3 cups oat flour

  • 2 tsp baking powder

  • 1/2 tsp salt

  • 6 tbsp coconut oil, melted and slightly cooled

  • 6 tbsp unsweetened applesauce

  • 1/4 cup pure maple syrup

  • 3/4 cup mashed banana (about 1.5 large bananas)

  • 1/4 cup unsweetened almond milk

  • 4 large eggs

  • 2 tsp pure vanilla extract

  • fresh berries or sprinkles, for topping

Greek Yogurt Frosting: 

  • 3 cups whole milk greek yogurt

  • 1 cup cream cheese

  • 1/4 cup pure maple syrup

  • 1 tsp pure vanilla extract

Place greek yogurt in a mesh sieve or fine-mesh strainer lined with a paper towel with a bowl underneath. Let sit for a couple hours (or overnight in the fridge). Transfer the yogurt to a bowl and stir in maple syrup and vanilla extract. You may add more maple syrup if you prefer it sweeter. Refrigerate until ready to use.

Preheat the oven to 350 degrees F. Grease three 6-inch cake pans (you can alternatively use two 9-inch cake pans, but baking time will need to be adjusted), line each with parchment paper, and then grease the parchment as well. In a medium bowl, whisk together the flour, baking powder, and salt. In a large bowl or base of a stand mixer, whisk together melted coconut oil, applesauce, maple syrup, mashed banana, almond milk, eggs, and vanilla until smooth. Slowly add the flour mixture, mixing until just combined. Divide the batter evenly between prepared cake pans, and bake for about 22 minutes, or until a toothpick or cake tester comes out clean. Remove from oven and place pans onto a wire rack to cool for 15 minutes before removing cakes from pans to cool completely.

To assemble, level off any dome shape on your cakes, so you have flat surfaces. Place one cake on your cake stand, (you can also use cake boards and a revolving cake stand if you’d like!), and top with frosting, spreading it in an even layer just past the edges. Add the second, repeat with frosting, and then repeat with the third cake . Use an offset spatula or knife to scrape off the frosting overhang for a “naked” cake look, or use additional frosting to coat the entire cake. Top with berries or sprinkles, and enjoy!

*Adapted from First Birthday Smash Cake with Yogurt Frosting by Yummy Toddler Food.

Disable your ad blocking software to view this content.

lemon olive oil cake with polenta & rosemary

We are currently living through some crazy, uncertain, difficult, and stressful times. I don’t know about you, but in times of uncertainty, I find peace in the ritual of baking. I love the routine of it all, and the fact that some things do remain constant, even when so much else is unknown. We are lucky enough to have an abundance of lemons on our tree right now, so I took the opportunity to pick a bucket full. We use lemons pretty regularly, but even so, had more than we knew what to do with. It had been quite a while since I’d made an olive oil cake, but I do find them to be super comforting, and the perfect thing to nosh on while spending all this extra time at home, so it seemed like the perfect excuse! Plus, fresh citrus (zest & juice!) takes it to a whole other level. Using a top-notch quality olive oil for this as opposed to your typical store-bought variety is of the utmost importance here. I recommend Extra Virgin Olive Oil from Central Coast Family Farm for its crisp, pure olive flavor, which will keep your cake nice and moist. This olive oil cake is also entirely gluten-free, if that’s your thing- I find the hearty flavors and textures of almond flour and polenta complement the dense cake nicely. I also prefer to keep the cake itself not too sweet, as I typically serve it with assorted sweet toppings (like candied lemon peels, lemon marmalade & whipped cream) to balance things out. This baby will stay fresh wrapped in an airtight container at room temperature for several days, but you may also store it in the fridge if you prefer. It’s equally delicious at room temperature with a dollop of honey sweetened greek yogurt for breakfast as it is warmed in the oven and served with ice cream for dessert! You can bake this in a simple 8” cake pan, or use a springform pan for easy release of the sides! Whichever way you go about it, I hope that it brings you joy during this time. Stay safe, y’all!

Lemon Olive Oil Cake with Polenta & Rosemary:

  • 2 1/2 cups almond flour

  • 1 cup coarse ground polenta

  • 1 tsp baking power

  • 1/2 tsp kosher salt

  • 1 sprig fresh rosemary, finely chopped

  • 1 cup extra virgin olive oil

  • 1/3 cup honey

  • 1/3 cup cane sugar

  • 3 large eggs

  • 4 lemons, zested & juiced

  • 1 tsp vanilla or almond extract

  • powdered sugar, candied lemon peels & fresh rosemary sprigs, for topping

  • lemon curd & whipped mascarpone, yogurt, or ice cream, for serving

Preheat oven to 325° F. Grease an 8” round cake pan, line with parchment paper, and grease the paper as well. In a medium bowl, mix together almond flour, polenta, baking powder, rosemary, and salt, then set aside. In a large bowl, whisk together olive oil, honey, sugar, eggs, lemon juice & zest, and vanilla/almond extract until smooth. You may alternatively use a stand mixer if desired. Gradually fold in the dry ingredients until just combined.
Transfer the batter to the prepared cake pan, making sure it’s level and evenly distributed. Bake for approximately 40 minutes, or until a cake tester comes out clean. Remove from the oven and let cool in pan for about 5 minutes, and then flip out onto a wire rack to cool completely. Dust cake with powdered sugar and top with candied lemon peels and fresh rosemary. Serve with a heaping dollop of lemon curd or marmalade, and maybe some ice cream or whipped mascarpone as well. Enjoy!

*adapted from Orange Polenta Cake from Ottolenghi: The Cookbook

Useful Tools:

 * This post may contain affiliate links. If you buy something through one of these links, it won’t cost you a penny more, but I’ll earn a small commission. This allows me to continue to generate content for you, and helps keep the site up and running. Thanks for your support! 


açaí bowls

My husband has been on a serious açaí bowl kick lately, and to be honest, I'm not complaining! They're refreshing, delicious, and packed full of healthy ingredients like açaí (duh!), nuts, seeds, and other fruit! The options are pretty endless, but a good place to start is with some high quality, unsweetened açaí, either puréed and frozen or freeze-dried and powdered. The recipe for our go-to version is listed below, but feel free to play around with your favorite superfoods! We love including chia seeds, matcha powder, coconut flakes, and almond butter for a healthy, yet satisfying treat. While artfully arranging the toppings over your smoothie is not necessary, it sure does make for a pretty darn beautiful breakfast or snack! PS- Make sure you go follow my husband's catering company, Beck & Call, as well as his soon-to-be casual eatery Scratch BK, for more delicious eats!

Açaí Bowls:

  • 2 packs açaí purée, frozen

  • 1 banana, frozen

  • 1 cup mixed berries, frozen

  • 2 cups milk of choice (we like coconut or almond)

  • 1 tbsp chia seeds

  • 1 tbsp almond butter

  • 1 tsp maca powder

  • honey or agave nectar, to taste

  • toppings: fresh raspberries, strawberries, blackberries, bananas, coconut flakes, granola, almond butter, matcha powder, chia seeds, hemp hearts, flax seeds, etc.

Blend everything together in a high-powered blender, like a Vitamix. You're going for a thick smoothie consistency, so that it can be eaten with a spoon. Scatter desired toppings across the bowl. Enjoy! Makes two bowls.

Useful Tools:

* This post may contain affiliate links. If you buy something through one of these links, it won’t cost you a penny more, but I’ll earn a small commission. This allows me to continue to generate content for you, and helps keep the site up and running. Thanks for your support! 


honey hi

that grain bowl // breakfast bowl

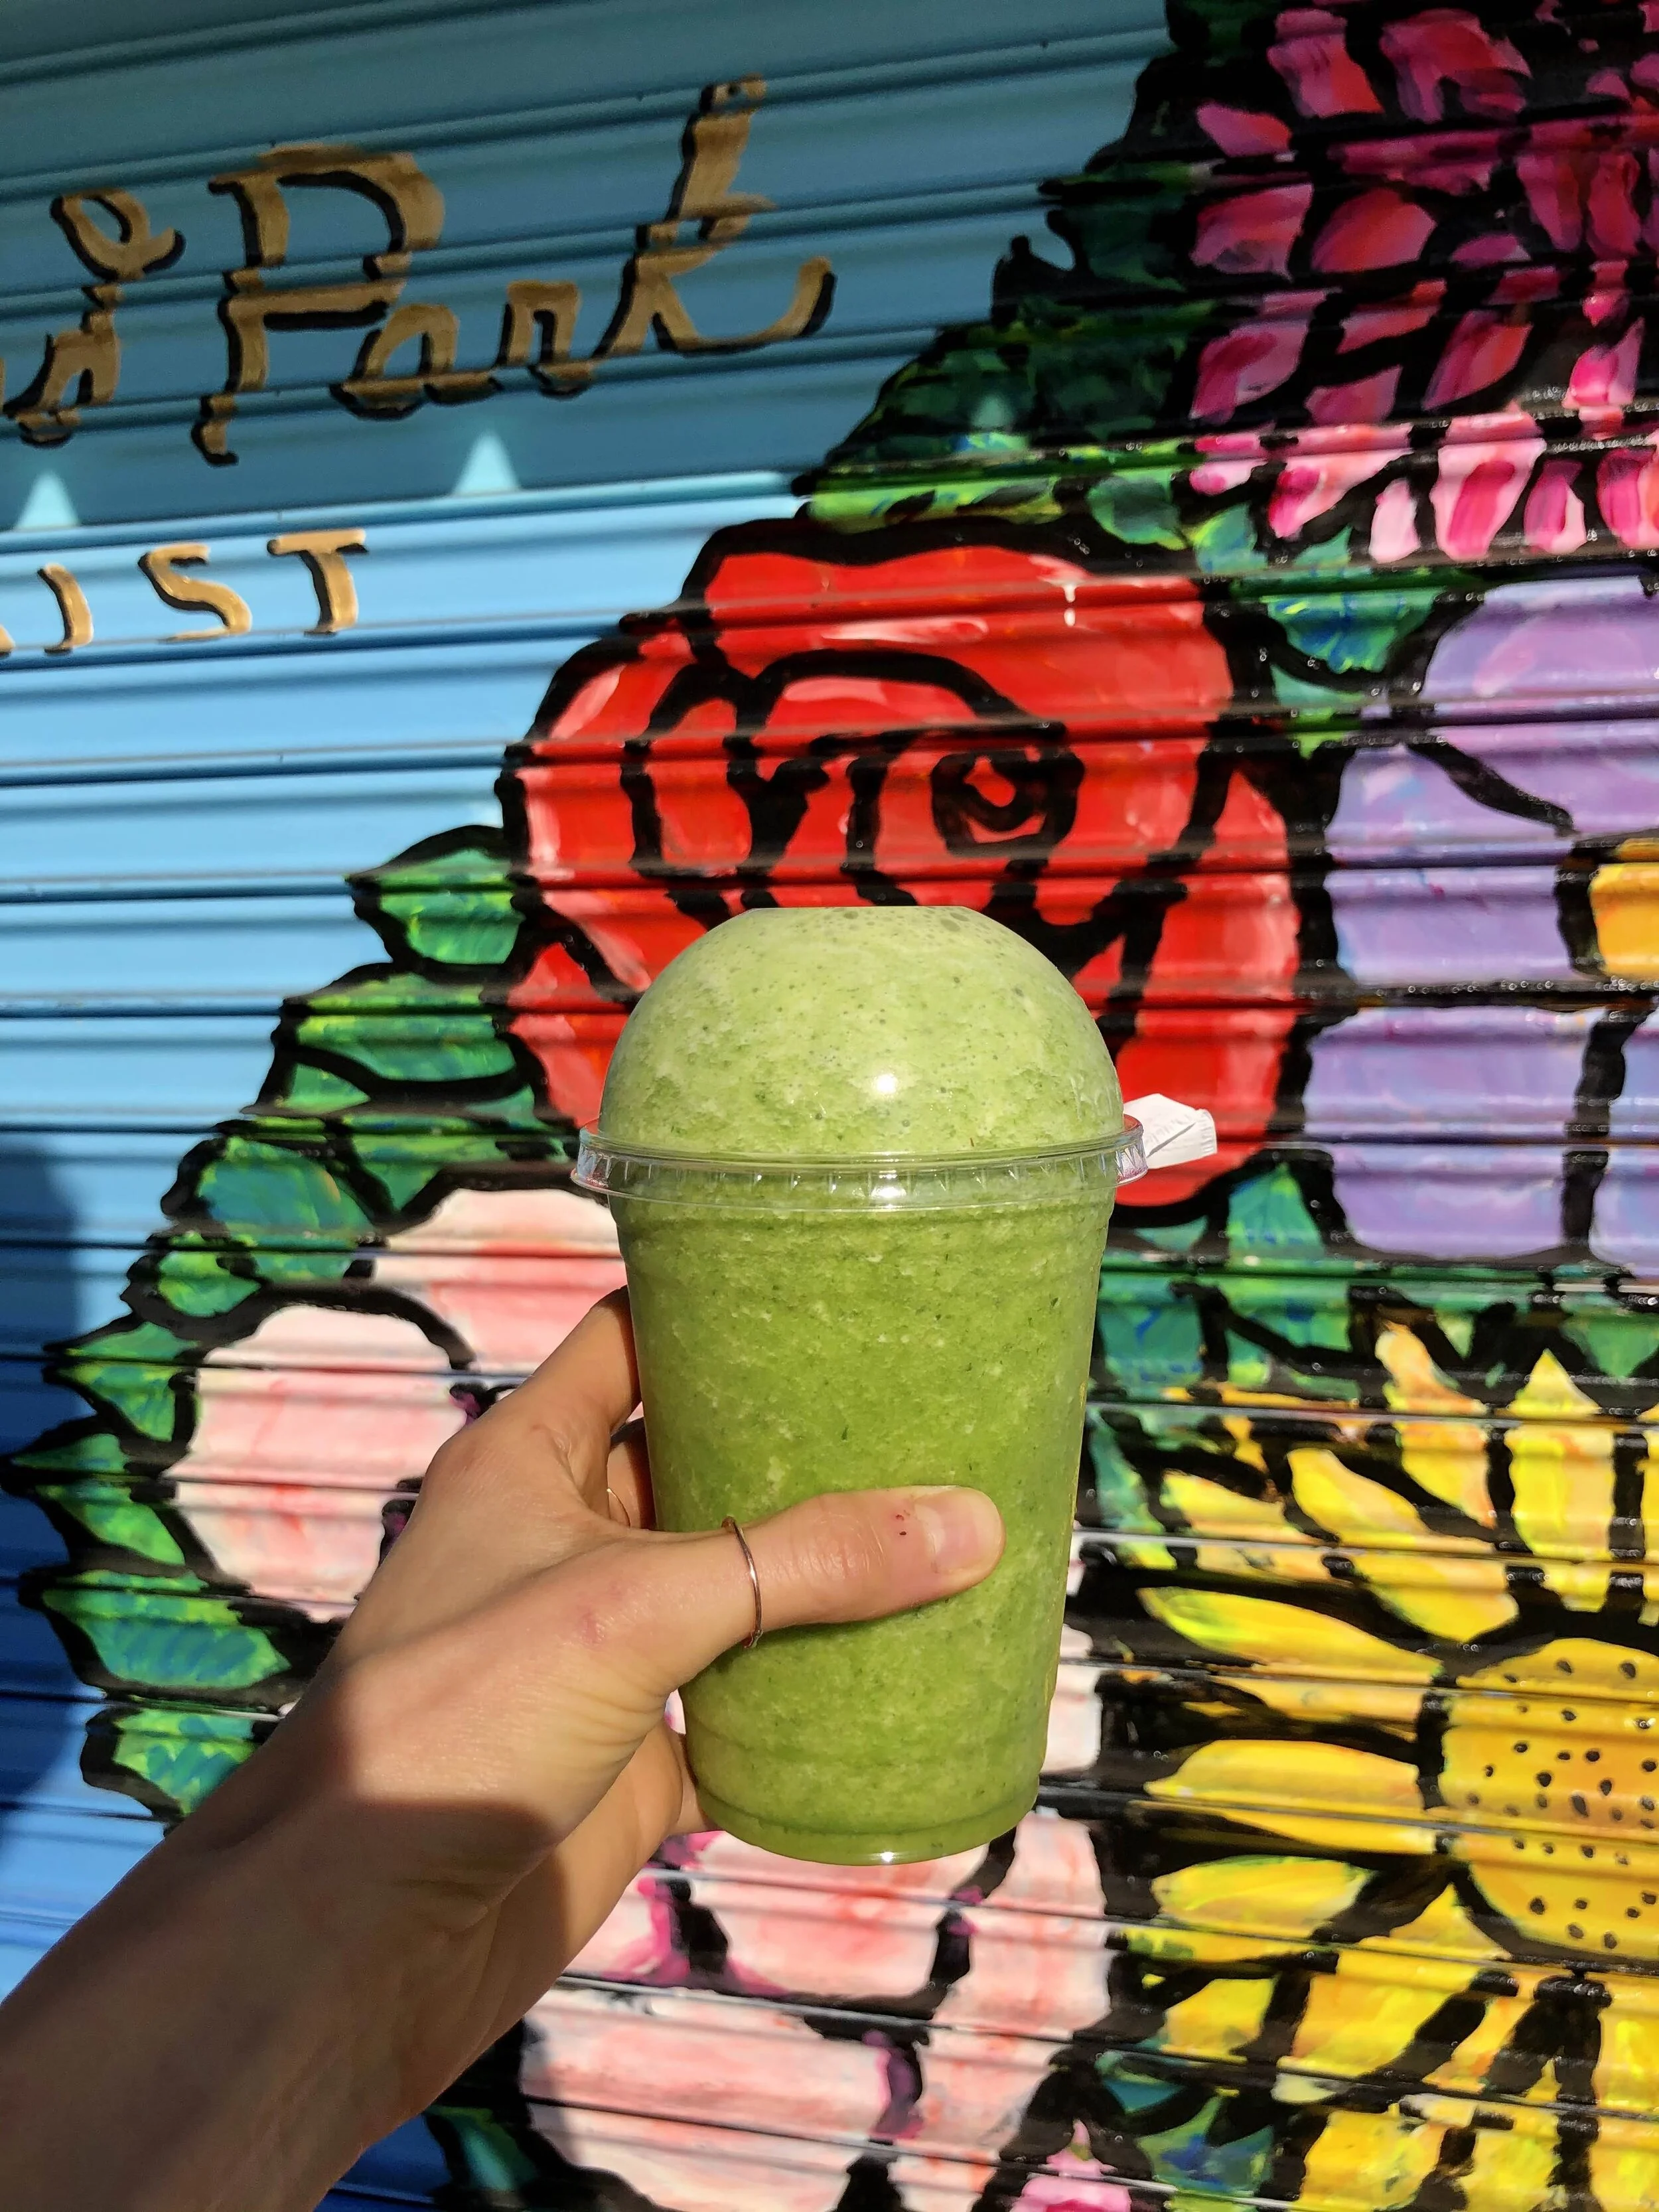
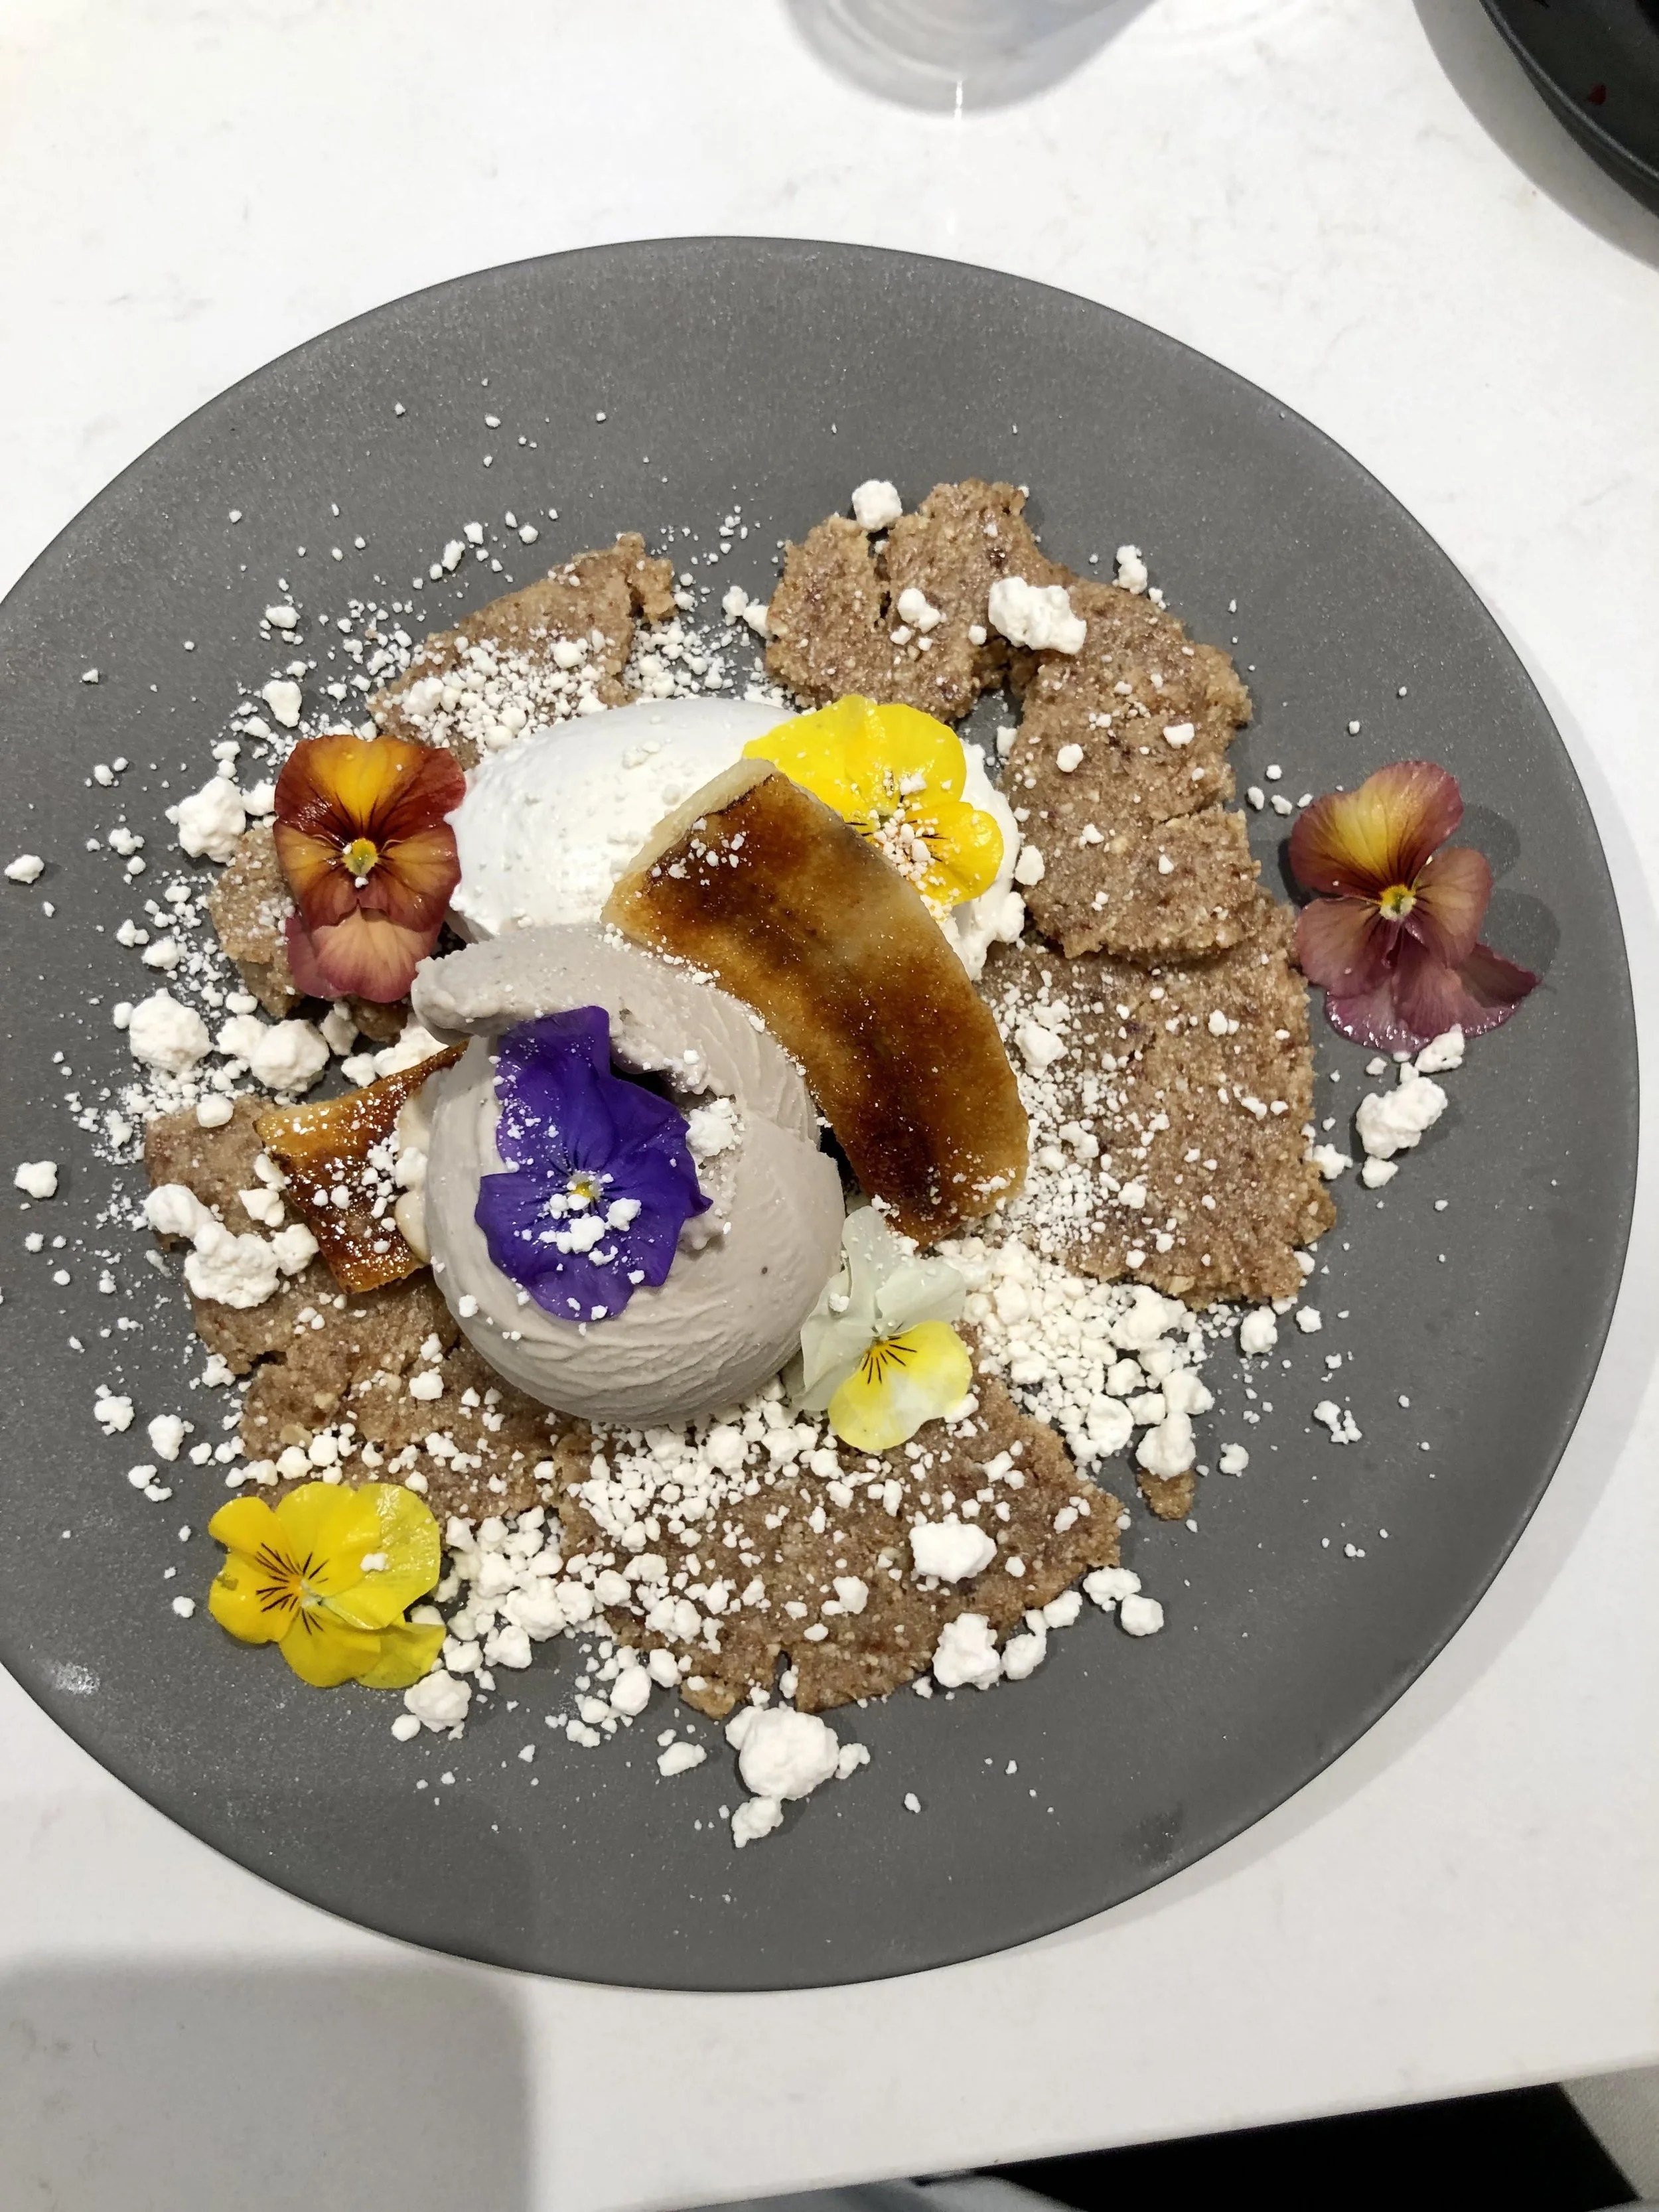
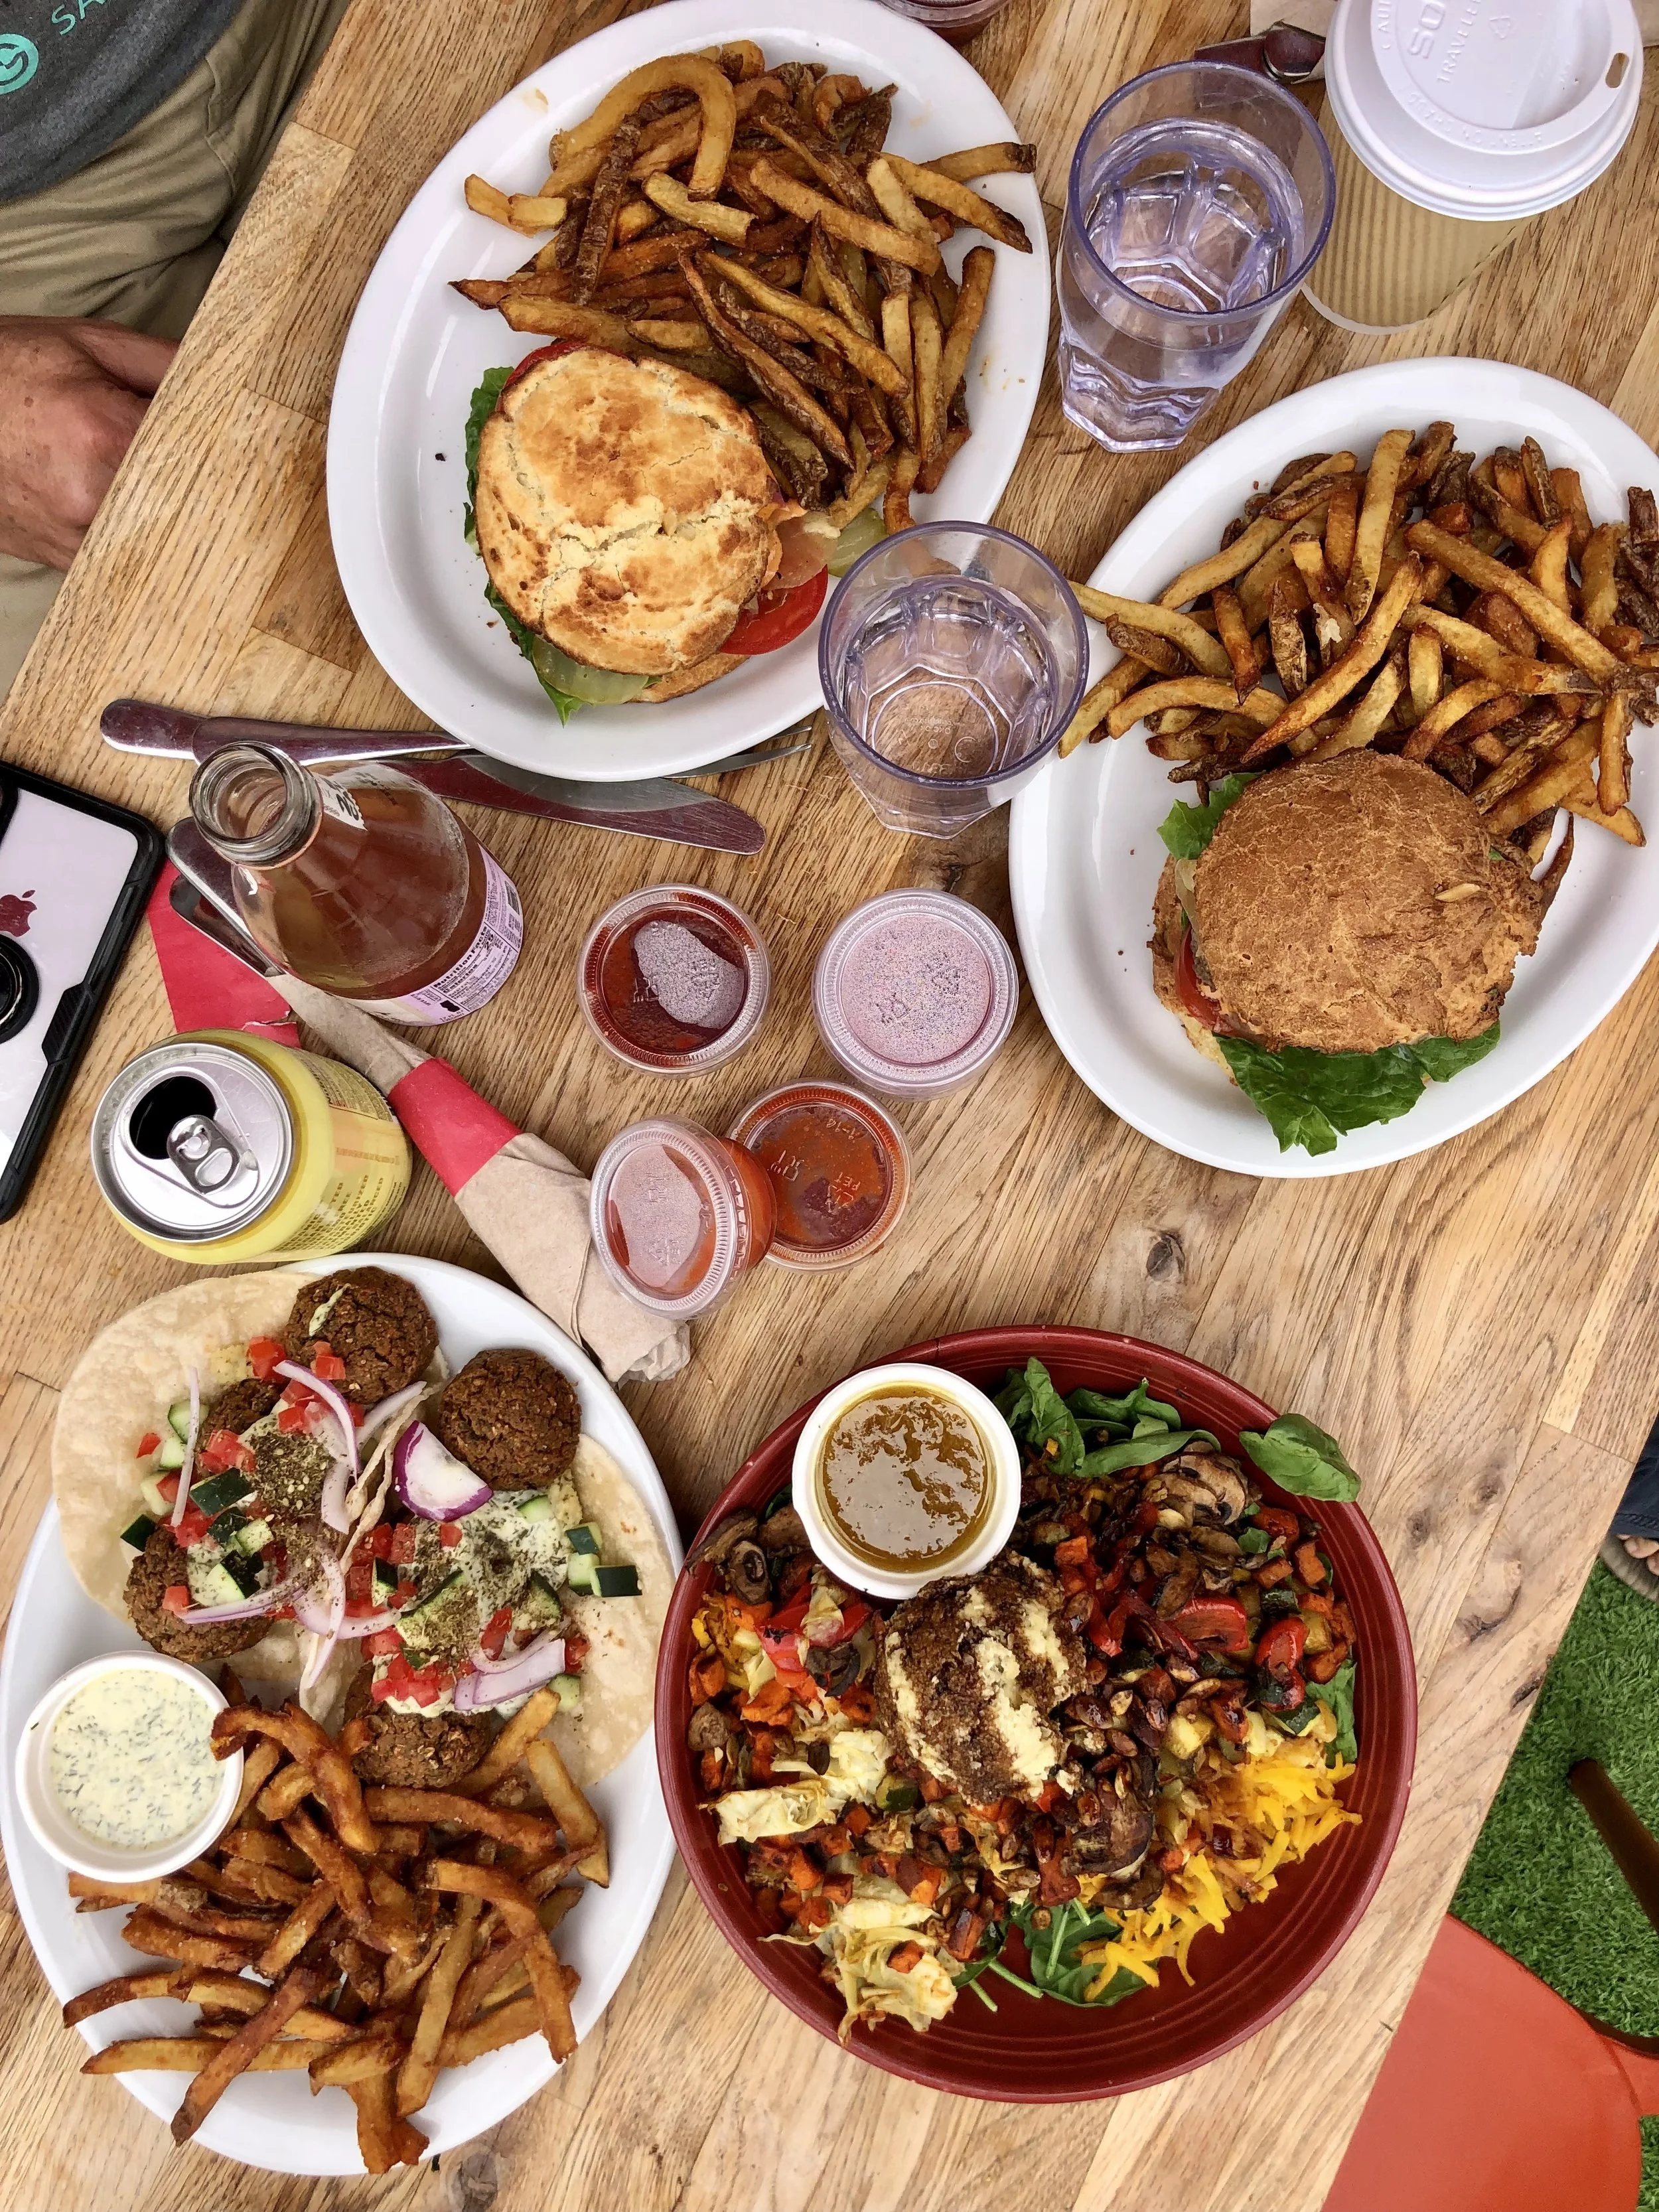
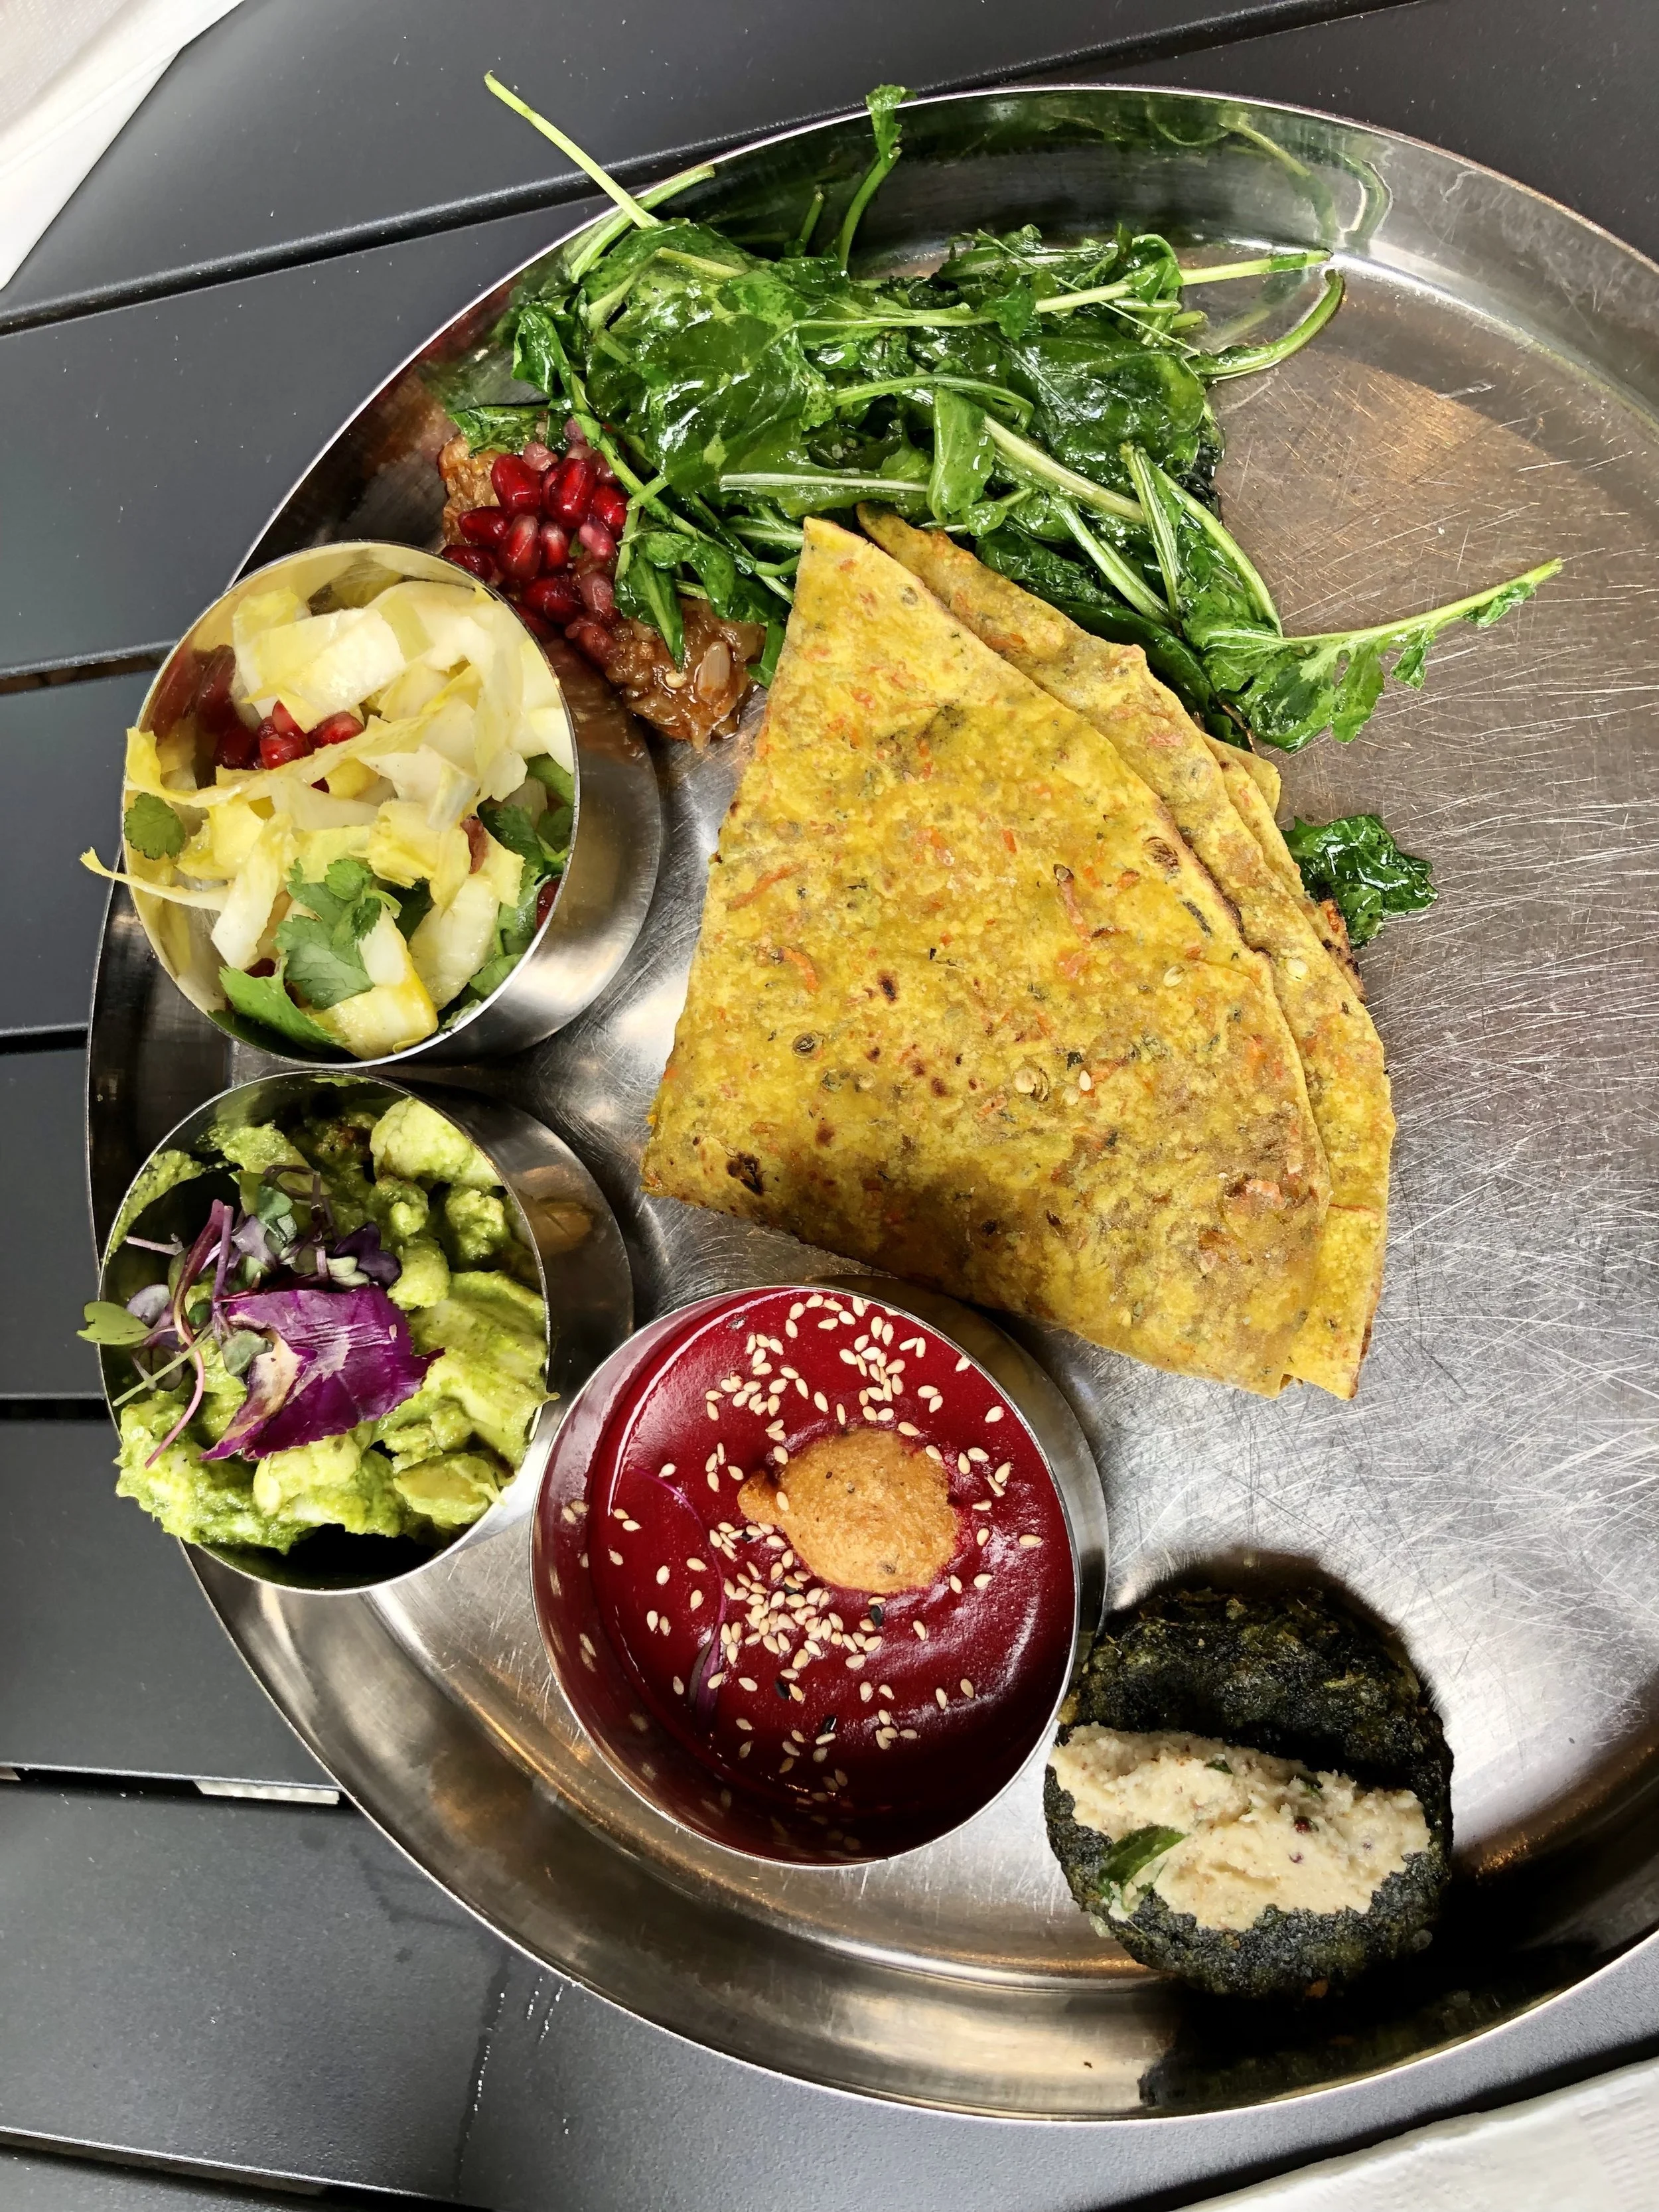
For a cute little brunch or lunch spot in Echo Park, you really can't beat Honey Hi. Their focus on nutritional integrity and sustainability really comes through in each fresh and vibrant dish. Just look at those colors! I love that they value collaborations with local farmers and artisans (organic and locally-sourced produce is used whenever possible), and the menu changes with what's available seasonally at the farmers markets. While the entire menu is inherently gluten-free, they believe in "radical inclusivity", meaning it is not vegan, vegetarian, or any one thing in particular. Honey Hi serves organic, humanely-raised animals and eggs from local farms, but you won't find any refined sugars, GMO's, or vegetable oils in any of their dishes. Basically, you can feel really good about eating here, and your body will definitely thank you for nourishing it with such high quality, delicious eats. There's truly something for everyone here, but so far I definitely recommend "that grain bowl" (I die for the cinnamon roasted sweet potatoes, za'atar tahini sauce & cashew buckwheat dukkah!), and I know my husband would go nuts for the "lambwich" (with grilled halloumi, turmeric pickled onions & date tamarind chutney). Yum! There are tons of tasty drinks here too- from pitaya smoothies to bone broth to medicinal 'shroom coffee, the options are endless. Don't skip out on the grain-free chocolate chip cookie for the perfect sweet ending!  


black rice & winter vegetable salad

I know the majority of recipes I post here are sweets, but I promise I do actually eat healthy things too! A lot of them, to be honest! While my husband is obviously the better chef in the family, I love to cook as well, just on a much simpler scale. My go-to savory dishes are easy and nutritious, and I typically prepare a lot of the components ahead of time, and make extra, so that I can just throw everything into a bowl and dig in! These bowls usually involve seasonal vegetables (roasted, shaved, etc.), whole grains of some sort (homemade bread or quinoa), a protein (likely chicken or legumes), and a good dressing (tahini or avocado-based). Various textural components, like nuts or sees, add a nice crunch as well. This one was being served as a side dish to meat and other dishes, so I kept this vegan and gluten free! There are a million ways to mix it up, so feel free to use whatever tastes good and is available to you!

Black Rice & Roasted Winter Vegetable Salad:

  • 2 cups black rice, rinsed
  • 2 bay leaves 
  • 4 sprigs thyme, separated
  • 1/4 cup chives, chopped
  • 2 sweet potatoes, cubed
  • 3 cups Brussels Sprouts, rooted & halved
  • 1 celery root, peeled & cubed
  • 1/4 cup extra virgin olive oil
  • 1 tsp ground cumin
  • 1 tsp ground paprika
  • salt & pepper, to taste
  • 1 red bell pepper, diced
  • 1/2 cup pumpkin seeds, toasted
  • 1 blood orange, segmented

Dressing:

  • 1/2 cup tahini
  • 1/4 cup apple cider vinegar
  • 1 tsp Sriracha
  • 1 tsp honey (or agave syrup)
  • 1 tsp blood orange zest
  • salt & pepper, to taste

Topping:

  • 2 tbsp pumpkin seeds, toasted
  • 1 blood orange, segmented
  • 2 tbsp chives, chopped
  • 1/2 cup micro-greens

Preheat oven to 450 F. Cook rice according to package instructions, seasoning the cooking liquid with salt, pepper, bay leaves and 2 sprigs thyme, until just al dente. Remove bay leaves and thyme stems. Spread out on sheet tray to cool completely, topping with chives and seasoning with salt & pepper to taste.

Drizzle sweet potatoes, 2 cups of Brussels sprouts (reserving one cup), and celery root with olive oil and season with salt, pepper, cumin, paprika, until cooked through, about 20 minutes. Allow to cool. Shave remaining cup of Brussels sprouts on a mandolin, and add to the rice. Add bell pepper, pumpkin seeds, blood orange segments, and the cooled roasted veggies to the rice mixture.

Whisk together all dressing ingredients in a small bowl. Add to rice mixture, and stir to combine. Top with extra pumpkin seeds, blood orange segments, chives, and micro-greens. Enjoy!


chocolate beet cake with pistachio brittle

I love pretty much anything and everything involving chocolate. I also love beets. Now, I know what you're thinking: Beets in a dessert? Really!? But trust me on this one. The beet purée gives this cake a super moist crumb and rich texture, while the flavor remains über chocolatey. It's seriously decadent and oh-so indulgent, making it the perfect dessert for Valentine's Day, or any other date night! To top off this tasty cake, I add some sweet and crunchy pistachio brittle. I make mine with honey, so it's more like a cross between candied pistachio and brittle, but without the hassle of corn syrup or a candy thermometer! Add a dollop of whipped cream or crème fraîche, and you have yourself a seriously delicious dessert! Bonus points for sneaking in a vegetable too! Keep in mind, you can also make this cake ahead of time, as it tastes even better (if that's possible!?) the next day once it's had a chance to fully set. Enjoy!

Chocolate Beet Cake with Pistachio Brittle:

Cake:

  • 2 large beets, rinsed

  • 1 1/4 cup bittersweet or semisweet chocolate, chopped

  • 1/4 cup freshly brewed espresso or coffee

  • 1 tsp pure vanilla extract

  • 1/2 cup butter, at room temperature, cubed

  • 1/4 cup coconut oil

  • 1/2 cup hazelnut meal/flour

  • 1/2 cup coconut flour

  • 3 tbsp unsweetened cocoa powder

  • 1 1/4 tsp baking powder

  • 1/4 tsp kosher salt

  • 5 large eggs, separated, at room temperature

  • 1 cup coconut sugar

Brittle:

  • 3 tbsp granulated sugar

  • 2 tbsp raw honey

  • 1 cup raw pistachios

  • flaky salt, to taste

Toppings:

  • confectioner's sugar

  • ground pistachios

  • pistachio brittle

  • whipped cream or crème fraîche

Preheat oven to 350ºF. Butter (or use non-stick spray) an 8 1/2 inch springform pan and line the bottom with parchment paper, then butter the paper as well.

In a medium saucepan, bring water to a boil. Add two large beets and cook for about 45 minutes until tender. Run under cold water, and remove the skin with your hands. Process beets in food processor until smooth. You will need 1 cup of purée.

In a large bowl set over a sauce pan of simmering water, melt the chocolate. Once it’s almost all melted, turn off the heat, but leave the bowl over the warm water. Pour in the espresso and vanilla extract, stirring once, then add the butter and coconut oil. Leave bowl over hot water, and allow mixture to soften without stirring.

Sift together the flours, cocoa powder, baking powder, and salt in a separate bowl. Remove the bowl of chocolate from the heat and stir until everything is incorporated. Let sit a few minutes to cool, then whisk egg yolks into the melted chocolate mixture. Stir in the beet purée.

Add coconut sugar to a clean food processor, and pulse a few times until sugar is very fine. In a stand mixer with whisk attachment, whip the egg whites until stiff. Gradually fold the sugar into the whipped egg whites with a spatula, then fold this into the melted chocolate mixture. Last, fold in the dry ingredients. Careful not to overmix!

Pour the batter into the prepared pan and reduce the heat of the oven to 325ºF. Bake the cake for 40 minutes, or until the sides are just set but the center looks a bit underdone. Do not overbake! Let cake cool completely, then remove it from the pan.

While the cake bakes, make the pistachio brittle. In a saucepan over medium heat, combine the sugar and honey. Let cook until sugar is dissolved. Add pistachios and stir to combine. Turn the heat up to medium high, and cook for another couple of minutes until the syrup evenly coats the pistachios and has thickened. Pour pistachios onto a parchment-lined sheet tray, spreading into an even layer. Top with flaky sea salt. Let cool completely until it hardens (about 1 hour), then break into pieces. You may make the brittle ahead of time, and store in an airtight container once fully cooled and hardened. 

To serve, dust confectioner's sugar and ground pistachios over the entire cake and top with big pieces of pistachio brittle. Slice and serve each piece with a dollop of whipped cream. Enjoy!

Useful Tools:


*Adapted from "Extremely Moist Chocolate Beet Cake" from Tender: A Cook and His Vegetable Patch by Nigel Slater.

**Check out Britt and her recipe featured on Garance Doré. Photos by Pia Moore.

**Substitutions: To make this cake dairy-free, substitute the butter for more coconut oil. This cake is gluten-free as written, and you may choose to use all hazelnut meal or all coconut flour if desired, however the texture may be slightly different. You may also substitute all-purpose flour for both flours listed if preferred. You can use granulated sugar in place of coconut sugar as well. My choices are based on personal taste and flavor preference.