açaí bowls

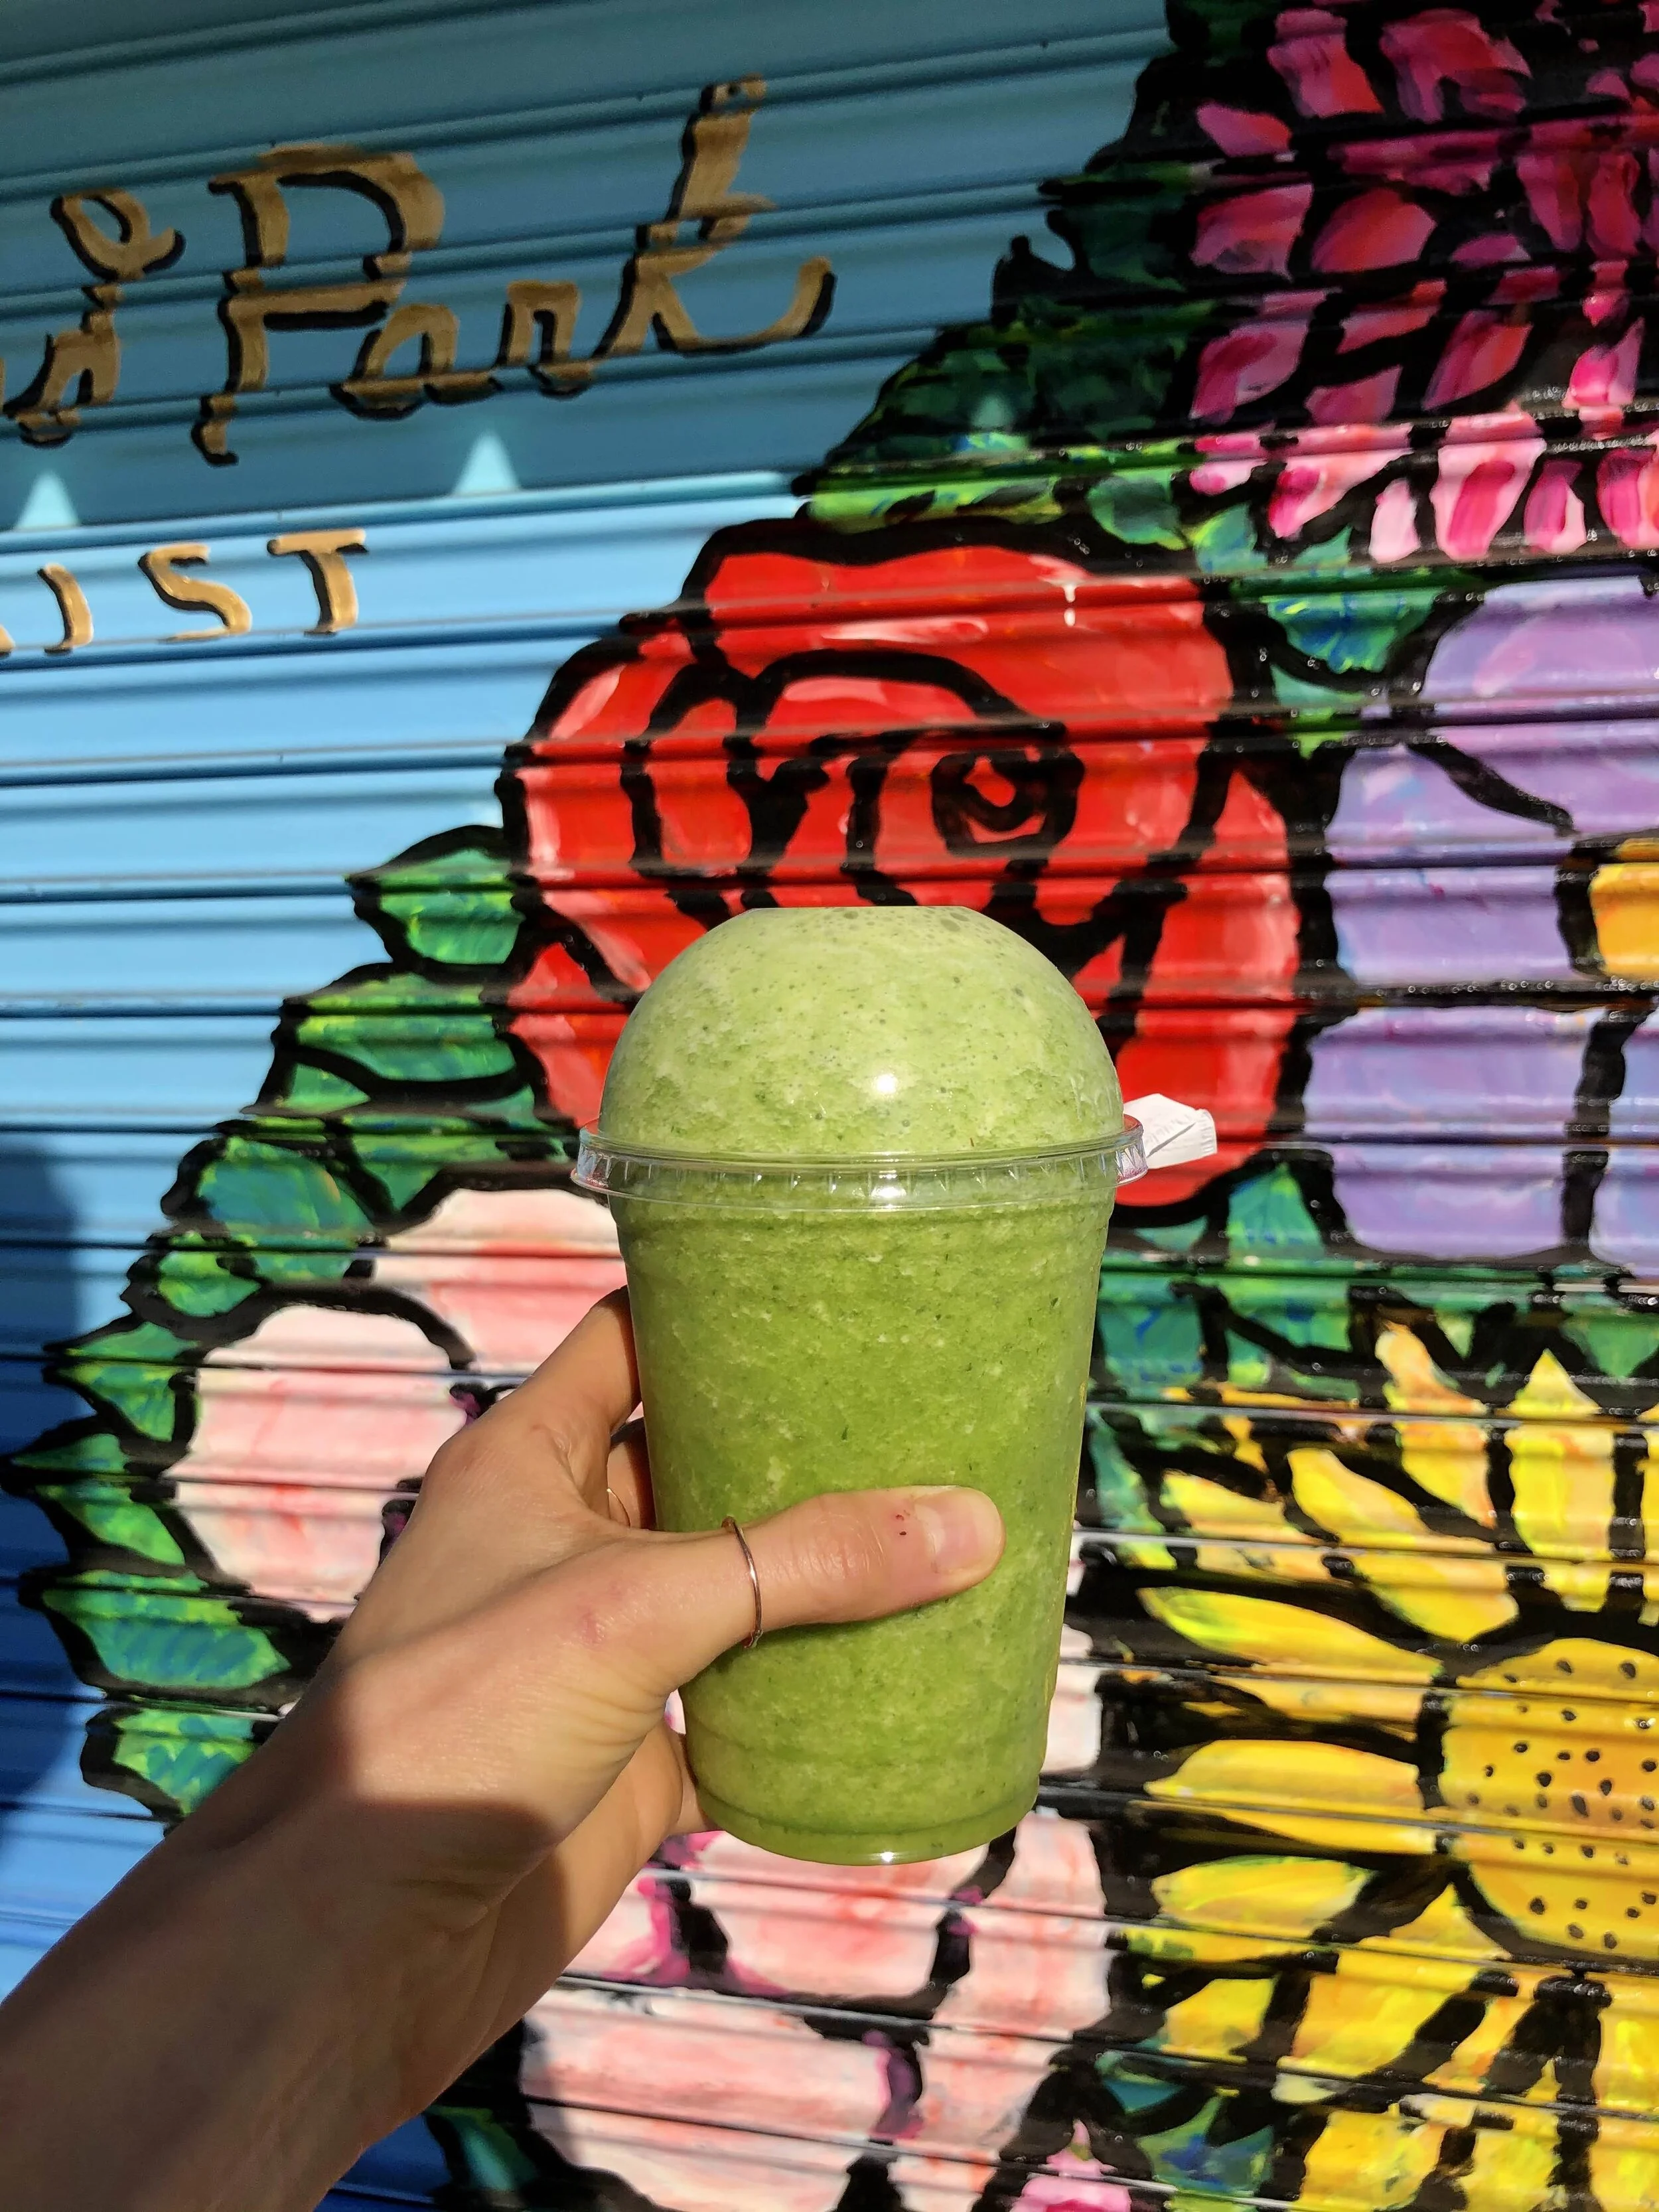
My husband has been on a serious açaí bowl kick lately, and to be honest, I'm not complaining! They're refreshing, delicious, and packed full of healthy ingredients like açaí (duh!), nuts, seeds, and other fruit! The options are pretty endless, but a good place to start is with some high quality, unsweetened açaí, either puréed and frozen or freeze-dried and powdered. The recipe for our go-to version is listed below, but feel free to play around with your favorite superfoods! We love including chia seeds, matcha powder, coconut flakes, and almond butter for a healthy, yet satisfying treat. While artfully arranging the toppings over your smoothie is not necessary, it sure does make for a pretty darn beautiful breakfast or snack! PS- Make sure you go follow my husband's catering company, Beck & Call, as well as his soon-to-be casual eatery Scratch BK, for more delicious eats!

Açaí Bowls:

  • 2 packs açaí purée, frozen

  • 1 banana, frozen

  • 1 cup mixed berries, frozen

  • 2 cups milk of choice (we like coconut or almond)

  • 1 tbsp chia seeds

  • 1 tbsp almond butter

  • 1 tsp maca powder

  • honey or agave nectar, to taste

  • toppings: fresh raspberries, strawberries, blackberries, bananas, coconut flakes, granola, almond butter, matcha powder, chia seeds, hemp hearts, flax seeds, etc.

Blend everything together in a high-powered blender, like a Vitamix. You're going for a thick smoothie consistency, so that it can be eaten with a spoon. Scatter desired toppings across the bowl. Enjoy! Makes two bowls.

Useful Tools:

* This post may contain affiliate links. If you buy something through one of these links, it won’t cost you a penny more, but I’ll earn a small commission. This allows me to continue to generate content for you, and helps keep the site up and running. Thanks for your support! 


honey hi

that grain bowl // breakfast bowl

For a cute little brunch or lunch spot in Echo Park, you really can't beat Honey Hi. Their focus on nutritional integrity and sustainability really comes through in each fresh and vibrant dish. Just look at those colors! I love that they value collaborations with local farmers and artisans (organic and locally-sourced produce is used whenever possible), and the menu changes with what's available seasonally at the farmers markets. While the entire menu is inherently gluten-free, they believe in "radical inclusivity", meaning it is not vegan, vegetarian, or any one thing in particular. Honey Hi serves organic, humanely-raised animals and eggs from local farms, but you won't find any refined sugars, GMO's, or vegetable oils in any of their dishes. Basically, you can feel really good about eating here, and your body will definitely thank you for nourishing it with such high quality, delicious eats. There's truly something for everyone here, but so far I definitely recommend "that grain bowl" (I die for the cinnamon roasted sweet potatoes, za'atar tahini sauce & cashew buckwheat dukkah!), and I know my husband would go nuts for the "lambwich" (with grilled halloumi, turmeric pickled onions & date tamarind chutney). Yum! There are tons of tasty drinks here too- from pitaya smoothies to bone broth to medicinal 'shroom coffee, the options are endless. Don't skip out on the grain-free chocolate chip cookie for the perfect sweet ending!  


wedding cake

Everyone knows my love for baking and all things sweets-related, so when I got asked to make one of my best friend's wedding cakes, I jumped at the opportunity. What an honor, and so exciting to be a part of their big day! Don't get me wrong, though- this was a huge undertaking, and I had not baked on this scale before, so practice rounds were definitely required! I researched quite a bit, and was not surprised to find that Deb of Smitten Kitchen had published several posts with steps detailing her own "Project Wedding Cake". These became my wedding cake bible, through her trial and error, and attention to detail, I was able to gain the confidence I needed to tackle my own project wedding cake! 

I did a tasting for the bride and groom so that they could decide on flavors, and we ended up going for a classic vanilla buttermilk cake, with raspberry compote and salted coconut caramel fillings (one for each tier), all finished with luxurious Swiss meringue buttercream! The decorations were to be simplistic, with a rustically finished frosting along with florals and greenery from the farm where the wedding was taking place. This calmed my nerves a bit, as I am not one for the tiny, meticulous, perfectly designed cakes. Luckily the rustic look fit in perfectly with the entire vibe of the wedding. I've linked to Deb's posts below, since I only made minor changes to her stellar recipes, and included my own for the fillings as well. One word of advice I can give is to prep and get certain things done ahead of time if possible! My husband's catering company Beck & Call was doing the food for the entire wedding weekend, so I knew he would have his hands full and couldn't expect much help. Not to mention I was a bridesmaid in the wedding as well, so had plenty of other "duties" and fun things to tend to. My planning and organizing skills really came in handy here, and I can safely say after successfully finishing my cake that I had a blast doing it, and look forward to making another!

Vanilla Buttermilk Cakes:

My layer cake recipe comes from the super-talented Deb of Smitten Kitchen. This one in particular is for a classic birthday cake, but she also makes a wedding cake as well. They both use the same ingredients, just in different ratios, and I ended up using the birthday cake recipe because it yielded a bit more, and was easier to convert into different sizes for multiple tiers. The recipe makes three 6" round layers for the top tier of wedding cake, so for the bottom tier, scale recipe up (multiply everything by 1.5) to get three 9" round layers. I weighed about 560g per pan for 6" layers, and about 750g per pan for 9" layers, so ended up with some leftover batter for a couple mini loaf cakes! Feel free to make the layers as thick as you want. Once the cakes are fully cooled, I suggest wrapping and freezing each layer before assembling and frosting, as they are much easier to handle this way. That way you can make the cake layers a couple days early to get this step out of the way! You can also level each cake (remove the dome shape at the top so as to create flat surfaces for stacking) either when they are fully cooled before freezing, or once they're frozen and you're ready to frost. Other than that, go check out Deb's recipe for fool-proof vanilla layer cake here

Swiss Meringue Buttercream:

I wanted to use Swiss meringue buttercream as the frosting for my cake for multiple reasons. First, it's not sickeningly sweet like the frostings most of us are accustomed to. It also holds up extremely well in warm temperatures, and since this wedding was taking place outside in New York in August, that was definitely something to consider. And finally, it is super smooth, making it perfect for piping, and doesn't end up crusting like many other frostings do. It's all about the butter here, so use a high quality one if you can! And, surprise- this recipe also comes from Smitten Kitchen. Even Deb seemed to have some worries about the supposedly tricky Swiss meringue buttercream coming together, but rest assured that it will! It just takes a bit of time, and at some point may look too runny or curdled, but not to worry. Continue mixing for about 15 minutes, and it all work out nicely. You can make this a couple days ahead if need-be, just store in the fridge in an airtight container. Before you're ready to frost, let it come to room temperature, and then re-whip buttercream in the mixer until it's smooth and glossy. Get Deb's recipe for Swiss meringue buttercream here

Raspberry Compote Filling:

At the tasting, the bride and groom sampled both a fruit and caramel-type filling, and ended up loving both! Since the cake was to have two tiers, we decided to do the raspberry compote in the layers of one, and the salted coconut caramel in the other. I suggest piping a circle of buttercream around the outer edge of each layer before adding filling, so that it doesn't spill over the sides! Fillings are another key component that can be made ahead of time, thus saving you time for assembling on wedding day!

  • 2 cups fresh raspberries

  • 1/2 cup granulated sugar

  • 2 tbsp corn starch

  • 1/4 cup water

  • 2 tsp lemon juice

  • fresh raspberries, for serving

To prepare raspberry compote, cook raspberries, sugar, cornstarch, and water in a small saucepan until the berries start to break down, about 10 minutes. Lower the heat and simmer until the compote is thick, about 5 minutes. Remove from heat and let cool completely. Store in an airtight container in the fridge (this can be made a week ahead of time). Makes 1 cup.

Salted Coconut Caramel Filling:

  • 1 cup granulated sugar

  • 6 tbsp unsalted butter, softened

  • 2/3 cup full-fat coconut milk

  • 1 1/2 tsp salt

  • toasted coconut, for serving

Heat sugar in a saucepan over medium heat, stirring constantly with a wooden spoon. Sugar will form clumps and eventually melt into a thick brown, amber-colored liquid as you continue to stir. Be careful not to burn. Once sugar is completely melted, add the butter tablespoon by tablespoon. Be careful are the mixture will start to bubble. Stir the butter into the caramel until it is completely melted, using a whisk if necessary. Slowly pour in coconut milk while stirring, taking care as the mixture bubbles and may splatter. Allow the mixture to boil for 1 minute. It will rise in the pan as it boils. Remove from heat and stir in salt. Allow to cool down before using. You may make this in advance and store in an airtight container in the fridge for up to one week. Makes 1 cup.

Assembly:

Here comes the fun (and slightly terrifying) part! Once all the cake layers are baked, fillings are made, and buttercream is whipped to glossy perfection, it's time to assemble your wedding cake! The assembly and decoration stage is where all your fun cake accessories come in handy! Cake boards, piping bags, decorating tips, offset spatulas (in multiple sizes), a pastry comb, a rotating cake stand, and a cake carrier are all important tools that played a big part in my cake's success. I definitely suggest looking into these as they make the entire process easier, especially for an amateur baker like myself. I like to use a bit of buttercream underneath the base layers to "glue" them to the cake boards. This will make things more stable and keep them from sliding around! While stacking the layers, giving them a spritz of simple syrup will ensure the cake stays moist until serving time. After filling your layers (remember the ring of frosting around the edges to keep the filling from spilling over!), I strongly suggest adding a "crumb layer" of frosting to each tier. This thin layer doesn't need to be perfect by any means, but it will keep those inevitable crumbs where they belong- on the inside layers and not at all visible on your pretty, final product! Just allow the crumb layered tiers to set in the refrigerator for at least 30 minutes before attempting to frost with a full, thicker layer of buttercream. At this point, the pastry comb came in handy, and its several design options truly helped me look like a pro! A few flowers and greenery from the farm, et voila! Be patient, take it one step at a time, and always remember- buttercream can cover a multitude of sins! 

Useful Tools:

IMG_3161.jpg

vanilla cupcakes

Everyone needs a good 'ol vanilla cupcake recipe, and this one is a tried and true favorite. It's the perfect blank canvas, making it super easy to customize based on what you're in the mood for! Whether it's with fillings (strawberry compote and salted caramel are both great), or toppings (I love nuts, chocolate, or sprinkles), the options are endless! Swiss meringue buttercream is the best frosting option, in my humble opinion. It's super pretty and glossy, less sickeningly sweet than traditional American buttercream, and holds up well at room temperature and even outdoors! You can also add flavor to the frosting if you want to mix things up, but the vanilla is a great classic that goes with many flavors. Whatever you end up with, you'll almost always be guaranteed a delicious treat! Now get to baking!

Vanilla Cupcakes with Swiss Meringue Buttercream:

Cupcakes:

  • 2 cups cake flour

  • 1 tsp baking powder

  • 3/4 tsp baking soda

  • 1 tsp table salt

  • 1/2 cup unsalted butter, softened

  • 1 cup sugar

  • 1 tsp pure vanilla extract

  • 2 large eggs, at room temperature

  • 1 cup buttermilk

Buttercream:

  • 1/2 cup sugar

  • 2 large egg whites

  • 3/4 cup unsalted butter, cubed & softened

  • 1/2 tsp pure vanilla extract

Preheat oven to 350°F. Line a cupcake pan with liners, and spray them with nonstick spray. Mix together flour, baking powder, baking soda, and salt in a medium bowl. In the base of a stand mixer fit with whisk attachment, beat butter and sugar at medium speed until pale and fluffy, then beat in vanilla. Add eggs, beating well and scraping down the bowl to ensure they are fully incorporated. Reduce the speed to low, then mix in buttermilk until just combined. Don't be alarmed if the mixture looks curdled at this point. 

Add flour mixture until just incorporated, careful not to over-mix. Pour batter evenly among cupcake liners, and bake until golden, about 20 minutes. Allow to cool for a few minutes in the pan, then completely on a cooling rack. Makes about a dozen cupcakes

While cupcakes are baking, make the buttercream. Whisk egg whites and sugar together in a bowl over a double boiler until sugar is fully dissolved. Transfer mixture into the stand mixer (make sure it's clean & dry!) fit with paddle attachment and whip until it turns white glossy. Add the vanilla, then the butter and continue to whip until buttercream comes together. This may take a good 10-15 minutes, so don't worry if things look curdled or soupy at the start!

Once cupcakes have cooled, you may add filling if desired. Scoop out a small bit of cake from the top (using a knife or melon-baller), add the filling, and replace the cake on top. Pipe buttercream onto cupcakes using a pastry bag fit with an icing tip, and finish with toppings if you choose! Enjoy!

*Adapted from Best Birthday Cake by Smitten Kitchen.

Useful Tools:


key lime pie

I'll be the first to admit, I've never been a key lime pie person. There are very few desserts that I don't love, but key lime pie, along with lemon meringue pie and flan, have never been at the top of my list for whatever reason. I would just typically choose something chocolate, caramel, nutty, or spiced over a citrus-based dessert. Not one to hold a bias, I decided to whip one up for a good friend (who happens to love it!) for her birthday! I can safely say after making one myself, that I thoroughly enjoyed this pie. I love a graham cracker crust, and I personally think toasted coconut is a wonderful addition to almost any dessert. It ends up complementing the fresh, tropical flavors in this pie perfectly. Because I was transporting this pie into the city for dinner, I baked it in a disposable pie dish. But it ended up looking so bright and pretty that I really wish I baked it in one of my pretty ceramic pie dishes! Next time ;)

Key Lime Pie:

Crust:

  • 10-12 full graham crackers (or about 1.5 cups crushed graham crackers)

  • 2 tbsp light brown sugar

  • 1/2 cup coconut oil, melted

  • 1/4 tsp sea salt

Filling:

  • 2 tablespoons finely grated lime zest

  • 4 large egg yolks

  • 1 14 oz. can sweetened condensed milk

  • 2/3 cup fresh lime juice (about 12 key limes or 4 regular limes)

Topping:

  • 3/4 cup heavy whipping cream

  • 2 tablespoons powdered sugar

  • 1/3 cup flaked coconut, toasted

  • lime zest

Preheat oven to 350 F. Combine graham crackers, brown sugar, and salt in a food processor, and pulse until combined. Pour in coconut oil, and pulse a few more times until mixture is uniformly crumbly and moist. Press crust mix into the bottom and up the sides of a standard 9-inch pie dish. Bake crust until lightly browned, about 10 minutes. Set on cooling rack while you prepare filling. 

Zest limes into the bottom of a medium bowl until you have 2 tablespoons (reserving a bit for topping). Beat zest and egg yolks in a stand mixer (or use an electric hand-held one) until pale and thick, about 5 minutes. Add sweetened condensed milk and beat until well incorporated, about 3 minutes more. Whisk lime juice into yolk mixture until combined. Pour into graham crust and bake pie for another 10-12 minutes, until center is just set. Let pie cool completely before adding topping.

In a medium bowl of stand mixer, beat cream and sugar until soft peaks are formed. Spread over top of chilled pie. Sprinkle with toasted coconut and extra lime zest. If possbile, chill pie for another 2-3 hours so that topping can fully set. Slice and enjoy! Pie will stay fresh in the fridge for 5-7 days.

*Adapted from key lime pie by Smitten Kitchen

Useful Tools:

DSC06641.jpg

matcha coconut smoothie

I've become obsessed with the matcha, coconut & bergamot smoothie from Greecologies in Soho. Anytime I'm in the area, I can't help but stop in and grab one to-go. It's SO good and I really love the unique flavor profile, but it's also super healthy to boot. Matcha is an antioxidant powerhouse- the powdered green tea has 137 times as many antioxidants as regularly brewed green tea, and in my opinion tastes way better! Plus there are little chewy bits from the dried coconut throughout the smoothie which adds a nice chew-factor. I figured it was time I created my own Greecologies-inspired version at home, and the below recipe totally satisfies my craving for a tasty matcha smoothie. Bergamot oranges can be tricky to find, so I typically make it without. Alternatively, you can add 1/2 cup brewed Earl Grey tea or a couple drops of bergamot essential oil for a delicious twist. I love experimenting with various mix-ins and toppings as well, so feel free to play around with some of the combinations below to see what you like best!

Matcha Coconut Smoothie:

  • 2 cups frozen bananas, sliced

  • 1 cup coconut milk

  • 1/2 cup coconut water

  • 2 tsp matcha powder (I love Matchaful!)

  • 1 cup greens

  • 1/2 cup coconut flakes, unsweetened

  • 2 tbsp crystallized ginger

  • 1/2 tsp pure vanilla extract

  • ice, optional

  • optional mix-ins: 1/2 cup Earl Grey tea, 2 drops bergamot essential oil, 2 Medjool dates, 1/2 cup frozen pineapple, 1/2 tsp ground cinnamon, 1/2 tsp spirulina

  • optional toppings: 1 tbsp coconut flakes, 1 tbsp goji berries

Blend frozen banana, coconut milk, coconut water, matcha powder, greens, coconut flakes, crystallized ginger, and vanilla extract on high until thick and creamy. Feel free to add (any combination of) Earl Grey tea, bergamot oil, Medjool dates, frozen pineapple, cinnamon, or spirulina to the blender as well, and top with coconut flakes and/or goji berries, if desired. Makes 2 smoothies.

*Check out Britt and her smoothie featured on Live the Process. Photos by Bekka Gunther.

Useful Tools: